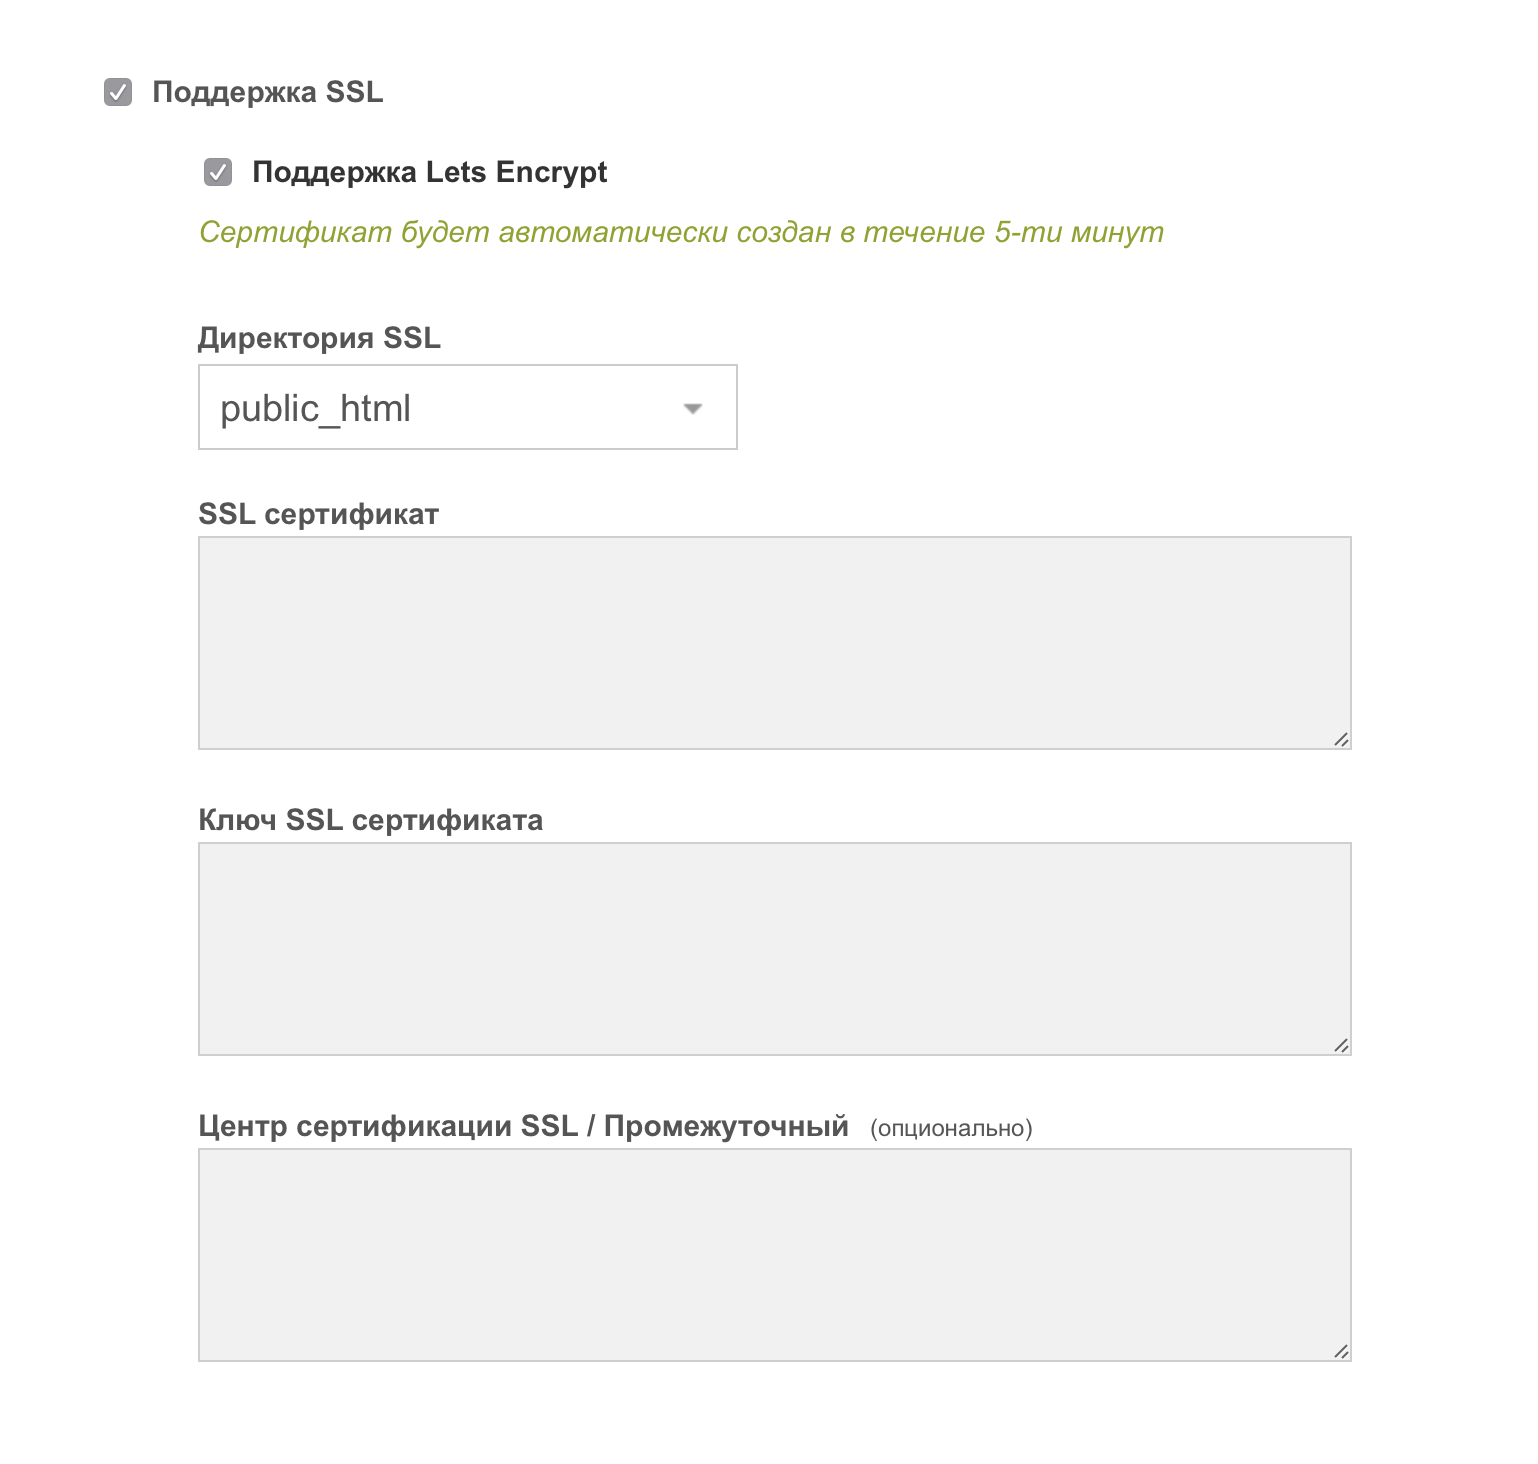
How to set up Let’s Encrypt on a VPS?
Let’s Encrypt is a free service that provides SSL/TLS certificates to secure websites. Installing Let’s Encrypt on your VPS will help secure your site and encrypt transmitted information. In this article, we will show you how to set up Let’s Encrypt on your VPS.
1. Install Certbot on your VPS. Certbot is a utility that allows you to obtain and install Let’s Encrypt certificates. You can install Certbot using the following commands:
sudo apt-get update
sudo apt-get install certbot python3-certbot-apache
2. Run Certbot and request a Let’s Encrypt certificate using the following command:
sudo certbot --apache
3. Follow the Certbot instructions to complete the certificate installation process. Certbot will automatically configure your Apache web server and install the Let’s Encrypt certificates.
4. Verify that the Let’s Encrypt certificates have been successfully installed by visiting your website over HTTPS. If you see a green padlock in the browser’s address bar, the certificates have been successfully installed.
Now your website is protected by Let’s Encrypt certificates and the transmitted information is encrypted. Don’t forget to renew your certificates in time to keep your site secure.
By following these simple steps, you can easily set up Let’s Encrypt on your VPS and secure your website. The need for security on the Internet is becoming increasingly important, so don’t put this process off. Let your site be secure and reliable!


