How to Configure DNS-over-HTTPS in Firefox?
If you want to enhance the security of your internet connection and protect yourself from data leaks, configuring DNS-over-HTTPS in your browser is an excellent way to achieve this goal. In this article, we’ll guide you through how to set up and configure DNS-over-HTTPS in the Firefox browser.
First of all, what is DNS-over-HTTPS? It’s a new technology that encrypts DNS queries to protect your privacy and security. Instead of sending DNS queries in the clear, DNS-over-HTTPS encrypts these queries using the HTTPS protocol, making them much more secure.
Now, let’s move on to how to configure DNS-over-HTTPS in the Firefox browser.
Step 1: Open Firefox Settings
First, open the Firefox browser and enter about:config in the address bar. Press Enter to go to the settings page.
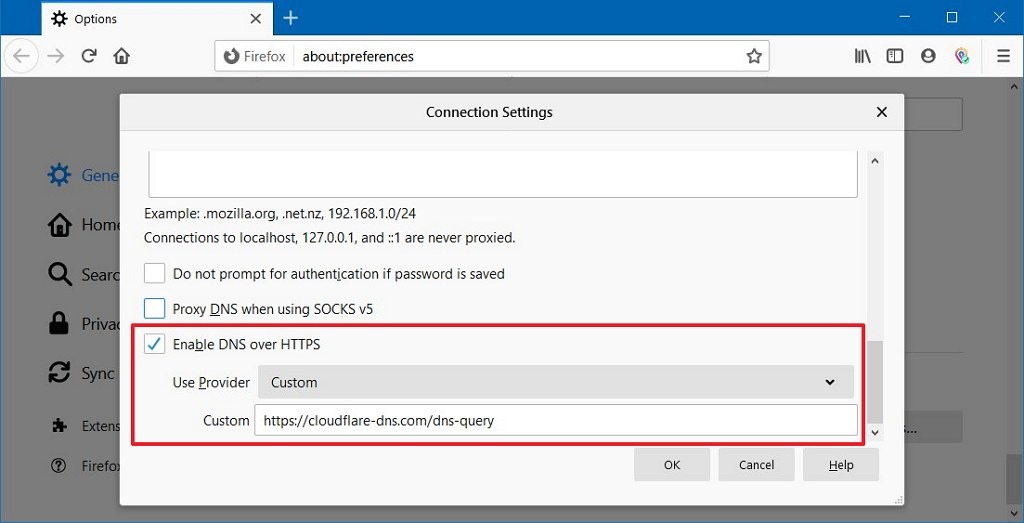
Step 2: Find the network.trr.mode Setting
Use the search on the page to find the network.trr.mode setting. This parameter is responsible for enabling DNS-over-HTTPS in the Firefox browser.
Step 3: Set network.trr.mode to 2
To enable DNS-over-HTTPS, set the value of the network.trr.mode parameter to 2. This means using DNS-over-HTTPS with Fast network mode.
Step 4: Configure DNS-over-HTTPS
To configure DNS-over-HTTPS, enter the address of the DoH server you want to use in the network.trr.uri parameter. For example, https://dns.google/dns-query.
After that, save the changes, restart the browser, and DNS-over-HTTPS will be successfully configured in Firefox.
Now your internet connection is much more secure thanks to the use of DNS-over-HTTPS in the Firefox browser. Enjoy security and privacy while browsing websites!


