Setting up Docker on an Ubuntu VPS
Containerization has become an integral part of modern software development. Docker is one of the most popular tools for managing containers. This article will guide you through setting up Docker on a Virtual Private Server (VPS hosting) running Ubuntu.Step 1: Installing Docker
Before installing Docker on your Ubuntu VPS, update the package list:
sudo apt update
After this, execute the following commands to install the Docker Engine:
sudo apt install -y docker.io
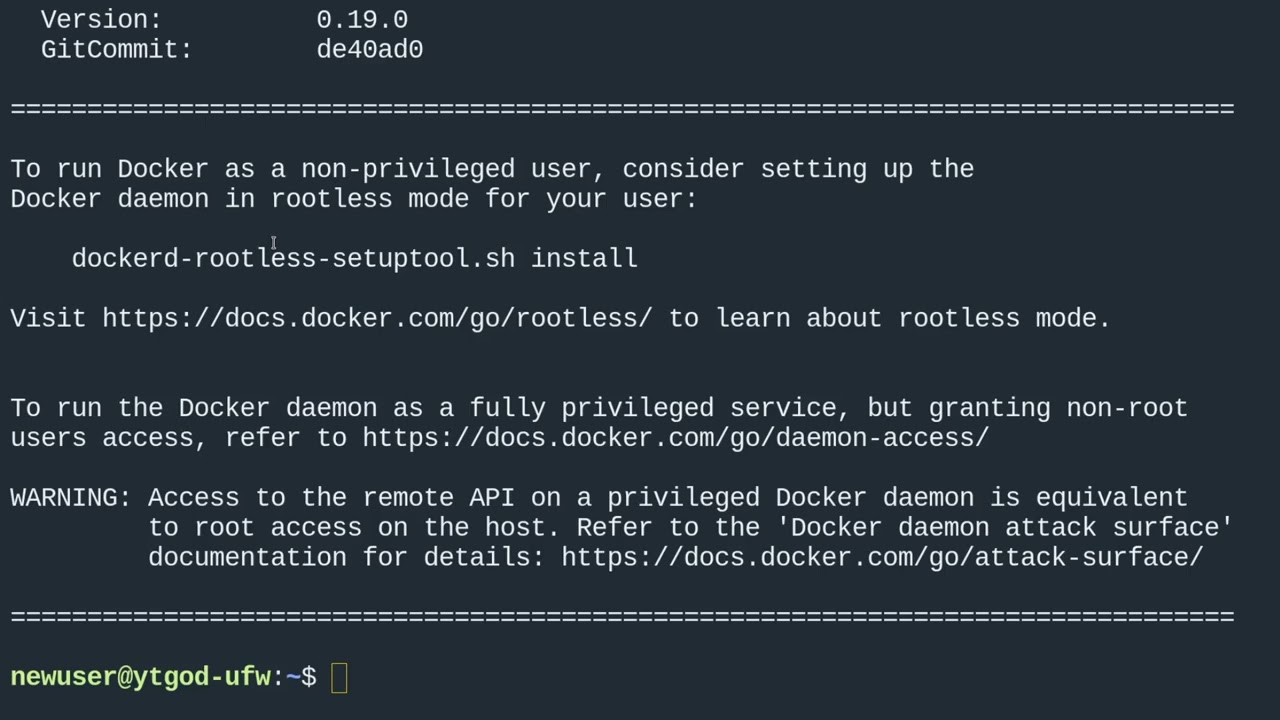
To verify the successful installation of Docker, run the following command:
docker --version
Step 2: Starting the Docker Service
To start the Docker service and configure it to automatically start after server reboot, execute these commands:
sudo systemctl start docker
sudo systemctl enable docker
The Docker service will now start automatically on each server reboot.
Step 3: Adding Your User to the Docker Group
To use Docker without administrative privileges, add your user to the Docker group:
sudo usermod -aG docker $USER
For the changes to take effect, either log out and back in, or execute the following command:
su - $USER
Step 4: Testing Docker
To verify the correct installation and configuration of Docker on your Ubuntu VPS, run the following command to download and run the Hello World container:
docker run hello-world
If you see the message «Hello from Docker!», then Docker is correctly installed and running on your Ubuntu VPS.
You are now ready to use Docker on your server. Enjoy the convenience and flexibility of containerization in your project!


