How to Automatically Block IPs After Several Failed Logins?
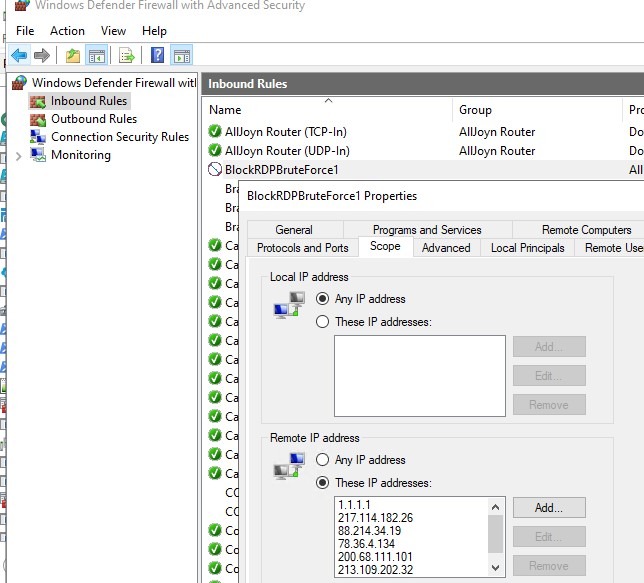
Security on the internet is one of the most important topics for any website. One way to ensure the security of your site is to block servers with IP addresseses after several failed login attempts. In this article, we’ll show you how to set up automatic IP address blocking on your website.Blocking IP addresses after several failed login attempts is a defense against hacking attacks and attempts to break in. This method reduces security risks and protects your information from unauthorized access. In addition, automatic IP address blocking reduces the time and effort spent detecting and blocking malicious users.
To set up automatic IP address blocking after several failed logins, you’ll need to use special software or plugins. For example, you can install a plugin for WordPress that automatically blocks IP addresses after a certain number of failed login attempts.
IP blocking plugins usually offer various configuration options, such as the number of failed login attempts before blocking, the blocking time, sending notifications to the administrator, etc. You can choose the settings that suit your needs and security level.
When setting up automatic IP address blocking, don’t forget to secure access to the admin panel. Use strong passwords, two-factor authentication, and other security methods to prevent unauthorized access to your site.
In conclusion, it’s worth noting that automatic IP address blocking after several failed logins is an effective method of protecting your site from hacking. Don’t forget to ensure the security of your site and monitor user activity to avoid data breaches and other site malfunctions.


