Встановлення та налаштування Bitcoin Full Node на VPS: безпека та автоматичні оновлення
TL;DR
У цьому посібнику ми крок за кроком налаштуємо повнофункціональну ноду Bitcoin Core (Full Node) на операційній системі Ubuntu 24.04 LTS, розміщеній на віртуальному приватному сервері (VPS). Ви навчитеся встановлювати та конфігурувати програмне забезпечення, забезпечувати базову безпеку сервера за допомогою SSH-ключів, файрволу UFW та Fail2ban, а також налаштуєте систему для автоматичних оновлень операційної системи та безпечного обслуговування Bitcoin-ноди, щоб забезпечити її стабільну та надійну роботу в мережі Bitcoin.
- Налаштуємо безпечний доступ до VPS та базовий файрвол.
- Встановимо та запустимо Bitcoin Core як системний сервіс.
- Забезпечимо автоматичні оновлення операційної системи та її компонентів.
- Налаштуємо моніторинг та стратегію обслуговування для Bitcoin-ноди.
- Підготуємося до масштабування та подальшої оптимізації.
Що ми налаштовуємо і навіщо
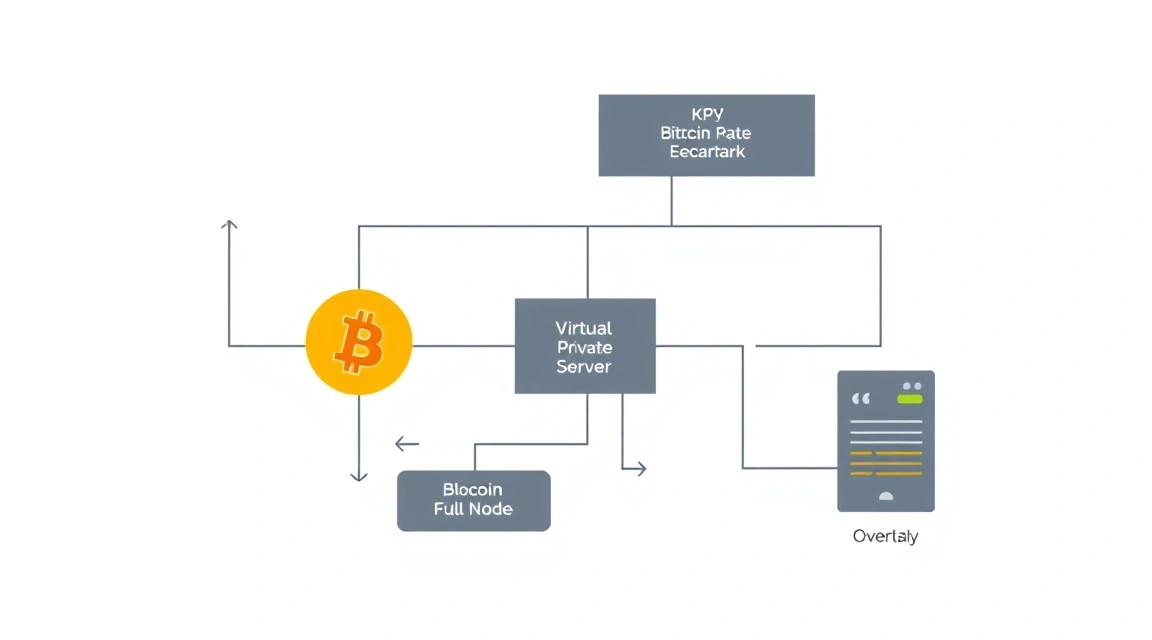
У цьому посібнику ми зосередимося на встановленні та налаштуванні Bitcoin Full Node, використовуючи офіційний клієнт Bitcoin Core, на віртуальному приватному сервері (VPS) під керуванням Ubuntu 24.04 LTS. Повнофункціональна нода є критично важливим елементом інфраструктури Bitcoin, оскільки вона повністю валідує всі транзакції та блоки, забезпечуючи децентралізацію та безпеку мережі.
Що отримає читач у підсумку:
- Ви матимете свою власну, незалежну та повністю синхронізовану копію всього блокчейну Bitcoin.
- Ваша нода активно братиме участь у перевірці та ретрансляції транзакцій, а також у забезпеченні безпеки мережі.
- Ви зможете використовувати свою ноду для підключення легких гаманців (наприклад, Electrum, Sparrow) або для розробки власних децентралізованих додатків (dApps), покладаючись на перевірені дані.
- Ви отримаєте досвід роботи з Linux-серверами, налаштування безпеки та автоматизації обслуговування.
Які альтернативи є і чому self-hosted на VPS:
Існують альтернативи запуску власної ноди, такі як використання сторонніх API (наприклад, Blockchair, Blockchain.com) або легких гаманців, які покладаються на чужі ноди. Однак ці підходи мають суттєві недоліки:
- Залежність від третіх сторін: Ви довіряєте перевірку транзакцій та балансів комусь іншому, що суперечить основоположним принципам децентралізації Bitcoin. Це може призвести до втрати приватності та цензури.
- Ризики безпеки: Передача ваших даних стороннім сервісам збільшує поверхню атаки та ризики компрометації.
- Обмеження та вартість: Багато сторонніх API мають обмеження за кількістю запитів або вимагають платної підписки для повноцінного використання.
Запуск self-hosted ноди на VPS усуває ці проблеми. Ви повністю контролюєте свої дані, забезпечуєте максимальну приватність та безпеку, а також активно сприяєте децентралізації мережі. VPS пропонує оптимальний баланс між контролем виділеного сервера та гнучкістю хмарних рішень, роблячи його ідеальним вибором для більшості користувачів.
Який VPS-конфіг потрібен для цього завдання
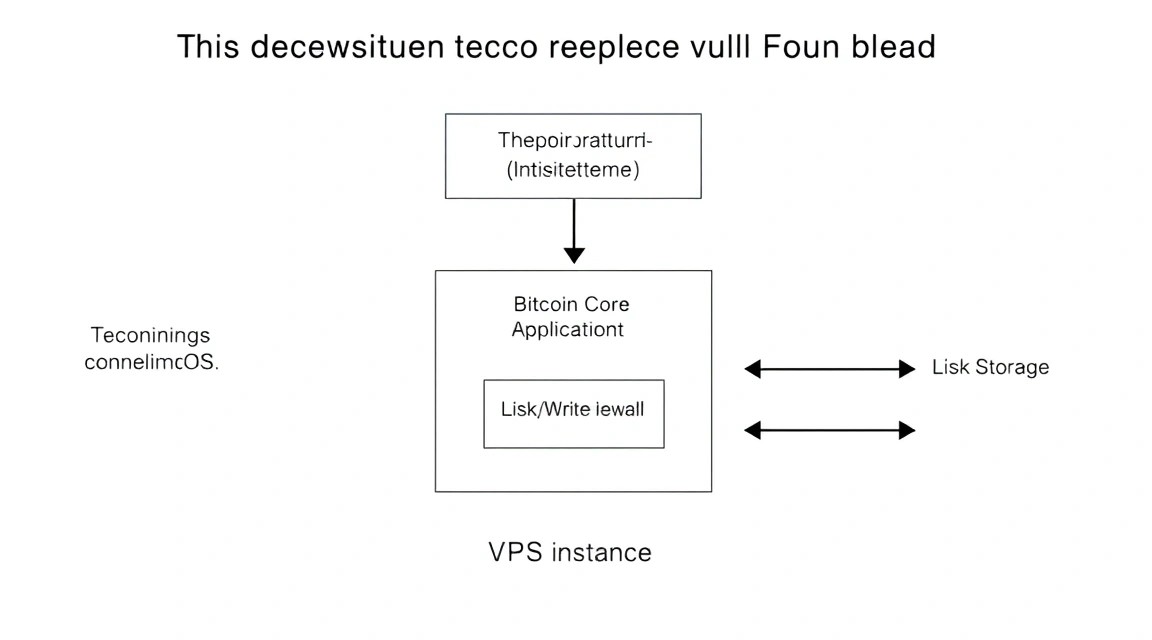
Запуск Bitcoin Full Node вимагає певних ресурсів, в основному через розмір блокчейну та необхідність його постійної синхронізації. До 2026 року розмір блокчейну Bitcoin продовжить зростати, тому важливо вибирати конфігурацію із запасом.
Мінімальні вимоги (актуальні на 2026 рік):
- CPU: 2 ядра. Bitcoin Core не вимагає дуже потужного процесора, але кілька ядер корисні для обробки транзакцій та індексації.
- RAM: 4 ГБ. Хоча сама нода може працювати і з 2 ГБ, 4 ГБ забезпечують більш плавну роботу, особливо під час початкової синхронізації та при використанні додаткових сервісів (наприклад, ElectrumX).
- Диск: SSD 2 ТБ. Це критично важливо. Блокчейн Bitcoin вже перевищує 600 ГБ і продовжує зростати. До 2026 року його розмір легко може досягти 1-1.5 ТБ, тому 2 ТБ SSD — це розумний мінімум із запасом на кілька років. SSD значно прискорює початкову синхронізацію та повсякденну роботу ноди.
- Мережа: 100 Мбіт/с або краще. Необмежений трафік або дуже великий ліміт (кілька ТБ на місяць). Початкова синхронізація вимагатиме завантаження всього блокчейну, а потім нода постійно обмінюватиметься даними з мережею.
Конкретний VPS-план для завдання:
Для стабільної та продуктивної роботи Bitcoin Full Node, особливо з урахуванням зростання блокчейну до 2026 року, рекомендується наступна конфігурація:
- CPU: 4 ядра.
- RAM: 8 ГБ.
- Диск: 2 ТБ NVMe SSD. NVMe SSD забезпечить найкращу продуктивність для операцій читання/запису блокчейну.
- Мережа: 1 Гбіт/с порт з необмеженим трафіком.
Такий план забезпечить комфортну роботу ноди, швидку синхронізацію та запас ресурсів для майбутніх потреб. Можна взяти VPS із зазначеними характеристиками.
Коли потрібен dedicated, а не VPS:
Dedicated сервер може знадобитися, якщо ви плануєте:
- Запускати кілька ресурсоємних Bitcoin-сервісів (наприклад, кілька нод, ElectrumX, блокчейн-експлорер, Lightning Network ноду).
- Обробляти дуже великий обсяг запитів до вашої ноди (наприклад, для великого застосунку або сервісу).
- Потрібна максимальна продуктивність введення/виведення, яку не можуть забезпечити VPS.
- Вам потрібні гарантії ресурсів, які VPS може не завжди надати через віртуалізацію.
Для більшості індивідуальних користувачів та малих команд VPS із зазначеними характеристиками буде більш ніж достатньо. Якщо ви вирішите, що вам потрібен dedicated сервер, можна розглянути відповідний dedicated.
Локація: на що впливає:
- Пінг та затримка: Чим ближче сервер до вас, тим нижчий пінг. Це важливо, якщо ви часто підключатиметеся до сервера по SSH або використовуватимете його для інтерактивних застосунків.
- Мережева зв'язність: Розташування сервера у великому дата-центрі з хорошими каналами зв'язку забезпечить швидшу та стабільнішу синхронізацію з мережею Bitcoin.
- Юрисдикція: Вибір країни розміщення може мати значення з точки зору законодавства та приватності. Переконайтеся, що юрисдикція відповідає вашим вимогам.
Для Bitcoin Full Node критично важлива хороша мережева зв'язність та швидкість, тому вибирайте локацію з надійними каналами зв'язку, бажано у великому інтернет-хабі.
Підготовка сервера
Перед встановленням Bitcoin Core необхідно виконати базове налаштування безпеки та оновити операційну систему. Ми будемо використовувати Ubuntu 24.04 LTS.
1. Підключення по SSH та створення нового користувача
Спочатку ви, швидше за все, підключаєтеся як root. Вкрай не рекомендується використовувати root для повсякденної роботи. Створимо нового користувача з правами sudo.
# Замініть 'youruser' на бажане ім'я користувача
sudo adduser youruser
Введіть пароль для нового користувача та підтвердіть решту даних (можна залишити порожніми). Тепер додайте користувача до групи sudo:
sudo usermod -aG sudo youruser
Вийдіть із сесії root та увійдіть під новим користувачем:
exit
# Тепер підключіться як 'youruser'
ssh youruser@your_vps_ip
2. Налаштування SSH-ключів (рекомендується)
Використання SSH-ключів замість пароля значно підвищує безпеку. Згенеруйте ключі на вашій локальній машині (якщо ще немає):
# На вашій локальній машині
ssh-keygen -t rsa -b 4096
Скопіюйте публічний ключ на сервер:
# На вашій локальній машині
ssh-copy-id youruser@your_vps_ip
Тепер ви можете підключитися без пароля. Після перевірки, що вхід за ключем працює, вимкніть вхід за паролем для SSH, відредагувавши файл /etc/ssh/sshd_config:
sudo nano /etc/ssh/sshd_config
Знайдіть рядки та змініть/додайте:
PasswordAuthentication no
ChallengeResponseAuthentication no
UsePAM no
Також рекомендується змінити стандартний порт SSH (22) на інший, наприклад, 2222. Знайдіть рядок #Port 22, розкоментуйте його та змініть:
Port 2222
Збережіть зміни (Ctrl+O, Enter) та вийдіть (Ctrl+X). Перезапустіть SSH-сервіс:
sudo systemctl restart sshd
Тепер при наступному підключенні використовуйте новий порт: ssh -p 2222 youruser@your_vps_ip.
3. Оновлення системи та встановлення базових утиліт
Оновіть список пакетів та саму систему до останніх версій. Встановіть необхідні утиліти.
# Оновлення списку пакетів
sudo apt update

# Оновлення встановлених пакетів системи
sudo apt upgrade -y

# Встановлення базових утиліт, якщо їх немає
sudo apt install -y curl wget git build-essential htop screen unattended-upgrades
4. Налаштування файрволу (UFW)
UFW (Uncomplicated Firewall) — це зручна утиліта для керування iptables. Налаштуємо його, щоб дозволити лише необхідні з'єднання.
# Встановлення UFW, якщо не встановлено
sudo apt install -y ufw

# Дозволити SSH (обов'язково використовуйте ваш порт, якщо ви його змінили)
# Наприклад, якщо ви використовуєте порт 2222
sudo ufw allow 2222/tcp

# Дозволити вхідні з'єднання для Bitcoin P2P (порт 8333)
sudo ufw allow 8333/tcp

# Дозволити вихідні з'єднання (за замовчуванням дозволені, але можна явно вказати)
sudo ufw default deny incoming
sudo ufw default allow outgoing

# Увімкнути файрвол
sudo ufw enable
Підтвердіть дію, ввівши y. Перевірте статус файрволу:
sudo ufw status verbose
5. Встановлення Fail2ban
Fail2ban сканує логи сервісів (SSH, веб-сервери тощо) на предмет підозрілої активності (багаторазові невдалі спроби входу) та тимчасово або перманентно блокує IP-адреси порушників.
# Встановлення Fail2ban
sudo apt install -y fail2ban
Створіть локальну конфігурацію Fail2ban, щоб ваші зміни не були перезаписані під час оновлення:
sudo cp /etc/fail2ban/jail.conf /etc/fail2ban/jail.local
sudo nano /etc/fail2ban/jail.local
У файлі jail.local знайдіть секцію [sshd] та переконайтеся, що вона увімкнена (enabled = true). Якщо ви змінили порт SSH, вкажіть його:
[sshd]
enabled = true
port = 2222 # Ваш SSH порт
maxretry = 3 # Кількість невдалих спроб до блокування
bantime = 1h # Час блокування (1 година)
Збережіть зміни та перезапустіть Fail2ban:
sudo systemctl restart fail2ban
Тепер ваш сервер готовий до встановлення Bitcoin Core.
Встановлення ПЗ — покроково
Ми будемо встановлювати Bitcoin Core версії 26.0 (або новішої, актуальної на 2026 рік) з офіційних бінарних файлів. Цей метод є кращим за збірку з вихідних кодів для більшості користувачів, оскільки він швидший і менш ресурсомісткий. Для зручності створимо окремого користувача bitcoin, під яким працюватиме нода.
1. Створення користувача Bitcoin
Створимо системного користувача bitcoin, який не матиме доступу до оболонки (shell) та домашньої директорії, що підвищить безпеку.
# Створення системного користувача 'bitcoin'
sudo adduser --system --group --home /var/lib/bitcoin bitcoin
Створимо директорію для даних блокчейну та встановимо правильні права:
# Створення директорії для даних Bitcoin та встановлення власника
sudo mkdir -p /var/lib/bitcoin/.bitcoin
sudo chown -R bitcoin:bitcoin /var/lib/bitcoin
2. Завантаження Bitcoin Core
Перейдемо до тимчасової директорії та завантажимо бінарні файли Bitcoin Core. На 2026 рік актуальною може бути версія 26.0, 27.0 або вище. Перевірити останню стабільну версію можна на офіційному сайті Bitcoin Core або на їхньому GitHub-репозиторії.
Для прикладу, ми будемо використовувати версію 26.0, припускаючи, що вона або її мінорні оновлення будуть актуальними. Замініть URL на актуальний для 2026 року.
# Переходимо до тимчасової директорії
cd /tmp

# Завантажуємо архів Bitcoin Core (приклад для Linux x86_64, версія 26.0)
# Перевіряйте актуальний URL на bitcoincore.org/en/download/
wget https://bitcoincore.org/bin/bitcoin-core-26.0/bitcoin-26.0-x86_64-linux-gnu.tar.gz

# Завантажуємо файл підписів (SHA256SUMS)
wget https://bitcoincore.org/bin/bitcoin-core-26.0/SHA256SUMS

# Завантажуємо файл підписів (SHA256SUMS.asc) для верифікації
wget https://bitcoincore.org/bin/bitcoin-core-26.0/SHA256SUMS.asc
3. Верифікація завантажених файлів
Вкрай важливо переконатися в цілісності та справжності завантажених файлів. Ми перевіримо SHA256-суми та GPG-підпис.
# Перевірка SHA256-суми
sha256sum --check --ignore-missing SHA256SUMS
Ви повинні побачити bitcoin-26.0-x86_64-linux-gnu.tar.gz: OK. Якщо ні, файл пошкоджений.
Тепер імпортуємо публічні GPG-ключі розробників Bitcoin Core. Список ключів можна знайти на bitcoincore.org/en/download/.
# Імпорт публічних GPG-ключів (приклад ключів для розробників Bitcoin Core)
# Використовуйте актуальні ключі з bitcoincore.org
gpg --keyserver hkps://keys.openpgp.org --recv-keys 01090831DBF626E7C4106593E20F76A000216E14
gpg --keyserver hkps://keys.openpgp.org --recv-keys 898BDDCCEB09F62EE8482A6C1167664B7AB8D654
Після імпорту ключів верифікуємо підпис SHA256SUMS.asc:
# Верифікація GPG-підпису
gpg --verify SHA256SUMS.asc
Ви повинні побачити повідомлення, що вказує на хороший підпис (Good signature from "..."). Можливо, буде попередження про те, що ключ не є повністю довіреним (This key is not certified with a trusted signature!), це нормально, якщо ви перевірили відбиток ключа.
4. Видобування та встановлення бінарних файлів
# Розпакування архіву
tar -xzvf bitcoin-26.0-x86_64-linux-gnu.tar.gz

# Копіювання бінарних файлів до /usr/local/bin
sudo install -m 0755 -o root -g root -t /usr/local/bin bitcoin-26.0/bin/
Видаляємо тимчасові файли:
# Видалення тимчасових файлів
rm -rf bitcoin-26.0 bitcoin-26.0-x86_64-linux-gnu.tar.gz SHA256SUMS SHA256SUMS.asc
5. Створення systemd сервісу для Bitcoin Core
Запустимо Bitcoin Core як системний сервіс, що дозволить йому автоматично запускатися при старті сервера та керуватися за допомогою systemctl.
# Створення файлу сервісу
sudo nano /etc/systemd/system/bitcoind.service
Вставте наступний вміст:
[Unit]
Description=Bitcoin daemon
After=network.target

[Service]
User=bitcoin
Group=bitcoin
Type=forking
PIDFile=/var/lib/bitcoin/.bitcoin/bitcoind.pid
ExecStart=/usr/local/bin/bitcoind -daemon -pid=/var/lib/bitcoin/.bitcoin/bitcoind.pid -conf=/var/lib/bitcoin/.bitcoin/bitcoin.conf -datadir=/var/lib/bitcoin/.bitcoin
ExecStop=/usr/local/bin/bitcoin-cli -conf=/var/lib/bitcoin/.bitcoin/bitcoin.conf -datadir=/var/lib/bitcoin/.bitcoin stop
Restart=on-failure
PrivateTmp=true
TimeoutStopSec=120
LimitNOFILE=8192

[Install]
WantedBy=multi-user.target
Збережіть файл і закрийте редактор.
Перезавантажте systemd, щоб він побачив новий сервіс, і увімкніть його автозапуск:
# Перезавантаження systemd
sudo systemctl daemon-reload

# Увімкнення автозапуску сервісу при завантаженні системи
sudo systemctl enable bitcoind
Тепер Bitcoin Core встановлено та готово до запуску.