
WireGuard VPN on VPS: Quick Server Setup and Client Connection
TL;DR
In this guide, we will step-by-step configure a high-performance and secure WireGuard-based VPN server on your VPS, and connect client devices to it. You will get your own private channel for secure internet access, bypassing geo-restrictions, and protecting your data.
- Setting up a WireGuard server on Ubuntu 24.04 LTS.
- Generating keys and configuration files for the server and clients.
- Enabling IP forwarding and configuring firewall rules.
- Connecting clients under various operating systems.
- Recommendations for VPN server backup and maintenance.
- Troubleshooting common issues with WireGuard.
What We Are Setting Up and Why
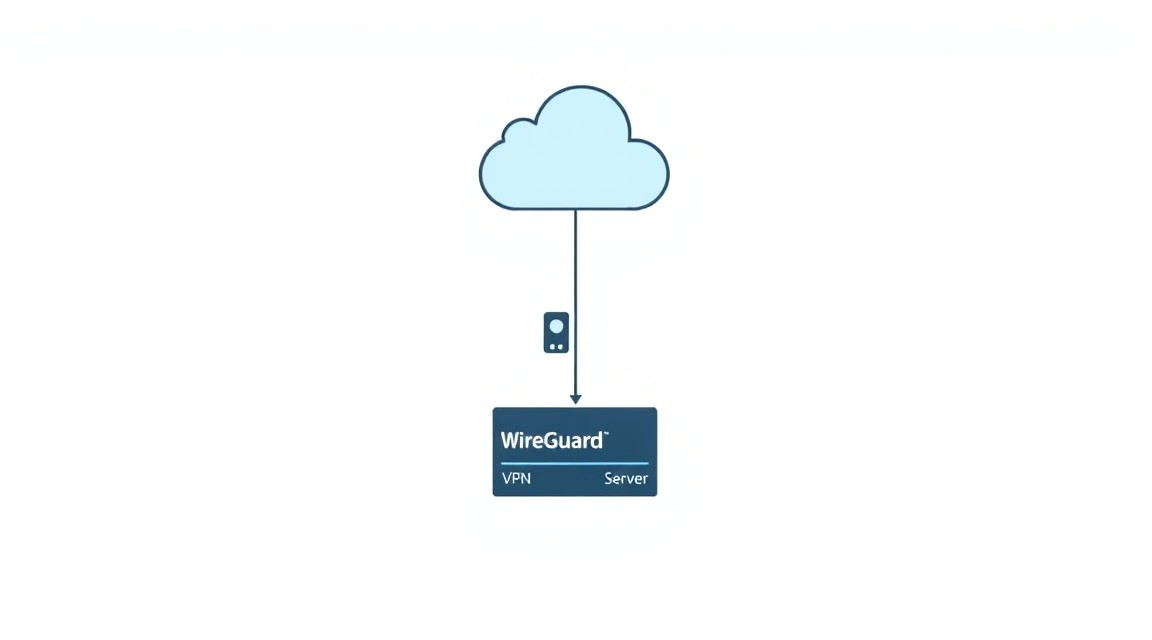
In this detailed guide, we will deploy a WireGuard VPN server on a Virtual Private Server (VPS). WireGuard is a modern, fast, and cryptographically secure VPN protocol designed with an emphasis on simplicity and performance. It significantly outperforms many older VPN solutions, such as OpenVPN or IPsec, in terms of speed and ease of configuration, while providing a high level of security.
Ultimately, upon completion of the setup, you will have a fully functional VPN server that will allow you to:
- Securely connect to the internet from anywhere in the world, encrypting all your traffic and protecting it from interception on public Wi-Fi networks.
- Bypass geo-restrictions and access content that is unavailable in your current location, using your VPS's IP address.
- Create a secure tunnel for your entire team or family, ensuring communication privacy and access to internal resources, if necessary.
- Protect your privacy by hiding your real IP address from third parties and internet service providers.
There are various alternatives for solving similar problems, including commercial VPN services (cloud-managed) or other VPN protocols on your own server (self-hosted). Commercial VPNs offer "out-of-the-box" convenience, but often at the cost of full control over your data and a potential reduction in speed. Self-hosting WireGuard on a VPS provides you with full control over the infrastructure, maximum transparency, and typically better performance and economic benefits in the long run, especially if you need a VPN for constant use or for multiple users.
The choice in favor of self-hosted WireGuard on a VPS is due to the following advantages:
- Full Control: You own and manage the server; no one else has access to your data or logs.
- High Performance: WireGuard is significantly faster than other VPN protocols due to its simplified codebase and modern cryptographic primitives.
- Cost-Effectiveness: The cost of renting a VPS is often lower than a subscription to a quality commercial VPN, especially for long-term use.
- Flexibility: You can configure the server to your specific needs, for example, add ad blocking or your own DNS servers.
What VPS Configuration is Needed for This Task
WireGuard is known for its lightness and low system requirements. For most use cases, even with several dozen clients connected, WireGuard does not require significant resources.
Minimum Requirements:
- CPU: 1 vCPU. Even the most basic processor will be sufficient, as WireGuard uses resources very efficiently.
- RAM: 512 MB. WireGuard itself consumes very little RAM. The main consumer is the operating system. 512 MB will be enough for Ubuntu Server and WireGuard.
- Disk: 10-20 GB SSD. The system and WireGuard take up minimal space. SSD is preferable for overall system responsiveness, but even a regular HDD will work.
- Network: 100 Mbps uplink. This is more than enough for one or two dozen active users engaged in regular web browsing or HD streaming. For 4K streaming or a very large number of users, a wider channel will be required.
Recommended VPS Plan for Most Users:
For comfortable operation and future scalability, as well as for hosting additional services (e.g., a DNS blocker), the following configuration plan is recommended:
- CPU: 1-2 vCPU
- RAM: 1 GB RAM
- Disk: 25-50 GB NVMe SSD (NVMe will provide better I/O performance)
- Network: 100 Mbps - 1 Gbps uplink, with unlimited or sufficient (e.g., 1-2 TB) monthly traffic.
You can consider a VPS with the specified characteristics to rent a suitable VPS for your task.
When a dedicated server is needed, not a VPS:
A dedicated server becomes necessary if:
- You have a very large number of WireGuard clients (hundreds or thousands) requiring maximum throughput.
- You plan to host other resource-intensive services on the same server that will compete with WireGuard for CPU, RAM, or disk operations.
- You need guaranteed performance without "sharing" with other users on the same physical server.
- Specific hardware configurations are required that are not available on a VPS (e.g., hardware encryption accelerators).
For most personal and small team VPN servers, a VPS will be an optimal and sufficient solution.
VPS Location: What it Affects
The choice of your VPS server's geographical location has several important aspects:
- Latency: The closer the server is to you physically, the lower the ping and, consequently, the faster the response speed. For gaming or latency-sensitive applications, choose a server located as close as possible to your location.
- Content Availability: If the goal of the VPN is to access regionally restricted content, choose a server in the country where that content is available.
- Legal Jurisdiction: Different countries have different data retention and privacy laws. Consider this when choosing a location if anonymity and legal protection are critical for you.
Server Preparation
Before proceeding with WireGuard installation, basic server preparation is required. We will use Ubuntu Server 24.04 LTS, current as of 2026, as one of the most popular and stable distributions for servers.
1. Connecting to the Server via SSH
Use an SSH client to connect to your VPS. Replace your_user with your username (often root or ubuntu) and your_vps_ip with your server's IP address.
ssh your_user@your_vps_ip
If you are using SSH keys (which is highly recommended), the command will look like this:
ssh -i ~/.ssh/your_ssh_key your_user@your_vps_ip
2. System Update
Always start by updating the package list and installing all available updates. This ensures you have the latest software versions and security patches.
sudo apt update && sudo apt upgrade -y
After the update, if the kernel was updated, it is recommended to reboot the server:
sudo reboot
After rebooting, reconnect via SSH.
3. Creating a New User with Sudo Privileges (if logged in as root)
Working under a user with limited privileges and using sudo for administrative tasks significantly enhances security. If you are logged in as root, create a new user:
sudo adduser wgadmin
sudo usermod -aG sudo wgadmin
Then log out of the root session and log in as the new user wgadmin.
exit
ssh wgadmin@your_vps_ip
4. Setting Up SSH Keys for the New User (if not already done)
If you logged in with a password, it is highly recommended to set up SSH keys for passwordless and more secure login. On your local machine, generate a key (if you don't have one):
ssh-keygen -t ed25519 -C "[email protected]"
Then copy the public key to the server:
ssh-copy-id wgadmin@your_vps_ip
After this, you can disable password authentication for SSH in the /etc/ssh/sshd_config file by setting PasswordAuthentication no and restarting the SSH service: sudo systemctl restart sshd.
5. Firewall Configuration (UFW)
UFW (Uncomplicated Firewall) is a convenient wrapper for iptables. Let's configure it to allow only necessary connections:
sudo apt install ufw -y # Install UFW if not installed
sudo ufw allow OpenSSH # Allow SSH (port 22 by default)
sudo ufw enable # Enable the firewall. Confirm with 'y'.
sudo ufw status # Check UFW status
At this stage, your server is ready for WireGuard installation. We will allow the WireGuard port later, after its configuration.
6. Installing Fail2ban (optional, but recommended)
Fail2ban helps protect the server from brute-force attacks by temporarily blocking IP addresses from which failed login attempts originate.
sudo apt install fail2ban -y # Install Fail2ban
sudo cp /etc/fail2ban/jail.conf /etc/fail2ban/jail.local # Create a local copy of the config
sudo nano /etc/fail2ban/jail.local # Open the config for editing
In the jail.local file, find the [sshd] section and ensure that enabled = true. You can configure bantime (block time) and maxretry (maximum number of attempts). Save the file (Ctrl+O, Enter, Ctrl+X) and restart Fail2ban:
sudo systemctl enable fail2ban
sudo systemctl start fail2ban
sudo systemctl status fail2ban # Check service status
Software Installation — Step-by-step
Now that the server is prepared, let's proceed with the installation and basic configuration of WireGuard. We will use packages from the official Ubuntu repositories, which guarantees stability and up-to-date versions for 2026.
1. WireGuard Installation
WireGuard is available in the standard Ubuntu 24.04 LTS repositories. Install it along with its utilities.
sudo apt install wireguard -y # Install WireGuard and related utilities
This command will install the wireguard package, which includes the WireGuard kernel module and the wg utility for management.
2. Generating a Key Pair for the WireGuard Server
For a secure connection, WireGuard uses cryptographic keys. Let's generate a private and public key for our server.
wg genkey | sudo tee /etc/wireguard/privatekey # Generate server private key and save
sudo chmod 600 /etc/wireguard/privatekey # Set strict permissions for the private key
sudo cat /etc/wireguard/privatekey | wg pubkey | sudo tee /etc/wireguard/publickey # Extract public key from private key and save
Now you have two files: /etc/wireguard/privatekey (secret) and /etc/wireguard/publickey (can be shared). Record the server's public key; it will be needed for client configuration.
3. Enabling IP Forwarding
For your VPS to be able to forward traffic from WireGuard clients to the internet, you need to enable IP forwarding (packet forwarding).
sudo nano /etc/sysctl.conf # Open sysctl configuration file
In the opened file, find the line #net.ipv4.ip_forward=1, uncomment it (remove #), and if it's not present, add it to the end of the file:
net.ipv4.ip_forward=1
net.ipv6.conf.all.forwarding=1 # Also recommended for IPv6 support
Save the file (Ctrl+O, Enter, Ctrl+X) and apply the changes:
sudo sysctl -p # Apply sysctl changes
Ensure that the command output shows net.ipv4.ip_forward = 1.
4. Identifying the Network Interface Name
To configure firewall rules and NAT, we will need the name of your VPS's main network interface, through which the server accesses the internet. This is usually eth0, ens3, or enpXsY.
ip a # Display list of network interfaces
Find the interface that has your public IP address. Remember or write down its name (e.g., eth0). It will be used in the WireGuard configuration.
Configuration
In this step, we will create a configuration file for the WireGuard server and an example configuration for a client. All settings will be stored in the /etc/wireguard/wg0.conf file.
1. Creating the Server Configuration File (wg0.conf)
Open the file for editing. If it doesn't exist, it will be created.
sudo nano /etc/wireguard/wg0.conf
Insert the following content, replacing the placeholders with your values:
<SERVER_PRIVATE_KEY>: The content of the/etc/wireguard/privatekeyfile.<SERVER_PUBLIC_IP>: The public IP address of your VPS.<MAIN_NETWORK_INTERFACE>: The name of the main network interface you identified in the previous step (e.g.,eth0).
[Interface]
PrivateKey = <SERVER_PRIVATE_KEY>
Address = 10.0.0.1/24 # Server IP address inside the VPN tunnel. /24 means a subnet for 254 clients.
ListenPort = 51820 # Port on which WireGuard will accept connections (you can choose any free port)
PostUp = iptables -A FORWARD -i %i -j ACCEPT; iptables -t nat -A POSTROUTING -o <MAIN_NETWORK_INTERFACE> -j MASQUERADE; ip6tables -A FORWARD -i %i -j ACCEPT; ip6tables -t nat -A POSTROUTING -o <MAIN_NETWORK_INTERFACE> -j MASQUERADE
PostDown = iptables -D FORWARD -i %i -j ACCEPT; iptables -t nat -D POSTROUTING -o <MAIN_NETWORK_INTERFACE> -j MASQUERADE; ip6tables -D FORWARD -i %i -j ACCEPT; ip6tables -t nat -D POSTROUTING -o <MAIN_NETWORK_INTERFACE> -j MASQUERADE

# [Peer] sections for clients will be added below
Explanation of PostUp/PostDown:
PostUp: Commands executed when the WireGuard interface is activated. They configure firewall rules for traffic forwarding and NAT (MASQUERADE) so that outgoing traffic from VPN clients appears to originate from your VPS.PostDown: Commands to remove these rules when the interface is deactivated.%i: Automatically replaced with the WireGuard interface name (in our case,wg0).
Save the file (Ctrl+O, Enter, Ctrl+X).
2. Adding Firewall Rules for WireGuard
Now, let's allow incoming UDP connections on the WireGuard port (default 51820).
sudo ufw allow 51820/udp # Allow UDP traffic on port 51820
sudo ufw status # Check that the rule has been added
The output of ufw status should show that 51820/udp is allowed.
3. Starting the WireGuard Server
Enable and start the WireGuard service:
sudo systemctl enable wg-quick@wg0 # Add WireGuard to autostart
sudo systemctl start wg-quick@wg0 # Start WireGuard
sudo systemctl status wg-quick@wg0 # Check service status
If the service started successfully, you will see a status of active (exited) or active (running). exited for wg-quick is normal, as the service itself only configures the interface and does not run as a persistent daemon.
4. Generating Configuration for Clients
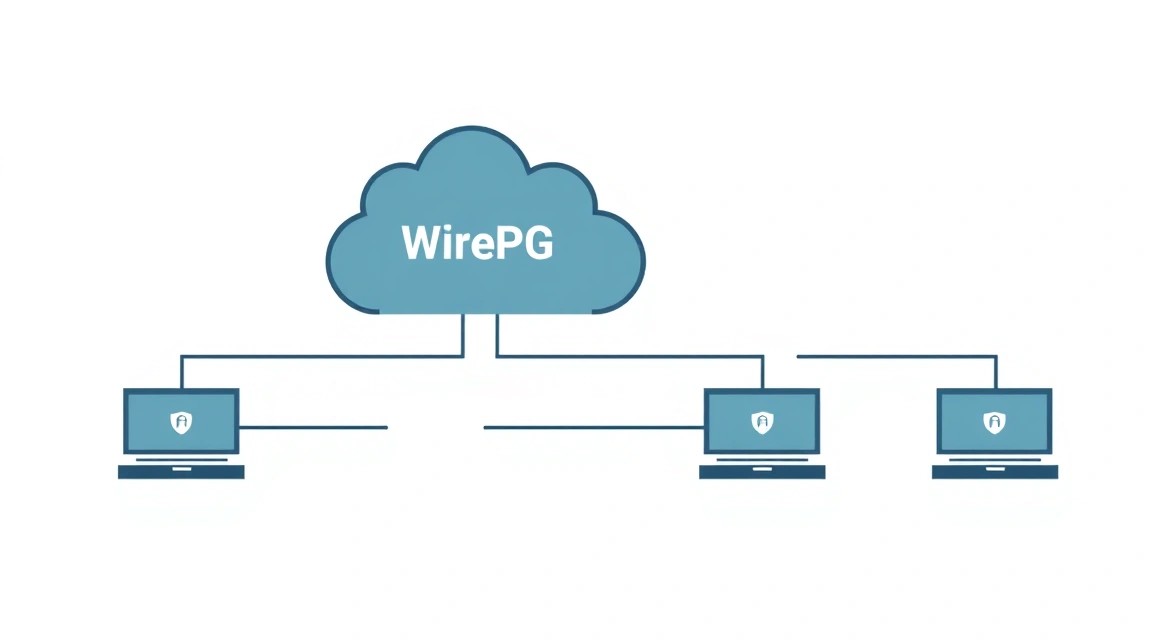
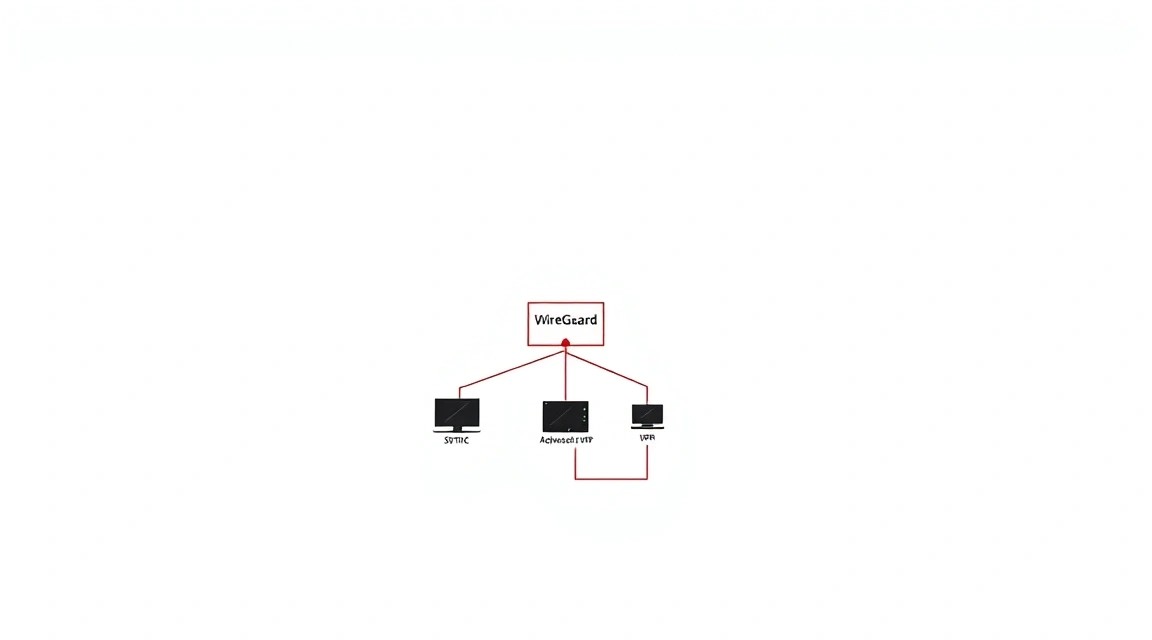
Each WireGuard client (your phone, laptop, tablet) requires its own key pair and configuration. We will add one client as an example.
Step 4.1: Generate Keys for the Client
Execute these commands on the server for each new client. For example, for client1:
wg genkey | sudo tee /etc/wireguard/client1_privatekey # Generate client private key
sudo cat /etc/wireguard/client1_privatekey | wg pubkey | sudo tee /etc/wireguard/client1_publickey # Generate client public key
Record both keys for client1.
Step 4.2: Add the Client to the Server Configuration
Open /etc/wireguard/wg0.conf again:
sudo nano /etc/wireguard/wg0.conf
Add a new [Peer] section to the end of the file for each client. Use the client's public key and assign it a unique IP address from the 10.0.0.0/24 subnet (e.g., 10.0.0.2 for the first client, 10.0.0.3 for the second, etc.).
# ... previous server configuration ...

[Peer]
# Client 1 (e.g., your laptop)
PublicKey = <CLIENT1_PUBLIC_KEY> # Client1 public key
AllowedIPs = 10.0.0.2/32 # Client1 IP address inside the VPN tunnel
Save the file.
After changing the server configuration, WireGuard needs to be restarted to apply the changes:
sudo wg-quick down wg0 # Stop WireGuard interface
sudo wg-quick up wg0 # Start WireGuard interface with new configuration
Or simply:
sudo systemctl restart wg-quick@wg0
Step 4.3: Create a Configuration File for the Client
Create the client1.conf file (e.g., on your local computer or copy it from the server) with the following content:
<CLIENT1_PRIVATE_KEY>:client1's private key.<SERVER_PUBLIC_KEY>: The server's public key (from the/etc/wireguard/publickeyfile).<SERVER_PUBLIC_IP>: The public IP address of your VPS.
[Interface]
PrivateKey = <CLIENT1_PRIVATE_KEY>
Address = 10.0.0.2/32 # The IP address you allocated for client1 in wg0.conf
DNS = 8.8.8.8, 8.8.4.4 # DNS servers that will be used by the client (e.g., Google DNS)

[Peer]
PublicKey = <SERVER_PUBLIC_KEY>
Endpoint = <SERVER_PUBLIC_IP>:51820 # Public IP and port of your VPS
AllowedIPs = 0.0.0.0/0, ::/0 # All client traffic will go through the VPN
PersistentKeepalive = 25 # Sends "empty" packets every 25 seconds to maintain connection through NAT
Save this file as client1.conf. You can use a QR code for easy import to mobile devices:
sudo apt install qrencode -y # Install utility for QR code generation
sudo cat /etc/wireguard/client1.conf | qrencode -t ansiutf8 # Output QR code to terminal
Scan this QR code with the WireGuard app on your mobile device.
5. Verifying Functionality
After configuring the client, connect to the VPN. Then perform the following checks:
# On the server:
sudo wg show # Should show active peers (clients) and their public keys
# On the client (after connecting to VPN):
ping 10.0.0.1 # Ping the VPN server's IP address
curl ifconfig.me # Check that your public IP address has changed to your VPS's IP
If both checks are successful, your WireGuard VPN is working!
Backups and Maintenance
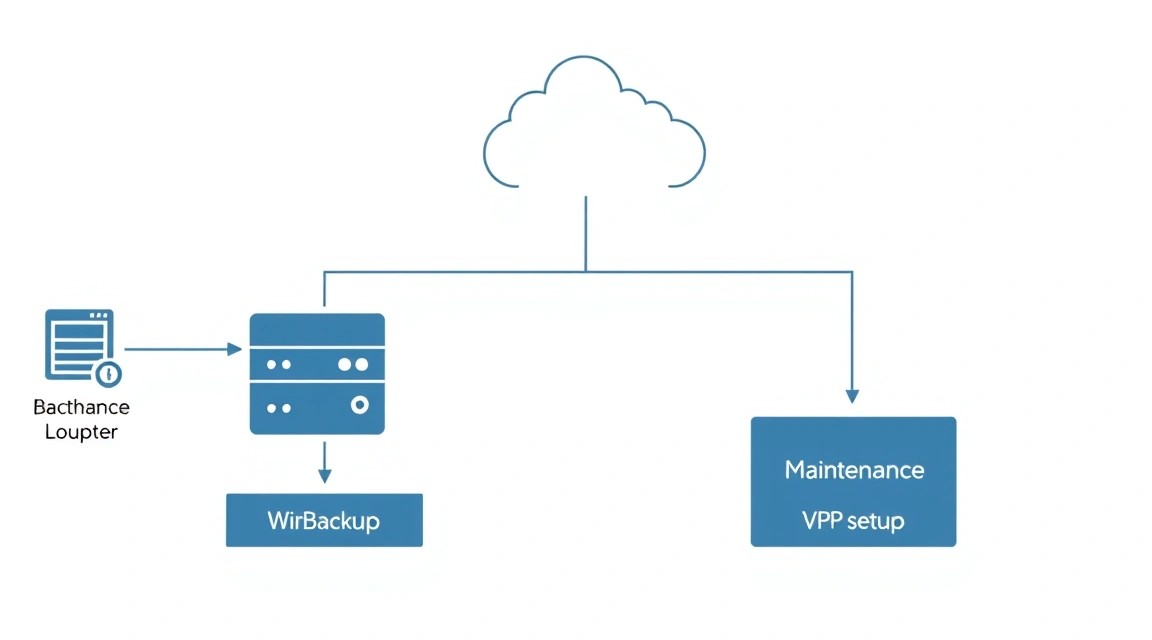
Regular backups and timely maintenance are key to the stable and secure operation of any server, including your WireGuard VPN.
1. What to Back Up
For WireGuard, it is critically important to save the following data:
- WireGuard Configuration Files:
/etc/wireguard/wg0.conf. This file contains the server's private key and the public keys of all clients. It is extremely important to keep it secure and encrypted! - Client Private Keys: If you generated them on the server and want to be able to restore client devices, save the files
/etc/wireguard/clientX_privatekey. Otherwise, if client keys are generated on the client side, the public keys inwg0.confare sufficient.
2. Simple Auto-Backup Script
You can create a simple script to copy configuration files to a secure location. For example, encrypt them and send them to remote storage.
#!/bin/bash

# Directory for temporary files
BACKUP_DIR="/tmp/wireguard_backup_$(date +%Y%m%d%H%M%S)"
mkdir -p "$BACKUP_DIR"

# Copying configs
cp /etc/wireguard/wg0.conf "$BACKUP_DIR/"
cp /etc/wireguard/_privatekey "$BACKUP_DIR/" 2>/dev/null # Copy client private keys, if they exist

# Creating an encrypted archive
# Replace 'YOUR_SECURE_PASSWORD' with a strong password
tar -czf "$BACKUP_DIR/wireguard_config.tar.gz" -C "$BACKUP_DIR" .
gpg --batch --passphrase 'YOUR_SECURE_PASSWORD' --symmetric --cipher-algo AES256 "$BACKUP_DIR/wireguard_config.tar.gz"
rm "$BACKUP_DIR/wireguard_config.tar.gz" # Deleting the unencrypted archive

# Sending to remote storage (example with rsync to another server)
# Replace 'backupuser@backup_server_ip:/path/to/backups/'
# scp "$BACKUP_DIR/wireguard_config.tar.gz.gpg" backupuser@backup_server_ip:/path/to/backups/

# Sending to S3-compatible storage (example with aws cli, requires installation and configuration)
# aws s3 cp "$BACKUP_DIR/wireguard_config.tar.gz.gpg" s3://your-s3-bucket/wireguard/

# Cleaning up temporary files
rm -rf "$BACKUP_DIR"

echo "WireGuard backup completed."
Save this script as /usr/local/bin/backup_wireguard.sh, make it executable (sudo chmod +x /usr/local/bin/backup_wireguard.sh), and configure it to run via cron.
sudo crontab -e # Open crontab for the root user
Add a line for daily backup (e.g., at 3:00 AM):
0 3 /usr/local/bin/backup_wireguard.sh > /dev/null 2>&1
3. Where to Store Backups
Never store backups on the same server you are backing up. Ideal options:
- External S3-compatible storage: Cloud services (AWS S3, DigitalOcean Spaces, Backblaze B2) offer reliable and inexpensive storage.
- Separate VPS: A small VPS in a different location can serve as backup storage.
- Local machine: If there is not much data, encrypted backups can be sent to your home computer.
4. Updates
Regularly update your operating system and the WireGuard package to receive the latest security fixes and performance improvements.
sudo apt update && sudo apt upgrade -y # System update
After a Linux kernel update (which often happens with apt upgrade), a server reboot is absolutely required for the changes to take effect. WireGuard operates at the kernel level, and its modules must match the current kernel version.
- Rolling updates: For most home and small VPN servers, you can simply run
apt upgradeonce a week/month and reboot the server. - Maintenance window: For critical systems, plan a maintenance window so that a reboot does not interrupt user operations during peak hours.
Always back up before major updates.
Troubleshooting + FAQ
Even with the most careful setup, problems can arise. This section will help you diagnose and resolve the most common ones.
No Connection to the Server
What to check: First, ensure your VPS is accessible via SSH. If not, check its status with your provider. Then, on the server, check the status of the WireGuard service with the command sudo systemctl status wg-quick@wg0. Make sure the WireGuard interface is active: sudo wg show. Check UFW firewall rules: sudo ufw status, ensure the WireGuard port (default 51820/udp) is allowed. On the client, verify the correctness of the Endpoint (server IP address and port) in your client config. Your internet provider might be blocking UDP traffic on the port used.
How to fix: If WireGuard is not running, try sudo systemctl start wg-quick@wg0. If the port is blocked by UFW, execute sudo ufw allow 51820/udp. Ensure the server's public IP address in the client config is correct. Try changing the ListenPort in wg0.conf to another, less common port (e.g., 443/udp or 20000-65535), remembering to update UFW and client configs.
Clients Cannot Access the Internet
What to check: This is a common issue related to incorrect routing or NAT. Ensure IP forwarding is enabled on the server: cat /proc/sys/net/ipv4/ip_forward should return 1. Check the PostUp rules in /etc/wireguard/wg0.conf, especially the part with MASQUERADE and the name of your primary network interface (e.g., eth0). Make sure the interface name is correct. Also, verify that AllowedIPs in the client config is set to 0.0.0.0/0, ::/0 for all traffic to pass through the VPN.
How to fix: If IP forwarding is not enabled, add net.ipv4.ip_forward=1 and net.ipv6.conf.all.forwarding=1 to /etc/sysctl.conf and execute sudo sysctl -p. Check the name of the primary network interface using ip a and correct it in wg0.conf, then restart WireGuard: sudo systemctl restart wg-quick@wg0. Ensure that iptables is installed and working correctly.
Slow Connection Speed
What to check: VPN speed depends on many factors. Check your VPS server's speed (e.g., using speedtest-cli on the server). Check your local internet speed. Ensure that CPU load on the VPS is not too high (htop or top). WireGuard is very efficient, but if the server is overloaded with other tasks, it can affect speed. Check the ping to the server from the client.
How to fix: If the VPS has low bandwidth, you might consider upgrading your plan or changing providers. If the CPU is overloaded, optimize other services on the VPS or move them. Ensure there is no packet loss. Sometimes changing the ListenPort can help if your provider restricts traffic on certain ports.
Cannot Add a New Client
What to check: Ensure you have generated a unique key pair for the new client. Verify that the new client's public key has been added to /etc/wireguard/wg0.conf in the [Peer] section. Each client must have a unique IP address within the WireGuard subnet (e.g., 10.0.0.3/32). After adding the client to wg0.conf, you must restart WireGuard on the server: sudo systemctl restart wg-quick@wg0.
How to fix: Verify that the client's public key in wg0.conf matches the public key generated for the client. Ensure that the client's IP address in AllowedIPs (on the server) and Address (on the client) is unique and within your VPN subnet range. Restart WireGuard on the server to update its configuration.
What is the Minimum Suitable VPS Configuration?
For a WireGuard VPN serving up to 20-30 active users, a VPS with 1 vCPU, 512 MB of RAM, 10-20 GB SSD storage, and a network channel of 100 Mbps or more is usually sufficient. WireGuard is very lightweight and not resource-intensive, so even the most basic VPS plans are often more than enough for personal use or a small team. The main thing is a stable network connection.
What to Choose – VPS or Dedicated for This Task?
For most WireGuard VPN use cases, including personal use, small teams, or even medium-sized projects, a VPS is the optimal choice. It offers sufficient performance, flexibility, and cost-effectiveness. A dedicated server should only be considered in cases of very high load (hundreds or thousands of simultaneous users), the need to host extremely resource-intensive applications on the same server, or if you require maximum and guaranteed performance with full control over the hardware.
Conclusions and Next Steps
Congratulations! You have successfully set up and launched your own WireGuard VPN server on your VPS. You now have a secure, fast, and reliable way to protect your internet traffic, bypass censorship, and ensure privacy. You have gained full control over your VPN infrastructure, avoiding reliance on third-party providers.
Here are some ideas for further developing and optimizing your VPN system:
- Client Management Automation: For easier client addition and removal, consider using web interfaces like WireGuard UI, or creating your own scripts to automate key and configuration generation.
- DNS Blocker Integration: Install a DNS blocker, such as Pi-hole or AdGuard Home, on the same VPS and configure it as the DNS server for your WireGuard clients. This will allow blocking ads, trackers, and malicious websites at the level of your entire VPN network.
- Server Monitoring: Set up basic monitoring for your VPS (e.g., using Prometheus and Grafana or simple utilities like Netdata) to track performance, network load, and WireGuard status.