Installing Tiny Tiny RSS on a VPS: Docker, Nginx, PostgreSQL, and Automatic Updates
TL;DR
In this detailed guide, we will step-by-step set up Tiny Tiny RSS (TTRSS) — a powerful and flexible open-source RSS aggregator — on your Virtual Private Server (VPS). We will use a modern approach with Docker and Docker Compose for isolation and easy service management, Nginx as a reverse proxy and for HTTPS, and PostgreSQL as a reliable database. As a result, you will get a fully functional, secure, and automatically updated TTRSS server, ready to collect and organize your news feeds.
- TTRSS will be deployed in Docker containers for easy management and scaling.
- Nginx is configured as a reverse proxy for TTRSS, providing access to the service via a domain name and HTTPS.
- Automatic acquisition and renewal of Let's Encrypt SSL certificates using Certbot.
- The PostgreSQL database will run in a separate container, ensuring reliable data storage.
- Setting up automatic updates and backups for uninterrupted operation and data integrity.
- The guide includes commands for Debian/Ubuntu, current as of 2026.
What We Are Setting Up and Why
We will be installing Tiny Tiny RSS (TTRSS) — a powerful, fully open-source (AGPLv3) web-based RSS/Atom feed aggregator. In a world where many commercial RSS services come and go, or start showing ads and limiting functionality, TTRSS offers complete freedom and control over your news streams. You can collect, read, and organize thousands of feeds from a variety of sources, be it blogs, news sites, podcasts, or YouTube channels (with the help of special plugins).
Ultimately, the reader will get their own private and fully controlled RSS server, accessible from anywhere in the world via a web interface and mobile applications (supporting the TTRSS API). This is an ideal solution for those who value privacy, want to avoid intrusive advertising, and have full control over their information space.
There are alternatives, such as cloud services (Inoreader, Feedly) or other self-hosted solutions (FreshRSS, Nextcloud News). Cloud services are convenient but deprive you of data control and often have paid plans with extended functionality. Self-hosted solutions like TTRSS require initial setup but, in the long run, offer unparalleled flexibility, security, and cost-effectiveness, especially when deployed on your own VPS. You own your data, can install any plugins, and configure the service to your needs without limitations.
What VPS Configuration is Needed for This Task
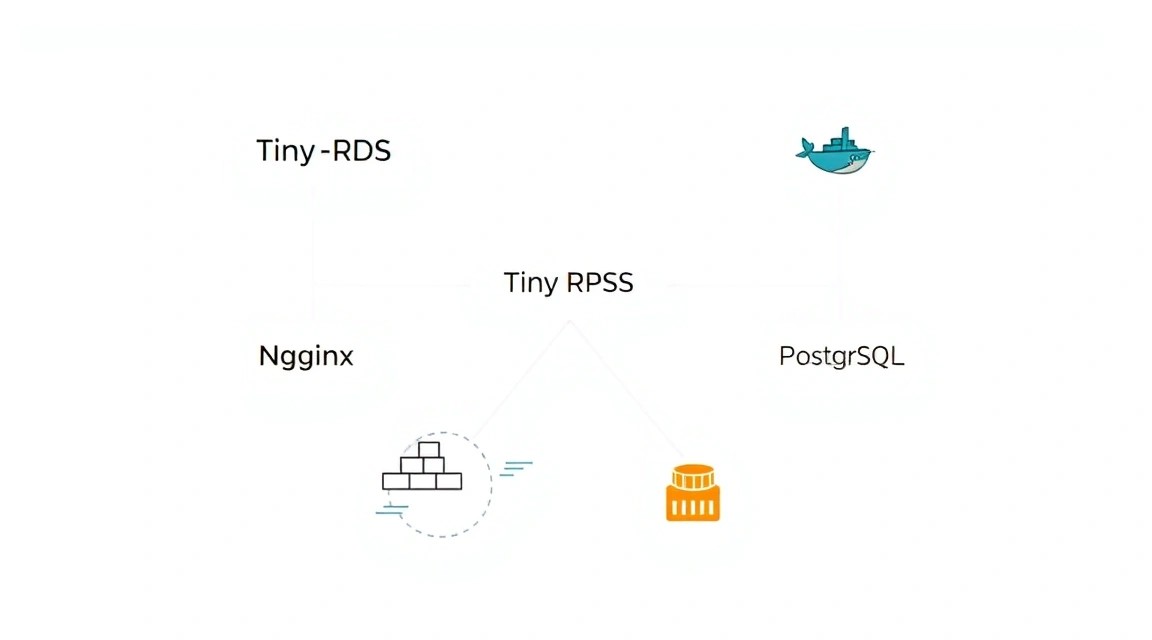
Deploying Tiny Tiny RSS with Docker, Nginx, and PostgreSQL on a single VPS requires relatively modest resources, but with a small buffer for comfortable operation and expansion possibilities.
Minimum Requirements (for 1-5 users, up to 1000 feeds):
- CPU: 1 core (e.g., Intel Xeon E3/E5 or AMD EPYC).
- RAM: 1 GB. This is sufficient for TTRSS, PostgreSQL, and Nginx Docker containers, but without much buffer.
- Disk: 20 GB SSD. TTRSS itself doesn't consume much space for installation, but the database and image cache can grow over time. SSD significantly speeds up database operations.
- Network: 100 Mbps. For an RSS aggregator, network speed is not critical, as traffic mainly consists of small HTTP requests.
Recommended VPS Plan (for 5-20 users, up to 5000+ feeds, with room for future growth):
- CPU: 2 cores. Will provide better performance when updating a large number of feeds and with multiple users working simultaneously.
- RAM: 2-4 GB. Will allow PostgreSQL to cache data more efficiently, and TTRSS to handle more background tasks.
- Disk: 50-100 GB SSD. Will provide enough space for database growth, cache storage, and backups.
- Network: 1 Gbps. Standard speed, ensuring fast loading of the web interface.
For such a scenario, you can get a VPS with the specified characteristics. Choose a provider offering flexible plans and scalability.
When a Dedicated Server is Needed, Not a VPS
A dedicated server for Tiny Tiny RSS is usually not required unless you plan to serve hundreds or thousands of users, aggregate tens of thousands of feeds with a very high refresh rate, or if TTRSS is just one of many demanding services running on the same server. Dedicated servers offer complete resource isolation and often higher I/O performance, but for TTRSS with a few dozen users, a mid-range VPS will be more than sufficient and significantly more cost-effective.
Location: What it Affects
The choice of VPS location affects:
- Latency: The closer the server is to you and your users, the faster the TTRSS web interface will load.
- Legislation: Some users prefer to host their data in jurisdictions with stricter privacy laws.
- Aggregation Speed: If most of your RSS feeds originate from a specific geographical region, hosting your VPS there might slightly speed up the feed update process, but this is rarely a critical factor.
In most cases, choose a location that is geographically close to you or to the majority of your users.
Server Preparation
After gaining access to your new VPS, the first thing to do is perform basic security setup and install the necessary utilities. We will be using a Debian/Ubuntu-based distribution, which is one of the most popular and well-documented.
1. Connecting via SSH and Creating a New User
Connect to the server as the root user (or the one provided by your provider):
ssh root@ВАШ_IP_АДРЕС
Create a new user with sudo privileges for daily operations. Replace ваш_пользователь with your desired username:
adduser ваш_пользователь # Создаем нового пользователя
usermod -aG sudo ваш_пользователь # Добавляем его в группу sudo
Set a strong password for the new user when prompted by the system.
2. Setting Up SSH Key Authentication (Recommended)
This significantly enhances security. Copy your public SSH key to the server:
# На вашей локальной машине:
ssh-copy-id ваш_пользователь@ВАШ_IP_АДРЕС
Then disable password authentication for SSH (only after you've confirmed you can log in with a key). Edit the file /etc/ssh/sshd_config:
sudo nano /etc/ssh/sshd_config
Find the lines and change their values:
PasswordAuthentication no
ChallengeResponseAuthentication no
UsePAM no # Иногда полезно отключить, если у вас проблемы с логином
PermitRootLogin no # Отключаем вход для root
Restart the SSH service:
sudo systemctl restart sshd
Now exit the root session and log in as the new user:
exit
ssh ваш_пользователь@ВАШ_IP_АДРЕС
3. Updating the System and Installing Basic Utilities
Update the package list and install all available updates:
sudo apt update && sudo apt upgrade -y
Install the necessary utilities that will be useful during the setup process:
sudo apt install -y curl wget git nano htop unzip
4. Configuring the Firewall (UFW)
Enable UFW and allow only the necessary ports (SSH, HTTP, HTTPS):
sudo apt install -y ufw # Устанавливаем UFW, если еще не установлен
sudo ufw allow OpenSSH # Разрешаем SSH (порт 22 по умолчанию)
sudo ufw allow http # Разрешаем HTTP (порт 80)
sudo ufw allow https # Разрешаем HTTPS (порт 443)
sudo ufw enable # Включаем файрвол
sudo ufw status # Проверяем статус файрвола
Confirm firewall activation by pressing y.
5. Installing Fail2Ban
Fail2Ban helps protect the server from brute-force attacks by blocking IP addresses that make multiple failed login attempts.
sudo apt install -y fail2ban # Устанавливаем Fail2Ban
sudo systemctl enable fail2ban # Включаем автозапуск сервиса
sudo systemctl start fail2ban # Запускаем сервис
sudo cp /etc/fail2ban/jail.conf /etc/fail2ban/jail.local # Копируем конфиг для редактирования
Edit /etc/fail2ban/jail.local if you want to change parameters (e.g., bantime or maxretry). For most cases, the default settings for SSH are sufficient.
sudo nano /etc/fail2ban/jail.local
Ensure that the [sshd] section is active (enabled = true).
Software Installation — Step-by-Step
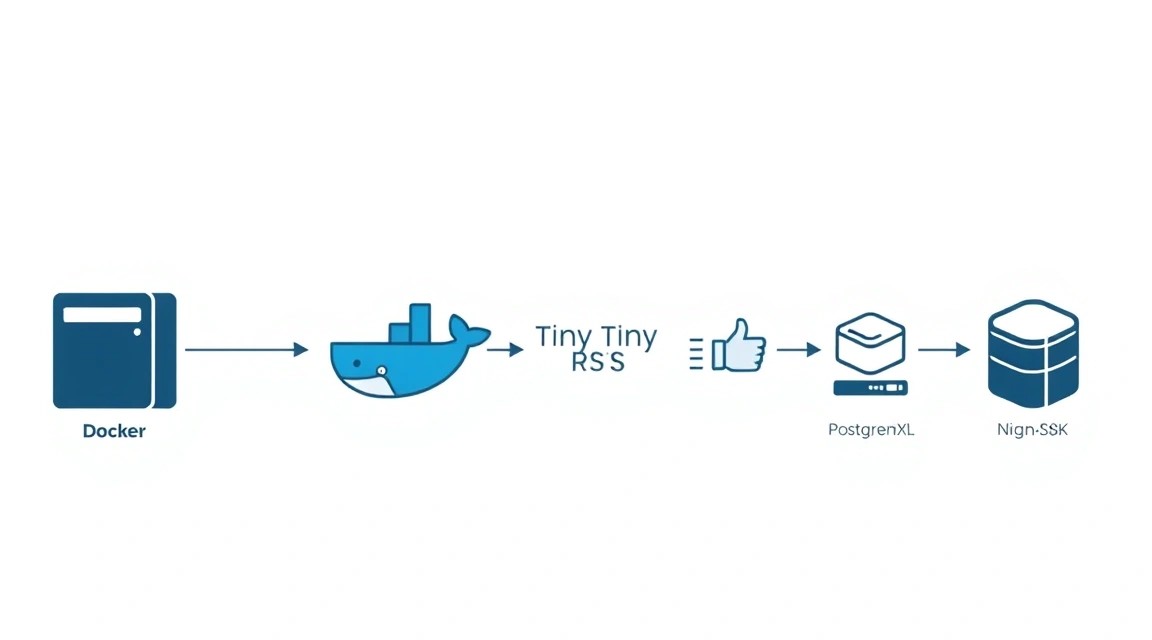
To deploy Tiny Tiny RSS, we will use Docker and Docker Compose. This will allow TTRSS, PostgreSQL, and Nginx to be isolated, simplify dependency management, and ensure easy updates.
1. Docker Engine Installation (current as of 2026)
We will add the official Docker repository to always get the latest versions.
# Update the package list
sudo apt update

# Install necessary packages for working with HTTPS repositories
sudo apt install -y ca-certificates curl gnupg

# Add Docker's official GPG key
sudo install -m 0755 -d /etc/apt/keyrings
curl -fsSL https://download.docker.com/linux/ubuntu/gpg | sudo gpg --dearmor -o /etc/apt/keyrings/docker.gpg
sudo chmod a+r /etc/apt/keyrings/docker.gpg

# Add the Docker repository to APT sources
echo \
  "deb [arch="$(dpkg --print-architecture)" signed-by=/etc/apt/keyrings/docker.gpg] https://download.docker.com/linux/ubuntu \
  "$(. /etc/os-release && echo "$VERSION_CODENAME")" stable" | \
  sudo tee /etc/apt/sources.list.d/docker.list > /dev/null

# Update the package list to include the new repository
sudo apt update

# Install Docker Engine, Docker CLI, and containerd
# Current versions for 2026 might be Docker Engine 25.x/26.x
sudo apt install -y docker-ce docker-ce-cli containerd.io docker-buildx-plugin docker-compose-plugin
Let's check that Docker is installed and running:
sudo docker run hello-world # Run a test container
Add your user to the docker group to avoid using sudo for every Docker command:
sudo usermod -aG docker ваш_пользователь # Add user to the docker group
newgrp docker # Apply changes to the current session (or reconnect via SSH)
2. Docker Compose Installation (plugin)
Docker Compose now comes as a Docker CLI plugin, so it should already be installed with docker-compose-plugin. Let's check its version:
docker compose version # Check Docker Compose version (expecting 2.24.x or higher for 2026)
3. Nginx Installation
Nginx will act as a reverse proxy on the host machine, forwarding requests to our TTRSS Docker container.
sudo apt install -y nginx # Install Nginx
sudo systemctl enable nginx # Enable Nginx autostart
sudo systemctl start nginx # Start Nginx
Check Nginx status:
sudo systemctl status nginx # Ensure Nginx is running
4. Certbot Installation for Let's Encrypt
Certbot will be used to automatically obtain and renew SSL/TLS certificates from Let's Encrypt.
sudo apt install -y certbot python3-certbot-nginx # Install Certbot and the Nginx plugin
5. Creating a Working Directory for TTRSS
We will create a directory where all Docker Compose configuration files and TTRSS data will be stored.
mkdir ~/ttrss # Create a directory in the user's home directory
cd ~/ttrss # Navigate to the created directory
Configuration
Now that all necessary software is installed, we will proceed with configuring Tiny Tiny RSS, PostgreSQL database, and Nginx.
1. Creating the docker-compose.yml file
This file describes our services (TTRSS, PostgreSQL) and their interdependencies. Create the docker-compose.yml file in the ~/ttrss directory:
nano docker-compose.yml
Paste the following content. Replace ВАШ_ДОМЕН with your actual domain, e.g., ttrss.example.com. Also, create strong passwords for POSTGRES_PASSWORD and TTRSS_DB_PASS.
version: '3.8'

services:
  db:
    image: postgres:17-alpine # Current PostgreSQL version for 2026
    restart: always
    environment:
      POSTGRES_USER: ttrss_user
      POSTGRES_PASSWORD: ваш_очень_надежный_пароль_для_бд # Change to your own
      POSTGRES_DB: ttrss_db
    volumes:
      - db_data:/var/lib/postgresql/data
    healthcheck:
      test: ["CMD-SHELL", "pg_isready -U ttrss_user -d ttrss_db"]
      interval: 10s
      timeout: 5s
      retries: 5

  app:
    image: ghcr.io/henrywhitaker3/ttrss:latest # Official Tiny Tiny RSS Docker image
    restart: always
    depends_on:
      db:
        condition: service_healthy
    environment:
      TTRSS_DB_TYPE: pgsql
      TTRSS_DB_HOST: db
      TTRSS_DB_NAME: ttrss_db
      TTRSS_DB_USER: ttrss_user
      TTRSS_DB_PASS: ваш_очень_надежный_пароль_для_бд # Must match POSTGRES_PASSWORD
      TTRSS_SELF_URL_PATH: https://ВАШ_ДОМЕН/ # Replace with your domain
      TTRSS_FEED_UPDATE_INTERVAL: 15 # Feed update interval in minutes
      TTRSS_PLUGINS: auth_internal,bookmarklets,embed_original,fever,force_refresh,mark_read_on_scroll,note,nsfw,open_in_new_window,toggle_sidebar,updater,view_original,youtube
      TTRSS_PHP_TZ: Europe/Moscow # Set your timezone
      TTRSS_NO_SMTP_HOSTNAME: "true" # If you are not using SMTP for sending mail
      TTRSS_LOG_DESTINATION: "stdout"
      TTRSS_DEFAULT_UPDATE_DAEMON: "true" # Enable built-in update daemon
    volumes:
      - ttrss_data:/var/www/html/feed-icons # For feed icons
      - ./config.php:/var/www/html/config.php # If custom configuration is needed, but ENV is preferred
    ports:
      - "127.0.0.1:8080:80" # TTRSS will be accessible on the host via port 8080

volumes:
  db_data:
  ttrss_data:
The settings for TTRSS_SELF_URL_PATH, TTRSS_FEED_UPDATE_INTERVAL, TTRSS_PLUGINS, and TTRSS_PHP_TZ can be adapted to your needs.
Save and close the file (Ctrl+O, Enter, Ctrl+X).
2. Starting Docker Compose Services
In the ~/ttrss directory, execute:
docker compose up -d # Start containers in detached mode
Check the status of the containers:
docker compose ps # Check that all services are running and healthy
3. Configuring Nginx as a Reverse Proxy
Create a new Nginx configuration file for your domain. Replace ВАШ_ДОМЕН with your domain.
sudo nano /etc/nginx/sites-available/ВАШ_ДОМЕН.conf
Paste the following content:
server {
    listen 80;
    listen [::]:80;
    server_name ВАШ_ДОМЕН; # Replace with your domain

    location / {
        return 301 https://$host$request_uri; # Redirect HTTP to HTTPS
    }
}

# This block will be automatically configured by Certbot after obtaining SSL
# server {
#     listen 443 ssl http2;
#     listen [::]:443 ssl http2;
#     server_name ВАШ_ДОМЕН;
#
#     ssl_certificate /etc/letsencrypt/live/ВАШ_ДОМЕН/fullchain.pem;
#     ssl_certificate_key /etc/letsencrypt/live/ВАШ_ДОМЕН/privkey.pem;
#     ssl_trusted_certificate /etc/letsencrypt/live/ВАШ_ДОМЕН/chain.pem;
#
#     # Other SSL settings for security
#     ssl_protocols TLSv1.2 TLSv1.3;
#     ssl_prefer_server_ciphers off;
#     ssl_ciphers "ECDHE-ECDSA-AES128-GCM-SHA256:ECDHE-RSA-AES128-GCM-SHA256:ECDHE-ECDSA-AES256-GCM-SHA384:ECDHE-RSA-AES256-GCM-SHA384:ECDHE-ECDSA-CHACHA20-POLY1305:ECDHE-RSA-CHACHA20-POLY1305:DHE-RSA-AES128-GCM-SHA256:DHE-RSA-AES256-GCM-SHA384";
#     ssl_session_cache shared:SSL:10m;
#     ssl_session_timeout 1h;
#     ssl_session_tickets off;
#     ssl_stapling on;
#     ssl_stapling_verify on;
#     resolver 8.8.8.8 8.8.4.4 valid=300s;
#     resolver_timeout 5s;
#
#     add_header X-Frame-Options "SAMEORIGIN" always;
#     add_header X-Content-Type-Options "nosniff" always;
#     add_header X-XSS-Protection "1; mode=block" always;
#     add_header Referrer-Policy "no-referrer-when-downgrade" always;
#     add_header Strict-Transport-Security "max-age=31536000; includeSubDomains" always;
#
#     location / {
#         proxy_pass http://127.0.0.1:8080; # Forward to TTRSS container
#         proxy_set_header Host $host;
#         proxy_set_header X-Real-IP $remote_addr;
#         proxy_set_header X-Forwarded-For $proxy_add_x_forwarded_for;
#         proxy_set_header X-Forwarded-Proto $scheme;
#         proxy_buffering off;
#         proxy_request_buffering off;
#     }
#
#     # Deny access to hidden files
#     location ~ /\.ht {
#         deny all;
#     }
# }
Create a symbolic link to this file in sites-enabled and check the Nginx configuration:
sudo ln -s /etc/nginx/sites-available/ВАШ_ДОМЕН.conf /etc/nginx/sites-enabled/
sudo nginx -t # Check Nginx config syntax
If there are no errors, restart Nginx:
sudo systemctl restart nginx
4. Obtaining an SSL Certificate with Certbot
Now, let's obtain an SSL certificate for your domain using Certbot. Make sure your domain already points to your VPS's IP address.
sudo certbot --nginx -d ВАШ_ДОМЕН # Replace with your domain
Follow Certbot's instructions. It will ask for your email for notifications and your agreement to the terms. After successful execution, Certbot will automatically modify your Nginx configuration file, adding a server block for HTTPS and configuring SSL.
Check that automatic certificate renewal is working:
sudo certbot renew --dry-run # Test run for renewal
If the test run was successful, Certbot has configured a cron job for automatic certificate renewal.
5. Verifying Functionality
Open https://ВАШ_ДОМЕН in your browser. You should see the Tiny Tiny RSS login page. Default login: admin, password: password. Be sure to change the password immediately after the first login!
Inside TTRSS, go to "Preferences" -> "Feeds" and try adding a few RSS feeds to ensure they are updating.
You can also check the service's availability using curl from the server:
curl -I https://127.0.0.1:8080 # Check access to TTRSS via internal port
Or, if you want to check via Nginx (from the host):
curl -I https://ВАШ_ДОМЕН # Check access via Nginx and HTTPS
Ensure that the response headers show a successful connection (e.g., HTTP/2 200).
Backups and Maintenance
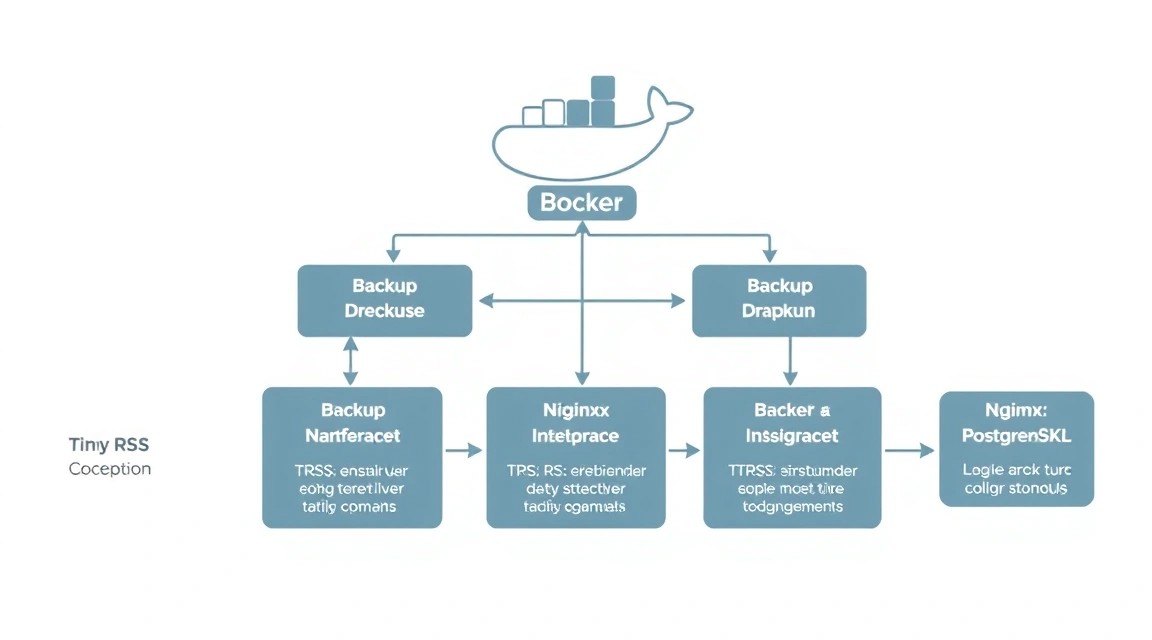
Regular backups are a critically important part of any production service. For Tiny Tiny RSS, you need to back up the database and user data.
1. What to back up
- PostgreSQL Database: Contains all your feeds, articles, settings, users. This is the most important part.
- TTRSS Configuration Files: Although we use environment variables, if you made changes to
config.phpor other files, they need to be backed up. - User Data (feed-icons): The
ttrss_datadirectory where feed icons are mounted. - Nginx and Certbot Configuration: Files
/etc/nginx/sites-available/ВАШ_ДОМЕН.confand/etc/letsencrypt/.
2. Simple Auto-Backup Script
Let's create a simple script that will back up the PostgreSQL database and important files.
nano ~/ttrss/backup_ttrss.sh
Insert the following content, replacing ВАШ_ДОМЕН with your domain and ваш_очень_надежный_пароль_для_бд with your DB password:
#!/bin/bash

# --- SETTINGS ---
BACKUP_DIR="/var/backups/ttrss"
TIMESTAMP=$(date +%Y%m%d-%H%M%S)
DB_CONTAINER="ttrss-db-1" # Database container name (can be checked with 'docker ps')
DB_USER="ttrss_user"
DB_NAME="ttrss_db"
DB_PASSWORD="ваш_очень_надежный_пароль_для_бд" # DB Password

# TTRSS data directory
TTRSS_DATA_DIR="/var/lib/docker/volumes/ttrss_ttrss_data/_data" # Path to ttrss_data volume

# Nginx and Certbot configuration directory
NGINX_CONF_DIR="/etc/nginx/sites-available"
LETSENCRYPT_DIR="/etc/letsencrypt"
COMPOSE_FILE_PATH="/home/ваш_пользователь/ttrss/docker-compose.yml" # Path to docker-compose.yml

# --- CREATE BACKUP DIRECTORY ---
mkdir -p "$BACKUP_DIR"

# --- DATABASE BACKUP ---
echo "[$TIMESTAMP] Creating PostgreSQL database backup..."
docker exec -e PGPASSWORD="$DB_PASSWORD" "$DB_CONTAINER" pg_dump -U "$DB_USER" -d "$DB_NAME" -Fc > "$BACKUP_DIR/ttrss_db_$TIMESTAMP.dump"
if [ $? -eq 0 ]; then
    echo "[$TIMESTAMP] Database backup successfully created: $BACKUP_DIR/ttrss_db_$TIMESTAMP.dump"
else
    echo "[$TIMESTAMP] ERROR: Failed to create database backup."
fi

# --- TTRSS DATA BACKUP (feed-icons) ---
echo "[$TIMESTAMP] Copying TTRSS data (feed-icons)..."
tar -czf "$BACKUP_DIR/ttrss_data_$TIMESTAMP.tar.gz" -C "$TTRSS_DATA_DIR" .
if [ $? -eq 0 ]; then
    echo "[$TIMESTAMP] TTRSS data backup successfully created: $BACKUP_DIR/ttrss_data_$TIMESTAMP.tar.gz"
else
    echo "[$TIMESTAMP] ERROR: Failed to create TTRSS data backup."
fi

# --- NGINX and Certbot CONFIGURATION BACKUP ---
echo "[$TIMESTAMP] Copying Nginx configuration..."
cp "$NGINX_CONF_DIR/ВАШ_ДОМЕН.conf" "$BACKUP_DIR/nginx_ВАШ_ДОМЕН_conf_$TIMESTAMP"
if [ $? -eq 0 ]; then
    echo "[$TIMESTAMP] Nginx backup successfully created."
else
    echo "[$TIMESTAMP] ERROR: Failed to create Nginx backup."
fi

echo "[$TIMESTAMP] Copying Certbot configuration..."
tar -czf "$BACKUP_DIR/letsencrypt_conf_$TIMESTAMP.tar.gz" -C "$LETSENCRYPT_DIR" .
if [ $? -eq 0 ]; then
    echo "[$TIMESTAMP] Certbot backup successfully created."
else
    echo "[$TIMESTAMP] ERROR: Failed to create Certbot backup."
fi

echo "[$TIMESTAMP] Copying docker-compose.yml..."
cp "$COMPOSE_FILE_PATH" "$BACKUP_DIR/docker-compose_$TIMESTAMP.yml"
if [ $? -eq 0 ]; then
    echo "[$TIMESTAMP] docker-compose.yml backup successfully created."
else
    echo "[$TIMESTAMP] ERROR: Failed to create docker-compose.yml backup."
fi

# --- CLEAN UP OLD BACKUPS (keep last 7 days) ---
echo "[$TIMESTAMP] Deleting old backups (older than 7 days)..."
find "$BACKUP_DIR" -type f -name ".dump" -mtime +7 -delete
find "$BACKUP_DIR" -type f -name ".tar.gz" -mtime +7 -delete
find "$BACKUP_DIR" -type f -name ".yml" -mtime +7 -delete
find "$BACKUP_DIR" -type f -name "_conf_" -mtime +7 -delete
echo "[$TIMESTAMP] Cleanup complete."

echo "[$TIMESTAMP] Backup process finished."
Make the script executable:
chmod +x ~/ttrss/backup_ttrss.sh
3. Setting up Cron for Automatic Backups
Add the script to the Cron schedule for daily execution:
crontab -e
Add the following line to the end of the file (e.g., to run daily at 03:00 AM):
0 3 /home/ваш_пользователь/ttrss/backup_ttrss.sh >> /var/log/ttrss_backup.log 2>&1
Save and close the file. Backups will now be created automatically.
4. Where to store backups (external storage)
Storing backups on the same server as the main service is insecure. In case of server failure, you will lose both the service and the backups. It is recommended to use external storage:
- S3-compatible storage: Cloud services such as AWS S3, Backblaze B2, DigitalOcean Spaces offer reliable and inexpensive storage. To use them, you can integrate the script with utilities like
awscliorrclone. - Separate VPS: You can have a small, inexpensive VPS where backups will be copied via
rsyncorscp. - Local NAS/PC: If you want to store backups at home, you can configure
rsyncorscpto copy them to your home server.
Example of sending backups to another server via rsync (add to the script after creating archives):
# --- SEND BACKUPS TO REMOTE SERVER ---
REMOTE_USER="backup_user"
REMOTE_HOST="ваш_удаленный_сервер_ip"
REMOTE_PATH="/mnt/backups/ttrss/"

echo "[$TIMESTAMP] Sending backups to remote server $REMOTE_HOST..."
rsync -avz "$BACKUP_DIR/" "$REMOTE_USER@$REMOTE_HOST:$REMOTE_PATH"
if [ $? -eq 0 ]; then
    echo "[$TIMESTAMP] Backups successfully sent to remote server."
else
    echo "[$TIMESTAMP] ERROR: Failed to send backups to remote server."
fi
Ensure that SSH key authentication is configured on the remote server for the user backup_user.
5. Updates: rolling vs maintenance window
- Docker image updates (rolling): For TTRSS and PostgreSQL, since they run in Docker, updating is relatively simple. You can run
docker compose pullto download new images and thendocker compose up -dto deploy them. This can be done without significant downtime, as Docker can gracefully restart containers. It is recommended to check logs after updating. - System updates (maintenance window): Updating the operating system itself (
sudo apt update && sudo apt upgrade -y) is best done during a predefined "maintenance window" when server load is minimal. This may require a server reboot, which will result in brief TTRSS downtime.
To automate Docker image updates, you can use utilities like Watchtower, which monitors for new image versions and automatically updates running containers. However, for critically important services, it is better to control updates manually or through CI/CD pipelines.
Troubleshooting + FAQ
What is the minimum suitable VPS configuration?
For Tiny Tiny RSS with one or two users and a moderate number of feeds (up to 1000), a VPS with 1 CPU core, 1 GB RAM, and 20 GB SSD will be minimally suitable. This is sufficient for running TTRSS, PostgreSQL, and Nginx Docker containers, but without much headroom. If the number of users or feeds increases, it is recommended to increase RAM and disk space.
What to choose — VPS or dedicated for this task?
In the vast majority of cases, a VPS is sufficient for Tiny Tiny RSS with a few dozen users. A dedicated server only makes sense for very large installations serving hundreds or thousands of users, or if other resource-intensive services are running on the server. A VPS offers better flexibility and cost-effectiveness for most TTRSS usage scenarios.
TTRSS is inaccessible after installation, what to do?
Check the following steps:
- Ensure that Docker containers are running:
docker compose ps. All services should be inrunning (healthy)status. - Check that Nginx is running:
sudo systemctl status nginx. - Check Nginx configuration:
sudo nginx -t. Ensure there are no syntax errors. - Check that the domain name points to your VPS: use
ping ВАШ_ДОМЕНor online DNS-lookup tools. - Check firewall rules:
sudo ufw status. Ports 80 and 443 must be allowed. - Try accessing TTRSS directly via the internal port:
curl -I http://127.0.0.1:8080from the server. If this works, the problem is with Nginx or Certbot.
My SSL certificate has expired or was not issued, what to do?
Let's Encrypt certificates are valid for 90 days. Certbot should renew them automatically. If the certificate has expired or was not issued:
- Ensure your domain correctly points to the VPS IP address.
- Check Nginx configuration:
sudo nginx -t. Ensure Nginx is running on port 80 and can respond to Certbot requests. - Try renewing certificates manually:
sudo certbot renew --force-renewal. - Check Certbot logs:
sudo tail -f /var/log/letsencrypt/letsencrypt.logfor errors.
Feeds are not updating automatically, although TTRSS is running.
This may be due to the TTRSS update daemon not running or not having internet access:
- Check that the
TTRSS_DEFAULT_UPDATE_DAEMON: "true"variable is set indocker-compose.yml. - Ensure the TTRSS container can access external resources. Check container logs:
docker compose logs app. - Inside TTRSS, go to "Preferences" -> "Feeds" and try to force update a few feeds.
- Check the VPS system time:
date. Incorrect time can cause scheduler issues.
Docker Compose shows errors on startup.
Carefully read the error message. Common causes:
- YAML syntax errors: Ensure that the indentation and structure of the
docker-compose.ymlfile are correct. Use online YAML validators. - Port issues: If port 8080 is already occupied on the host machine by another service, Docker will not be able to use it. Check
sudo lsof -i :8080. - Insufficient resources: If you have very little RAM, containers may not start. Check
docker compose logsfor the respective service. - Incorrect environment variables: Ensure that passwords and domain names in
docker-compose.ymlare specified correctly.
Conclusion and Next Steps
Congratulations! You have successfully deployed and configured your own Tiny Tiny RSS server on a VPS, using Docker, Nginx, and PostgreSQL. You now have a powerful, private, and fully controlled tool for aggregating and reading news feeds. You have mastered modern approaches to web application deployment, including containerization, secure HTTPS connection, and automatic backups.
Where to go next?
- Plugin Configuration: Explore the rich ecosystem of TTRSS plugins to extend functionality, for example, for integration with other services, improving parsing, or adding new themes.
- Mobile Access: Install one of the mobile applications that support the TTRSS API (e.g., FeedMe for Android or TTRSS Reader for iOS) to read feeds from mobile devices.
- Resource Monitoring: Install a monitoring system (e.g., Prometheus + Grafana or Netdata) to track your VPS resource usage and TTRSS performance, to be prepared for scaling.