Deploying Strapi Headless CMS on VPS: PostgreSQL, Nginx, and SSL
TL;DR
In this guide, we will step-by-step configure the powerful Headless CMS Strapi on your Virtual Private Server (VPS). You will learn how to install and configure all necessary components: PostgreSQL database for content storage, Nginx web server for handling requests and ensuring security, and SSL certificates using Certbot for traffic encryption. As a result, you will get a fully functional, secure, and ready-to-use content management platform, accessible via your domain name.
Installation of Strapi v5.x.x and related software (Node.js 22.x, PostgreSQL 16.x, Nginx 1.28.x, PM2).
PostgreSQL configuration for Strapi, creating a user and a database.
Nginx setup as a reverse proxy for the Strapi application and web server.
Automatic acquisition and renewal of Let's Encrypt SSL certificates using Certbot.
Ensuring continuous Strapi operation with PM2 and its autostart.
Basic security measures, such as firewall and SSH access configuration.
What we are configuring and why
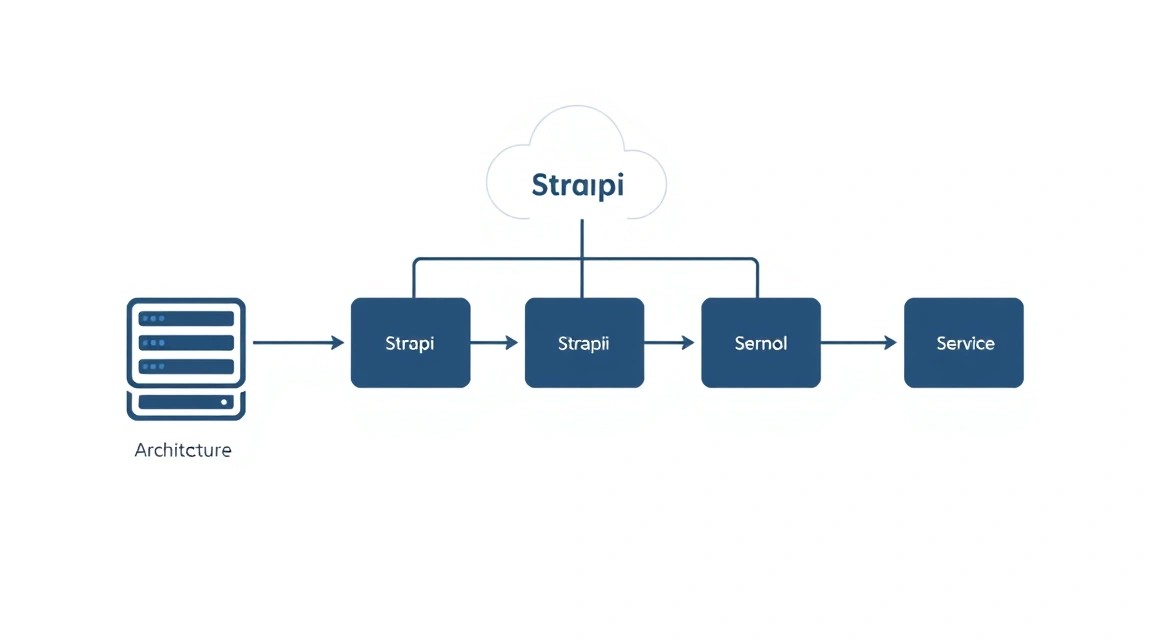
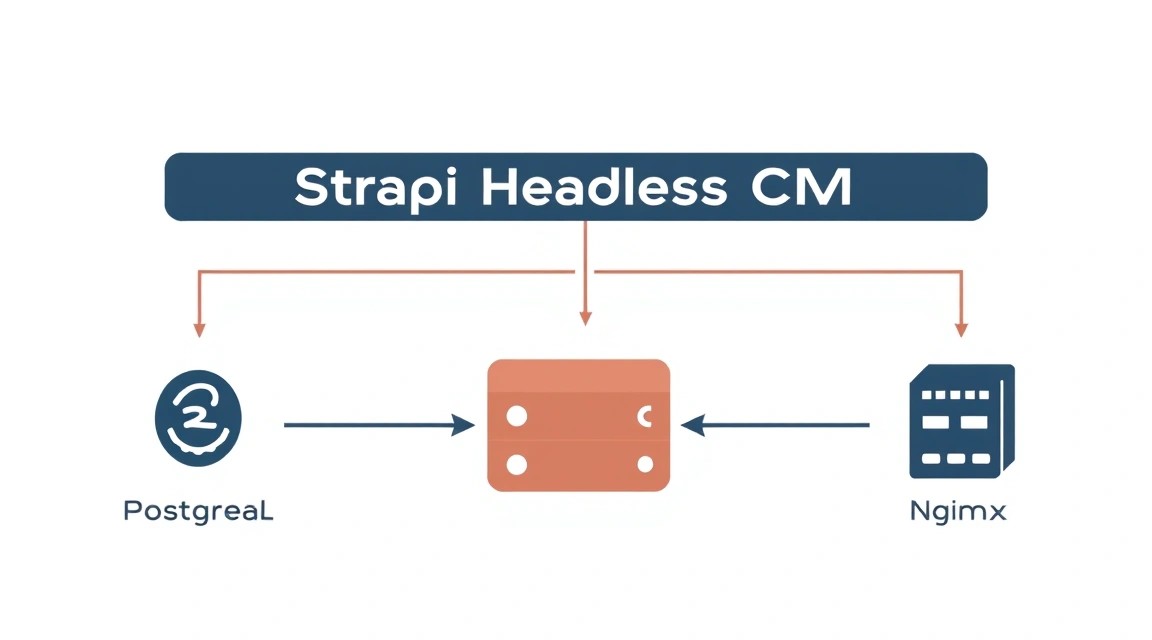
Diagram: What we are configuring and why
In the modern world, content is king, and its effective management is critically important for any digital project. Strapi is a leading open-source Headless CMS (Content Management System) written in Node.js. "Headless" means that it provides only a backend for content management via a powerful API (REST and GraphQL), completely separating it from the frontend (website, mobile application, IoT device, etc.). This gives developers unprecedented flexibility in choosing frontend technologies and ensures high performance.
We will be deploying Strapi on your own VPS. This will allow you to gain full control over the infrastructure, optimize performance for your needs, ensure maximum data security, and avoid dependence on third-party cloud providers, which often scale non-linearly in price. Ultimately, you will get a powerful platform for creating and managing any type of content, be it a blog, an online store, a corporate website, or a complex web application. Your content will be accessible via API, ready for integration with any client application.
There are alternatives to cloud-managed services like Strapi Cloud or other SaaS-CMS such as Contentful, Sanity, or Prismic. These solutions are convenient because they relieve you of infrastructure concerns, but they often have limitations on functionality, data volume, or the number of users in free and basic plans. Self-deploying Strapi on a VPS, although it requires initial setup efforts, in the long run provides significantly greater flexibility, cost savings when scaling, and complete sovereignty over your data. You will own the entire chain: from the server to the database and the application itself.
What VPS configuration is needed for this task
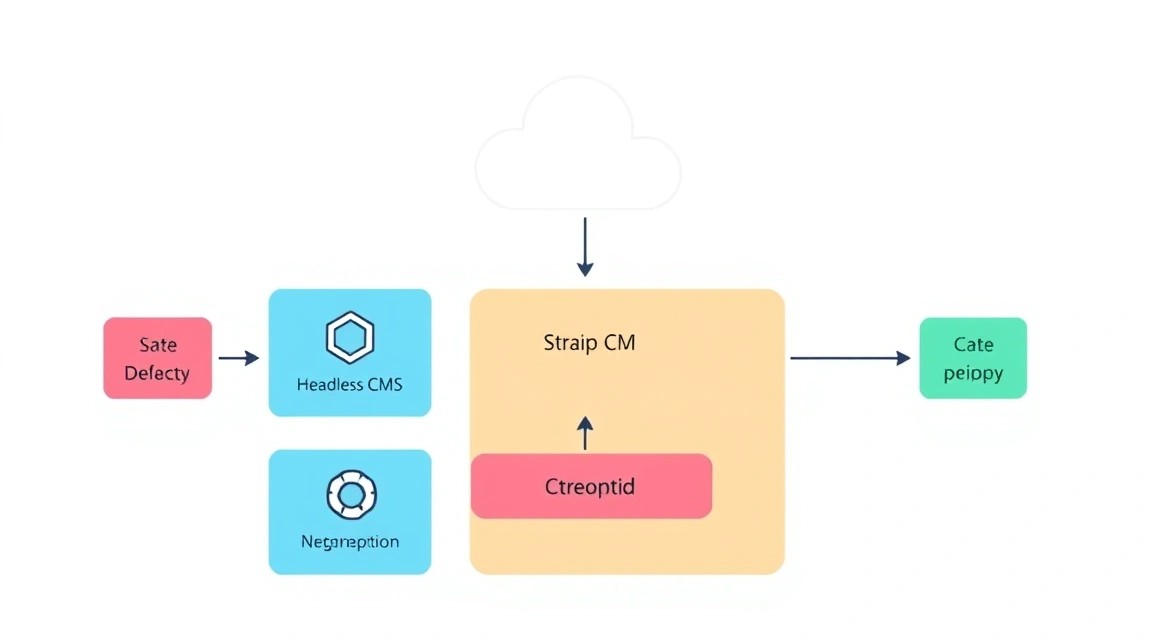
Diagram: What VPS configuration is needed for this task
Choosing the right VPS configuration is critical for stable and fast Strapi operation. Requirements can vary depending on the volume of content, the number of concurrent users, and the complexity of plugins, but for starting and small projects, you can aim for the following minimum parameters:
CPU: 2 cores. Strapi, being a Node.js application, can actively use the CPU when processing requests and generating APIs.
RAM: 4 GB. This amount will be sufficient for the operating system, PostgreSQL, and Strapi itself. If a large volume of content or many plugins are planned, it's better to immediately opt for 8 GB.
Disk: 80-100 GB SSD. SSD significantly speeds up database operations and application loading. 80 GB will be enough for the OS, all components, and a decent amount of media files. If you plan to store a lot of images and videos, consider using external object storage (S3-compatible) or increase disk space.
Network: 100 Mbps or 1 Gbps port. For most tasks, 100 Mbps is sufficient, but 1 Gbps will provide better performance for a large number of API requests or media file uploads.
For deploying Strapi with PostgreSQL, Nginx, and SSL, as described in this guide, the optimal choice would be a VPS with 2 CPU cores, 4-8 GB RAM, and 80-100 GB SSD. For example, you can consider a VPS with the specified characteristics.
When a dedicated server is needed, not a VPS
A dedicated server becomes necessary when your project scales significantly and requirements exceed the capabilities of a standard VPS:
High load: Thousands of concurrent users, hundreds of API requests per second.
Large data volume: Terabytes of media files or a very large database requiring maximum disk subsystem performance.
Specific requirements: Need for special hardware configuration, specialized expansion cards, or maximum isolation.
Security and compliance: Sometimes regulatory requirements or corporate security policies demand the use of dedicated resources.
For most Strapi projects at startup and even during active growth, a VPS will be more than sufficient. Transitioning to a dedicated server is a step for projects with very high loads or specific requirements. In this case, you will need a suitable dedicated server.
Location: what it affects
The choice of VPS server location affects several key aspects:
Latency: The closer the server is to your target audience, the lower the latency when accessing the website or API. This is critical for user experience and SEO.
Legislation: Data protection laws (e.g., GDPR in Europe) may require data storage in a specific jurisdiction.
Price: VPS prices can vary slightly in different regions.
Choose a location as close as possible to the primary users of your Strapi project or to the deployment location of the frontend, if it is also hosted on a VPS.
Server preparation
Diagram: Server preparation
Before proceeding with the installation of Strapi and its components, it is necessary to perform basic setup of a fresh VPS. This will ensure the security and stability of your system. We will use Ubuntu Server 24.04 LTS, as it is a popular and well-supported distribution.
1. Connecting via SSH
Connect to your server as the root user or with the credentials provided by your provider:
ssh root@YOUR_IP_ADDRESS
2. System update
Always start by updating the package manager and installed packages to their latest versions. This ensures you have the latest security and stability fixes.
sudo apt update && sudo apt upgrade -y
After the update, a reboot may be required if kernel components were updated.
sudo reboot
After rebooting, reconnect via SSH.
3. Creating a new user with sudo privileges
Working as root is insecure. Create a new user and grant them sudo privileges.
Replace strapiuser with your desired username. You will be prompted to enter a password and other information (which can be left blank). After creating the user, switch to it.
su - strapiuser
Now all subsequent commands requiring administrator privileges will be executed with the sudo prefix.
4. Configuring SSH keys (recommended)
To enhance security, it is recommended to disable password authentication for SSH and use only SSH keys. First, copy your public SSH key to the server.
# Execute on your LOCAL machine
ssh-copy-id strapiuser@YOUR_IP_ADDRESS
Then, on the server, edit the SSH configuration file:
sudo nano /etc/ssh/sshd_config
Find and change the following lines (or add them if they are missing):
# Disable password login
PasswordAuthentication no
# Disable root login
PermitRootLogin no
Save changes (Ctrl+O, Enter) and exit (Ctrl+X). Restart the SSH service:
sudo systemctl restart sshd
Now you will only be able to log in using an SSH key as the strapiuser user.
5. Configuring the firewall (UFW)
UFW (Uncomplicated Firewall) is an easy-to-use tool for managing the firewall. Let's configure it to allow only necessary connections.
Fail2Ban will work "out of the box" with basic settings for SSH. For more fine-grained configuration, you can copy and edit the /etc/fail2ban/jail.conf file to /etc/fail2ban/jail.local.
Now your server is ready for the installation of the necessary software.
Software Installation — Step-by-Step
Diagram: Software Installation — Step-by-Step
In this section, we will install all the necessary components for Strapi to work: Node.js (with NPM), PostgreSQL, Nginx, and PM2. All software versions will be up-to-date for 2026, ensuring maximum compatibility and security.
1. Installing Node.js and npm (version 22.x)
Strapi is a Node.js application. We will install the current LTS version of Node.js (22.x), which will be supported in 2026.
Ensure that the versions match (e.g., v22.x.x and 10.x.x).
2. Installing PostgreSQL (version 16.x)
PostgreSQL is the recommended database for Strapi. We will install the stable version 16.x.
# Install PostgreSQL and dev packages
sudo apt install -y postgresql postgresql-contrib
# Check PostgreSQL service status
sudo systemctl status postgresql
The service should be active (active (exited) or active (running)). If not, start it: sudo systemctl start postgresql.
3. Installing Nginx (current version 1.28.x)
Nginx will act as a reverse proxy for Strapi, serving SSL certificates and static files.
# Install Nginx
sudo apt install -y nginx
# Check Nginx service status
sudo systemctl status nginx
Nginx should be running. You can check its operation by navigating to your server's IP address in a browser — the standard Nginx welcome page should appear.
4. Installing PM2
PM2 is a process manager for Node.js applications. It allows you to run Strapi in the background, automatically restart it in case of failures, and manage multiple applications.
# Install PM2 globally
sudo npm install -g pm2
# Configure PM2 for autostart on system boot
pm2 startup systemd
# The output of the command above will give you a command to execute with sudo, for example:
# sudo env PATH=$PATH:/usr/bin /usr/lib/node_modules/pm2/bin/pm2 startup systemd -u strapiuser --hp /home/strapiuser
# Copy and execute this command. It will create a systemd unit for PM2.
After executing the pm2 startup systemd command, you will be provided with a command that needs to be run with sudo. This will create a systemd service that will start PM2 and your applications when the server boots.
Configuration
Diagram: Configuration
Now that all components are installed, it's time to configure them to work together with Strapi.
1. Creating a PostgreSQL Database for Strapi
First, let's create a user and a database in PostgreSQL that Strapi will connect to.
# Connect to PostgreSQL as the postgres user
sudo -i -u postgres psql
Inside the PostgreSQL console, execute the following commands:
CREATE USER strapiuser WITH PASSWORD 'your_very_strong_password';
CREATE DATABASE strapidb WITH OWNER strapiuser;
GRANT ALL PRIVILEGES ON DATABASE strapidb TO strapiuser;
\q
Replace ваш_очень_сложный_пароль with a strong password. Exit the PostgreSQL console (\q).
2. Creating a Strapi Project
Navigate to your user's home directory (/home/strapiuser) or another convenient directory, such as /var/www. We will use /var/www for web applications.
During installation, you will be prompted to choose the installation type. For this guide, select Custom (manual settings), then PostgreSQL as the database. Enter the database connection details you created earlier (Host: 127.0.0.1, Port: 5432, Database: strapidb, Username: strapiuser, Password: ваш_очень_сложный_пароль).
Navigate to the project directory:
cd my-strapi-project
3. Configuring Strapi Environment Variables
Secrets and configuration parameters are best stored in a .env file. Create or edit the .env file in the root directory of your Strapi project.
nano .env
Add or update the following lines:
HOST=0.0.0.0
PORT=1337
APP_KEYS=your_very_strong_and_long_application_key # Automatically generated with --quickstart, but it's better to regenerate
API_TOKEN_SALT=your_very_strong_and_long_api_token_key
ADMIN_JWT_SECRET=your_very_strong_and_long_admin_panel_key
JWT_SECRET=your_very_strong_and_long_jwt_key

DATABASE_CLIENT=pg
DATABASE_HOST=127.0.0.1
DATABASE_PORT=5432
DATABASE_NAME=strapidb
DATABASE_USERNAME=strapiuser
DATABASE_PASSWORD=your_very_strong_password
DATABASE_SSL=false

NODE_ENV=production
To generate strong random keys for APP_KEYS, API_TOKEN_SALT, ADMIN_JWT_SECRET, JWT_SECRET, you can use the command:
Execute it several times to get unique keys for each parameter. Save the file.
4. Running Strapi with PM2
Now let's run Strapi in production mode using PM2.
# Ensure you are in the root directory of your Strapi project (/var/www/strapi/my-strapi-project)
npm run build
pm2 start npm --name "strapi-app" -- run start
# Save PM2 process list for autostart
pm2 save
Check Strapi status:
pm2 list
pm2 logs strapi-app
Strapi should be running and listening on port 1337 (default).
5. Configuring Nginx as a Reverse Proxy
Let's create an Nginx configuration file for your domain (e.g., api.yourdomain.com).
If the syntax is okay (syntax is ok), reload Nginx:
sudo systemctl restart nginx
At this point, your Strapi should be accessible via HTTP through Nginx at http://api.yourdomain.com (ensure that the DNS record for your domain points to your VPS's IP).
6. Configuring SSL with Certbot (Let's Encrypt)
To ensure security and trust, you need to configure HTTPS. Certbot will automatically obtain and install SSL certificates from Let's Encrypt.
Certbot will ask you a few questions: an email address for notifications, agreement to the terms of service, and possibly offer to redirect HTTP traffic to HTTPS (choose "2: Redirect"). Certbot will automatically update the Nginx configuration, adding SSL parameters.
Check that Certbot has configured automatic certificate renewal:
sudo systemctl status certbot.timer
The timer should be active. If not, enable it: sudo systemctl enable certbot.timer. Now your Strapi is accessible via HTTPS: https://api.yourdomain.com.
7. Verifying Functionality
Open your domain (e.g., https://api.yourdomain.com) in a browser. You should see the Strapi welcome page or the admin panel login page. If this is the first launch, you will be prompted to create the first administrator.
You can also check API accessibility via curl:
curl -I https://api.yourdomain.com/admin/
You should see HTTP headers with a status code of 200 OK or 302 Found (redirection to the login page).
Backups and Maintenance
Diagram: Backups and Maintenance
Regular backups and timely maintenance are key to the long-term stability and security of your Strapi project.
What to back up
For a full Strapi recovery, you will need to back up several types of data:
PostgreSQL Database: Contains all your content, collection structure, and users. This is the most important component.
Strapi Project Files: Include configuration files (especially .env), plugins, custom controllers, and services. Although most data is in the DB, application settings are also important.
Media Files: Images, videos, and other files uploaded via Strapi. By default, they are stored in ./public/uploads within the project, unless external storage (S3) is configured.
Simple auto-backup script
Let's create a simple script for backing up the database and files, which will run on a schedule via cron.
Create a directory for backups (e.g., /var/backups/strapi):
This command will redirect the script's output to the /var/log/strapi_backup.log file, which will help track its execution.
Where to store backups
It is extremely important to store backups OUTSIDE the main server. If the server fails, you will lose both your data and your backups. Recommended options:
External S3-compatible object storage: For example, Amazon S3, DigitalOcean Spaces, Backblaze B2. This is cost-effective and reliable. You can use utilities like s3cmd or rclone to automatically synchronize the backup directory with S3.
Separate VPS: An inexpensive VPS in a different location, used exclusively for backup storage. Can be synchronized via rsync or sftp.
Local storage on your computer: For very small projects, but this is not automated or scalable.
Updates: rolling vs maintenance window
Updating software on a production server requires caution.
OS and base package updates (apt upgrade): It is recommended to perform these regularly (once a month), but always within a "maintenance window" when the load is minimal. Before updating, make a full backup. After updating, especially if the kernel was updated, a reboot is required.
Strapi updates: Strapi updates (especially between major versions, e.g., v4 to v5) may require database and code migrations. Always test updates on a staging server before applying them to production. Perform within a maintenance window.
Node.js updates: Node.js updates can also affect Strapi. Check version compatibility.
Always make a backup before any major update!
Troubleshooting + FAQ
This section contains answers to frequently asked questions and solutions to common problems you may encounter when deploying Strapi.
Nginx returns 502 Bad Gateway error
What to check: A 502 error usually means that Nginx cannot connect to the backend service (Strapi in our case). Make sure Strapi is running and listening on the correct port (default 1337). Check Nginx logs (sudo tail -f /var/log/nginx/error.log) and Strapi logs (pm2 logs strapi-app).
How to fix: Make sure the PM2 Strapi process is active (pm2 list). If not, try running it manually (cd /var/www/strapi/my-strapi-project && npm run start) and check for errors. Verify that proxy_pass http://localhost:1337; in the Nginx configuration points to the correct port.
Strapi does not start, database connection errors
What to check: Check the .env file in the root of your Strapi project. Make sure the DATABASE_HOST, DATABASE_PORT, DATABASE_NAME, DATABASE_USERNAME, and DATABASE_PASSWORD parameters are correct. Verify that PostgreSQL is running (sudo systemctl status postgresql) and that the strapiuser user has access rights to the strapidb database.
How to fix: Reset the PostgreSQL user password (sudo -i -u postgres psql -c "ALTER USER strapiuser WITH PASSWORD 'новый_пароль';") and update it in .env. Make sure the local host 127.0.0.1 is allowed for connection in the /etc/postgresql/16/main/pg_hba.conf file (there should be a line host all all 127.0.0.1/32 md5 or scram-sha-256). After making changes to pg_hba.conf, restart PostgreSQL: sudo systemctl restart postgresql.
Cannot obtain SSL certificate with Certbot
What to check: Make sure your domain (e.g., api.yourdomain.com) correctly points to your VPS IP address via an A-record in DNS. Certbot must be able to connect to your server on port 80 (HTTP) to verify domain ownership. Check that Nginx is running and correctly listening on port 80.
How to fix: Temporarily disable UFW (sudo ufw disable) and try again. If this helped, then the firewall is blocking ports. Make sure sudo ufw allow http and sudo ufw allow https are enabled. Check your Nginx configuration for errors (sudo nginx -t). Make sure no other processes are occupying port 80 or 443.
What is the minimum suitable VPS configuration?
For a minimal Strapi deployment for a small project or testing, you can start with a VPS with 2 CPU cores, 4 GB RAM, and 80 GB SSD. This will be sufficient for the operating system, PostgreSQL, and Strapi itself without heavy load. However, if you plan active use, a large amount of content, or many users, it is recommended to increase RAM to 8 GB and possibly consider more performant disks.
What to choose — VPS or dedicated for this task?
For most Strapi projects, especially in the initial and medium stages of development, a VPS is the optimal choice. It offers an excellent balance between performance, flexibility, and cost. A dedicated server becomes justified only under very high loads (thousands of concurrent users, intensive DB operations), the need for maximum resource isolation, specific hardware requirements, or special regulatory norms. Start with a VPS and scale to dedicated if and when your needs exceed virtualization capabilities.
Slow Strapi admin panel performance
What to check: Slow admin panel performance can be caused by insufficient VPS resources (CPU or RAM), a slow database, or unoptimized queries. Check server resource usage (htop or free -h).
How to fix: Increase the amount of RAM on the VPS if it is close to exhaustion. Optimize database queries if you have very complex content structures. Make sure the database is on an SSD. For a production environment, always run Strapi in NODE_ENV=production mode, as it consumes more resources in development mode.
Conclusions and Next Steps
Diagram: Conclusions and Next Steps
Congratulations! You have successfully deployed Strapi Headless CMS on your VPS, configuring PostgreSQL, Nginx, and SSL certificates. You now have a powerful, secure, and flexible content management platform, ready for integration with any frontend application.
Here are some next steps you can take to further develop your Strapi project:
Frontend Development: Use your Strapi API to create websites (with React, Vue, Next.js, Nuxt.js), mobile applications, or other digital products.
Extending Strapi Functionality: Explore the Strapi documentation to create custom fields, plugins, lifecycles, and user roles.
Monitoring and Optimization: Implement monitoring tools (e.g., Prometheus + Grafana) to track server and Strapi performance, to promptly respond to potential issues and optimize resources.
Was this guide helpful?
Your feedback helps us improve our guides.
Share this post:
Send this guide to someone who may find it useful.