Deploying Baserow on a VPS: self-hosted no-code database
TL;DR
In this detailed guide, we will step-by-step set up and deploy Baserow — a powerful open-source no-code database — on your own Virtual Private Server (VPS). You will learn how to install Docker, configure Baserow using Docker Compose, ensure secure access via HTTPS with Caddy, and set up automatic backups, gaining full control over your data and applications.
- Setting up a modern VPS with Ubuntu Server 24.04 LTS for maximum stability and security.
- Installing and configuring Docker and Docker Compose for efficient management of containerized applications.
- Deploying Baserow version 1.25.x using official Docker images.
- Configuring secure access to Baserow via HTTPS with automatic Let's Encrypt certificate acquisition using Caddy.
- Implementing a backup strategy for Baserow's database and user files.
- Gaining full control over your no-code platform, ensuring privacy and flexibility.
What we configure and why
In this guide, we will focus on deploying Baserow — a powerful and flexible open-source platform for creating no-code databases. Baserow allows users to create and manage relational databases without writing a single line of code, offering an intuitive interface reminiscent of spreadsheets but with the functionality of a full-fledged database. This is an ideal solution for teams that need to quickly structure data, automate workflows, and build simple applications.
Ultimately, you will get a fully functional Baserow instance, accessible via your own domain name with a secure HTTPS connection. You will be able to create databases, tables, configure fields, views, formulas, and API interfaces, providing access to your team or clients. All data will be stored on your own server, ensuring maximum control and confidentiality.
Alternatives: Cloud-managed vs. Self-hosted
There are many no-code databases on the market, such as Airtable, NocoDB, SeaTable, and Google Sheets with extensions. They fall into two main categories:
- Cloud-managed solutions: These are SaaS platforms where the provider manages the entire infrastructure. They are convenient, do not require technical knowledge for deployment, but you depend on the provider for security, scalability, pricing, and data ownership. Examples include Airtable, Smartsheet.
- Self-hosted solutions: Such as Baserow, allow you to install the software on your own server (VPS or dedicated). This gives you full control over data, security, performance, and customization. You are not tied to the pricing policy of a single provider and can adapt the system to your needs.
We choose self-hosted Baserow on a VPS for several reasons:
- Full data control: Your data remains on your server, which is critical for confidential projects, GDPR compliance, and other regulations.
- Cost-effectiveness: With moderate use and proper configuration, maintaining a VPS is often cheaper than subscriptions to cloud-managed services, especially as your team or data volume grows.
- Flexibility and customization: The ability to fine-tune the server and Baserow itself to specific requirements, integration with other self-hosted services.
- Independence: You are not dependent on changes in the policy, prices, or functionality of a third-party provider.
What VPS configuration is needed for this task
VPS requirements for Baserow can vary significantly depending on the number of users, data volume, database complexity, and API usage intensity. However, for initial deployment and small teams (up to 5-10 active users), you can aim for the following minimum and recommended specifications.
Minimum requirements (for testing or very small teams)
- CPU: 1-2 cores (Intel Xeon E3/E5 or AMD EPYC). Baserow is a Python application that can be quite CPU-intensive for complex queries.
- RAM: 2 GB. Baserow, PostgreSQL, and Redis together can consume a significant amount of RAM. 2 GB is an absolute minimum, where the system might run slowly or encounter out-of-memory issues during peak loads.
- Disk: 40 GB SSD. SSD is critical for database performance. 40 GB will be sufficient for the operating system, Docker images, and a small amount of data.
- Network: 100 Mbps. This is sufficient for most tasks.
Recommended VPS plan for small to medium teams (up to 20-30 active users)
For comfortable operation and growth potential, the following characteristics are recommended:
- CPU: 2-4 cores (modern Intel Xeon or AMD EPYC).
- RAM: 4-8 GB. This will ensure stable operation of Baserow, PostgreSQL, Redis, and the operating system even with active use.
- Disk: 80-160 GB SSD. This will provide enough space for the OS, all Baserow components, a significant amount of data, and backups.
- Network: 1 Gbps. High bandwidth will ensure fast data loading and interface responsiveness.
You can find a VPS with the specified characteristics to rent a server that meets these requirements.
When a Dedicated Server is needed, not a VPS
A dedicated server becomes necessary when:
- Very high load: Thousands of active users, huge data volumes (terabytes), or very intensive database operations.
- Strict performance requirements: Maximum and predictable performance is needed without "sharing" with other clients on the same physical server.
- Specific hardware requirements: Special RAID configurations, specialized GPUs, or other hardware components not available on a VPS are needed.
- Compliance with regulatory requirements: Some industries require complete physical separation and control over hardware.
For most Baserow tasks at initial and medium stages, a VPS will be more than sufficient and more cost-effective.
Location: what it affects
Choosing a VPS location is important for several reasons:
- Latency: The closer the server is to your target audience or to you, the lower the latency and faster the response. If your team is in Europe, choose a European data center.
- Data legislation: Different countries have different data privacy laws (e.g., GDPR in the EU). The choice of location can affect the legal aspects of storing and processing information.
- Network availability: Some regions may have better connectivity to certain parts of the world.
Always choose a location that is geographically closer to the primary users of your Baserow instance.
Server Preparation
After gaining access to your new VPS with Ubuntu Server 24.04 LTS, the first step is to perform a series of basic configurations to enhance security and ease of management. All commands are executed as the root user or using sudo.
1. Connecting to the server via SSH
Use your SSH client to connect:
ssh root@YOUR_VPS_IP_ADDRESS
Enter the password provided by your provider.
2. System Update
Ensure that all packages on the server are updated to the latest versions:
sudo apt update         # Update package list
sudo apt upgrade -y     # Upgrade installed packages without confirmation
sudo apt autoremove -y  # Remove unnecessary dependencies
3. Creating a new user with sudo privileges
Working as root is insecure. Let's create a new user and grant them sudo privileges:
sudo adduser baserow_admin      # Create a new user
sudo usermod -aG sudo baserow_admin # Add user to the sudo group
Follow the instructions to set the password and user information. After that, exit the root session and log in as baserow_admin:
exit
ssh baserow_admin@YOUR_VPS_IP_ADDRESS
4. Setting up SSH keys (recommended)
To enhance security and convenience, set up SSH key authentication. If you don't have an SSH key, generate one on your local machine:
ssh-keygen -t rsa -b 4096 # On your local machine
Then copy the public key to the server:
ssh-copy-id baserow_admin@YOUR_VPS_IP_ADDRESS # On your local machine
Once you have confirmed that you can log in with the key, disable password authentication for root and the new user in the /etc/ssh/sshd_config file:
sudo nano /etc/ssh/sshd_config
Find and change/add the following lines:
# Disable password login for root (if enabled)
PermitRootLogin prohibit-password

# Disable password login for all users (after SSH key setup)
PasswordAuthentication no
Restart the SSH service:
sudo systemctl restart sshd
5. Firewall Configuration (UFW)
Enable the basic UFW firewall to protect the server. Allow only the necessary ports:
sudo ufw allow OpenSSH       # Allow SSH (port 22)
sudo ufw allow http          # Allow HTTP (port 80)
sudo ufw allow https         # Allow HTTPS (port 443)
sudo ufw enable              # Enable UFW
sudo ufw status verbose      # Check firewall status
Confirm firewall activation by pressing y.
6. Installing Fail2Ban
Fail2Ban protects against brute-force attacks by blocking IP addresses from which numerous failed login attempts originate:
sudo apt install fail2ban -y    # Install Fail2Ban
sudo systemctl enable fail2ban  # Enable autostart
sudo systemctl start fail2ban   # Start the service
For basic configuration, you can create the file /etc/fail2ban/jail.local:
sudo nano /etc/fail2ban/jail.local
And add the following content:
[DEFAULT]
bantime = 10m
findtime = 10m
maxretry = 5
banaction = ufw

[sshd]
enabled = true
port = ssh
logpath = %(sshd_log)s
backend = %(sshd_backend)s
Restart Fail2Ban to apply changes:
sudo systemctl restart fail2ban
Your server now has basic protection and is ready for Baserow installation.
Software Installation — Step-by-step
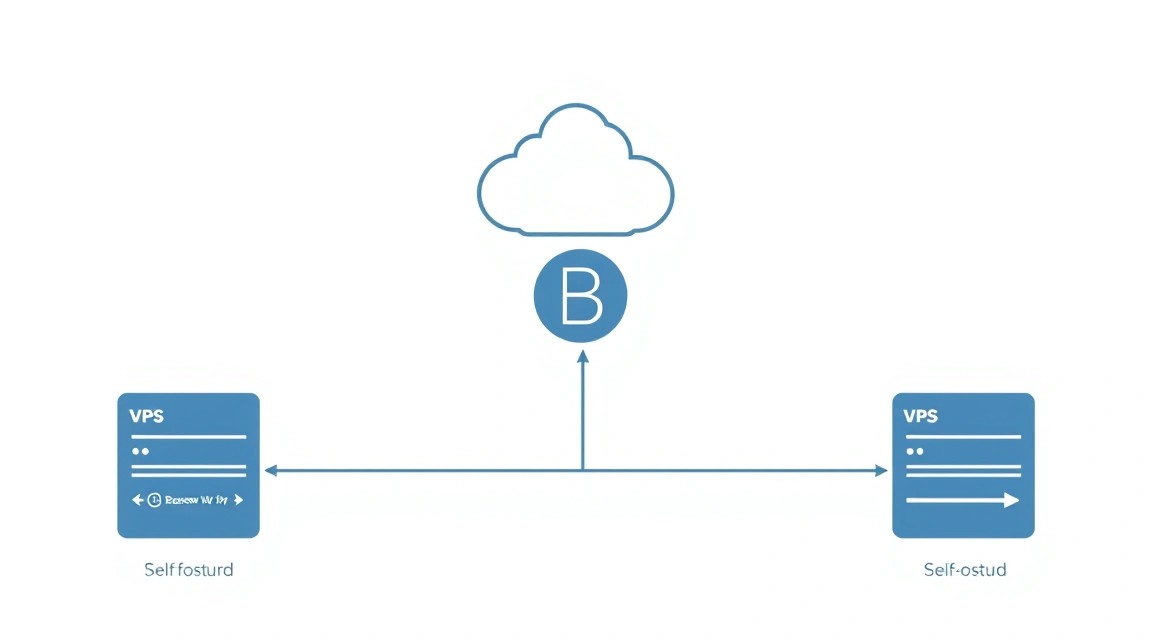
Baserow will be deployed using Docker and Docker Compose, which is the recommended approach for most self-hosted applications. This ensures isolation, easy dependency management, and simple scaling.
1. Docker Engine Installation
First, let's install Docker. These commands are valid for Ubuntu 24.04 LTS and ensure the installation of the latest stable version of Docker CE (assuming Docker Engine 25.x or newer by 2026).
# Remove old Docker versions (if any)
for pkg in docker.io docker-doc docker-compose docker-ce docker-ce-cli containerd.io docker-buildx-plugin docker-compose-plugin; do sudo apt remove $pkg -y; done

# Install necessary packages for repository management
sudo apt update
sudo apt install ca-certificates curl gnupg -y

# Add Docker's official GPG key
sudo install -m 0755 -d /etc/apt/keyrings
curl -fsSL https://download.docker.com/linux/ubuntu/gpg | sudo gpg --dearmor -o /etc/apt/keyrings/docker.gpg

# Add the Docker repository to Apt
echo \
  "deb [arch="$(dpkg --print-architecture)" signed-by=/etc/apt/keyrings/docker.gpg] https://download.docker.com/linux/ubuntu \
  "$(. /etc/os-release && echo "$VERSION_CODENAME")" stable" | \
  sudo tee /etc/apt/sources.list.d/docker.list > /dev/null

# Update the package list with the new repository
sudo apt update

# Install Docker Engine, Docker CLI, and Containerd
sudo apt install docker-ce docker-ce-cli containerd.io -y
After installation, add your user to the docker group to run Docker commands without sudo (requires a reboot or re-login):
sudo usermod -aG docker baserow_admin # Add user to the docker group
newgrp docker                          # Apply changes without rebooting
Verify that Docker is installed correctly:
docker run hello-world # Run a test container
2. Docker Compose Installation
Docker Compose is usually installed as a plugin to Docker (version 2.x). By 2026, it will be integrated into the Docker CLI.
sudo apt install docker-compose-plugin -y # Install Docker Compose as a plugin
Check the Docker Compose version:
docker compose version # Check Docker Compose version
3. Downloading Baserow Docker Compose Configuration
Baserow provides official configuration files for Docker Compose. Let's create a directory for Baserow and download them there.
mkdir baserow && cd baserow # Create directory and navigate into it
wget https://gitlab.com/baserow/baserow/-/raw/develop/deploy/docker-compose.yml # Download docker-compose.yml (valid for Baserow 1.25.x)
wget https://gitlab.com/baserow/baserow/-/raw/develop/deploy/.env # Download .env file
Ensure you download the latest files from the official Baserow repository. The develop version often reflects the latest stable changes, but for production, you can use links to specific releases.
4. Configuring the .env file
The .env file contains environment variables for Baserow configuration, including secrets and domain settings. Open it for editing:
nano .env # Edit the environment variables file
You will need to change the following parameters (examples):
BASEROW_PUBLIC_URL: This should be your domain through which Baserow will be accessible (e.g.,https://baserow.yourdomain.com).DATABASE_PASSWORD: Generate a strong password for the PostgreSQL database.SECRET_KEY: Generate a strong secret key.
Example changes in .env:
# ... other variables ...

BASEROW_PUBLIC_URL=https://baserow.yourdomain.com

# PostgreSQL database settings
# ...
DATABASE_PASSWORD=YOUR_STRONG_DATABASE_PASSWORD_HERE
# ...

# Baserow secret key
SECRET_KEY=YOUR_VERY_LONG_AND_COMPLEX_SECRET_KEY_HERE

# ...
You can generate strong passwords and secret keys, for example, using openssl rand -hex 32 or online generators.
5. Starting Baserow
After configuring the .env file, you can start Baserow. Docker Compose will automatically download the necessary images and start all services.
docker compose up -d # Start all Baserow services in the background
This command will download Docker images (PostgreSQL, Redis, Baserow Web, Baserow Backend, Caddy), create containers, and start them. The process may take several minutes depending on your internet connection speed.
6. Checking Container Status
Ensure that all containers are running correctly:
docker compose ps # Check the status of running containers
You should see an Up status for all services (baserow_backend, baserow_web, caddy, database, redis).
You can also view the logs of a specific service, for example, the backend:
docker compose logs baserow_backend # View Baserow backend logs
At this stage, Baserow is running but is only accessible via the server's IP address and possibly without HTTPS. The next step is to configure secure access via a domain.