Setting up Apache Guacamole on a VPS: Remote Access to Servers and PCs via Browser
TL;DR
In this guide, we will step-by-step configure Apache Guacamole on a Virtual Private Server (VPS) running Ubuntu 24.04 LTS. Guacamole will allow you to gain secure remote access to your servers, workstations, and other devices via RDP, VNC, and SSH protocols directly from a web browser, without the need to install desktop clients.
Installation and configuration of all Guacamole components (server, client, PostgreSQL database).
Ensuring security with HTTPS via Caddy Server and basic server settings.
Detailed instructions for VPS preparation, dependency installation, and application deployment.
Configuration examples for various connection types and authentication methods.
Recommendations for system backup and maintenance for long-term stability.
Troubleshooting and FAQ section for resolving common issues.
What we are setting up and why
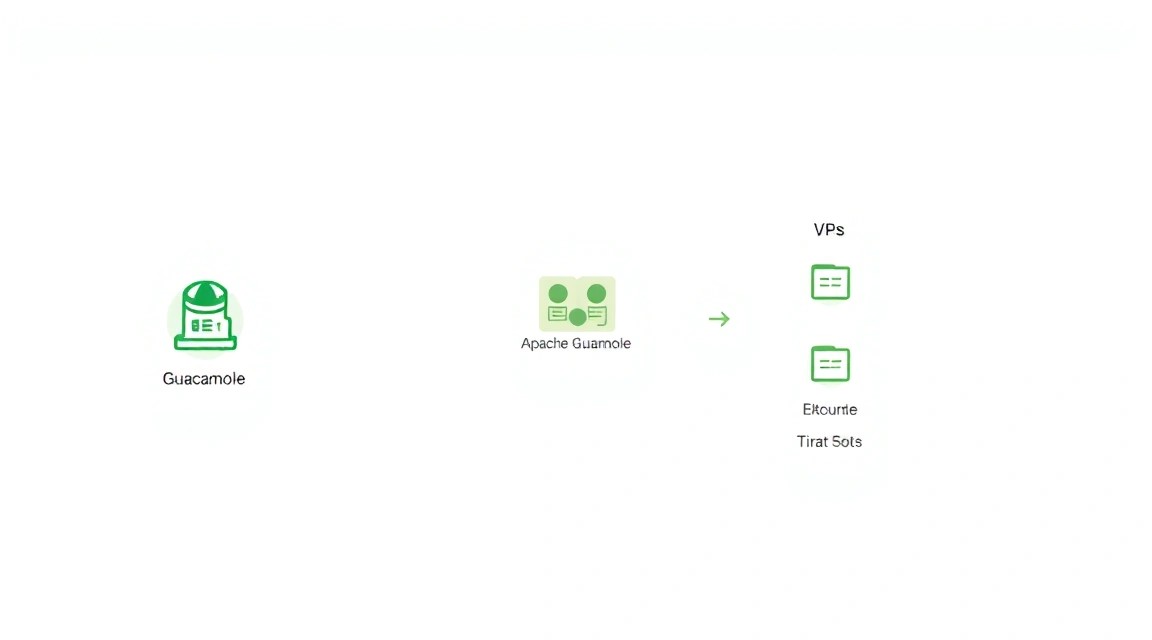
Diagram: What we are setting up and why
We will be setting up Apache Guacamole – a clientless client gateway that provides remote access to various protocols (RDP, VNC, SSH, Telnet) via a standard web browser, using HTML5. This means you can connect to your servers and PCs from anywhere with internet access and a web browser, without needing to install specialized software on the client machine.
Ultimately, you will get a single point of entry for managing your entire infrastructure. Instead of using a separate SSH client for Linux servers, an RDP client for Windows machines, and a VNC client for graphical workstations, you will be able to access all of this through a unified Guacamole web interface. This significantly simplifies management, especially for teams or when working with many different systems.
There are alternatives, such as cloud-managed solutions (e.g., AWS Systems Manager Session Manager, Azure Bastion) or proprietary VPN solutions. However, these options often involve monthly fees, vendor lock-in, or functional limitations. Self-hosting Guacamole on a VPS gives you full control over data, security, and configuration. This is cost-effective in the long run, especially if you already have a VPS, and allows integration with your existing authentication infrastructure (e.g., LDAP, Active Directory), which cloud services do not always offer.
Choosing a self-hosted solution on a VPS also provides greater flexibility. You can configure Guacamole exactly as you need it, add your own extensions, and integrate it with other monitoring or automation tools. For developers, solo founders, gamers, or crypto enthusiasts who need reliable and controlled access to their resources, Guacamole becomes an ideal solution, providing a powerful tool without unnecessary costs and dependencies.
What VPS configuration is needed for this task
Diagram: What VPS configuration is needed for this task
VPS requirements for Apache Guacamole depend on the anticipated load – the number of concurrent users and intensity of use (e.g., transferring large amounts of data via RDP/VNC). However, for most scenarios involving 1-5 concurrent users, the requirements are quite modest.
Minimum requirements:
CPU: 2 cores. Guacamole performs protocol transcoding to HTML5, which can be quite resource-intensive.
RAM: 2 GB. This will be sufficient for the operating system, a Java servlet (e.g., Tomcat), and Guacamole itself.
Disk: 40 GB SSD. For the operating system, Guacamole, database (PostgreSQL), and logs. SSD is highly recommended for performance.
Network: 100 Mbps. For stable operation of remote connections. The higher, the better, especially for RDP with graphical interfaces.
Specific VPS plan for the task:
For comfortable operation and future scalability, we recommend the following configuration:
CPU: 2-4 x86-64 cores
RAM: 4 GB
Disk: 80 GB NVMe SSD (or fast SATA SSD)
Network: 1 Gbps port with unlimited traffic
This configuration will be sufficient for 5-10 concurrent users, ensuring smooth operation even with intensive RDP use. You can get a VPS with the specified characteristics or consider similar offers from other providers.
When a dedicated server is needed, not a VPS:
You plan to serve more than 20-30 concurrent users.
You need maximum CPU performance for transcoding, as a VPS may have "noisy neighbor" limitations.
Very high network bandwidth and guaranteed resources are required, for example, for streaming video via VNC/RDP.
You have strict security and isolation requirements that a VPS cannot fully meet due to virtualization.
For most individual users or small teams, a VPS will be more than sufficient and more cost-effective.
Location: what it affects
Latency: The closer the VPS is to you and to the servers/PCs you connect to via Guacamole, the lower the latency will be. Low latency is critical for comfortable work with RDP and VNC.
Connection Speed: Proximity to target servers also affects the overall connection speed between Guacamole and the endpoints.
Legislation: In some cases, there may be requirements for data storage or the jurisdiction under which the server is located.
The ideal option is to place the Guacamole VPS in the same geographical region as most of your target servers or users. If your users and servers are distributed, choose a central location with good connectivity.
Server Preparation
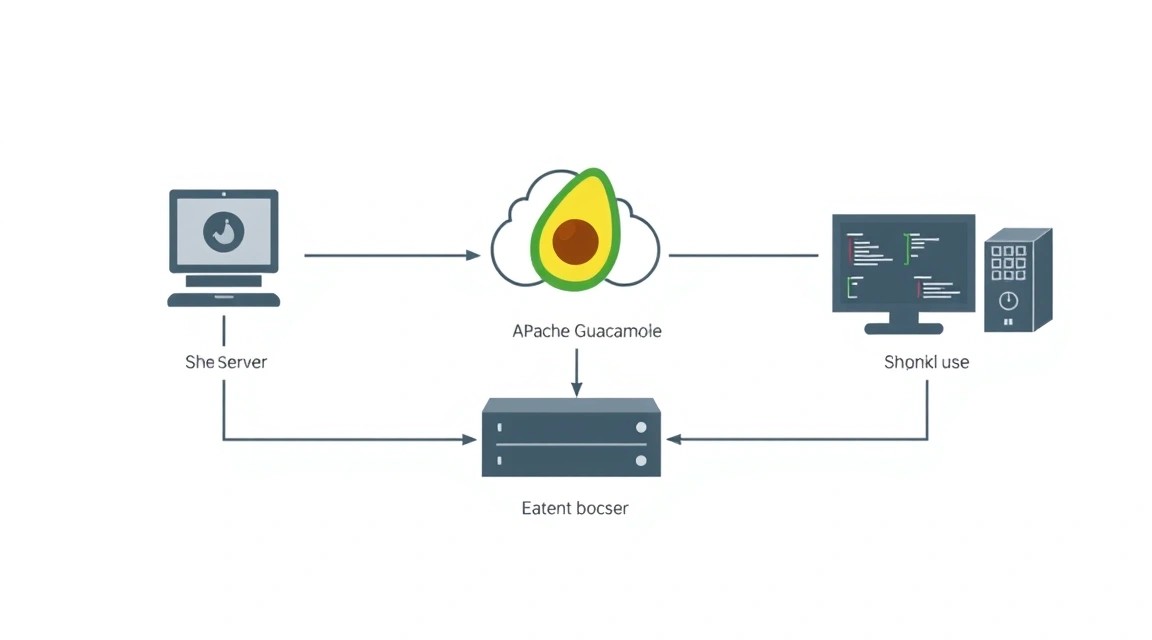
Diagram: Server Preparation
Before proceeding with the installation of Apache Guacamole, you need to perform basic setup and security hardening of your new VPS. We will be using Ubuntu Server 24.04 LTS.
1. SSH Connection and System Update
The first step is always to connect to the server via SSH and update all installed packages to their latest versions. This ensures you have the latest security fixes and stable software versions.
# Connect to your VPS via SSH (replace user and your_vps_ip)
# ssh user@your_vps_ip

# Update the package list
sudo apt update

# Upgrade all installed packages
sudo apt upgrade -y

# Install some useful utilities if they are not already installed
sudo apt install -y curl wget git htop unzip
2. Creating a New User with Sudo Privileges (if not done during provisioning)
Working as the root user is unsafe. Create a new user and grant them sudo privileges.
# Create a new user (replace youruser)
sudo adduser youruser

# Add the new user to the sudo group
sudo usermod -aG sudo youruser

# Switch to the new user
su - youruser
Subsequent commands will be executed as this new user using sudo.
3. Configuring SSH Keys for Secure Access
Password-based SSH access is less secure. Configure SSH key authentication and disable password access.
# On your local machine, generate an SSH key (if you don't have one already)
# ssh-keygen -t rsa -b 4096

# Copy the public key to the VPS (replace youruser and your_vps_ip)
# ssh-copy-id youruser@your_vps_ip

# After successfully copying the key, connect to the VPS as the new user
# ssh youruser@your_vps_ip

# On the VPS: Edit the SSH server configuration
sudo nano /etc/ssh/sshd_config
In the /etc/ssh/sshd_config file, find and modify the following lines:
# Disable root login
PermitRootLogin no

# Disable password authentication (after ensuring key login works!)
PasswordAuthentication no
Save changes (Ctrl+O, Enter) and exit (Ctrl+X). Then restart the SSH server:
# Restart the SSH server to apply changes
sudo systemctl restart sshd
Be sure to check if you can log in via SSH using the key before closing the current session! If something goes wrong, you might lose access.
4. Configuring the UFW Firewall
Uncomplicated Firewall (UFW) is an easy-to-use interface for iptables. We will configure it to allow only necessary incoming connections.
The output of sudo ufw status verbose should show that SSH, HTTP, and HTTPS are allowed.
5. Installing Fail2ban
Fail2ban protects your server from brute-force attacks by blocking IP addresses from which too frequent failed login attempts originate.
# Install Fail2ban
sudo apt install -y fail2ban

# Enable and start the Fail2ban service
sudo systemctl enable fail2ban
sudo systemctl start fail2ban

# Create a local configuration for SSH
sudo cp /etc/fail2ban/jail.conf /etc/fail2ban/jail.local

# Edit jail.local to enable SSH protection and configure parameters
sudo nano /etc/fail2ban/jail.local
In the /etc/fail2ban/jail.local file, find the [sshd] section and ensure it is enabled (enabled = true). You can also configure bantime (block time), findtime (period for detecting attempts), and maxretry (maximum number of attempts).
# Example configuration in jail.local
[DEFAULT]
bantime = 1d       ; Block time (1 day)
findtime = 10m     ; Period for detecting attempts (10 minutes)
maxretry = 5       ; Maximum number of attempts before blocking

[sshd]
enabled = true
port = ssh
logpath = %(sshd_log)s
backend = %(sshd_backend)s
Save changes and restart Fail2ban:
# Restart Fail2ban
sudo systemctl restart fail2ban

# Check Fail2ban status
sudo fail2ban-client status
sudo fail2ban-client status sshd
Your server is now basically secured and ready for Apache Guacamole installation.
Software Installation — Step-by-Step
Diagram: Software Installation — Step-by-Step
To install Apache Guacamole, we will need several components: the Guacamole server (guacd), the Guacamole web application (guacamole-client.war), a servlet container (Tomcat), a database (PostgreSQL), and a web server/reverse proxy (Caddy) for HTTPS. We will use the current software versions as of 2026, focusing on the latest LTS releases.
1. Installing Guacamole Server (guacd) Dependencies
guacd is a daemon that handles communication with remote protocols (RDP, VNC, SSH). It requires various libraries to support these protocols.
2. Compiling and Installing Guacamole Server (guacd)
We will download the guacd source code, compile, and install it. Versions 1.5.x or 1.6.x are expected in 2026.
# Create a temporary directory for source code
mkdir -p ~/guacamole-build
cd ~/guacamole-build

# Download Guacamole Server source code (replace 1.6.0 with the actual stable version for 2026)
# You can check the current version at https://guacamole.apache.org/download/
wget https://apache.org/dyn/closer.cgi?action=download&filename=guacamole/1.6.0/source/guacamole-server-1.6.0.tar.gz -O guacamole-server-1.6.0.tar.gz

# Unpack the archive
tar -xzf guacamole-server-1.6.0.tar.gz
cd guacamole-server-1.6.0

# Configure the build with support for all protocols
# Check the ./configure output for errors or missing dependencies
./configure --with-init-dir=/etc/init.d

# Compile guacd
make

# Install guacd
sudo make install

# Update dynamic library cache
sudo ldconfig

# Create user and group for guacd
sudo groupadd --system guacd
sudo useradd --system --no-create-home -g guacd guacd

# Enable and start the guacd service
sudo systemctl enable guacd
sudo systemctl start guacd

# Check guacd status
sudo systemctl status guacd
3. Installing Java Development Kit (JDK) and Tomcat
The Guacamole web application is written in Java and requires a servlet container, such as Apache Tomcat. We will use OpenJDK and Tomcat 10 (current for 2026).
# Install OpenJDK (Java 17 or newer)
sudo apt install -y openjdk-17-jdk

# Install Apache Tomcat 10
sudo apt install -y tomcat10 tomcat10-admin

# Ensure Tomcat is running and enabled
sudo systemctl enable tomcat10
sudo systemctl start tomcat10

# Check Tomcat status
sudo systemctl status tomcat10
4. Installing PostgreSQL Database Server
Guacamole uses a database to store users, connection settings, and logs. PostgreSQL is an excellent choice.
# Install PostgreSQL
sudo apt install -y postgresql postgresql-contrib

# Switch to postgres user to create the database
sudo -i -u postgres

# Start PostgreSQL console
psql

# Create database for Guacamole
CREATE DATABASE guacamole_db;

# Create user for Guacamole with password (replace 'your_db_password')
CREATE USER guacamole_user WITH PASSWORD 'your_db_password';

# Grant user privileges on the database
GRANT ALL PRIVILEGES ON DATABASE guacamole_db TO guacamole_user;

# Exit PostgreSQL console
\q

# Exit postgres user
exit
5. Deploying Guacamole Web Application (.war) and Extensions
Download the Guacamole web application and authentication extensions. We will use PostgreSQL database authentication.
# Create directory for Guacamole configuration
sudo mkdir -p /etc/guacamole

# Create directory for Guacamole extensions
sudo mkdir -p /etc/guacamole/extensions

# Create directory for Guacamole libraries
sudo mkdir -p /etc/guacamole/lib

# Download Guacamole web application (replace 1.6.0 with the actual stable version)
wget https://apache.org/dyn/closer.cgi?action=download&filename=guacamole/1.6.0/binary/guacamole-1.6.0.war -O ~/guacamole-client.war

# Download PostgreSQL authentication extension
wget https://apache.org/dyn/closer.cgi?action=download&filename=guacamole/1.6.0/binary/guacamole-auth-jdbc-postgresql-1.6.0.jar -O /etc/guacamole/extensions/guacamole-auth-jdbc-postgresql-1.6.0.jar

# Copy WAR file to Tomcat web applications directory
sudo cp ~/guacamole-client.war /var/lib/tomcat10/webapps/guacamole.war

# Install JDBC driver for PostgreSQL
sudo apt install -y libpostgresql-jdbc-java

# Create a symbolic link to the JDBC driver in the Guacamole directory
sudo ln -s /usr/share/java/postgresql-jdbc.jar /etc/guacamole/lib/postgresql-jdbc.jar

# Set permissions for Guacamole directories and files
sudo chown -R tomcat:tomcat /etc/guacamole
sudo chmod -R 755 /etc/guacamole
6. Initializing Guacamole Database Schema
Guacamole requires a specific schema in the PostgreSQL database. The scripts for creating it are located in the guacamole-server source archive.
# Navigate to the Guacamole Server source directory
cd ~/guacamole-build/guacamole-server-1.6.0/extensions/guacamole-auth-jdbc-postgresql/schema/

# Execute schema creation scripts in PostgreSQL
# Replace 'guacamole_user' and 'guacamole_db' with your data
cat 002-create-schema.sql 003-create-admin-user.sql | sudo -u postgres psql guacamole_db

# Return to home directory
cd ~
This step will create the necessary tables and add the default user guacadmin with password guacadmin. Be sure to change this password immediately after the first login!
Configuration
Diagram: Configuration
After installing all components, they need to be configured correctly. This includes configuring Guacamole to connect to the database, setting up Tomcat, and installing the Caddy reverse proxy server to provide HTTPS.
1. Guacamole Configuration (guacamole.properties)
The main Guacamole configuration file is guacamole.properties. It tells Guacamole how to connect to the database and other components.
# Create or edit the guacamole.properties file
sudo nano /etc/guacamole/guacamole.properties
Add the following content to the file, replacing your_db_password with your password for the PostgreSQL user guacamole_user:
# Hostname and port of guacd
guacd-hostname: localhost
guacd-port: 4822

# PostgreSQL authentication
postgresql-hostname: localhost
postgresql-port: 5432
postgresql-database: guacamole_db
postgresql-username: guacamole_user
postgresql-password: your_db_password
Save changes (Ctrl+O, Enter) and exit (Ctrl+X).
2. Configuring Tomcat to Use Guacamole
Tomcat needs to be told where to find the Guacamole configuration. This is done by creating a setenv.sh file.
# Create directory for Tomcat settings
sudo mkdir -p /etc/tomcat10/conf/Catalina/localhost/

# Create setenv.sh file for Tomcat
sudo nano /usr/share/tomcat10/bin/setenv.sh
Add the following line to setenv.sh:
#!/bin/bash
export GUACAMOLE_HOME=/etc/guacamole
Save changes. Make the file executable and restart Tomcat:
Tomcat logs should show entries about Guacamole loading without critical errors.
3. Configuring Caddy Server for HTTPS
Caddy is a modern web server with automatic HTTPS. It is ideal for Guacamole as it automatically obtains and renews SSL/TLS certificates via Let's Encrypt.
Now your Apache Guacamole should be accessible via HTTPS at https://guacamole.yourdomain.com.
4. Verifying Functionality
Open a web browser and navigate to your domain name (e.g., https://guacamole.yourdomain.com). You should see the Guacamole login page.
Use the default credentials: Username: guacadmin, Password: guacadmin. Immediately change this password after the first login!
After logging in, you can add a new connection. For example, for SSH:
Click "New Connection".
Select "SSH" as the protocol.
In the "Hostname" field, enter the IP address or domain of your target SSH server.
In the "Port" field, enter 22.
In the "Username" and "Password" fields, enter the credentials for SSH access.
Save the connection and try to connect to it.
If you encounter issues, check the logs for Tomcat (sudo journalctl -u tomcat10), Caddy (sudo journalctl -u caddy), and Guacd (sudo journalctl -u guacd) for errors.
Backups and Maintenance
Diagram: Backups and Maintenance
Regular backups and system maintenance are critically important for the stable and secure operation of Apache Guacamole. Data loss or outdated software can lead to serious problems.
1. What to Back Up
For Guacamole, the following components must be backed up regularly:
PostgreSQL Database: Contains all users, their settings, connection definitions, and audit logs. This is the most important component.
Guacamole Configuration Files:
/etc/guacamole/guacamole.properties
/etc/guacamole/extensions/ (all JAR extension files)
/etc/guacamole/lib/ (JDBC driver)
Caddy Configuration:/etc/caddy/Caddyfile
Tomcat Configuration:/usr/share/tomcat10/bin/setenv.sh (and possibly other custom settings)
SSH Keys: If you use them for Guacamole authentication on target servers (stored in /etc/guacamole/keys/ or similar locations).
2. Simple Auto-Backup Script
We will create a simple script that will back up the database and configuration files, and then package them. For storage, you can use an external S3-compatible object storage or a separate VPS.
For PostgreSQL database backups, we will use pg_dump. For files – tar. To send to S3, you can use s3cmd or awscli, but for simplicity, we will just create an archive.
# Create a directory for backup scripts
sudo mkdir -p /opt/backup_scripts
sudo chown youruser:youruser /opt/backup_scripts

# Create the backup script file
nano /opt/backup_scripts/guacamole_backup.sh
Add the following content to the guacamole_backup.sh file. Replace your_db_password, guacamole_user, and guacamole_db with your data. Also, specify the path to the directory where backups will be saved (e.g., /var/backups/guacamole).
#!/bin/bash

# Variables
BACKUP_DIR="/var/backups/guacamole"
DATE=$(date +%Y%m%d%H%M%S)
DB_NAME="guacamole_db"
DB_USER="guacamole_user"
DB_PASSWORD="your_db_password" # In production, use .pgpass or environment variables!

# Create backup directory if it doesn't exist
mkdir -p "$BACKUP_DIR"

# 1. PostgreSQL Database Backup
echo "Dumping PostgreSQL database..."
PGPASSWORD="$DB_PASSWORD" pg_dump -U "$DB_USER" -h localhost "$DB_NAME" > "$BACKUP_DIR/guacamole_db_$DATE.sql"
if [ $? -eq 0 ]; then
    echo "PostgreSQL database backup successful: $BACKUP_DIR/guacamole_db_$DATE.sql"
else
    echo "ERROR: PostgreSQL database backup failed."
    exit 1
fi

# 2. Guacamole and Caddy Configuration Files Backup
echo "Archiving configuration files..."
tar -czf "$BACKUP_DIR/guacamole_configs_$DATE.tar.gz" \
    /etc/guacamole \
    /etc/caddy/Caddyfile \
    /usr/share/tomcat10/bin/setenv.sh
if [ $? -eq 0 ]; then
    echo "Configuration files backup successful: $BACKUP_DIR/guacamole_configs_$DATE.tar.gz"
else
    echo "ERROR: Configuration files backup failed."
    exit 1
fi

# 3. Clean up old backups (keep last 7 days)
echo "Cleaning up old backups..."
find "$BACKUP_DIR" -type f -name ".sql" -mtime +7 -delete
find "$BACKUP_DIR" -type f -name ".tar.gz" -mtime +7 -delete
echo "Backup process completed."

# IMPORTANT: Send backups to external storage
# Here you can add commands to send files to S3, remote FTP/SFTP,
# or use specialized tools like restic or borg.
# Example for S3 with awscli (requires prior installation and configuration of awscli):
# aws s3 cp "$BACKUP_DIR/guacamole_db_$DATE.sql" s3://your-s3-bucket/guacamole/
# aws s3 cp "$BACKUP_DIR/guacamole_configs_$DATE.tar.gz" s3://your-s3-bucket/guacamole/
Save the file, make it executable, and configure Cron to run it regularly:
# Make the script executable
chmod +x /opt/backup_scripts/guacamole_backup.sh

# Create a directory for saving backups
sudo mkdir -p /var/backups/guacamole
sudo chown youruser:youruser /var/backups/guacamole

# Open crontab for the current user
crontab -e
Add the following line to run the backup daily at 03:00 AM:
Save and close crontab. Backups will now be created automatically.
3. Where to Store Backups
It is crucial to store backups on a resource separate from the main server. Options:
External S3-compatible object storage: The most recommended option. Reliable, scalable, and relatively inexpensive.
Separate VPS: You can set up a second, small VPS exclusively for storing backups from different servers.
NAS/Network storage: If you have your own hardware.
FTP/SFTP server: A simple but less reliable option if encryption and integrity control are not configured.
Never store the only copies of backups on the same server you are backing up!
4. Updates: rolling vs maintenance window
Regular software updates are important for security and new features. The approach to updates depends on the criticality of your system.
Rolling updates: Suitable for less critical systems or high-availability systems with a cluster where nodes can be updated sequentially. For a single Guacamole VPS, this means applying updates as soon as they become available.
Maintenance window: The preferred approach for most production systems, including Guacamole on a single VPS. A specific time is allocated (e.g., once a month at night) when updates can be performed, tested, and potential issues resolved.
Update Guacamole components (if new versions are available):
Download new versions of guacamole-server (for guacd) and guacamole-client.war, as well as extensions.
Stop Tomcat and Guacd.
Replace old files with new ones.
Start the services.
Verify functionality: After each update, ensure that Guacamole is working correctly and that you can connect to various target systems.
Always read the changelog and update instructions on the official Apache Guacamole website before updating core components.
Troubleshooting + FAQ
This section covers typical issues that may arise when setting up Apache Guacamole, and answers to frequently asked questions.
Cannot connect to Guacamole by domain name (502 Bad Gateway or Connection Refused error)
What to check:
Ensure that your domain (e.g., guacamole.yourdomain.com) correctly points to your VPS's IP address in DNS records.
Check that Caddy Server is running: sudo systemctl status caddy.
Check Caddy logs: sudo journalctl -u caddy --since "5 minutes ago". Look for errors related to port binding or proxying.
Ensure that Tomcat is running and listening on port 8080: sudo systemctl status tomcat10 and sudo ss -tulpn | grep 8080.
Check that the UFW firewall allows incoming connections on ports 80 and 443: sudo ufw status verbose.
How to fix: Correct DNS records, restart Caddy or Tomcat, ensure no other processes are occupying port 80/443 (for Caddy) or 8080 (for Tomcat), check UFW rules.
Guacamole page loads, but cannot log in (invalid credentials or database error)
What to check:
Check Tomcat logs: sudo journalctl -u tomcat10 --since "5 minutes ago". Look for errors related to database connection or authentication.
Ensure that PostgreSQL is running: sudo systemctl status postgresql.
Check the contents of /etc/guacamole/guacamole.properties. Ensure that postgresql-hostname, postgresql-port, postgresql-database, postgresql-username, and postgresql-password are specified correctly.
Ensure that the user guacamole_user has permissions on the guacamole_db database.
Try logging in with the default credentials guacadmin/guacadmin. If it works but your user does not, there might be an issue with user creation or permissions.
How to fix: Correct typos in guacamole.properties, restart Tomcat, check the PostgreSQL user password, ensure the database schema was correctly initialized.
Cannot connect to a remote server (RDP/VNC/SSH) via Guacamole
What to check:
Check guacd logs: sudo journalctl -u guacd --since "5 minutes ago". Look for errors related to connecting to the remote host or protocol issues.
Ensure that guacd is running: sudo systemctl status guacd.
Check that the target server is accessible from your VPS (e.g., ping target_ip, telnet target_ip ssh_port).
Ensure that the firewall on the target server (and on your VPS, if it blocks outbound connections) allows incoming connections on the respective port (22 for SSH, 3389 for RDP, 5900 for VNC).
Check connection settings in the Guacamole web interface (hostname, port, credentials).
How to fix: Correct firewall settings, check target server accessibility, ensure remote server credentials are correct, restart guacd.
What is the minimum VPS configuration suitable for Apache Guacamole?
For one or two concurrent users and non-intensive use, a VPS with 2 CPU cores, 2 GB of RAM, and a 40 GB SSD disk will be minimally suitable. However, if you plan more active use, especially with RDP for graphical interfaces or for multiple users, a configuration with 4 CPU cores, 4 GB RAM, and an 80 GB NVMe SSD is highly recommended. This will provide significantly better performance and stability, preventing delays and freezes during video stream transcoding.
What to choose — VPS or dedicated for this task?
For most scenarios, including Guacamole use by a small team or individual user, a VPS is the optimal choice. It offers sufficient performance at a significantly lower cost and greater management flexibility. A dedicated server becomes necessary if you expect very high load (more than 20-30 concurrent users), require guaranteed physical CPU and RAM resources, or if you have strict regulatory requirements for complete hardware isolation. For starting and scaling, in most cases, a VPS will be the best solution, allowing you to easily upgrade your plan as needs grow.
How to reset the Guacamole administrator password?
What to check: If you forgot the guacadmin password, you can reset it by executing an SQL query in the PostgreSQL database.
How to fix:
# Connect to PostgreSQL as the postgres user
sudo -i -u postgres

# Connect to the Guacamole database
psql guacamole_db

# Update the password for the guacadmin user (replace 'new_strong_password')
# The password must be SHA-256 hashed. In this example, we are resetting it to 'new_strong_password'
# and Guacamole will automatically hash it upon first login if you provide it as plaintext.
# For a secure reset, it's better to generate a hash:
# SELECT ENCODE(SHA256('new_strong_password'::bytea), 'hex');
# And then use it:
UPDATE guacamole_user SET password_hash = ENCODE(SHA256('new_strong_password'::bytea), 'hex'), password_salt = NULL WHERE username = 'guacadmin';

# If you just want to reset it to 'guacadmin' to change it later:
# UPDATE guacamole_user SET password_hash = 'C634887019799295598BB17F9A906F6F89304F7695D5D1426477546875931D80', password_salt = 'C634887019799295598BB17F9A906F6F89304F7695D5D1426477546875931D80' WHERE username = 'guacadmin';
# (this is the hash for 'guacadmin' with salt 'guacadmin', which was default during initialization)

# Exit psql
\q

# Exit postgres user
exit

# Restart Tomcat
sudo systemctl restart tomcat10
After this, you will be able to log in with the new password.
Conclusions and Next Steps
Diagram: Conclusions and Next Steps
You have successfully set up Apache Guacamole on your VPS, gaining a centralized and secure access point to your infrastructure via any web browser. This significantly simplifies the management of servers and remote workstations, enhancing the convenience and flexibility of your work. You now have a powerful tool for remote administration that can be scaled and adapted to your needs.
Here are some next steps you can take to further improve your system:
Integration with External Authentication: Consider integrating Guacamole with LDAP, Active Directory, RADIUS, or SAML for centralized user management if you already have such a system.
Fine-tuning Permissions: Create more detailed user groups and configure their access rights to specific connections to ensure the principle of least privilege.
Monitoring and Logging: Set up centralized monitoring of Guacamole logs and VPS system resources to promptly identify and resolve performance or security issues.
Implementing Two-Factor Authentication (2FA): To enhance security, consider adding 2FA to your Guacamole, using TOTP or other methods.