Installing BunkerWeb WAF on a VPS: Website Protection, SSL, Docker, and CrowdSec
TL;DR
BunkerWeb is a web firewall with a reverse proxy that is placed in front of websites, accepts HTTPS traffic, applies WAF rules, and forwards requests to applications. In this guide, we will install BunkerWeb in Docker on Ubuntu Server 24.04 LTS, connect a website through a reverse proxy, configure automatic Let's Encrypt TLS, basic bot protection, and integration with CrowdSec.
- We will use Ubuntu Server 24.04 LTS, Docker Engine 28.x, and Docker Compose v2.
- BunkerWeb will be the only public entry point on ports 80 and 443.
- The application will remain on an internal Docker network and will not be directly accessible from the internet.
- Let's Encrypt certificates will be issued and renewed automatically.
- CrowdSec will analyze logs and block IP addresses with a bad reputation.
- Configurations, secrets, and data will be stored in separate files and included in backups.
3. What We Are Configuring and Why
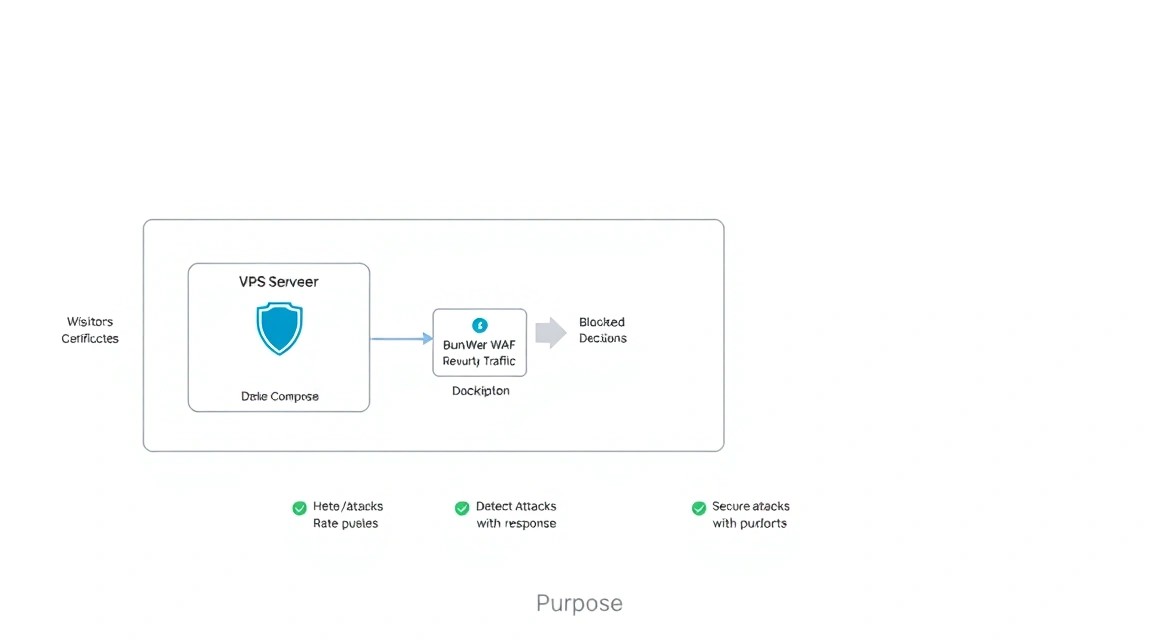
The usual website publishing scheme looks like this: an internet client connects directly to the application's web server. If the application contains a vulnerability, handles requests incorrectly, or is subjected to password brute-force attacks, the attack reaches it without an additional filter. BunkerWeb changes this architecture: it becomes a reverse proxy and WAF between the client and the application.
A WAF, or Web Application Firewall, analyzes HTTP requests before forwarding them to the backend. It can discard suspicious URIs, SQL injection attempts, XSS, directory traversal, automated brute-force attempts, and other common attacks. This does not replace updating the CMS, framework, and operating system, but it reduces the attack surface and adds a separate layer of protection.
Final Architecture
Интернет
    |
    | TCP 80/443
    v
[BunkerWeb WAF]
    |
    | внутренняя Docker-сеть
    v
[web-приложение: nginx, Node.js, PHP-FPM, контейнер SaaS]
    |
    v
[База данных и хранилище]
In our example, the domain will be example.com, and the application will be available inside Docker under the name app on port 8080. Replace this domain and these parameters with your own. DNS records must point to the server's public IPv4 address before the certificate is issued.
What You Will Have After Configuration
- Application ports will not be published through Docker to the external interface.
- HTTP requests will be accepted by BunkerWeb, while the HTTPS certificate will be managed automatically.
- Basic ModSecurity/OWASP CRS rules will be enabled for the website through the BunkerWeb template.
- Request logs will be stored in a Docker volume and available for analysis by CrowdSec.
- The system firewall will allow only SSH, HTTP, and HTTPS.
- Container updates and backups can be performed independently of the application.
Self-hosted or Cloud WAF
Cloud WAF services receive traffic on their side and proxy it to the origin server. This is convenient for large volumes, distributed DDoS protection, and the need to minimize your own maintenance. However, you will have to transfer DNS and part of your network control to an external provider, while the cost and limitations depend on the plan.
Self-hosted BunkerWeb is suitable when you need full control over configuration, logs, and data processing location. The VPS owner is responsible for updates, availability, backups, and origin protection. For one or several websites on a small server, this option is usually simpler and more transparent than independently assembling Nginx, ModSecurity, rate limiting, and a separate certificate management service.
It is important to understand the solution's limitations: BunkerWeb is not comprehensive protection against a powerful volumetric DDoS attack, does not fix application vulnerabilities, and does not replace access control for administrative panels. A critical service requires monitoring, separate backups, and a recovery plan.
4. What VPS Configuration Is Needed for This Task
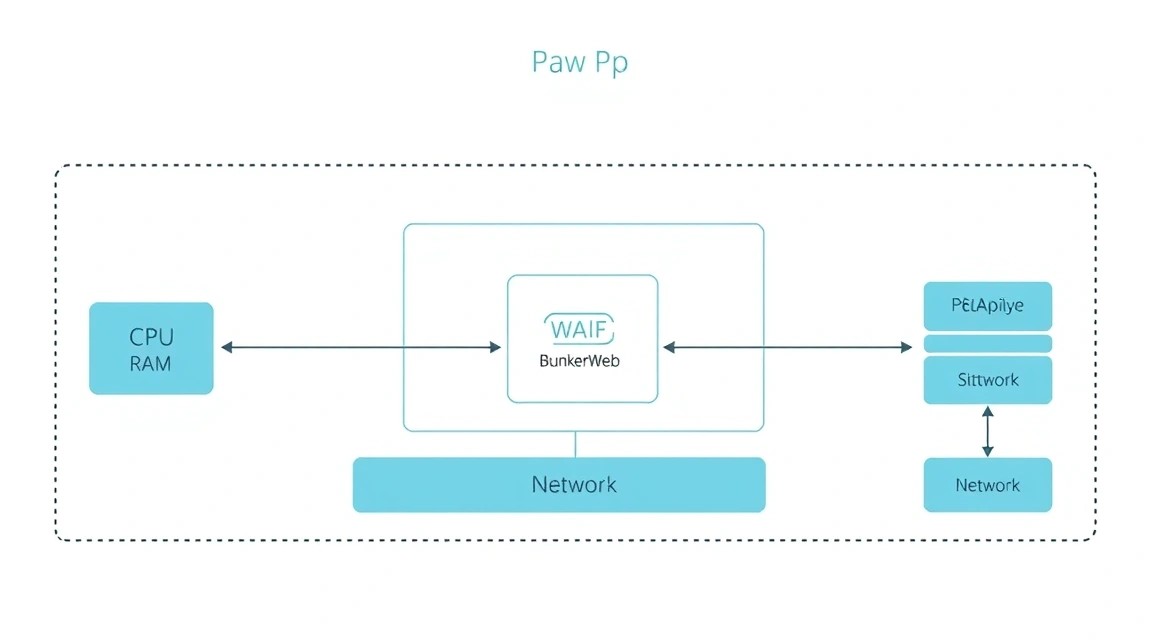
BunkerWeb operates as a reverse proxy, so its requirements depend not only on the WAF itself, but also on the number of websites, request size, TLS load, enabled rules, and backend performance. For one small website, the WAF consumes few resources, but Docker, CrowdSec, logging, and updates require additional RAM.
| Scenario | CPU | RAM | Disk | Network |
|---|---|---|---|---|
| Test website | 1 vCPU | 2 GB | 25 GB SSD | 100 Mbps |
| Small production website | 2 vCPU | 4 GB | 40–60 GB NVMe | 100–500 Mbps |
| Several websites and CrowdSec | 4 vCPU | 8 GB | 80–120 GB NVMe | 500 Mbps and above |
The minimum practical configuration for production is 2 vCPU, 4 GB RAM, and a 40 GB SSD. If the same VPS will also run a database, CMS, CI/CD, control panel, or multiple applications, it is better to choose 4 vCPU and 8 GB RAM immediately. For Docker, it is advisable to leave at least 1 GB of free memory after all containers start.
As a specific option, you can choose a suitable VPS with 2–4 vCPU, 4–8 GB RAM, an NVMe disk of at least 40 GB, and a public IPv4 address. Check that the provider allows incoming connections on TCP 80 and 443, provides a recovery console, and allows snapshots or external storage to be connected.
When You Need a Dedicated Server
A dedicated server is justified if the WAF handles a large, continuous flow of requests, several dozen websites are needed, heavy TLS encryption is performed, or resource-intensive backend services are hosted on the machine. Dedicated servers are also convenient when guaranteed IOPS, isolation from neighboring users, and your own network equipment are required.
For one website, an administration panel, an API, or a small team, a dedicated server is usually excessive. First, measure CPU, RAM, disk, and network usage. If the average load is below 50% and peaks do not cause swap usage or delays, moving to a physical server will not provide a noticeable benefit.
Choosing a Location
Location affects latency between visitors and the WAF, the route to the backend, and data storage requirements. Choose a region close to your main audience, but consider IPv4 availability, network quality, and personal data processing regulations. If the application and database are located in different regions, the latency between them may become more noticeable than the latency from the user to the WAF.
5. Server Preparation
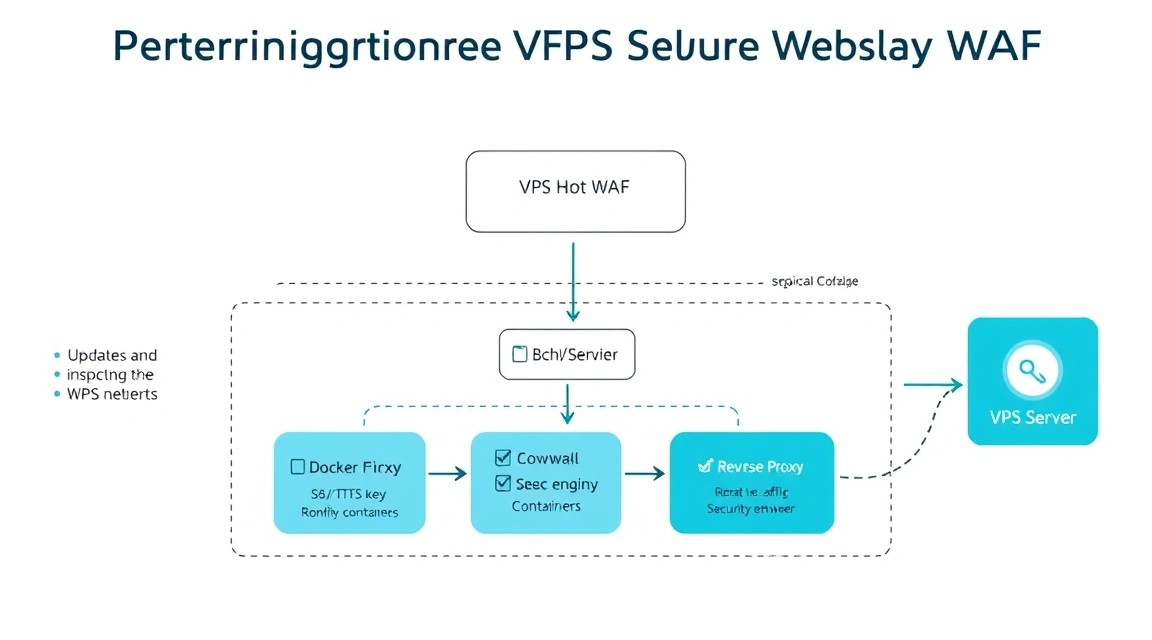
The instructions below assume a clean VPS with Ubuntu Server 24.04 LTS and access as the root user. All commands are executed on the server. Substitute your public SSH key for the example and do not close the current SSH session until you have verified the new user.
Creating a User and Installing an SSH Key
# Создаём отдельного администратора
adduser deploy

# Добавляем его в группу sudo
usermod -aG sudo deploy

# Создаём каталог для SSH-ключей
install -d -m 700 -o deploy -g deploy /home/deploy/.ssh

# Добавляем публичный ключ; замените значение на свой ключ
printf '%s\n' 'ssh-ed25519 AAAAC3NzaC1lZDI1NTE5AAAA... admin@workstation' \
  > /home/deploy/.ssh/authorized_keys

# Исправляем владельца и права
chown deploy:deploy /home/deploy/.ssh/authorized_keys
chmod 600 /home/deploy/.ssh/authorized_keys
Verify the login in a separate terminal window:
# Выполняется на локальном компьютере
ssh deploy@SERVER_IP
After successful verification, you can prohibit root login and password authentication. Before doing so, make sure that the key works and that a web console is available in the provider's control panel:
# Открываем конфигурацию SSH
sudoedit /etc/ssh/sshd_config.d/ hardening.conf
There should be no space in the filename in the command above. Use the correct version:
# Создаём отдельный файл настроек SSH
sudo tee /etc/ssh/sshd_config.d/hardening.conf > /dev/null <<'EOF'
PermitRootLogin no
PasswordAuthentication no
KbdInteractiveAuthentication no
PubkeyAuthentication yes
MaxAuthTries 3
AllowUsers deploy
EOF

# Проверяем синтаксис перед перезапуском
sudo sshd -t

# Применяем настройки SSH
sudo systemctl reload ssh
Updating the System and Installing Basic Packages
# Обновляем индекс репозиториев и пакеты Ubuntu
sudo apt update
sudo DEBIAN_FRONTEND=noninteractive apt full-upgrade -y

# Устанавливаем утилиты для администрирования и репозиториев
sudo apt install -y \
  ca-certificates curl gnupg jq git unzip vim htop tmux \
  ufw fail2ban unattended-upgrades apt-transport-https

# Перезагружаем сервер, если обновлялось ядро
sudo reboot
Firewall and Fail2ban
Allow SSH before enabling UFW. If SSH runs on another port, replace the 22/tcp rule. Ports 80 and 443 will be required by BunkerWeb for HTTP and HTTPS.
# Разрешаем SSH, HTTP и HTTPS
sudo ufw allow 22/tcp
sudo ufw allow 80/tcp
sudo ufw allow 443/tcp

# Включаем политику запрета входящих соединений
sudo ufw default deny incoming
sudo ufw default allow outgoing

# Включаем firewall
sudo ufw --force enable

# Проверяем активные правила
sudo ufw status verbose
Fail2ban will protect SSH against simple brute-force attacks. BunkerWeb and CrowdSec will handle web traffic, so there is no need to thoughtlessly add dozens of filters and block legitimate users.
# Включаем стандартную защиту SSH
sudo systemctl enable --now fail2ban

# Проверяем состояние jail
sudo fail2ban-client status
sudo fail2ban-client status sshd
6. Software Installation — Step by Step
In 2026, use Docker Engine from the official Docker repository rather than the outdated package from the Ubuntu base repository. It is best to pin the BunkerWeb version to a specific stable tag in the 1.6.x series instead of using latest. Before deploying to production, check the current stable tag in the project's official documentation and replace the value of the BUNKERWEB_VERSION variable.
Step 1. Installing Docker Engine
# Удаляем конфликтующие пакеты старых Docker-реализаций
sudo apt remove -y docker.io docker-doc docker-compose podman-docker containerd runc || true

# Создаём каталог ключей APT
sudo install -m 0755 -d /etc/apt/keyrings

# Загружаем официальный ключ Docker
curl -fsSL https://download.docker.com/linux/ubuntu/gpg \
  | sudo gpg --dearmor -o /etc/apt/keyrings/docker.gpg

# Разрешаем APT читать ключ
sudo chmod a+r /etc/apt/keyrings/docker.gpg

# Добавляем официальный репозиторий Docker для Ubuntu 24.04
echo "deb [arch=$(dpkg --print-architecture) signed-by=/etc/apt/keyrings/docker.gpg] \
https://download.docker.com/linux/ubuntu noble stable" \
  | sudo tee /etc/apt/sources.list.d/docker.list > /dev/null

# Устанавливаем Docker Engine и Compose plugin
sudo apt update
sudo apt install -y docker-ce docker-ce-cli containerd.io \
  docker-buildx-plugin docker-compose-plugin

# Запускаем Docker после загрузки системы
sudo systemctl enable --now docker

# Проверяем версии
docker --version
docker compose version
Do not add the user to the docker group unnecessarily: members of this group effectively obtain root privileges. From now on, run Docker commands using sudo or consciously accept this risk.
Step 2. Creating the Project Directory
# Создаём каталог конфигурации BunkerWeb
sudo install -d -m 750 -o deploy -g deploy /opt/bunkerweb

# Переключаемся на администратора проекта
sudo -iu deploy

# Переходим в рабочий каталог
cd /opt/bunkerweb

# Создаём каталоги для данных и логов
mkdir -p data logs backups
Step 3. Creating the Secrets File
# Создаём файл переменных окружения с закрытыми правами
touch /opt/bunkerweb/.env
chmod 600 /opt/bunkerweb/.env

# Генерируем случайный пароль для административной базы
openssl rand -base64 32
Save the result in a password manager. Later, this password will be used only for internal services. Do not publish the .env file to Git or insert real secrets into the compose file.
Step 4. Preparing Docker Compose
For a simple installation, we use BunkerWeb and the scheduler, while representing the separate application with an app container. In production, replace the demonstration image with your own backend. BunkerWeb must be on the same Docker network as the application.
# Переходим в каталог проекта
cd /opt/bunkerweb

# Создаём compose-файл
cat > compose.yml <<'EOF'
services:
  bunkerweb:
    image: bunkerity/bunkerweb:${BUNKERWEB_VERSION}
    restart: unless-stopped
    ports:
      - "80:8080"
      - "443:8443"
    environment:
      SERVER_NAME: "${SERVER_NAME}"
      MULTISITE: "yes"
      HTTP_PORT: "8080"
      HTTPS_PORT: "8443"
      DISABLE_DEFAULT_SERVER: "yes"
      AUTO_LETS_ENCRYPT: "yes"
      EMAIL_LETS_ENCRYPT: "${LETSENCRYPT_EMAIL}"
      USE_REVERSE_PROXY: "yes"
      REVERSE_PROXY_URL: "http://app:8080"
      USE_MODSECURITY: "yes"
      USE_ANTIBOT: "yes"
      ANTIBOT_METHOD: "cookie"
      LOG_FORMAT: "json"
    volumes:
      - bunkerweb_data:/data
      - bunkerweb_logs:/var/log/bunkerweb
    networks:
      - edge
    depends_on:
      - app

  app:
    image: traefik/whoami:v1.10
    restart: unless-stopped
    expose:
      - "80"
    networks:
      - edge

networks:
  edge:

volumes:
  bunkerweb_data:
  bunkerweb_logs:
EOF
The demonstration whoami container listens on port 80, so the value of REVERSE_PROXY_URL in the actual compose file must be changed to http://app:80. This is important: the service name and port must match the backend's actual address.
Step 5. Starting the Containers
# Загружаем переменные и проверяем итоговую модель Compose
cd /opt/bunkerweb
sudo docker compose --env-file .env config

# Скачиваем образы
sudo docker compose --env-file .env pull

# Запускаем BunkerWeb и backend
sudo docker compose --env-file .env up -d

# Проверяем состояние контейнеров
sudo docker compose ps

# Просматриваем последние сообщения BunkerWeb
sudo docker compose logs --tail=100 bunkerweb
Step 6. Installing CrowdSec
CrowdSec consists of a behavior analyzer and a decision-making component. It reads logs, matches events against scenarios, and creates IP-blocking decisions. In this setup, BunkerWeb writes JSON logs to a volume, while CrowdSec is installed on the host. For production, it is more convenient to mount the log in a separate directory accessible only to the CrowdSec agent in read-only mode.
# Добавляем официальный репозиторий CrowdSec
curl -fsSL https://packagecloud.io/crowdsec/crowdsec/gpgkey \
  | sudo gpg --dearmor -o /usr/share/keyrings/crowdsec.gpg

echo "deb [signed-by=/usr/share/keyrings/crowdsec.gpg] \
https://packagecloud.io/crowdsec/crowdsec/ubuntu/ noble main" \
  | sudo tee /etc/apt/sources.list.d/crowdsec.list > /dev/null

# Устанавливаем CrowdSec
sudo apt update
sudo apt install -y crowdsec

# Включаем сервис
sudo systemctl enable --now crowdsec

# Проверяем состояние
sudo systemctl status crowdsec --no-pager
sudo cscli version
Install collections for the web server and Linux. Collection names may change, so search first:
# Обновляем индекс коллекций
sudo cscli hub update

# Ищем доступные коллекции nginx и базовую Linux-коллекцию
sudo cscli collections list | grep -E 'nginx|linux'

# Устанавливаем подходящие коллекции
sudo cscli collections install crowdsecurity/linux
sudo cscli collections install crowdsecurity/nginx

# Перезапускаем анализатор
sudo systemctl restart crowdsec
At the next stage, you need to specify the actual path to the BunkerWeb logs for CrowdSec. If a Docker volume is used, first determine its mount point:
# Показываем имя volume с логами
sudo docker volume ls | grep bunkerweb

# Получаем путь volume на хосте
sudo docker volume inspect bunkerweb_bunkerweb_logs
Add the path from the Mountpoint field to the CrowdSec source configuration. The specific log file names depend on the BunkerWeb version and template, so find them first:
# Показываем файлы логов внутри контейнера
sudo docker compose exec bunkerweb sh -c 'find /var/log/bunkerweb -maxdepth 2 -type f -print'

# Проверяем наличие событий
sudo docker compose logs --since=10m bunkerweb
7. Configuration
Environment Variables File
Create /opt/bunkerweb/.env. There are no application secrets here, but the file should still be protected from other users. The example uses the stable BunkerWeb 1.6.x branch; check the current patch release before installation.
# Записываем основные переменные проекта
cat > /opt/bunkerweb/.env <<'EOF'
BUNKERWEB_VERSION=1.6
SERVER_NAME=example.com
[email protected]
EOF

# Запрещаем чтение файла другим пользователям
chmod 600 /opt/bunkerweb/.env

# Проверяем, что переменные подставляются
sudo docker compose --env-file .env config | sed -n '1,120p'
For multiple sites, multisite mode is enabled in BunkerWeb. Depending on the selected template, individual parameters are specified through variables prefixed with the site name or through the UI/API. Do not copy one site's configuration to another without checking the domain names and upstream addresses.
Checking DNS and Ports
# Проверяем DNS-запись с локального компьютера
dig +short A example.com

# Проверяем, что сервер слушает HTTP и HTTPS
sudo ss -lntp | grep -E ':80|:443'

# Проверяем HTTP-ответ по IP или домену
curl -I http://example.com

# Проверяем HTTPS и цепочку сертификата
curl -Iv https://example.com
To issue a Let's Encrypt certificate, the domain must resolve to the VPS's public IPv4 address, and TCP 80 must be accessible from the internet. If an AAAA record is used, make sure IPv6 is actually configured on the server and that the firewall allows the required ports. Otherwise, temporarily remove the incorrect AAAA record or configure IPv6 completely.
Checking the Reverse Proxy
# Проверяем backend из контейнера BunkerWeb
sudo docker compose exec bunkerweb sh -c \
  'wget -qO- http://app:80 || true'

# Проверяем сетевые подключения контейнеров
sudo docker network inspect bunkerweb_edge

# Смотрим последние ошибки проксирования
sudo docker compose logs --since=15m bunkerweb | \
  grep -Ei 'error|upstream|certificate|failed'
If service headers are visible in the backend response, this is normal for the test container. In production, pass the original protocol and client address to the application. BunkerWeb usually generates standard proxy headers, but the application must be configured to trust them only from the reverse proxy address, not from an arbitrary client.
Configuring Request Limits
Rate limiting is especially useful for login pages, APIs, and password recovery. Do not set aggressive global limits: they may block NAT users, mobile networks, and search engine crawlers. Start with a moderate limit and monitor the logs.
# Просматриваем доступные переменные BunkerWeb в установленном образе
sudo docker run --rm bunkerity/bunkerweb:${BUNKERWEB_VERSION} \
  sh -c 'env | sort | grep -Ei "limit|rate|modsecurity|antibot"'
Variable names and available settings depend on the BunkerWeb version. For production, verify them against the documentation for the specific release. The BunkerWeb web interface or API is convenient for managing multiple sites, but the administrative interface must not be exposed without additional authentication and IP restrictions.
Connecting CrowdSec to Web Logs
First, make sure the log format contains at least the time, client IP, HTTP method, URI, and response code. If an external CDN or load balancer is placed in front of the VPS, CrowdSec must analyze the real client address from a trusted header; otherwise, it will block the proxy address.
# Проверяем решения CrowdSec
sudo cscli decisions list

# Проверяем метрики сбора и сценариев
sudo cscli metrics

# Смотрим журналы сервиса
sudo journalctl -u crowdsec -n 100 --no-pager
For blocking at the web traffic level, use the official BunkerWeb bouncer or another compatible component supported by your BunkerWeb version. The general principle is as follows: CrowdSec issues an API key, and the bouncer periodically retrieves the list of decisions. Do not insert this key into a public compose file or pass it to client-side JavaScript.
# Создаём API-ключ для отдельного bouncer
sudo cscli bouncers add bunkerweb-bouncer

# Показываем активные bouncers без раскрытия ключа
sudo cscli bouncers list
Copy the key to a protected variables file only according to the instructions for the selected bouncer. If the key is exposed, immediately delete it and create a new one. Test the integration using a test IP and do not enable permanent blocking until you have confirmed that the scenarios do not produce false positives.
Checking the WAF
Test the WAF with safe requests on a test domain. The goal is to verify that the request passes through BunkerWeb and that the rules are actually applied, not to craft an exploit payload for production.
# Проверяем обычный запрос
curl -sS -o /dev/null -w '%{http_code}\n' https://example.com/

# Проверяем служебные заголовки и редиректы
curl -sSI https://example.com/

# Проверяем, что явно подозрительная строка фиксируется в логах
curl -k -i 'https://example.com/?q=%3Cscript%3Etest%3C%2Fscript%3E'

# Смотрим решения и журналы после теста
sudo cscli decisions list
sudo docker compose logs --since=5m bunkerweb
A 403 response code does not always indicate an error: the request may have been blocked by the WAF. It is important to correlate the request time, domain, IP, and rule in the log. Do not switch ModSecurity to blocking mode on a newly published site without first analyzing detection mode and testing on real pages.
8. Backups and maintenance
What needs to be saved
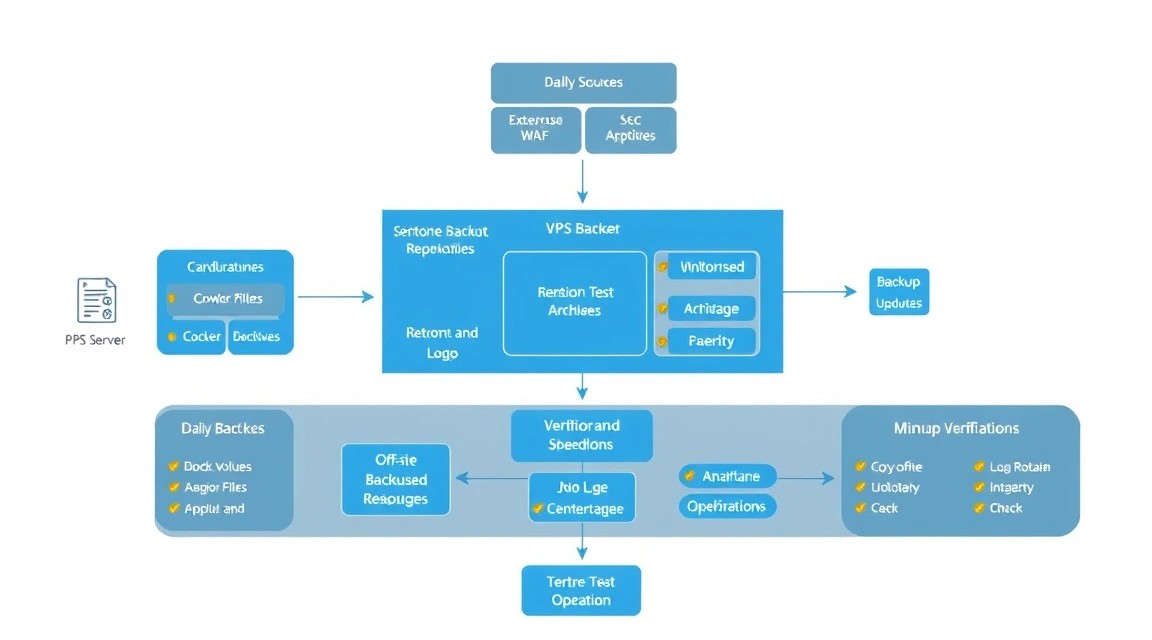
- Configurations:
compose.yml,.env, BunkerWeb, CrowdSec, and firewall settings. - Website data: uploaded files, user documents, media, and private keys.
- Databases: a logical dump of PostgreSQL, MariaDB, or another DBMS in use.
- Certificates and TLS settings: only if they cannot be restored automatically.
- Logs: usually, it is sufficient to retain them for a limited time if they are not needed for auditing.
The Docker image is downloaded again from the registry, so it usually does not need to be archived. The backup should be stored outside the VPS: on a separate server, in S3-compatible object storage, or in another physical location. A disk snapshot is convenient, but it does not replace logical database dumps and an independent copy.
Example of backing up configurations with Restic
An S3-compatible storage is used below. Access credentials are passed through environment variables and are not written into the script. Install Restic from the Ubuntu repository or use the official package of a suitable version.
# Устанавливаем Restic
sudo apt install -y restic

# Создаём закрытый файл переменных бэкапа
sudo install -m 600 /dev/null /etc/restic-bunkerweb.env

# Пример содержимого; замените значения на свои
sudo tee /etc/restic-bunkerweb.env > /dev/null <<'EOF'
export AWS_ACCESS_KEY_ID='CHANGE_ME'
export AWS_SECRET_ACCESS_KEY='CHANGE_ME'
export RESTIC_REPOSITORY='s3:https://s3.example.net/bunkerweb-backups'
export RESTIC_PASSWORD='CHANGE_ME_LONG_RANDOM_PASSWORD'
EOF

# Инициализируем repository один раз
sudo bash -c 'source /etc/restic-bunkerweb.env && restic init'
Create a script that first archives the configuration and then sends it to the storage. For the database, add a separate dump command: copying files from a running database is almost always incorrect.
# Создаём каталог временных архивов
sudo install -d -m 700 /var/backups/bunkerweb

# Создаём скрипт резервного копирования
sudo tee /usr/local/sbin/backup-bunkerweb > /dev/null <<'EOF'
#!/usr/bin/env bash
set -Eeuo pipefail

source /etc/restic-bunkerweb.env

STAMP="$(date -u +%Y-%m-%dT%H-%M-%SZ)"
WORK="/var/backups/bunkerweb/${STAMP}"
mkdir -p "$WORK"

# Копируем конфигурацию и список контейнеров
install -m 600 /opt/bunkerweb/.env "$WORK/.env"
cp -a /opt/bunkerweb/compose.yml "$WORK/compose.yml"
docker compose -f /opt/bunkerweb/compose.yml ps > "$WORK/containers.txt"

# Архивируем конфигурацию в удалённый repository
restic backup "$WORK" --tag bunkerweb-config

# Удаляем локальные временные файлы
rm -rf "$WORK"

# Оставляем разумную историю
restic forget --tag bunkerweb-config \
  --keep-daily 7 --keep-weekly 4 --keep-monthly 6 --prune
EOF

# Делаем скрипт исполняемым
sudo chmod 750 /usr/local/sbin/backup-bunkerweb
Schedule the run through root cron:
# Открываем cron для root
sudo crontab -e
Add the following line:
# Ежедневный бэкап в 03:15 по времени сервера
15 3   * /usr/local/sbin/backup-bunkerweb >> /var/log/backup-bunkerweb.log 2>&1
Periodically test restoration. A backup that has never been tested cannot be considered reliably usable.
# Показываем резервные точки
sudo bash -c 'source /etc/restic-bunkerweb.env && restic snapshots'

# Проверяем целостность repository
sudo bash -c 'source /etc/restic-bunkerweb.env && restic check'
Updates
Before updating, save the configuration and read the BunkerWeb release notes. For a single website, a short maintenance window is acceptable: download the new image, recreate the container, and check HTTPS. For multiple production websites, it is better to use a separate test instance, healthcheck, and gradual switchover.
# Проверяем текущие образы
cd /opt/bunkerweb
sudo docker compose images

# Загружаем обновления после проверки версии
sudo docker compose pull

# Перезапускаем сервисы с новой версией
sudo docker compose up -d

# Проверяем состояние и логи
sudo docker compose ps
sudo docker compose logs --tail=100 bunkerweb

# Проверяем внешний HTTPS
curl -fsS https://example.com/ > /dev/null
echo "HTTPS OK"
Do not update Ubuntu, Docker, BunkerWeb, CrowdSec, and the application simultaneously unless necessary. If a problem occurs after the update, it will be easier to identify the source. Remove old Docker images only after verifying that a rollback will not be needed.
9. Troubleshooting and FAQ
Why does the website not open while curl returns connection refused?
First, check whether the containers are running with sudo docker compose ps and whether the host is listening on the ports using sudo ss -lntp. Then check UFW, the provider's security group rules, and DNS. If the container is restarting, run sudo docker compose logs --tail=200 bunkerweb. A common cause is port 80/443 being occupied by another Nginx or Caddy. Stop the old service or move it behind BunkerWeb.
Why is Let's Encrypt not issuing a certificate?
The most common causes are that the domain points to the wrong IP, TCP 80 is closed, an incorrect AAAA record is present, or an external proxy is enabled with an unsuitable TLS mode. Check dig A example.com, dig AAAA example.com, and HTTP accessibility from the outside. Check the BunkerWeb logs and make sure the email is configured correctly. Do not request a certificate repeatedly: Let's Encrypt has rate limits.
Why does BunkerWeb return 502 Bad Gateway?
A 502 code means that the reverse proxy did not receive a valid response from the upstream. Check the Docker service name, internal port, and shared container network. The command docker compose exec bunkerweb wget -qO- http://app:80 should receive a response from the backend. If the application listens only on 127.0.0.1 inside its own container, it will not be accessible over the Docker network. Configure it to listen on 0.0.0.0.
What is the minimum suitable VPS configuration?
For one small website, the technical minimum is 1 vCPU, 2 GB of RAM, and a 25 GB SSD, but for production it is better to use 2 vCPUs and 4 GB of RAM. This reserve is needed for Docker, BunkerWeb, CrowdSec, updates, and short-term peaks. If a database or multiple applications run on the server, choose at least 4 vCPUs and 8 GB of RAM. The disk should be an SSD, and the network should have a public IPv4 address with ports 80/443 available.
Which should you choose for this task — a VPS or dedicated?
A VPS is suitable for most projects with one or several websites: BunkerWeb and CrowdSec consume a moderate amount of resources, while scaling is performed by upgrading the plan or adding instances. Choose a dedicated server for consistently high load, a large number of domains, dedicated IOPS requirements, or strict isolation. Make the decision based on actual CPU, RAM, disk, and network metrics, not just the expected number of visitors.
How can you tell whether CrowdSec is actually blocking attacks?
Check sudo cscli metrics, the decisions list with sudo cscli decisions list, and the logs with journalctl -u crowdsec. If the metrics are empty, the agent is not reading the required log or the format does not match the parser. If decisions are being created but requests still pass through, the bouncer is not configured or is not connected to BunkerWeb. Start with a test block of your own temporary IP and remove it immediately after verification.
Why are users' real IPs displayed as the proxy address?
If a CDN or load balancer is in front of the VPS, BunkerWeb receives the TCP connection from it. You need to configure trusted proxy networks and the correct header, such as CF-Connecting-IP or X-Forwarded-For, only for known proxy addresses. Never blindly trust these headers from any client: an attacker could spoof the IP. After configuring this, check the access log and make sure the client address is identified correctly.
After enabling the WAF, legitimate requests receive 403. What should I do?
Find the specific rule and URI in the BunkerWeb log, then reproduce the request in a test environment. Do not disable the entire WAF: add a targeted exception for a specific rule, parameter, or route. Common causes include JSON API requests, file uploads, non-standard cookies, and administrative forms. Before changing the exception, verify that the application is not sending a genuinely dangerous payload and that request size limits are configured as expected.
10. Conclusions and next steps
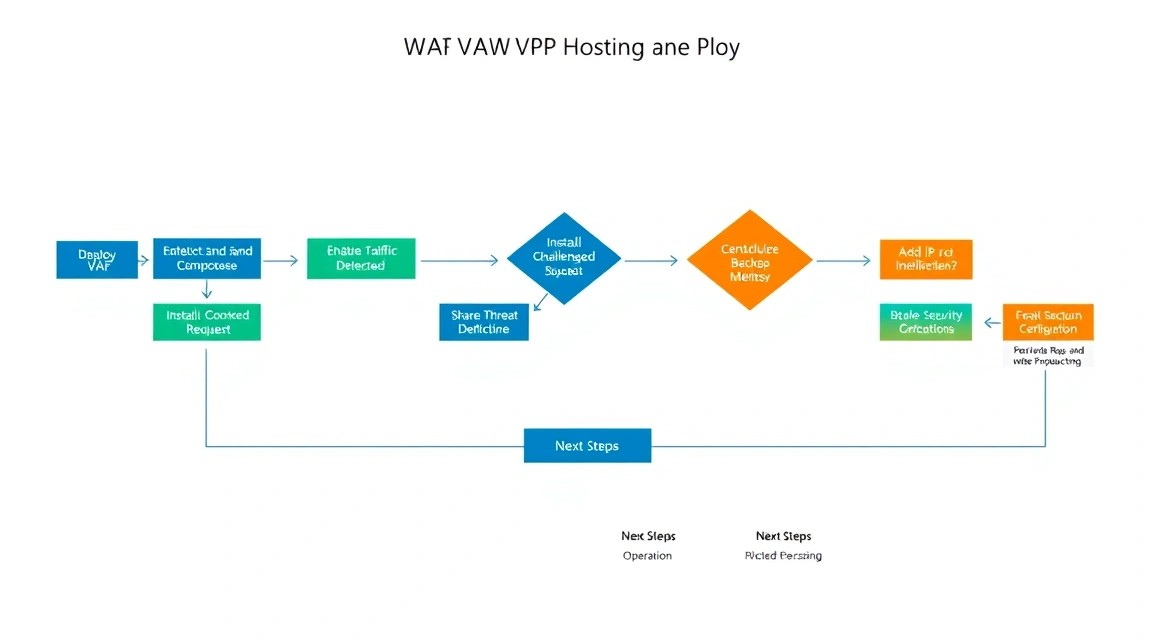
As a result, BunkerWeb accepts external HTTP/HTTPS traffic, automatically handles TLS, filters requests with the WAF, and proxies them to the application over the internal Docker network. The Ubuntu firewall, Fail2ban, and CrowdSec add host protection and an automatic response to suspicious activity.
Next, configure monitoring of availability and certificate expiration, test restoration from the Restic backup, and move the database or resource-intensive applications to separate resources. As the load grows, measure p95 latency, the number of 4xx/5xx responses, CPU utilization, and log volume, then move to multiple WAF nodes, load balancing, and a separate backup server.