Installing Immich on a VPS: Deploying a Self-Hosted Google Photos Alternative via Docker
TL;DR
In this guide, we will walk through the process of installing Immich—the most powerful and rapidly evolving solution for storing photos and videos on your own server. We will set up a complete ecosystem with support for facial recognition, automatic backup from mobile devices, and intelligent search using Docker and modern administration practices. As a result, you will have a private cloud that is as functional as Google Photos but belongs entirely to you.
Full Independence: Your data is stored on your VPS, not on corporate servers.
Intelligent Features: Facial recognition, object search, and geolocation work locally.
Security: SSL certificate configuration, Firewall, and automatic backups.
Scalability: Ability to connect external storage and optimization for large libraries (1TB+).
2026 Version: All commands and configurations are up-to-date for modern Linux distributions.
rocket_launchQuick pick
Need a dedicated server?
Compare prices from top providers. Configure and order in minutes.
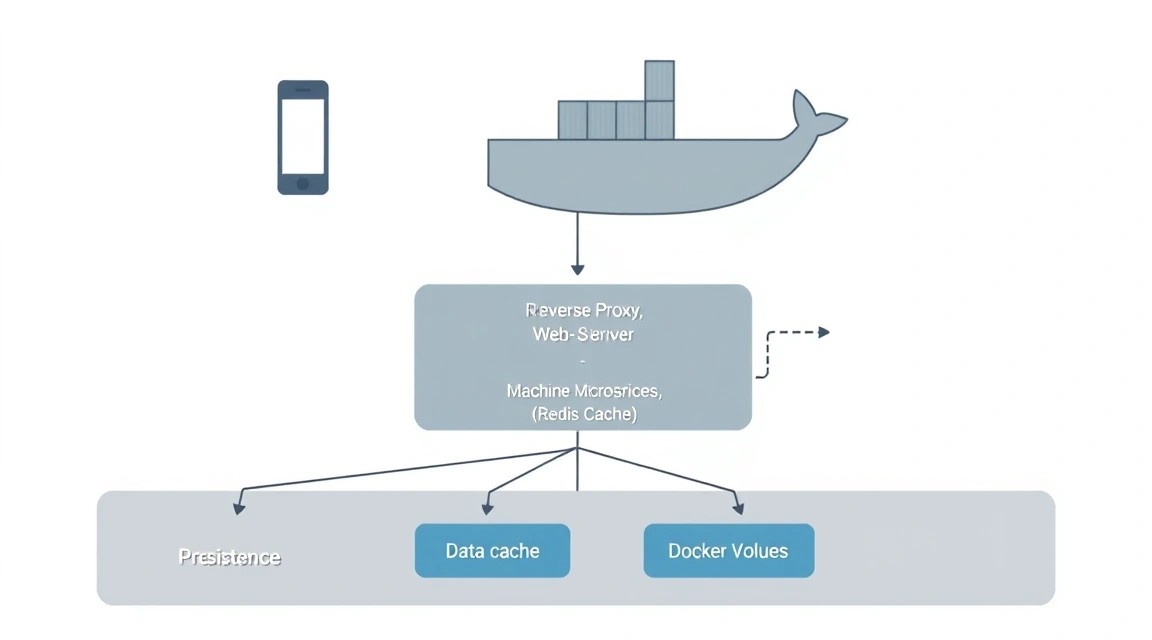
1. What We Are Setting Up and Why: The Evolution of Self-Hosted Photo Storage
Diagram: 1. What We Are Setting Up and Why: The Evolution of Self-Hosted Photo Storage
For a long time, Google Photos remained the unrivaled leader for storing mobile media archives. However, changes in free storage policies and growing user concerns about data privacy have led to an explosion in the popularity of self-hosted solutions. Immich is not just a script for viewing pictures; it is a complex microservice architecture written in TypeScript and Dart, aiming to replicate and exceed the user experience of commercial clouds.
Why choose Immich on your own VPS instead of ready-made cloud solutions?
Data Control: You know exactly where your files are physically located. No moderation algorithms will block your account due to false positives.
Performance Speed: When using a modern VPS with NVMe drives, indexing and search work faster than in overloaded clouds.
No Subscriptions: You only pay for server resources, not for "renting" space at inflated rates.
Functionality: Support for RAW formats, Live Photos, machine learning-based facial recognition, and convenient mobile apps for iOS and Android.
In this tutorial, we will go from a "bare" server to a working service with a configured domain and mobile application.
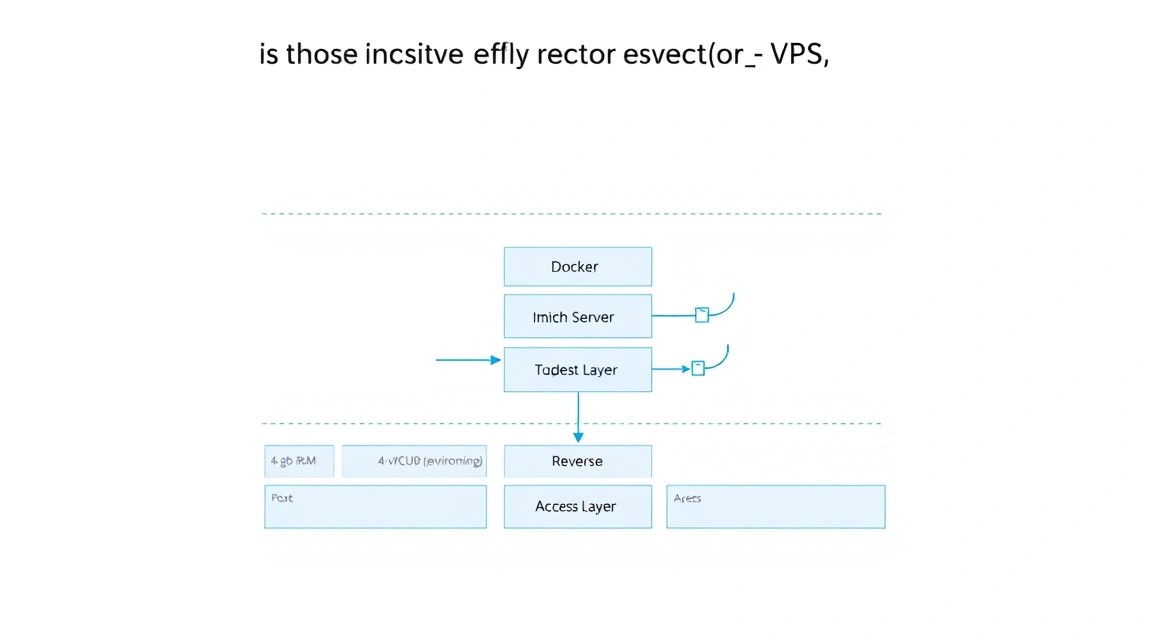
2. What VPS Configuration is Needed for Immich in 2026
Diagram: 2. What VPS Configuration is Needed for Immich in 2026
Immich is a resource-intensive project. Unlike simple static sites, it actively uses Machine Learning (ML) to analyze images, classify faces, and generate previews. This imposes certain hardware requirements.
Resource
Minimum (for 1-2 users)
Recommended (for a family)
Pro (10+ users)
CPU
2 cores (x86_64)
4-6 cores
8+ cores / Dedicated
RAM
4 GB
8-12 GB
16 GB+
Disk
40 GB SSD (system)
200 GB+ NVMe
1 TB+ (Block Storage/HDD)
OS
Ubuntu 24.04 LTS
Ubuntu 24.04 / Debian 12
Debian 12
Special attention should be paid to RAM. The immich-machine-learning component can consume a significant amount of RAM during the initial indexing of a large library. If there is less than 4 GB of memory, Docker may start crashing processes (OOM Killer).
For comfortable operation and fast preview generation, it is best to choose a suitable VPS with SSD or NVMe drives, as the PostgreSQL database and search engine are sensitive to input-output latency (IOPS).
If your library exceeds 500 GB, consider connecting additional Block Storage or using a Dedicated server where you can install high-capacity HDDs in a RAID array for increased reliability.
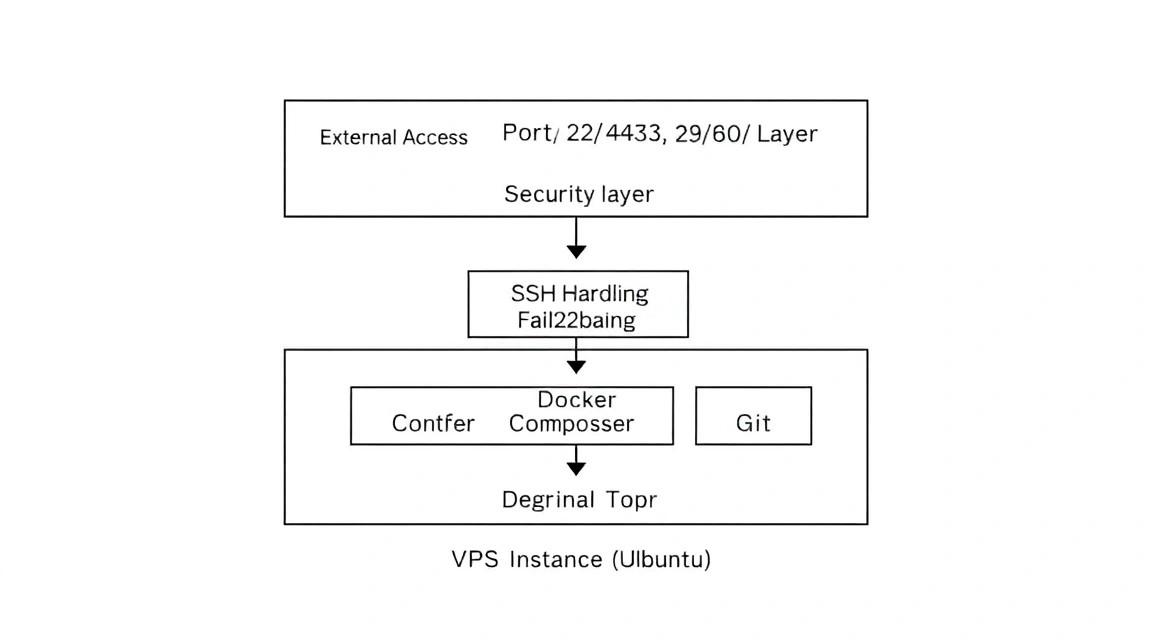
3. Server Preparation: Security and Basic Utilities
Diagram: 3. Server Preparation: Security and Basic Utilities
Before installing Docker, it is necessary to get the server in order. We assume you have a fresh installation of Ubuntu 24.04 or 26.04.
First, let's update the package list and the system itself:
sudo apt update && sudo apt upgrade -y
Install the necessary system utilities that will be useful for diagnostics and operation:
Immich is delivered as a set of Docker containers. This is an industry standard that avoids dependency conflicts. In 2026, we use the official Docker repository to get the latest versions.
Add the Docker GPG key:
<
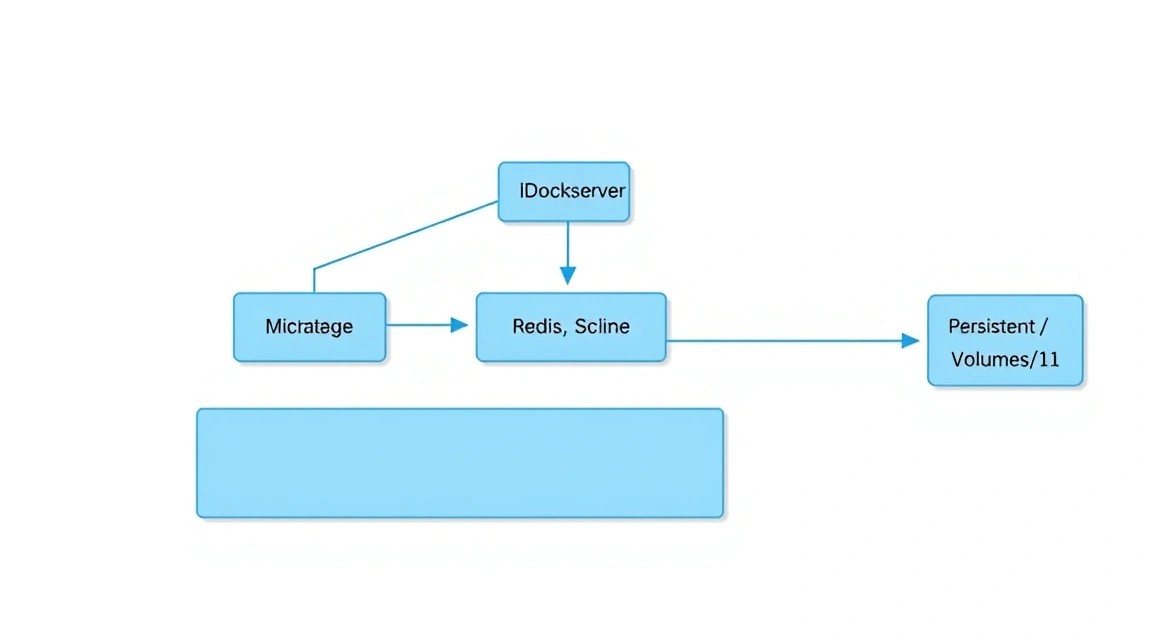
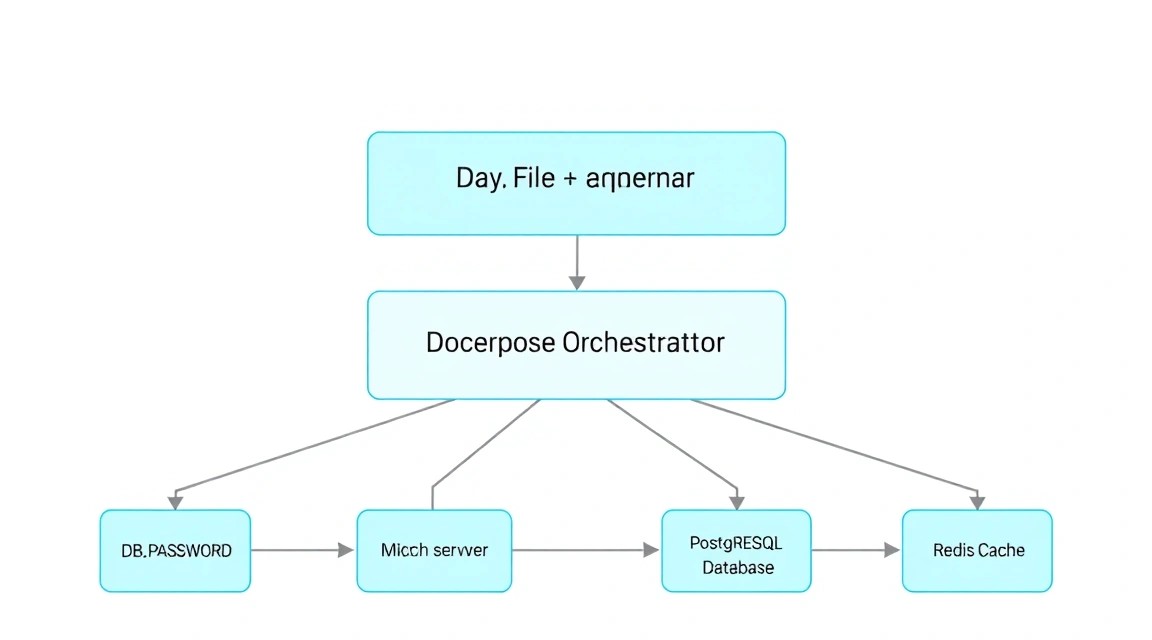
6. Fine-tuning: Environment Variables and Secrets
Diagram: 6. Fine-tuning: Environment Variables and Secrets
The .env file contains all key settings. Open it for editing:
nano .env
You need to change the following parameters:
# Path to your photos (be sure to specify the absolute path)
UPLOAD_LOCATION=/home/adminuser/immich-data/photos
# Immich version (recommended to leave as release)
IMMICH_VERSION=release
# Database secrets (generate your own strong passwords!)
DB_PASSWORD=your_strong_password_here
DB_USERNAME=postgres
DB_DATABASE_NAME=immich
# Redis settings
REDIS_HOSTNAME=redis
If you plan to use hardware acceleration for video encoding (for example, if your VPS supports Intel QuickSync or you have a GPU), you will need to pass through the corresponding devices (/dev/dri) in docker-compose.yml. For most standard VPS, we leave software encoding.
After configuration, let's start the containers:
docker compose up -d
Check the startup status:
docker compose ps
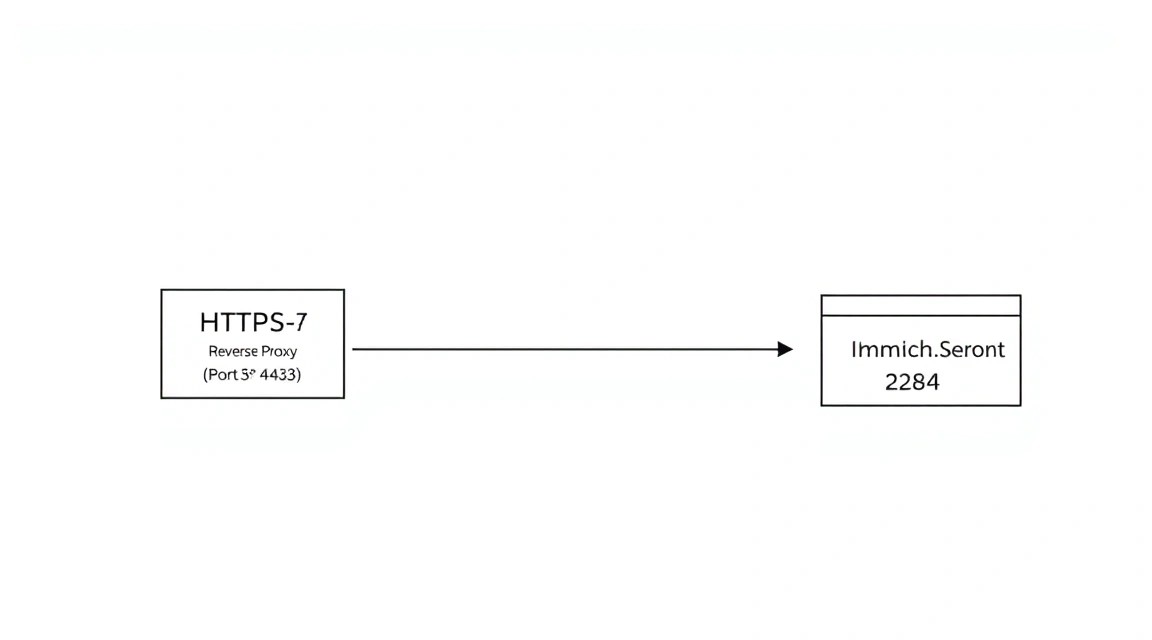
If all services are in the Up status, it means the backend is running and listening on port 2283. However, opening this port directly to the internet is unsafe and inconvenient (no HTTPS).
7. Setting up HTTPS via Caddy: Access from the Outside World
Diagram: 7. Setting up HTTPS via Caddy: Access from the Outside World
For secure access via a domain (e.g., photos.yourdomain.com), we will use Caddy. It is a modern web server that automatically obtains and renews SSL certificates from Let's Encrypt.
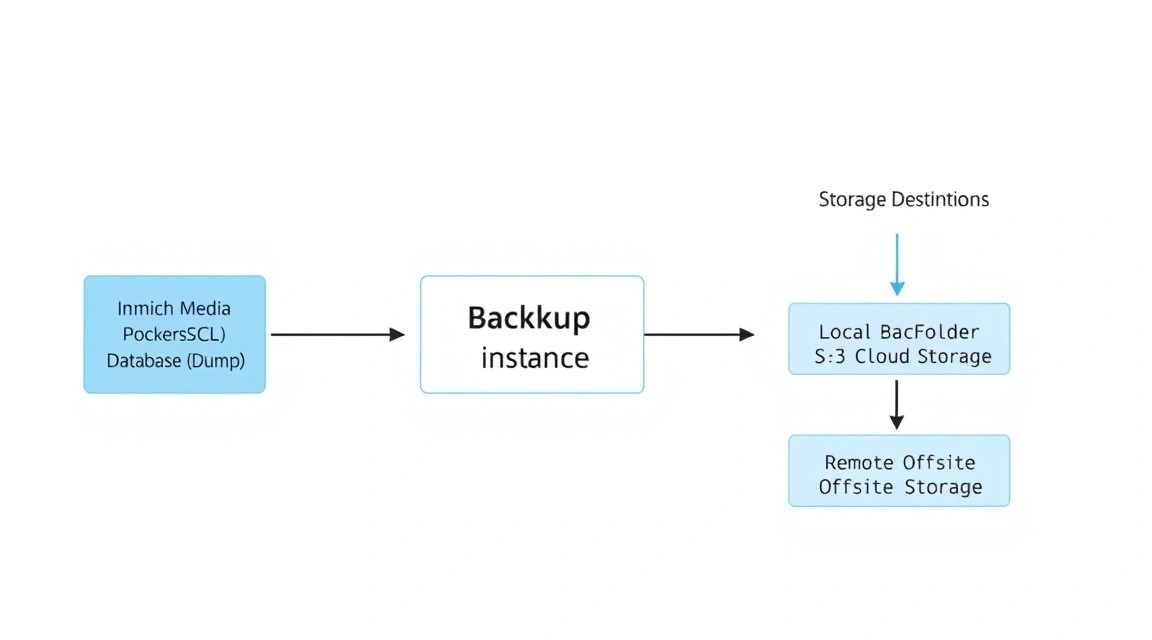
8. Backups and Maintenance: How Not to Lose Your Family Archive
Diagram: 8. Backups and Maintenance: How Not to Lose Your Family Archive
Self-hosting places the responsibility for data safety on you. In Immich, you need to back up three things: the PostgreSQL database, photo files (Uploads), and the .env file.
For the photos themselves, it is recommended to use tools like Restic or Rclone to send them to cloud storage (S3, Backblaze B2). An Rclone command might look like this:
cd ~/immich-app
docker compose pull
docker compose up -d
Important: Always read the Release Notes on GitHub before updating, as manual actions (Breaking Changes) are sometimes required.
9. Troubleshooting + FAQ: Solving Common Issues
Why aren't faces recognized immediately after upload?
Face recognition is a background task. After a photo is uploaded, it enters a queue. You can track progress in the Administration -> Job Settings section. If the queue is stuck, check if the immich-machine-learning container is running and has enough RAM. On weak CPUs, this process can take significant time.
What is the minimum VPS configuration suitable for Immich?
The minimum threshold is 4 GB of RAM and 2 CPU cores. However, on such a configuration, the interface may "lag" during indexing. For comfortable operation, 8 GB of RAM is recommended. If you have a huge library (over 100,000 photos), the focus shifts to the speed of the disk subsystem—NVMe will be many times preferable to regular SSDs.
What to choose — VPS or dedicated for this task?
For most users, a powerful VPS is sufficient. This provides flexibility: you can easily expand disk space or memory. A dedicated server should be chosen in two cases: if you need maximum privacy (physically dedicated hardware) or if your library size is measured in terabytes, as the cost of storage on large HDDs in a dedicated server is usually lower than the cost of block storage from cloud providers.
Error "Database is not ready" at startup. What to do?
Usually, this means that the PostgreSQL container hasn't had time to initialize yet or crashed due to incorrect permissions on the data folder. Check the logs: docker compose logs postgres. Ensure that the folder specified in .env is accessible to the user running Docker.
How to migrate an existing library from Google Photos?
Use the Google Takeout service to export the archive. After downloading, use the Immich CLI utility. It allows you to import folders while preserving structure and metadata. You shouldn't just copy files into the uploads folder, as Immich must index them via the API for the database to function correctly.
Immich consumes too many CPU resources, the server heats up/lags.
In the administrator settings (Job Settings), you can limit the number of threads (concurrency) for machine learning tasks and preview generation. Set the value to 1 or 2, to leave resources for other server tasks.
10. Conclusions and Next Steps
We have successfully deployed Immich on a VPS, ensuring security via Caddy and automating maintenance. Now your media library is under your full control, and the object and face recognition functionality works without the involvement of third-party corporations.
What to do next?
Download the Immich mobile app from the App Store or Google Play and set up automatic photo backup from your phone.
Explore the "External Libraries" section — it allows you to connect existing photo folders on the server to Immich without duplicating them.
Set up multi-factor authentication (2FA) in the user profile for maximum protection of your archive.
Remember that Immich is actively developing. Regularly check for updates and make backups before each container update. Now your personal "Google Photos" is ready to go!