Installing Portainer on VPS: Convenient Docker Container Management
TL;DR
In this guide, we will set up Portainer CE on your Virtual Private Server (VPS), providing you with a powerful and intuitive web interface to manage all your Docker containers, images, volumes, and networks. This will significantly simplify the deployment and monitoring of your applications, eliminating the need to constantly use the command line.
Portainer CE is installed as a Docker container on your VPS.
You will get a centralized GUI for managing all aspects of Docker.
The guide includes server preparation, Docker and Portainer installation, and TLS configuration via Caddy.
Special attention is paid to security, backup, and system maintenance.
All commands are relevant for Ubuntu 24.04 LTS and software versions for 2026.
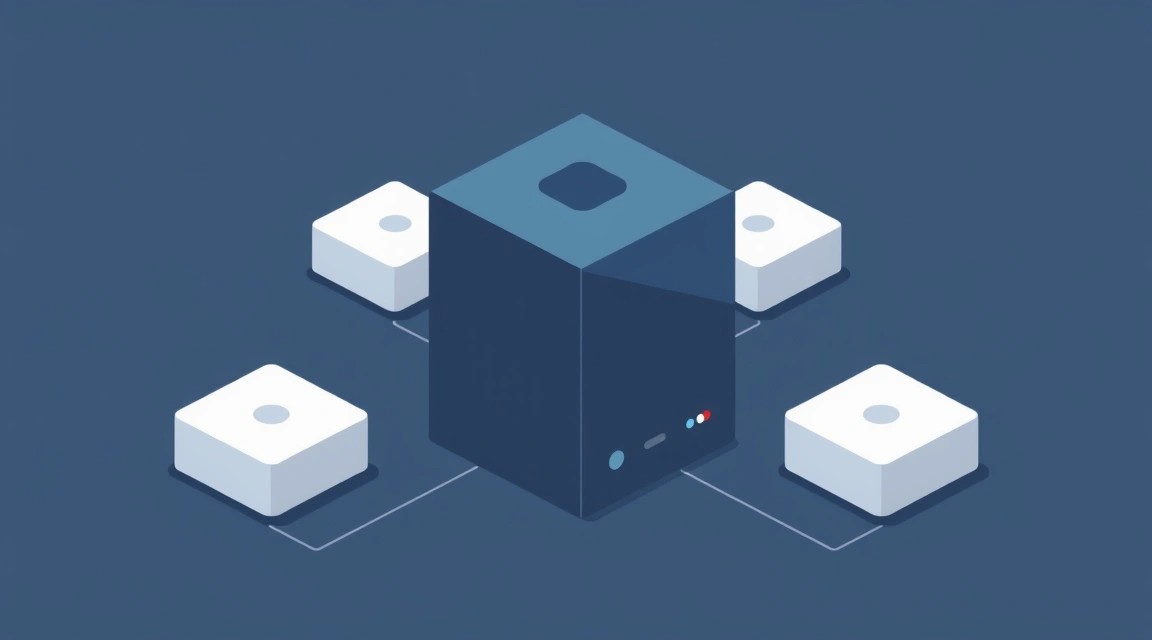
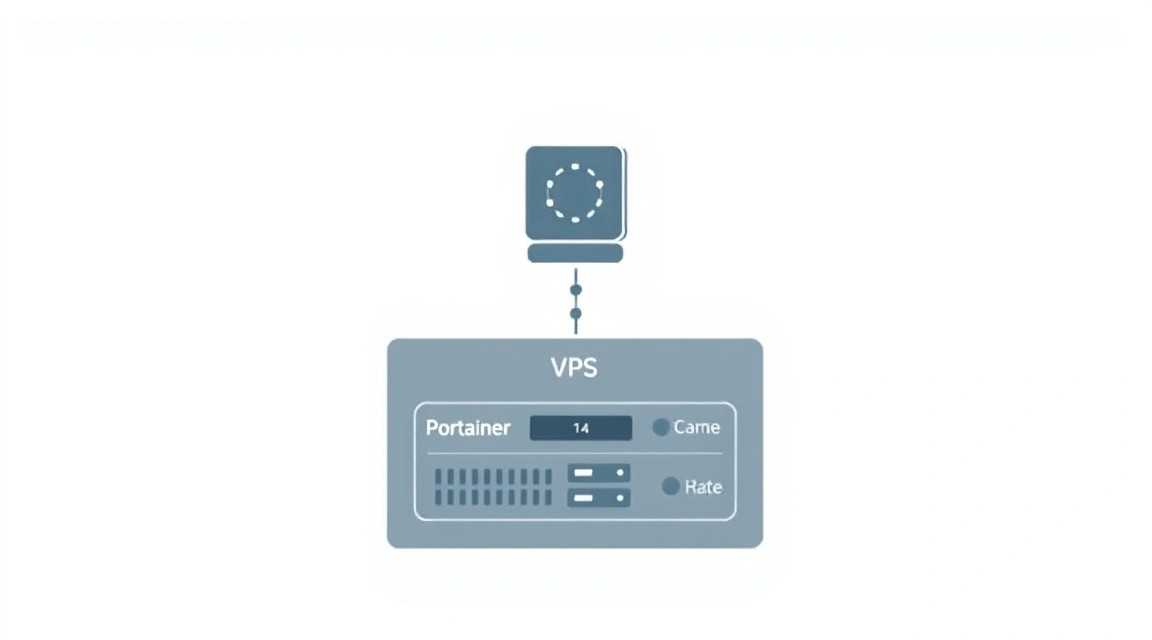
What we are setting up and why
Diagram: What we are setting up and why
We will be installing Portainer Community Edition (CE) on your VPS. Portainer is a powerful, lightweight tool for managing Docker environments, providing an intuitive web interface. If you already work with Docker, you know that managing containers, images, networks, and volumes via the command line can be quite laborious, especially when working with multiple projects or complex configurations.
Ultimately, you will get a centralized control panel that will allow you to:
Deploy and stop containers in a few clicks.
Manage Docker images and registries.
Configure networks and volumes for your applications.
Monitor container status and their logs.
Manage Docker Compose stacks, create and edit them directly from the interface.
Configure access for multiple users with different roles.
Why self-hosted on a VPS, and not cloud alternatives?
Various alternatives for container management exist on the market. These can be cloud-managed services such as AWS Elastic Container Service (ECS), Google Kubernetes Engine (GKE), or Azure Kubernetes Service (AKS). These platforms offer high scalability and abstract you from infrastructure details, but often come at a significantly higher cost and can be overkill for small to medium-sized projects.
Self-deploying Portainer on a VPS has several advantages:
Full Control: You have complete control over your infrastructure, data, and configurations.
Cost Savings: A VPS is significantly cheaper than cloud-managed services, especially for small workloads.
Flexibility: You can configure the server to your specific needs, install any additional software.
Experience and Learning: Managing your own server provides valuable skills in system administration and Docker.
Privacy: Your data remains on your server, under your control, which is important for sensitive projects.
Portainer is ideal for developers who need to quickly set up test environments, for solo founders managing their SaaS applications, for gamers deploying game servers, or for crypto enthusiasts running nodes. It provides a balance between ease of use and power, making Docker accessible even to those who are not DevOps experts.
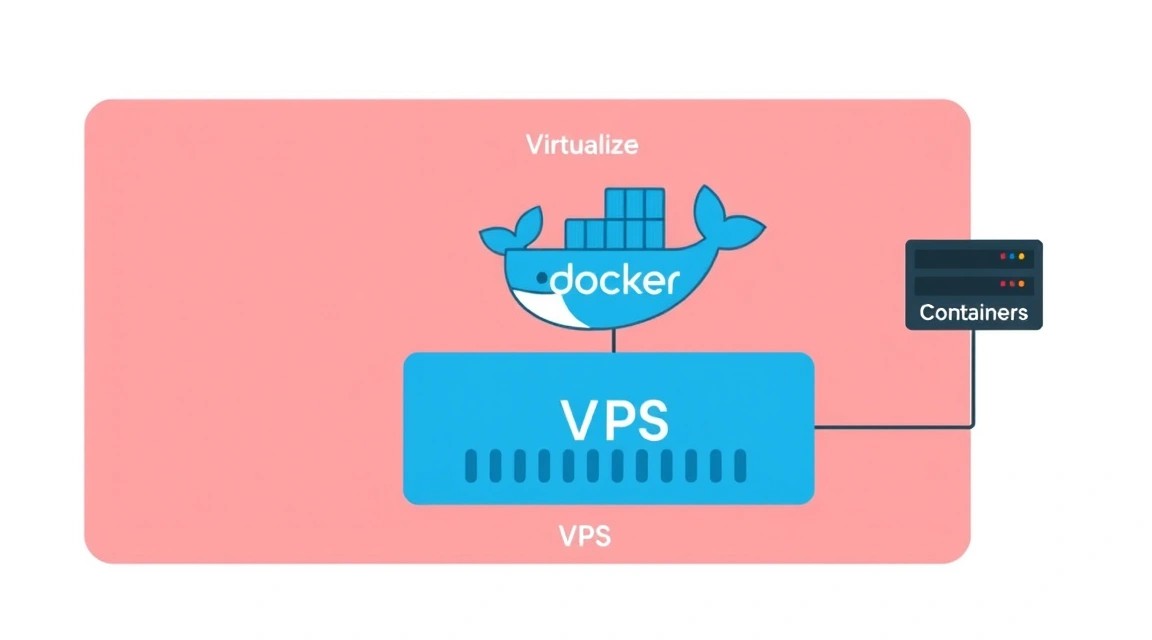
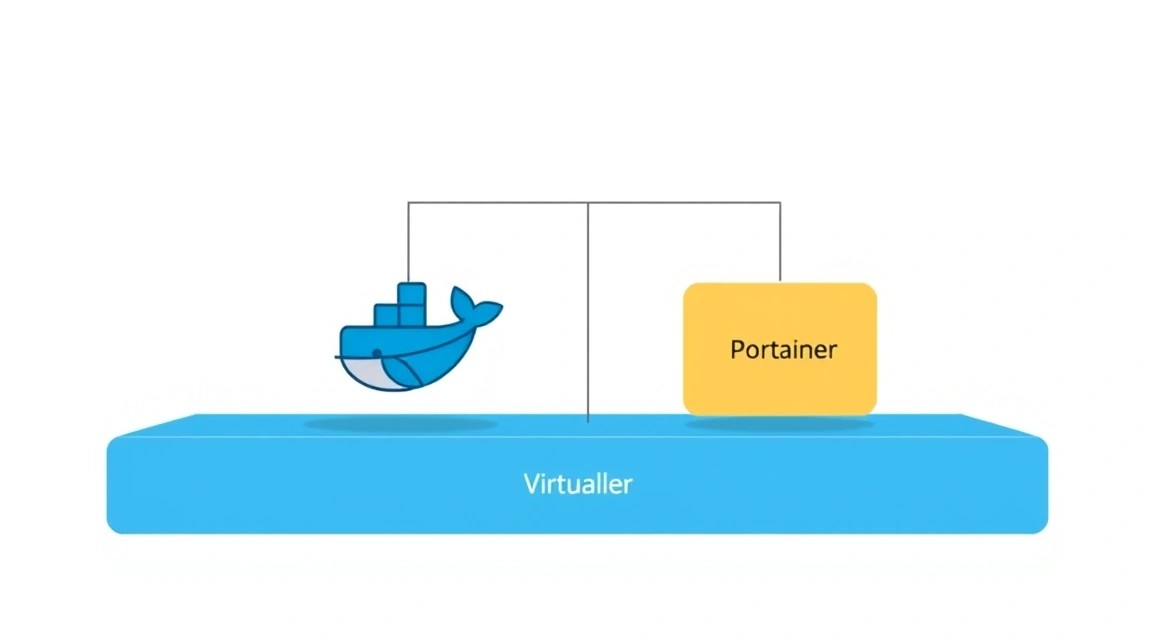
What VPS configuration is needed for this task
Diagram: What VPS configuration is needed for this task
Portainer itself is a fairly lightweight application and consumes minimal resources. However, when choosing a VPS, it's important to consider not only Portainer's requirements but also the potential loads from the Docker containers you will be managing. In 2026, typical resource requirements for small to medium tasks remain relatively stable.
Minimum requirements for Portainer and several small containers (e.g., web server, database, small application):
CPU: Minimum 2 vCPU. This will ensure sufficient performance for Docker Engine, Portainer, and several active containers without slowdowns.
RAM: 2-4 GB. Portainer uses about 50-100 MB of RAM. The rest will be needed for the operating system and your containers. For example, a web server (Nginx/Apache), a database (PostgreSQL/MySQL), and a small Node.js/Python application can easily use 1-2 GB of RAM.
Disk: 50-100 GB SSD. SSDs are critically important for Docker performance, as they accelerate operations with images and volumes. 50 GB will be sufficient for the OS, Docker Engine, several images, and application data. If you plan to store large volumes of data (e.g., logs, media files, large databases), choose 100 GB or more.
Network: 1 Gbit/s port. Most modern VPS providers offer this speed by default. This will ensure fast Docker image downloads and stable operation of your applications.
Specific VPS plan for the task
For most users who want to install Portainer and manage 3-5 not very resource-intensive containers (e.g., web server, database, CI/CD agent, small backend), a VPS with the following characteristics will be optimal:
In some cases, a regular VPS may not be enough, and it's worth considering renting a dedicated server:
High and Constant Loads: If you plan to run dozens of containers, high-load databases, streaming services, or handle very large traffic.
Performance Requirements: For tasks requiring maximum CPU performance (e.g., code compilation, machine learning) or a very large amount of RAM (e.g., in-memory databases).
Specific Hardware: If you need GPUs for computations, specific RAID arrays, or other hardware features not available on a VPS.
Strict SLAs and Isolation: A dedicated server provides complete resource isolation, which can be critical for some corporate applications or for complying with strict security requirements.
For managing Portainer and dozens of containers on a dedicated server, you will need a suitable dedicated server with a powerful multi-core processor, 32-64 GB RAM, and several large-capacity SSDs.
Location: What it affects
The choice of VPS server location is also important and depends on the target audience of your applications:
Latency: The closer the server is to your users, the lower the latency will be, and the faster page loading or application response. If your primary audience is in Europe, choose a European data center.
Legislation and Compliance: In some cases (e.g., for processing personal data), it may be necessary to store data in a specific jurisdiction. Ensure that the chosen location complies with all regulatory requirements (e.g., GDPR for the EU).
Cost: VPS prices may vary slightly depending on the data center location.
It is usually recommended to choose a location that is geographically closest to the majority of your users to ensure the best user experience.
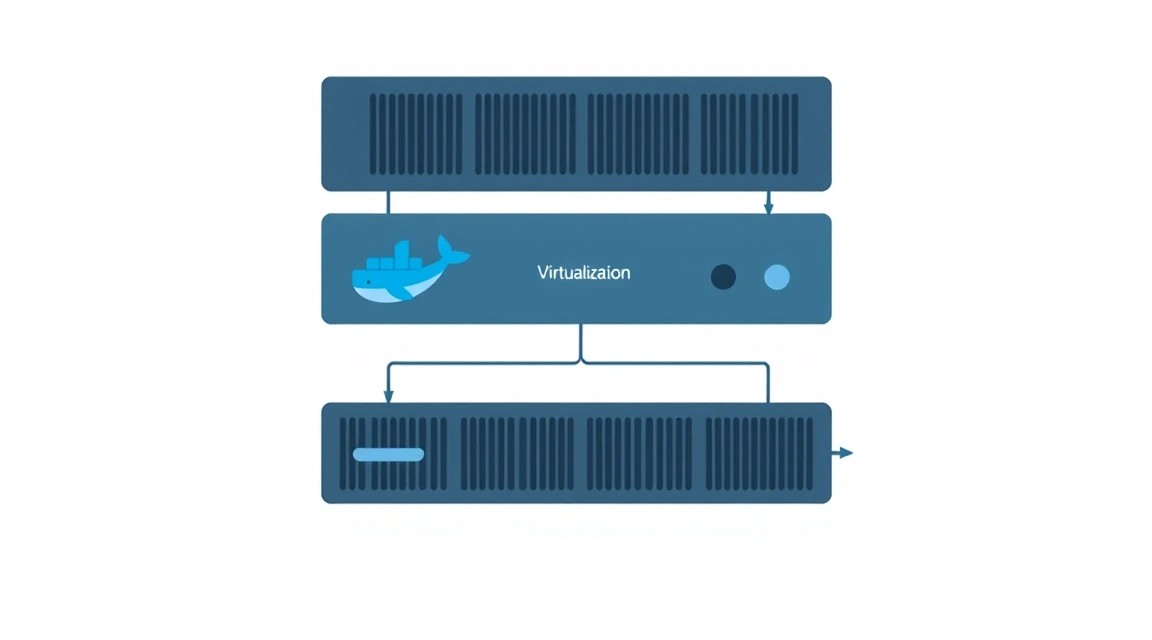
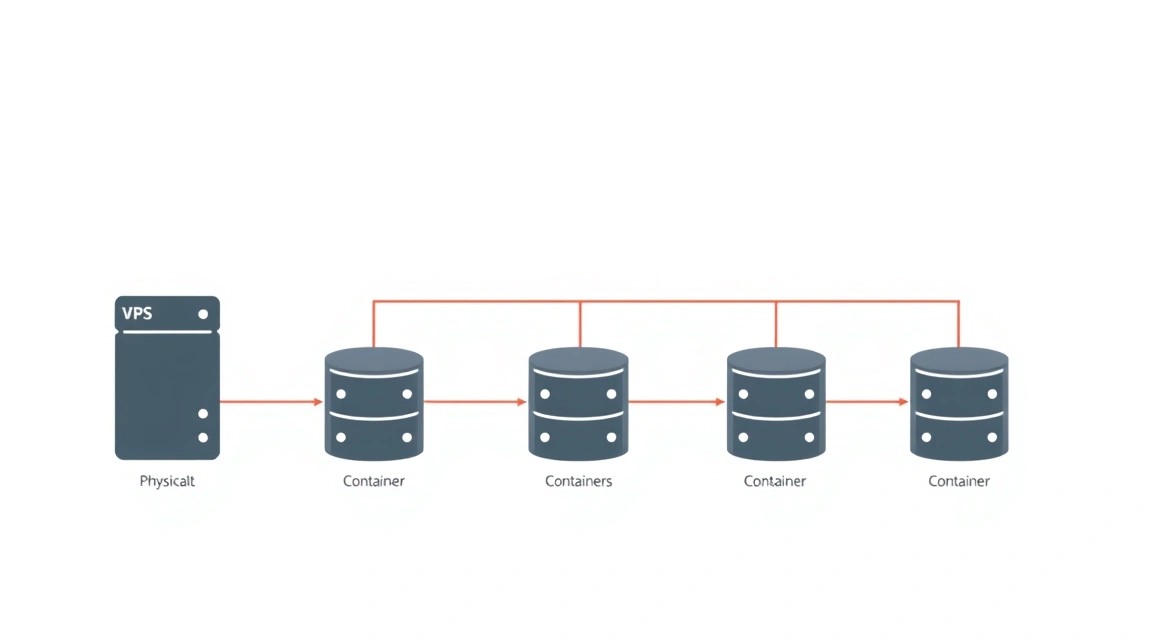
Server Preparation
Diagram: Server Preparation
Before installing Docker and Portainer, you need to perform basic setup and strengthen the security of your VPS. We will use Ubuntu 24.04 LTS (Long Term Support) as a current and stable operating system for 2026. All commands are executed as the root user or using sudo.
1. Connecting to the Server
Connect to your VPS via SSH. Replace your_vps_ip with your server's actual IP address.
ssh root@your_vps_ip
If this is your first connection, you may be asked to confirm the server's SSH key fingerprint.
2. System Update
Always start by updating the package list and installing available updates to ensure your system uses the most current software versions.
sudo apt update && sudo apt upgrade -y
This command will update the package cache and install all available updates without prompting for confirmation.
3. Creating a New User with Sudo Privileges
Working as the root user is not recommended for daily tasks due to security reasons. Create a new user and grant them sudo privileges.
adduser your_username
Follow the on-screen instructions to set a password and other information (you can leave it blank). Then add the user to the sudo group:
sudo usermod -aG sudo your_username
Now you can switch to the new user and execute commands with sudo.
su - your_username
4. Setting up SSH Key Authentication (Recommended)
SSH key authentication is significantly more secure than using passwords. If you are not already using SSH keys, generate them on your local machine.
Copy your public SSH key to the server (replace ~/.ssh/id_rsa.pub with the path to your key, and your_username and your_vps_ip with your values):
ssh-copy-id your_username@your_vps_ip
If ssh-copy-id is not available, you can do it manually:
Paste the content of your public key (usually starting with ssh-rsa AAAA...) into the authorized_keys file and save it. Then set the correct permissions:
chmod 600 ~/.ssh/authorized_keys
5. Disabling Root User Login via SSH
After setting up SSH key login for the new user, disable SSH login for root to enhance security.
sudo nano /etc/ssh/sshd_config
Find the line PermitRootLogin and change it to:
PermitRootLogin no
It is also recommended to change the default SSH port (22) to another, less common one, to reduce the number of automated attacks. Find the line #Port 22, uncomment it, and change it to, for example, Port 2222. If you changed the port, remember to specify it when connecting: ssh -p 2222 your_username@your_vps_ip.
Restart the SSH service for the changes to take effect:
sudo systemctl restart sshd
6. Firewall Configuration (UFW)
UFW (Uncomplicated Firewall) is a convenient tool for managing the firewall in Linux. Configure it to allow only necessary connections:
sudo apt install ufw -y              # Install UFW if not already installed
sudo ufw allow OpenSSH               # Allow SSH (default port 22, or your new port)
sudo ufw allow http                  # Allow HTTP (port 80)
sudo ufw allow https                 # Allow HTTPS (port 443)
sudo ufw allow 9000/tcp              # Allow port for Portainer Edge Agent (optional, but useful)
sudo ufw allow 9443/tcp              # Allow port for Portainer web interface (default HTTPS)
sudo ufw enable                      # Enable UFW
sudo ufw status verbose              # Check firewall status
When prompted for confirmation after sudo ufw enable, type y.
7. Installing Fail2Ban
Fail2Ban scans server logs (e.g., SSH, web server logs) and automatically blocks IP addresses from which brute-force attempts or other malicious activities have been detected. This significantly enhances your server's security.
sudo apt install fail2ban -y         # Install Fail2Ban
sudo systemctl enable fail2ban       # Enable service autostart
sudo systemctl start fail2ban        # Start the service
Fail2Ban is configured by default to protect SSH. You can configure it further by copying the configuration file:
In this file, you can configure parameters such as bantime (ban time), findtime (period over which failed attempts are counted), and maxretry (maximum number of failed attempts). For most cases, the default settings in jail.local are sufficient.
8. Time Synchronization Setup
Proper time synchronization is critically important for the operation of many services, including TLS certificates, logs, and distributed systems.
sudo timedatectl set-ntp true        # Enable NTP time synchronization
sudo timedatectl status              # Check synchronization status
Your server is now ready for Docker and Portainer installation. Proceed with the next steps using your new user and sudo.
Software Installation — Step-by-Step
Diagram: Software Installation — Step-by-Step
Now that your server is prepared and secured, you can proceed with installing Docker Engine and Portainer CE. We will use current software versions for 2026, focusing on the latest stable releases.
1. Installing Docker Engine (version 26.0.x)
Docker Engine is the foundation on which Portainer and all your containers will run. We will install it from the official Docker repository to always have access to current versions.
1.1. Removing Old Docker Versions (if any)
If Docker was previously installed on the server, it is recommended to remove all old versions to avoid conflicts.
for pkg in docker.io docker-doc docker-compose docker-compose-v2 podman-docker containerd runc; do sudo apt remove $pkg; done
1.2. Installing Necessary Utilities
Install the packages required to work with HTTPS repositories and GPG keys.
1.5. Installing Docker Engine, Containerd, and Docker Compose
Update the package list and install Docker Engine, as well as Containerd (container runtime) and Docker Compose (a tool for defining and running multi-container Docker applications).
To be able to run Docker commands without sudo, add your user to the docker group.
sudo usermod -aG docker $USER
newgrp docker # Applies changes to the current session without re-login
After running newgrp docker, try executing a Docker command without sudo. If you did not use newgrp docker, you will need to log out of your SSH session and log back in for the changes to take effect.
1.7. Verifying Docker Installation
Ensure that Docker Engine is installed and running correctly by running the hello-world test container.
docker run hello-world
The output should contain a message indicating that your Docker installation is working.
2. Installing Portainer CE (version 2.21.x)
Now that Docker is installed, you can deploy Portainer CE as a Docker container. We will use the latest stable version of Portainer CE, which will be current for 2026 (e.g., 2.21.x).
2.1. Creating a Volume for Portainer Data
Portainer stores its configuration data, databases, and settings in a persistent volume. Create it so that data is preserved even when the Portainer container is updated or recreated.
docker volume create portainer_data
2.2. Running the Portainer Container
Run Portainer CE in a container. We will configure it to start automatically when the server boots and bind the necessary ports and volumes.
-p 8000:8000: Maps host port 8000 to container port 8000. Used for communication with the Edge Agent if you will be managing remote Docker environments.
-p 9443:9443: Maps host port 9443 to container port 9443. This is the main port for accessing the Portainer web interface via HTTPS.
--name portainer: Assigns the name portainer to the container for easy management.
--restart always: Ensures that the Portainer container will automatically restart if the server stops or reboots.
-v /var/run/docker.sock:/var/run/docker.sock: Mounts the Docker socket from the host system into the Portainer container. This allows Portainer to interact with the local Docker Engine.
-v portainer_data:/data: Mounts the portainer_data volume we created into the /data directory inside the container, where Portainer stores its data.
portainer/portainer-ce:latest: Specifies the Portainer Community Edition Docker image. The latest tag will always point to the latest stable version.
2.3. Checking Portainer Container Status
Ensure that the Portainer container is running correctly.
docker ps -a | grep portainer
The output should show a container named portainer with a status of Up.
Portainer is now installed and running. In the next step, we will proceed with its initial setup and ensure secure access via HTTPS.
Configuration
Diagram: Configuration
After successfully installing Portainer, it's time for its initial setup and securing access. We will configure web interface access, create an administrator, and most importantly, ensure an HTTPS connection using the Caddy reverse proxy and automatic Let's Encrypt certificates.
1. Initial Access to Portainer UI
Open your web browser and navigate to https://your_vps_ip:9443. You will be greeted by the Portainer initial setup page.
Create an administrator user: Enter a username (e.g., admin) and a strong password. Make sure to use a complex password.
Environment selection: After creating the user, Portainer will prompt you to choose which Docker environment you want to manage. Select "Get Started" to manage the local Docker environment on your VPS.
You will be taken to the Portainer dashboard. Note that by default, Portainer uses a self-signed SSL certificate, so your browser will issue a warning about an insecure connection. We will fix this by configuring Caddy.
2. Configuring TLS/HTTPS with Caddy (recommended)
Using Caddy as a reverse proxy is a modern and very convenient way to provide HTTPS for Portainer and your other applications. Caddy automatically obtains and renews Let's Encrypt certificates, which significantly simplifies TLS management.
2.1. Installing Caddy
We will install Caddy from its official repository.
After installation, Caddy will be running as a system service. Check its status:
sudo systemctl status caddy
It should be in an active (running) state.
2.2. Configuring the DNS record
For Caddy to obtain a Let's Encrypt certificate, you will need a domain name pointing to your VPS. Create an A-record with your domain registrar (e.g., portainer.yourdomain.com) and specify your VPS's IP address.
Wait for the DNS record to propagate across the network (this can take from a few minutes to several hours).
2.3. Configuring the Caddyfile
The Caddyfile is the main configuration file for Caddy. We will configure it to proxy requests from your domain to Portainer.
sudo nano /etc/caddy/Caddyfile
Remove the existing content and insert the following, replacing portainer.yourdomain.com with your domain name:
portainer.yourdomain.com: Specifies the domain for which Caddy will handle requests and automatically obtain an SSL certificate.
reverse_proxy localhost:9443: Redirects all incoming requests to local port 9443, where Portainer is running.
transport http { ... }: This block is important because Portainer by default uses internal self-signed TLS on port 9443.
tls_trust_panther_root: Adds the Let's Encrypt root certificate to trusted certificates.
insecure_skip_verify: ATTENTION! This option disables backend certificate verification (Portainer). It is used here because Portainer uses a self-signed certificate. In production environments for other applications where the backend has a valid certificate, this option should not be used. For Portainer, this is acceptable as Caddy itself provides external TLS.
Save the file (Ctrl+O, Enter) and close the editor (Ctrl+X).
2.4. Applying Caddy Configuration
Check the Caddyfile syntax and reload the Caddy service.
If everything is configured correctly, Caddy will reload without errors. You can now access Portainer at https://portainer.yourdomain.com. Your browser will no longer issue security warnings, as Caddy will provide a valid SSL certificate from Let's Encrypt.
3. Verifying Functionality
Ensure that Portainer is accessible and functioning correctly via the domain name:
curl -I https://portainer.yourdomain.com
You should see an HTTP status of 200 OK or 302 Found (if Portainer redirects to the login page), as well as headers indicating a successful HTTPS connection.
4. Deploying a Test Container via Portainer
Let's deploy a simple Nginx web server to ensure that Portainer fully manages the Docker Engine.
Log in to Portainer via your domain (https://portainer.yourdomain.com).
In the left menu, select "Local" (under "Environments").
Go to "Containers", then click "Add container".
Fill in the fields:
Name:test-nginx
Image:nginx:latest
Port mappings: Click "publish a new network port".
Host port:8080 (or any free port)
Container port:80
Protocol:tcp
Click "Deploy the container".
After a few seconds, the test-nginx container should be running. Check it by opening http://your_vps_ip:8080 in your browser. You should see the standard Nginx welcome page.
Now you have a fully configured Portainer with secure access, ready to manage your Docker applications.
Backups and Maintenance
Diagram: Backups and Maintenance
Ensuring regular backups and timely maintenance is critically important for any production system. In this section, we will cover what exactly needs to be backed up, how to automate this process, and how to keep your system up-to-date.
1. What to Back Up
For Portainer and your Docker applications, you need to regularly create backups of the following components:
Portainer Data: This is the most important element. The portainer_data volume contains all Portainer configuration, user information, registries, stacks, networks, and volumes. Without it, restoring Portainer would mean losing all settings.
Docker Volumes of Your Applications: All persistent data used by your containers (databases, user files, downloads) is stored in Docker volumes. Every volume marked as "persistent" or explicitly created should be backed up.
Docker Compose Files: If you use docker-compose.yml to define your applications, these files are their "source code". Store them in a version control system (e.g., Git) and/or include them in regular backups.
Configuration Files: Caddy configurations (/etc/caddy/Caddyfile), Fail2Ban settings (/etc/fail2ban/jail.local), and any other custom OS or application settings.
2. Simple Auto-Backup Script Using Restic
We will use Restic — a modern, fast, efficient, and encrypted backup tool. Restic supports many storage backends, including S3-compatible storage, SFTP, Backblaze B2, and others.
2.1. Installing Restic
Download the latest version of Restic and move the executable to /usr/local/bin.
# Check the current version at https://github.com/restic/restic/releases
RESTIC_VERSION="0.16.4" # Current as of 2026, may change
wget https://github.com/restic/restic/releases/download/v${RESTIC_VERSION}/restic_${RESTIC_VERSION}_linux_amd64.bz2
bzip2 -d restic_${RESTIC_VERSION}_linux_amd64.bz2
sudo mv restic_${RESTIC_VERSION}_linux_amd64 /usr/local/bin/restic
sudo chmod +x /usr/local/bin/restic
2.2. Configuring the Restic Repository
Create a Restic repository. As an example, we will use a local directory, but for production, it is highly recommended to use remote storage (S3, Backblaze B2, SFTP).
# Create a directory for the local repository (for example only)
sudo mkdir -p /mnt/backups/restic_repo
sudo chown $USER:$USER /mnt/backups/restic_repo

# Initialize the repository. Replace 'your_strong_password' with a VERY strong password.
# This password will be needed to access all your backups.
export RESTIC_PASSWORD="your_strong_password"
restic init --repo /mnt/backups/restic_repo
For S3-compatible storage (e.g., MinIO, AWS S3, DigitalOcean Spaces):
# Replace with your data
export AWS_ACCESS_KEY_ID="your_s3_access_key"
export AWS_SECRET_ACCESS_KEY="your_s3_secret_key"
export RESTIC_PASSWORD="your_strong_password"
restic init --repo s3:https://s3.your-region.amazonaws.com/your-bucket-name
2.3. Creating the Backup Script
Create the file /usr/local/bin/backup_script.sh:
sudo nano /usr/local/bin/backup_script.sh
Insert the following content:
#!/bin/bash

# --- Settings ---
# Path to the Restic repository
RESTIC_REPO="/mnt/backups/restic_repo" # Or s3:https://... for remote
# Password for the Restic repository
export RESTIC_PASSWORD="your_strong_password"
# Directory for temporary backup files (if needed)
BACKUP_TEMP_DIR="/tmp/docker_backups"

# What to back up
PATHS_TO_BACKUP=(
  "/var/lib/docker/volumes/portainer_data" # Portainer data
  "/var/lib/docker/volumes/your_app_data_volume" # Example: volume for your application
  "/etc/caddy/Caddyfile"                  # Caddy configuration
  "/etc/fail2ban/jail.local"              # Fail2Ban configuration
  "/opt/docker-compose-projects"          # Directory with docker-compose.yml files
)

# --- Functions ---
# Function to create Docker volume snapshots (Portainer itself is not stopped)
backup_docker_volume() {
    local volume_path=$1
    local volume_name=$(basename "$volume_path")
    echo "Creating temporary archive for Docker volume: $volume_name"
    # For Portainer_data, simply backing up the directory is sufficient
    # For other volumes, stopping the container might be required
    # or using 'docker run --rm -v $volume_name:/volume -v $BACKUP_TEMP_DIR:/backup alpine tar cvf /backup/$volume_name.tar /volume'
}

# --- Main script ---
echo "--- Starting backup $(date) ---"

# Create a temporary directory if needed for complex volume backups
# mkdir -p "$BACKUP_TEMP_DIR"

# Perform backup with Restic
/usr/local/bin/restic backup \
  "${PATHS_TO_BACKUP[@]}" \
  --repo "$RESTIC_REPO" \
  --verbose \
  --tag "daily-backup" \
  --exclude-file /root/.restic_exclude.txt # Example exclusion file, if needed

# Clean up old backups (retention policy)
echo "Cleaning up old snapshots..."
/usr/local/bin/restic forget \
  --repo "$RESTIC_REPO" \
  --keep-daily 7 \
  --keep-weekly 4 \
  --keep-monthly 6 \
  --prune \
  --verbose

echo "--- Backup finished $(date) ---"

# Remove temporary directory
# rm -rf "$BACKUP_TEMP_DIR"
Make the script executable:
sudo chmod +x /usr/local/bin/backup_script.sh
Important: Replace your_strong_password with your actual Restic repository password. Never store passwords in plain text in production; it's better to use environment variables or Docker secrets. For a cron job, you can set RESTIC_PASSWORD directly in crontab.
For backing up Docker volumes other than portainer_data, it may be necessary to stop associated containers or use the command docker run --rm -v :/volume -v /tmp/backup:/backup alpine tar cvf /backup/.tar /volume to create a volume snapshot. However, for most applications that correctly handle IO, a direct backup of the volume directory is sufficient.
3. Automating Backups with Cron
Add the script to Cron for daily automatic execution.
crontab -e
Select an editor (if prompted) and add the following line to the end of the file so that the script runs every day at 3:00 AM:
This line will run the script daily at 3 AM and redirect all output to the file /var/log/backup.log for later analysis.
4. Where to Store Backups
Never store all backups on the same server as the original data. If the server fails, you will lose both data and backups.
External S3-compatible storage: The recommended option. This can be AWS S3, Backblaze B2, DigitalOcean Spaces, MinIO, or any other object storage provider. It is reliable, scalable, and relatively inexpensive.
Separate VPS: You can set up a second, less powerful VPS and use it exclusively for storing backups, for example, via SFTP or NFS.
Local NAS/External Drive: If you manage a local server, you can use network-attached storage.
5. Maintenance and Updates
Regular updates are critically important for system security and stability.
OS Update: Regularly run sudo apt update && sudo apt upgrade -y. For Ubuntu LTS, this can be done once a month or as important security patches are released.
Docker Engine Update: Updates along with OS packages via apt upgrade. Always check release notes before major updates.
Portainer Update:
Stop the current Portainer container: docker stop portainer
Remove the current container: docker rm portainer
Download the new image: docker pull portainer/portainer-ce:latest
Start a new container, using the same portainer_data volume:
Rolling updates: For non-critical systems, automatic updates can be configured, but this is risky.
Maintenance window: It is recommended to schedule updates during periods of minimal load, after thoroughly testing them on a staging server (if available).
Log Monitoring: Regularly review system logs (journalctl -xe), Docker container logs (docker logs ), and Portainer logs to identify problems early.
Adhering to these practices will ensure the stability, security, and recoverability of your Docker infrastructure managed by Portainer.
Troubleshooting + FAQ
This section provides answers to frequently asked questions and solutions to common problems that may arise when installing and using Portainer on a VPS.
Cannot access Portainer via HTTPS through a domain.
What to check:
DNS record: Make sure your A-record (e.g., portainer.yourdomain.com) correctly points to your VPS's IP address and has fully propagated across DNS servers. Check using dig portainer.yourdomain.com.
UFW (firewall): Check if port 443 (HTTPS) is allowed in UFW. The command sudo ufw status verbose should show 443/tcp ALLOW Anywhere.
Caddy service: Check if Caddy is running and if there are any errors in its logs. Commands: sudo systemctl status caddy and sudo journalctl -u caddy --no-pager.
Caddyfile: Ensure that the configuration in /etc/caddy/Caddyfile is correct, the domain name is specified accurately, and you have reloaded Caddy after changes (sudo systemctl reload caddy).
Portainer container: Make sure the Portainer container is running and listening on port 9443. Check using docker ps -a | grep portainer and docker logs portainer.
How to fix: Correct the DNS record, add a rule to UFW, check Caddyfile syntax, restart services.
Containers do not start or crash immediately after starting.
What to check:
Container logs: The very first step is to check the logs of the problematic container. In Portainer, you can do this by navigating to the "Containers" section, selecting the desired container, and clicking "Logs". In the command line: docker logs <container_name_or_id>.
Resource availability: Check if there is enough RAM and CPU on your VPS. Some containers require more resources than you might have anticipated.
Volume settings: Ensure that all necessary volumes are mounted correctly and have the required permissions.
Network settings: If the container needs to interact with other containers or the external network, make sure its network settings are correct.
Errors in Dockerfile/docker-compose.yml: If you are using your own images or Docker Compose, check the files for syntax errors or incorrect paths.
How to fix: Analyze logs, adjust Dockerfile/docker-compose.yml, allocate more resources, check file and directory permissions used by volumes.
Docker commands require sudo, even though I added the user to the docker group.
What to check:
Docker group: Make sure your user is indeed in the docker group. The command groups $USER should show docker among the groups.
Re-login: After adding a user to the docker group, you need to exit the SSH session and log in again for the changes to take effect. Alternatively, run newgrp docker.
How to fix: Exit your SSH session and log in again, or run newgrp docker to update group membership for the current session.
What is the minimum VPS configuration suitable for Portainer and a couple of small applications?
For Portainer and 2-3 small applications (e.g., a web server, a database, a WordPress blog), a VPS with 2 vCPU, 2-4 GB of RAM, and 50-80 GB of SSD storage will be sufficient. This will ensure comfortable operation of Portainer and stable functioning of your services.
What to choose — VPS or dedicated for this task?
For managing Docker containers with Portainer and running most medium-sized projects (several dozen containers, average load), a VPS is the optimal choice. It is more economical, flexible, and easier to manage. A dedicated server is only needed if you plan to run very high-load applications, hundreds of containers, or if you require specific hardware (e.g., powerful GPUs) or complete physical resource isolation. For most users, a VPS will be more than sufficient.
How to update Portainer without data loss?
Updating Portainer usually occurs without data loss, as all important data is stored in the Docker volume portainer_data. The process is as follows:
Stop the current Portainer container: docker stop portainer.
Remove the old container: docker rm portainer.
Pull the latest version of the Portainer image: docker pull portainer/portainer-ce:latest.
Start a new container using the same parameters and the same portainer_data volume:
After this, Portainer will start with the new version, using all your previous settings and data.
I forgot my Portainer administrator password. How do I reset it?
If you forgot your Portainer administrator password, you can reset it by following these steps:
# Stop the Portainer container
docker stop portainer

# Start a temporary container to reset the password
docker run --rm -it \
  -v portainer_data:/data \
  portainer/portainer-ce:latest \
  --admin-password "new_strong_password"

# Replace "new_strong_password" with your new password.
# After executing this command, the temporary container will be removed.

# Start the main Portainer container again
docker start portainer
Now you can log in to Portainer with your new password.
Conclusions and Next Steps
Diagram: Conclusions and Next Steps
In this detailed guide, we successfully set up Portainer Community Edition on your VPS, transforming the complex process of managing Docker containers into an intuitive task using a web interface. You went through all stages: from server preparation and Docker installation to configuring secure access via Caddy with automatic SSL certificates, and implementing basic backup and maintenance practices. You now have full control over your Docker infrastructure, with a powerful tool for deploying, monitoring, and managing your applications.
Here are a few directions you can take to maximize the capabilities of your new environment:
Explore additional Portainer features: Portainer offers many advanced features, such as Docker Compose stack management, application templates, team creation and role-based access control (RBAC), integration with image registries, and much more.
Implement CI/CD: Integrate Portainer into your continuous integration and delivery (CI/CD) workflow. You can configure automatic deployment of new versions of your applications in Portainer after a successful build.
Monitoring and logging: Consider installing a monitoring stack, such as Prometheus and Grafana, for in-depth analysis of your container and VPS performance. For centralized logging, you can use ELK Stack (Elasticsearch, Logstash, Kibana) or Grafana Loki.
Scaling: If your needs grow, explore the capabilities of Docker Swarm or even Kubernetes. Portainer can manage Swarm and Kubernetes clusters, providing a unified interface for scaling your applications.
Your VPS is now a powerful and flexible platform for hosting all your projects, and Portainer makes managing this platform simple and efficient.
Was this guide helpful?
Your feedback helps us improve our guides.
Share this post:
Send this guide to someone who may find it useful.