

Setting up AdGuard Home on a VPS to block ads and trackers across your entire network
TL;DR
In this detailed guide, we will set up AdGuard Home step-by-step on your own Virtual Private Server (VPS). You will learn how to install AdGuard Home, configure it for effective ad and tracker blocking, and ensure its security and stability. As a result, you will get a centralized DNS server that will filter internet traffic for all devices in your home or office network, significantly improving privacy and page loading speed.
- Installing AdGuard Home on Ubuntu Server 24.04 LTS.
- Configuring ad, tracker, and malicious domain blocking at the DNS level.
- Securing the AdGuard Home web interface with HTTPS and automatic Let's Encrypt certificates via Caddy.
- Securing the server with Fail2Ban, UFW, and SSH keys.
- Recommendations for AdGuard Home backup and maintenance.
- Detailed troubleshooting and FAQ section.
What we are setting up and why
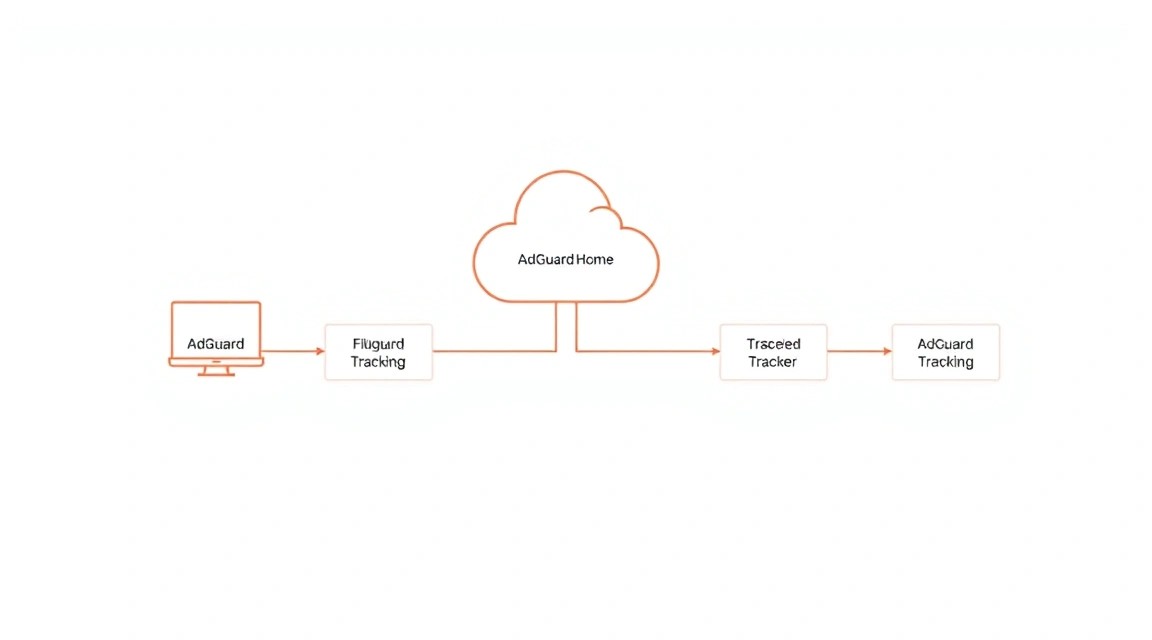
In the modern internet, ads and trackers have become an integral part of the user experience, often slowing down page loading, consuming traffic, and violating privacy. AdGuard Home is powerful, free, and open-source software that acts as a DNS server, filtering internet traffic at the domain name level. By installing it on your VPS, you can centrally block ads, trackers, malicious websites, and even adult content for all devices connected to your network (be it a home router, smartphone, computer, or IoT device).
Ultimately, upon completing this guide, you will have your own, fully controlled DNS server with AdGuard Home, which will:
- Block the vast majority of ads and pop-ups.
- Protect against data collection by trackers and analytical systems.
- Prevent access to known malicious and phishing websites.
- Improve web page loading speed by reducing the amount of content loaded.
- Provide detailed statistics on DNS queries and blocked domains.
- Ensure centralized filtering management for all devices on your network.
Alternatives: Cloud-managed vs. Self-hosted on VPS
There are several ways to block ads and trackers. You can use browser extensions (AdBlock Plus, uBlock Origin), which only work in a specific browser, or paid VPN services that offer ad blocking. There are also cloud-based DNS services with filtering (e.g., AdGuard DNS itself, Cloudflare DNS), which are easy to set up but do not give you full control over filter lists and do not provide detailed statistics on your queries.
A self-hosted solution on a VPS, in contrast, offers maximum control and flexibility. You choose the blocklists yourself, can add your own rules, integrate AdGuard Home with other services (e.g., with a VPN server on the same VPS), and have full access to logs and statistics. This is an ideal option for those who value privacy, performance, and complete control over their network infrastructure, as well as for those who want a single point of filtering for all devices, including those where installing extensions or applications is not possible (e.g., Smart TVs, game consoles).
What VPS configuration is needed for this task
AdGuard Home is a relatively lightweight application that does not require significant resources, especially if you plan to use it for a small home or office network (up to 50-100 devices). However, if you anticipate high load or want to run additional services on the same VPS, the requirements may increase.
Minimum Requirements for AdGuard Home (current as of 2026):
- CPU: 1 core (x64-compatible processor). AdGuard Home does not heavily load the CPU; it will be idle most of the time.
- RAM: 512 MB. AdGuard Home consumes between 50 and 200 MB of RAM depending on the number of filter lists used and the size of the DNS query cache. 512 MB will be sufficient for comfortable operation.
- Disk: 10 GB SSD. Most of this volume will be occupied by the operating system and cache. AdGuard Home itself takes up a few tens of megabytes. SSD is highly recommended for fast DNS server operation.
- Network: 100 Mbps. DNS queries consume very little traffic, so even a basic network channel will be more than sufficient.
Recommended VPS Plan for Typical Use:
For stable AdGuard Home operation and the ability to run other small services on the same VPS, as well as to ensure resource headroom, the following configuration is recommended:
| Criterion | Recommended Value |
|---|---|
| CPU | 2 cores (Intel Xeon E3/E5 or AMD EPYC) |
| RAM | 1 GB |
| Disk | 25 GB SSD |
| Network | 1 Gbps port, unlimited traffic (or large volume, e.g., 1-2 TB/month) |
| OS | Ubuntu Server 24.04 LTS (or newer) |
Such a VPS with the specified characteristics will not only ensure stable AdGuard Home operation but also allow you to host a small web server, VPN server, or other utilities on it if needed, without a noticeable performance decrease.
When a dedicated server is needed, not a VPS
A dedicated server for AdGuard Home is usually not required. However, if you plan to:
- Serve AdGuard Home for a very large organization (thousands of clients).
- Run many resource-intensive applications on the same server (cloud storage, heavy databases, high-load game servers).
- Require exceptional I/O performance or specific hardware configurations.
In these rare cases, you might consider renting a suitable dedicated server, but for most users, a VPS will be the optimal and more economical solution.
Location: What it affects
The choice of VPS location matters for a DNS server:
- Latency: The closer your VPS is to you geographically, the lower the latency will be when processing DNS queries. For DNS, this is important, as each query should be processed as quickly as possible. A difference of 50-100 ms can be noticeable. Choose a location that is as close as possible to your physical location.
- Content Availability: Some services may offer different content or have different restrictions depending on the IP address from which the request originated. If you are using a VPS to bypass geo-restrictions, ensure its location matches your goals.
- Legislation: Some jurisdictions may have their own rules regarding log storage or traffic processing. Take this into account when choosing a country for your VPS.
Server Preparation
Before installing AdGuard Home, you need to perform basic setup and strengthen the security of your VPS. We will be using Ubuntu Server 24.04 LTS.
1. Connecting to the server via SSH
After receiving the VPS access details (usually IP address, root login, and password), connect to it:
ssh root@YOUR_VPS_IP_ADDRESS
Upon the first connection, you may be prompted to confirm the server's fingerprint. Enter yes.
2. System Update
Always start by updating the package manager and installed packages to their latest versions:
sudo apt update         # Updates the list of available packages
sudo apt upgrade -y     # Upgrades all installed packages
sudo apt autoremove -y  # Removes unnecessary dependencies
3. Creating a new user with sudo privileges
Working under the root account is insecure. Let's create a new user and grant them sudo privileges:
adduser your_username          # Creates a new user
usermod -aG sudo your_username # Adds the user to the sudo group
After creating the user, set a strong password for them. Now you can exit the root session and log in as the new user:
exit
ssh your_username@YOUR_VPS_IP_ADDRESS
4. Configuring SSH Key Authentication (Recommended)
Using SSH keys significantly enhances security compared to passwords. If you don't already have an SSH key pair, generate them on your local computer:
ssh-keygen -t rsa -b 4096 -C "[email protected]"
Then, copy the public key to your VPS:
ssh-copy-id your_username@YOUR_VPS_IP_ADDRESS
After successful setup, disable password authentication for root and the new user. Edit the SSH server configuration file:
sudo nano /etc/ssh/sshd_config
Find and change the following lines:
#PermitRootLogin yes
PermitRootLogin no

#PasswordAuthentication yes
PasswordAuthentication no
Save changes (Ctrl+O, Enter) and exit (Ctrl+X). Restart the SSH service:
sudo systemctl restart sshd
Important: Before closing the current SSH session, open a new terminal window and try connecting to the VPS using the SSH key. Make sure everything works to avoid losing access to the server.
5. Configuring UFW (Uncomplicated Firewall)
UFW is an easy-to-use interface for iptables. Let's configure it to allow only necessary traffic:
sudo apt install ufw -y                 # Installs UFW
sudo ufw default deny incoming          # Denies all incoming traffic by default
sudo ufw default allow outgoing         # Allows all outgoing traffic by default

sudo ufw allow ssh                      # Allows SSH (port 22)
sudo ufw allow 80/tcp                   # Allows HTTP (for Caddy/AdGuard Home web interface)
sudo ufw allow 443/tcp                  # Allows HTTPS (for Caddy/AdGuard Home web interface)
sudo ufw allow 53/tcp                   # Allows DNS (for AdGuard Home)
sudo ufw allow 53/udp                   # Allows DNS (for AdGuard Home)
sudo ufw enable                         # Enables the firewall
sudo ufw status verbose                 # Checks the status
If you are using a non-standard port for SSH, allow it instead of 22. After enabling UFW, the system may ask for confirmation; enter y.
6. Installing Fail2Ban
Fail2Ban scans server logs for suspicious activity (e.g., multiple failed SSH login attempts) and automatically blocks the IP addresses of offenders using the firewall.
sudo apt install fail2ban -y            # Installs Fail2Ban
sudo cp /etc/fail2ban/jail.conf /etc/fail2ban/jail.local # Creates a local copy of the config
sudo nano /etc/fail2ban/jail.local      # Edits the configuration
In the jail.local file, you can configure parameters such as bantime (block time) and findtime (period over which failed attempts are counted). Make sure the [sshd] section is active (enabled = true). You can also add your IP address to ignoreip to ensure you are never blocked:
[DEFAULT]
ignoreip = 127.0.0.1/8 ::1 YOUR_HOME_IP
bantime = 1d
findtime = 10m
maxretry = 5

[sshd]
enabled = true
port = ssh
logpath = %(sshd_log)s
backend = %(sshd_backend)s
Save changes and restart Fail2Ban:
sudo systemctl enable fail2ban          # Enables autostart on system boot
sudo systemctl restart fail2ban         # Restarts the service
sudo fail2ban-client status             # Checks the status
Your server is now basically configured and secured. You can proceed to install AdGuard Home.
Software Installation — Step-by-Step
We will install AdGuard Home directly from official releases, which is the recommended method for most users. This ensures ease of installation and updates.
1. Installing Necessary Utilities
For downloading and extracting archives, we will need wget or curl, as well as unzip:
sudo apt install wget unzip -y # Installs necessary utilities
2. Downloading the Latest Version of AdGuard Home
As of 2026, AdGuard Home is actively developing. We will assume that the current stable version will be approximately v0.108.2 or v0.109.0. You can always check the latest version on the GitHub releases page: https://github.com/AdguardTeam/AdGuardHome/releases.
Determine your VPS architecture (usually linux-amd64):
dpkg --print-architecture # Outputs the architecture, e.g., amd64
Let's download the archive. Replace v0.108.2 and linux-amd64 with the actual values if they differ:
wget https://github.com/AdguardTeam/AdGuardHome/releases/download/v0.108.2/AdGuardHome_linux_amd64.zip # Downloads the AdGuard Home archive
3. Unpacking and Installing AdGuard Home
Let's unpack the archive into the /opt/AdGuardHome directory. This is a common location for third-party software.
sudo mkdir -p /opt/AdGuardHome              # Creates a directory for AdGuard Home
sudo unzip AdGuardHome_linux_amd64.zip -d /opt/AdGuardHome # Unpacks the archive into the created directory
rm AdGuardHome_linux_amd64.zip              # Deletes the downloaded archive
4. Installing AdGuard Home as a System Service
AdGuard Home comes with a convenient script to install it as a system service (systemd). This ensures that AdGuard Home will automatically start when the server boots and can be managed with standard systemctl commands.
sudo /opt/AdGuardHome/AdGuardHome -s install # Installs AdGuard Home as a systemd service
After executing this command, AdGuard Home will be installed, started, and configured to launch automatically on system boot.
5. Checking AdGuard Home Status
Ensure that the AdGuard Home service is running and working correctly:
sudo systemctl status AdGuardHome # Checks the status of the AdGuard Home service
The output should show Active: active (running). If the service is not running, you can try starting it manually:
sudo systemctl start AdGuardHome # Starts the AdGuard Home service
6. Initial AdGuard Home Configuration via Web Interface
By default, AdGuard Home runs its web interface on port 3000. Open it in your browser using your VPS's IP address:
http://YOUR_VPS_IP_ADDRESS:3000
In the first step, you will be prompted to select the network interfaces on which AdGuard Home will listen for DNS queries and the web interface. For the DNS server, choose 0.0.0.0 (all interfaces) to listen on port 53. For the web interface, also select 0.0.0.0 and specify port 80 (or leave 3000 if you plan to use a reverse proxy, as we will do later with Caddy).
Then, create a username and a strong password to access the AdGuard Home control panel. Store this information in a secure location.
After completing the setup, AdGuard Home will restart, and you will be able to log in to the control panel.
Configuration
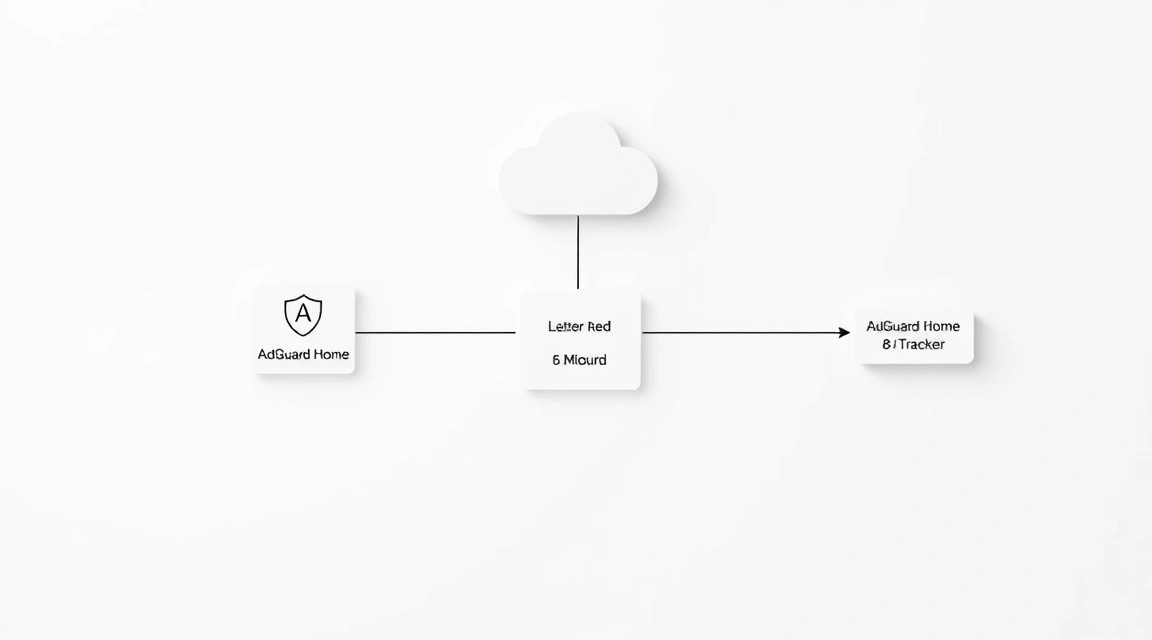
After the basic installation of AdGuard Home, additional configuration is required to ensure security and optimal operation. We will configure HTTPS for the web interface using Caddy and verify its functionality.
1. Configuring the DNS server on devices
For AdGuard Home to start filtering traffic, you need to specify its IP address as the DNS server on your devices or in your router:
- On the router: This is the preferred method, as it will automatically apply filtering to all devices on your network. Go to your router's settings (usually
192.168.0.1or192.168.1.1), find the "WAN Settings" or "DHCP/DNS Settings" section, and specify your VPS's IP address as the primary DNS server. You can also specify a secondary DNS server (e.g., 1.1.1.1 or 8.8.8.8) in case your AdGuard Home is unavailable. - On a computer (Windows/macOS/Linux): In your operating system's network settings, manually set the VPS IP address as the primary DNS server.
- On a smartphone/tablet: In the Wi-Fi network settings, you can specify a static IP address and DNS server.
After changing the DNS server, clear the DNS cache on the device (e.g., ipconfig /flushdns in Windows or restart the device).
2. Installing and configuring Caddy for HTTPS
For secure access to the AdGuard Home web interface via HTTPS, we will use Caddy — a modern web server that automatically manages Let's Encrypt certificates. This is significantly easier than configuring Certbot with Nginx/Apache.
2.1. Installing Caddy
Let's add the Caddy repository and install it:
sudo apt install -y debian-keyring debian-archive-keyring apt-transport-https # Install necessary packages
curl -1sLf 'https://dl.cloudsmith.io/public/caddy/stable/gpg.key' | sudo gpg --dearmor -o /usr/share/keyrings/caddy-stable-archive-keyring.gpg # Add GPG key
curl -1sLf 'https://dl.cloudsmith.io/public/caddy/stable/debian.deb.txt' | sudo tee /etc/apt/sources.list.d/caddy-stable.list # Add repository
sudo apt update                                 # Update package list
sudo apt install caddy -y                       # Install Caddy
2.2. Caddyfile Configuration
We will configure Caddy as a reverse proxy for AdGuard Home. Assume you have a domain name (e.g., adguard.yourdomain.com) that points to your VPS's IP address. If you don't have a domain, you can only use an IP address, but HTTPS will only work with a self-signed certificate, or not at all. A domain is required for full Let's Encrypt functionality.
Edit the file /etc/caddy/Caddyfile:
sudo nano /etc/caddy/Caddyfile
Replace the existing content with the following (replace adguard.yourdomain.com with your actual domain):
adguard.yourdomain.com {
    reverse_proxy 127.0.0.1:3000
    tls {
        dns cloudflare {YOUR_CLOUDFLARE_API_TOKEN} # Optional: if your domain is on Cloudflare and you want DNS-01 authentication
    }
}
Explanations:
adguard.yourdomain.com: Your domain name through which AdGuard Home will be accessible. Caddy will automatically obtain a Let's Encrypt certificate for it.reverse_proxy 127.0.0.1:3000: Caddy will redirect requests from port 80/443 to local port 3000, where the AdGuard Home web interface operates.tls { dns cloudflare {YOUR_CLOUDFLARE_API_TOKEN} }: This section is optional. It is needed if you want to use DNS-01 authentication for Let's Encrypt (e.g., if your server is behind NAT or you want to obtain a wildcard certificate). For this, you need to install the Caddy plugin for Cloudflare and obtain an API token. If you are simply using a domain pointing to your VPS, you can remove this section; Caddy uses HTTP-01 authentication by default.
Save changes and exit. Now, check the Caddy configuration and restart it:
sudo caddy validate --config /etc/caddy/Caddyfile # Check Caddyfile syntax
sudo systemctl reload caddy                        # Reload Caddy to apply changes
Now you can access the AdGuard Home web interface at https://adguard.yourdomain.com.
3. Verifying functionality
After all configurations, let's ensure that AdGuard Home is working and filtering traffic:
- DNS query check:
On your local computer, which uses your AdGuard Home as DNS, execute the command:
nslookup example.com YOUR_VPS_IP_ADDRESS # Check that queries are going through your AdGuard HomeYou can also check this on a website like dnsleaktest.com.
- Ad blocking check:
Open a website with a lot of ads (e.g., a news portal) in your browser and ensure that ads are not displayed. In the AdGuard Home control panel (
https://adguard.yourdomain.com), go to the "Queries" (Query Log) section and verify that blocked domains are shown there. - Web interface accessibility check:
Ensure that you can access the AdGuard Home control panel via HTTPS through your domain and log in.
4. Additional AdGuard Home settings (in the web interface)
- Filter lists (Filters -> DNS blocklists): Add additional blocklists. Recommended: OISD, AdAway, Easylist. Don't overdo it; too many lists can slow down performance.
- DNS settings (Settings -> DNS settings):
- Upstream DNS servers: Specify reliable and fast DNS servers to resolve queries that AdGuard Home cannot block (e.g., Cloudflare DNS 1.1.1.1 and 1.0.0.1, Google DNS 8.8.8.8 and 8.8.4.4, or Quad9 9.9.9.9 and 149.112.112.112). It is recommended to use DNS-over-HTTPS (DoH) or DNS-over-TLS (DoT) for increased privacy, for example:
https://cloudflare-dns.com/dns-queryortls://dns.quad9.net. - Bootstrap DNS servers: For resolving upstream server names. You can leave it as default or specify the same Cloudflare/Google.
- Enable DNSSEC: Enable for additional security.
- Enable EDNS Client Subnet (ECS): Disable to hide your subnet from upstream servers and improve privacy (may affect CDN).
- Upstream DNS servers: Specify reliable and fast DNS servers to resolve queries that AdGuard Home cannot block (e.g., Cloudflare DNS 1.1.1.1 and 1.0.0.1, Google DNS 8.8.8.8 and 8.8.4.4, or Quad9 9.9.9.9 and 149.112.112.112). It is recommended to use DNS-over-HTTPS (DoH) or DNS-over-TLS (DoT) for increased privacy, for example:
- DHCP settings (Settings -> DHCP settings): If you want AdGuard Home to manage DHCP on your network, you can enable it here. However, this requires disabling DHCP on your router. For most users, it's simpler to leave DHCP on the router and just specify AdGuard Home as the DNS server.
- Clients (Clients): You can add and configure rules for individual clients (devices) on your network to apply different filtering rules.
Backups and Maintenance
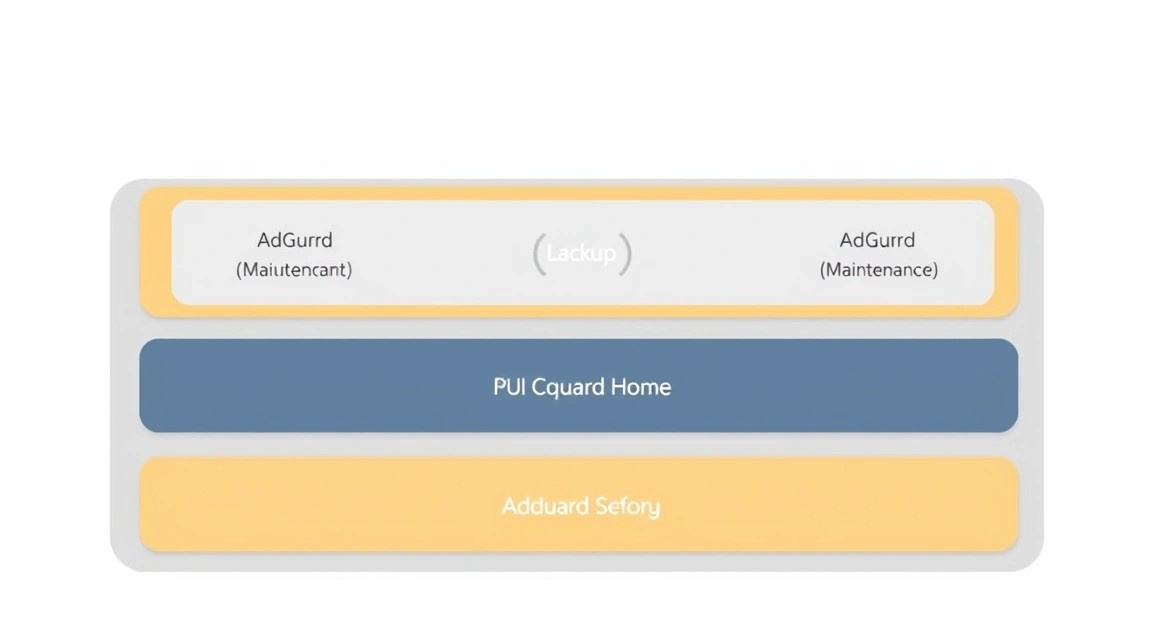
Regular backups and timely maintenance are critically important for any server. AdGuard Home stores its data in a single directory, which simplifies backup.
1. What to back up
The main AdGuard Home data directory is by default located at /opt/AdGuardHome/data. It contains:
- Configuration file (
AdGuardHome.yaml) - Databases of statistics and DNS query logs
- Filter lists, custom rules, and other settings
All this data is necessary for a complete restoration of AdGuard Home. It's also useful to have a backup of the Caddyfile if you are using Caddy.
2. Simple auto-backup script
Let's create a simple script to archive the AdGuard Home data directory and Caddyfile. We will use tar for archiving.
sudo nano /usr/local/bin/backup_adguard.sh
Add the following code (replace your_user with your username):
#!/bin/bash

# Directory where backups will be stored
BACKUP_DIR="/home/your_user/adguard_backups"
# AdGuard Home data directory
ADGUARD_DATA_DIR="/opt/AdGuardHome/data"
# Caddy configuration file
CADDYFILE="/etc/caddy/Caddyfile"
# Backup file name
TIMESTAMP=$(date +%Y%m%d_%H%M%S)
BACKUP_FILE="${BACKUP_DIR}/adguard_home_backup_${TIMESTAMP}.tar.gz"

echo "Starting AdGuard Home backup at ${TIMESTAMP}..."

# Create backup directory if it doesn't exist
mkdir -p "${BACKUP_DIR}"

# Create archive
sudo tar -czf "${BACKUP_FILE}" "${ADGUARD_DATA_DIR}" "${CADDYFILE}"

# Check if archive creation was successful
if [ $? -eq 0 ]; then
    echo "Backup created successfully: ${BACKUP_FILE}"
    # Delete old backups (keep only the last 7 days)
    find "${BACKUP_DIR}" -type f -name "adguard_home_backup_*.tar.gz" -mtime +7 -delete
    echo "Old backups cleaned up."
else
    echo "Error creating backup!"
fi

echo "Backup process finished."
Make the script executable:
sudo chmod +x /usr/local/bin/backup_adguard.sh
3. Configuring Cron for automatic execution
Let's add a Cron job to run the backup script daily. For example, at 3:00 AM:
sudo crontab -e
Add the following line to the end of the file:
0 3 * * * /usr/local/bin/backup_adguard.sh >> /var/log/adguard_backup.log 2>&1
This will run the script daily at 03:00 and record the output to the log file /var/log/adguard_backup.log.
4. Where to store backups (external storage)
Storing backups on the same VPS as the original data is risky. If the VPS fails, you will lose both data and backups. External storage is recommended:
- S3-compatible storage: Cloud services like Amazon S3, DigitalOcean Spaces, Backblaze B2, Scaleway Object Storage. You can use utilities like
s3cmdorrclonefor automatic backup uploads. - Separate VPS: Rent a small, inexpensive VPS to store backups and use
rsyncorscpto transfer them. - Local server/NAS: If you have a home server or network-attached storage, you can configure
rsyncto synchronize backups with the VPS.
For example, for S3 with rclone (after installation and configuration):
# Add to backup_adguard.sh script after archive creation
rclone copy "${BACKUP_FILE}" "remote_s3_storage:adguard-backups/"
5. Updates: Rolling vs. Maintenance Window
Regular updates are important for security and new features.
- Operating system update: Run
sudo apt update && sudo apt upgrade -yat least once a month. A server reboot may be required after kernel updates. - AdGuard Home update:
AdGuard Home has a built-in update mechanism via the web interface ("Settings" -> "General settings" -> "Update channel" section). Select the "Stable" channel and regularly check for updates. The update usually takes a few seconds and restarts the service.
Alternatively, you can update manually by downloading the new version, replacing the binary, and then restarting the service. Always make a backup before manual updates!
sudo systemctl stop AdGuardHome # Stop the service wget https://github.com/AdguardTeam/AdGuardHome/releases/download/v0.109.0/AdGuardHome_linux_amd64.zip # Download new version sudo unzip -o AdGuardHome_linux_amd64.zip -d /opt/AdGuardHome # Unpack with replacement rm AdGuardHome_linux_amd64.zip # Remove archive sudo systemctl start AdGuardHome # Start the service - Caddy update: Caddy updates along with system packages via
apt upgrade, as we added its repository.
For critically important services, updates are best performed during a "maintenance window" when the load is minimal and you have time to check and roll back in case of issues. For AdGuard Home in a home network, this is not as critical, but it is always recommended to make a backup first.
Troubleshooting + FAQ
AdGuard Home is not blocking ads
What to check: Ensure that your VPS's IP address is correctly specified as the DNS server on your devices or router. Check that AdGuard Home is running (sudo systemctl status AdGuardHome) and listening on port 53 (sudo netstat -tulnp | grep 53). Go to the AdGuard Home web interface and check the "Query Log" — DNS queries and their status (blocked/allowed) should be displayed. Ensure that you have blocking lists enabled in "DNS filtering".
How to fix: Restart AdGuard Home (sudo systemctl restart AdGuardHome). Clear the DNS cache on your device. Try using a different blocking list or manually add the domain to "Custom filtering rules". Ensure that UFW allows traffic on port 53 (TCP/UDP).
Cannot access AdGuard Home web interface via HTTPS
What to check: Ensure that Caddy is running and active (sudo systemctl status caddy). Check the file /etc/caddy/Caddyfile for syntax errors (sudo caddy validate --config /etc/caddy/Caddyfile). Ensure that the domain name you are using correctly points to your VPS's IP address. Check Caddy logs (sudo journalctl -u caddy -f) for Let's Encrypt certificate acquisition errors. Ensure that UFW allows traffic on ports 80 and 443.
How to fix: Correct errors in Caddyfile. If there is a certificate issue, ensure that your domain is correctly configured and accessible from the internet. Try temporarily disabling UFW (sudo ufw disable) to check if it's the cause (but don't forget to re-enable it!).
What is the minimum suitable VPS configuration?
What to check: For AdGuard Home, a VPS with 1 CPU core, 512 MB RAM, and 10 GB SSD is minimally sufficient. This will be enough to serve a small home network (up to 50 devices) with a basic set of filter lists. However, for more comfortable operation and the ability to run additional services on the same VPS, 2 CPU cores, 1 GB RAM, and 25 GB SSD are recommended. This will provide a performance reserve and stability.
How to fix: If your current VPS does not meet the minimum requirements, consider upgrading your plan or switching to a more powerful VPS. Insufficient resources can lead to slow DNS server operation and instability.
What to choose — VPS or dedicated for this task?
What to check: For setting up AdGuard Home, in the vast majority of cases (home network, small business, personal use), a VPS is the optimal choice. It is significantly cheaper, easier to manage, and provides more than sufficient resources. Dedicated servers are required for very large, high-load projects or specific hardware requirements.
How to fix: If you are considering AdGuard Home for personal or small-scale use, confidently choose a VPS. Dedicated servers are an overkill solution for this task, unless you plan to use it for other, much more resource-intensive purposes.
AdGuard Home consumes too much memory/CPU
What to check: Go to the AdGuard Home web interface and check the number of active filter lists. Too many lists or very large lists (e.g., with millions of entries) can consume significant resources. Check the "Query Log" for an abnormally large number of queries or a DDoS attack on your DNS server.
How to fix: Reduce the number of active filter lists. Disable those you don't need or that heavily overlap. Clear AdGuard Home's DNS cache. If the load is caused by external requests, check UFW settings and ensure that access to port 53 is open only to trusted IP addresses (if it's not a public DNS). If this is a consistently high load from legitimate clients, you may need a VPS with more RAM.
Cannot update AdGuard Home via the web interface
What to check: Ensure that AdGuard Home has write permissions to the directory where it is installed (/opt/AdGuardHome). Check AdGuard Home logs for errors during the update attempt. Ensure that the server has access to GitHub to download updates.
How to fix: Try performing a manual update, as described in the "Backups and Maintenance" section. Ensure that the user under which AdGuard Home is running (usually adguardhome) has the necessary permissions. If the problem persists, it might be a temporary issue with AdGuard Home's update servers or GitHub.
Conclusion and Next Steps
Congratulations! You have successfully deployed and configured AdGuard Home on your VPS, creating a powerful and private DNS server for blocking ads and trackers. Now all devices on your network using your AdGuard Home will operate faster and more securely, and you will gain full control over traffic filtering.
Next steps:
- VPN Integration: If you have a VPN server on the same or another VPS (e.g., WireGuard or OpenVPN), configure it to use your AdGuard Home as the DNS. This will allow you to enjoy the benefits of ad blocking even outside your home network.
- Monitoring and Optimization: Regularly review AdGuard Home statistics, add or remove filter lists, and fine-tune rules to achieve an optimal balance between blocking and avoiding false positives.
- Advanced Features: Explore additional AdGuard Home features, such as DNS-over-HTTPS (DoH), DNS-over-TLS (DoT), or DNSCrypt to enhance the privacy and security of your DNS queries to upstream servers.