Installing LimeSurvey on VPS: configuring surveys and databases
TL;DR
In this detailed guide, we will step-by-step configure a powerful system for conducting online surveys, LimeSurvey, on your own Virtual Private Server (VPS). You will learn how to prepare an Ubuntu 24.04 LTS based server, install the necessary software stack (Nginx, MariaDB, PHP 8.3), configure LimeSurvey, secure it with HTTPS, and set up automatic backups, gaining full control over your data and surveys.
- Setting up a secure and performant VPS on Ubuntu 24.04 LTS.
- Installation and configuration of the Nginx web server, MariaDB database, and PHP 8.3.
- Deployment of the current version of LimeSurvey (7.x) for conducting professional surveys.
- Securing LimeSurvey with HTTPS, using Caddy for automatic SSL certificate issuance.
- Creating a reliable backup system to protect survey data and configuration.
- Troubleshooting common issues and answering frequently asked questions about operating LimeSurvey on a VPS.
What we are configuring and why
In this guide, we will focus on installing and configuring LimeSurvey — a powerful, flexible, and fully customizable platform for creating and conducting online surveys. LimeSurvey is open-source software, which gives you full control over your data, functionality, and scalability.
Ultimately, upon completion of all steps, you will have a fully functional LimeSurvey installation on your own VPS, accessible via a domain name and secured with HTTPS. This will allow you to create complex surveys, collect and analyze data without the limitations inherent in many cloud services, while ensuring maximum confidentiality for your respondents.
LimeSurvey is suitable for a wide range of tasks: from academic research and marketing campaigns to internal corporate surveys and customer feedback collection. Thanks to its extensive feature set, including branching logic, various question types, data import/export, and multilingual support, LimeSurvey surpasses many proprietary solutions in capabilities.
Alternatives: Cloud-managed vs. Self-hosted on VPS
There are many survey solutions on the market. They can be broadly divided into two categories:
-
Cloud-managed (cloud services): These include platforms such as SurveyMonkey, Google Forms, Typeform. They offer ease of use, do not require technical knowledge for deployment, and often have an intuitive interface. However, they have significant drawbacks:
- Limitations: There are often limits on the number of surveys, questions, respondents, or available features in free/budget plans.
- Cost: For advanced features and large data volumes, the monthly fee can become quite substantial.
- Data Control: Your data is stored on third-party servers, which may be unacceptable from the perspective of privacy, security, or compliance with regulatory requirements (e.g., GDPR).
- Customization: Options for adapting the appearance and functionality to your needs are usually very limited.
-
Self-hosted on VPS/Dedicated Server (self-hosting): This is the approach we will use with LimeSurvey. You install the software on your own server. Advantages:
- Full Control: You fully own the server, software, and all data. This is critical for confidential surveys.
- Flexibility and Customization: Ability to modify code, install plugins, adapt design and functionality without limitations.
- Scalability: You can easily scale server resources (CPU, RAM, disk) as needs grow, without overpaying for unnecessary features.
- Long-term Cost: For large survey volumes or long-term use, the cost of owning a VPS often turns out to be lower than a subscription to cloud services.
Choosing a self-hosted solution on a VPS for LimeSurvey is a choice for maximum freedom, security, and control over your survey infrastructure, which is especially valuable for developers, startups, and companies that take their data seriously.
What VPS configuration is needed for this task
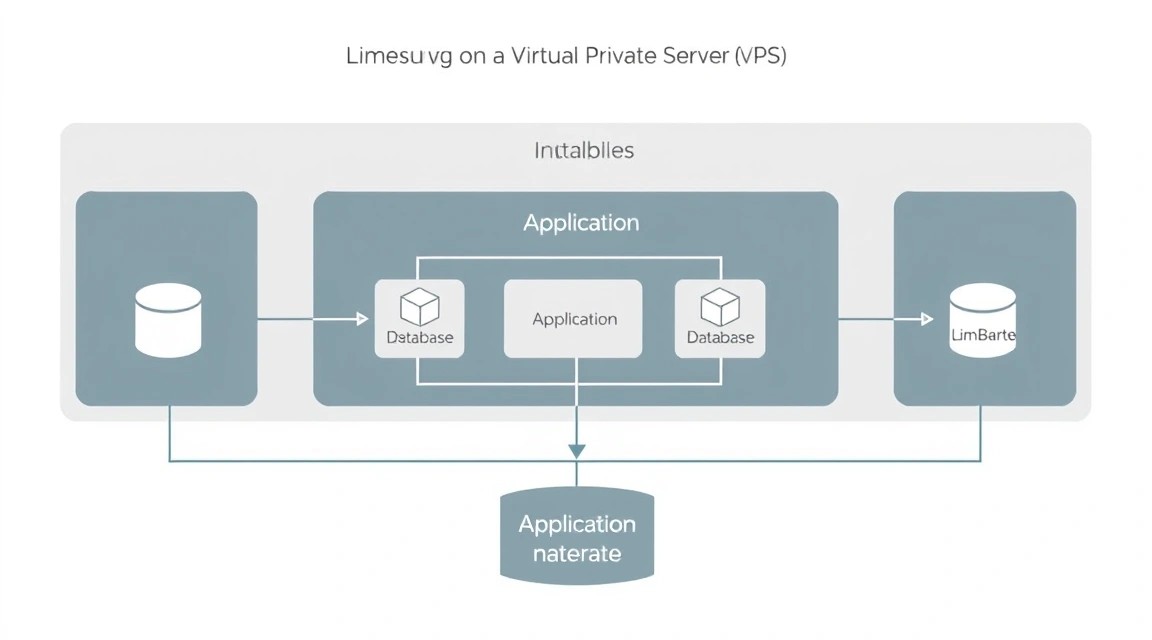
Choosing the right VPS configuration is critical for stable and fast LimeSurvey operation. Requirements may vary depending on the expected load: the number of active surveys, the number of respondents, the complexity of survey logic, and the volume of stored data.
Minimum requirements for LimeSurvey 7.x (current as of 2026)
For a small installation, a few active surveys, and up to 1000 respondents per month:
- CPU: 2 cores (e.g., Intel Xeon E5 or equivalent)
- RAM: 4 GB DDR4 (for OS, web server, PHP-FPM, and database)
- Disk: 50 GB SSD (for OS, software, database, and LimeSurvey files. SSD is mandatory for good DB performance)
- Network: 100 Mbps (with unlimited traffic or sufficient volume)
- Operating System: Ubuntu Server 24.04 LTS
Recommended VPS plan for medium loads
For several dozen active surveys, up to 10,000 respondents per month, and more complex logic:
- CPU: 4 cores (modern processor, e.g., Intel Xeon Scalable or AMD EPYC)
- RAM: 8 GB DDR4
- Disk: 100-200 GB NVMe SSD (for maximum DB read/write speed)
- Network: 1 Gbps
- Operating System: Ubuntu Server 24.04 LTS
A suitable VPS with the specified characteristics can be obtained, for example, on this page: VPS with specified characteristics.
When a Dedicated Server is needed, not a VPS
In most cases, a VPS will be sufficient for LimeSurvey. However, if you plan for:
- Very high loads: Tens of thousands of simultaneous respondents, hundreds of thousands of surveys per month.
- Critically important performance: Minimal latency for survey responses, very fast data analysis.
- Maximum isolation: Security or regulatory requirements that do not allow virtualization on shared infrastructure.
- Huge data volumes: Databases measured in hundreds of gigabytes or terabytes.
In such scenarios, a dedicated server will provide you with exclusive access to all physical resources, ensuring maximum performance and control. You can find a suitable dedicated server here: suitable dedicated server.
Location: what it affects
The choice of geographical location for your VPS or dedicated server is important for several reasons:
- Latency: Place the server as close as possible to your primary audience of respondents. Lower latency improves user experience and survey page loading speed.
- Legislation: Some jurisdictions have strict requirements for storing personal data (e.g., GDPR in Europe). Ensure that the chosen location complies with all applicable laws and regulations.
- Availability: Choose providers with a good reputation for uptime and network stability in the chosen region.
A careful approach to choosing the server configuration and location will lay a solid foundation for the stable and efficient operation of your LimeSurvey platform.
Server Preparation
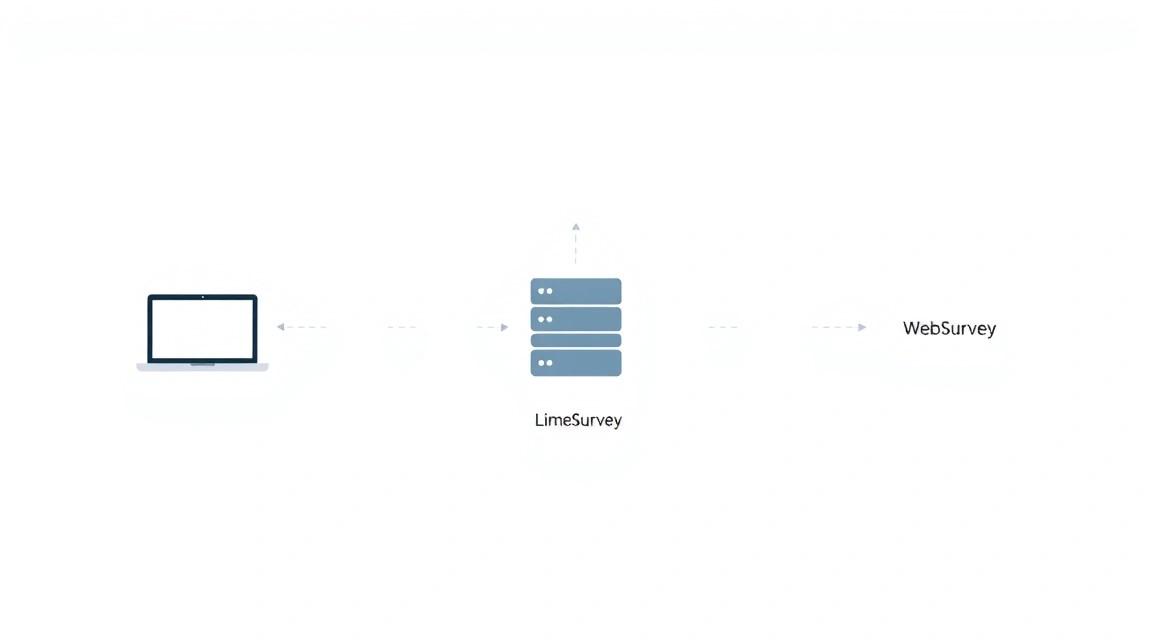
Before installing LimeSurvey, you need to perform basic setup and security hardening for your new VPS. We will use Ubuntu Server 24.04 LTS, as it is a current and supported version for 2026, offering stability and up-to-date packages.
1. Connecting to the Server and System Update
Connect to your server via SSH using the root account or the user provided by your provider:
ssh root@YOUR_IP_ADDRESS
First, update the package list and installed packages to their latest versions:
sudo apt update             # Update the list of available packages
sudo apt upgrade -y         # Upgrade all installed packages
sudo apt autoremove -y      # Remove unnecessary dependencies
2. Creating a New User with Sudo Privileges
Working as the root user is insecure. Let's create a new user through whom we will work:
sudo adduser limesurveyuser         # Create a new user named 'limesurveyuser'
sudo usermod -aG sudo limesurveyuser # Add the user to the sudo group so they can execute commands with administrative privileges
Now, exit the root session and log in as the new user:
exit
ssh limesurveyuser@YOUR_IP_ADDRESS
3. Configuring SSH Key Authentication (Recommended)
To enhance security, it is recommended to disable password login and use only SSH keys. If you don't have an SSH key yet, generate one on your local machine:
# On your local machine
ssh-keygen -t rsa -b 4096 -C "[email protected]"
Copy the public key to the server:
# On your local machine
ssh-copy-id limesurveyuser@YOUR_IP_ADDRESS
Then, on the server, edit the SSH daemon configuration file to disable password login:
sudo nano /etc/ssh/sshd_config
Find and change the following lines:
PasswordAuthentication no
PermitRootLogin no
Save the file (Ctrl+O, Enter) and exit (Ctrl+X). Restart the SSH service:
sudo systemctl restart sshd
Important: Make sure you can log in with an SSH key before disabling password authentication!
4. Configuring the Firewall (UFW)
Let's configure UFW (Uncomplicated Firewall) to allow only necessary traffic:
sudo ufw allow OpenSSH         # Allow SSH connections
sudo ufw allow http            # Allow HTTP (port 80)
sudo ufw allow https           # Allow HTTPS (port 443)
sudo ufw enable                # Enable the firewall
sudo ufw status                # Check firewall status
Confirm enabling the firewall by entering y.
5. Installing Fail2ban
Fail2ban protects the server from brute-force attacks by blocking IP addresses from which failed login attempts occur:
sudo apt install fail2ban -y   # Install Fail2ban
sudo systemctl enable fail2ban # Enable autostart on system boot
sudo systemctl start fail2ban  # Start the service
sudo cp /etc/fail2ban/jail.conf /etc/fail2ban/jail.local # Copy the config for further changes
sudo nano /etc/fail2ban/jail.local # Edit the local config
In the jail.local file, you can configure parameters such as block time (bantime) and number of failed attempts (maxretry). Make sure the [sshd] section is active (i.e., uncommented):
[sshd]
enabled = true
port = ssh
filter = sshd
logpath = /var/log/auth.log
maxretry = 3
bantime = 1h
Save the file and restart Fail2ban:
sudo systemctl restart fail2ban
sudo fail2ban-client status sshd # Check SSH operational status
Now your server has basic but effective protection and is ready for the installation of the main software.
Software Installation — Step-by-step
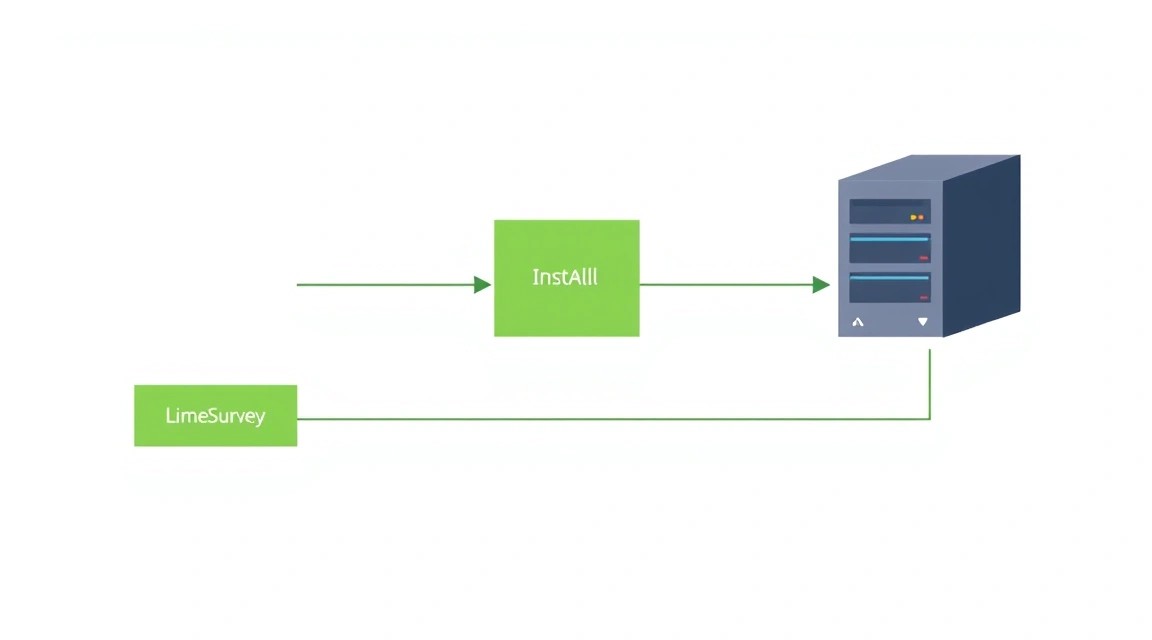
For LimeSurvey to work, we will need a web server (Nginx), a database (MariaDB), and a PHP interpreter with the necessary extensions. We will install the current versions available in the Ubuntu 24.04 LTS repositories for 2026.
1. Installing Nginx
Nginx is a high-performance web server that is excellent for serving static content and proxying requests to PHP-FPM.
sudo apt install nginx -y           # Install Nginx web server
sudo systemctl enable nginx         # Enable Nginx autostart on system boot
sudo systemctl start nginx          # Start Nginx
sudo ufw allow 'Nginx Full'         # Allow traffic for Nginx (HTTP and HTTPS) in the firewall
sudo ufw delete allow 'Nginx HTTP'  # Remove old HTTP rule, if it existed
sudo ufw delete allow http          # Remove old http rule, if it existed
sudo ufw delete allow https         # Remove old https rule, if it existed
sudo ufw status                     # Check UFW status
You should see that Nginx Full is allowed. Check Nginx's operation by opening your server's IP address in a browser. You should see the standard Nginx welcome page.
2. Installing MariaDB
MariaDB is a powerful and fast database management system compatible with MySQL. LimeSurvey actively uses a database to store all surveys, responses, and configurations.
sudo apt install mariadb-server -y  # Install MariaDB server
sudo systemctl enable mariadb       # Enable MariaDB autostart
sudo systemctl start mariadb        # Start MariaDB
Run the script for initial MariaDB security setup:
sudo mysql_secure_installation # Run MariaDB security script
Follow the instructions: set a password for the database root user, remove anonymous users, disallow remote root login, and remove the test database. Answer Y to all questions.
3. Installing PHP 8.3 and Required Extensions
LimeSurvey is written in PHP, and its operation requires a corresponding interpreter and a set of extensions. For 2026, PHP 8.3 is the current and recommended version.
sudo apt install php8.3-fpm php8.3-mysql php8.3-mbstring php8.3-xml php8.3-gd php8.3-zip php8.3-curl php8.3-json php8.3-intl php8.3-ldap php8.3-gmp php8.3-apcu -y # Install PHP-FPM 8.3 and required extensions
sudo systemctl enable php8.3-fpm    # Enable PHP-FPM autostart
sudo systemctl start php8.3-fpm     # Start PHP-FPM
Note: The php8.3-apcu extension is recommended for caching in LimeSurvey, improving performance.
4. Creating a Database and User for LimeSurvey
Connect to MariaDB as the database root user and create a database and user for LimeSurvey.
sudo mysql -u root -p # Connect to MariaDB, enter the DB root password you set earlier
Execute the following SQL commands (replace limesurvey_db, limesurvey_user, and YOUR_STRONG_PASSWORD with your own values):
CREATE DATABASE limesurvey_db CHARACTER SET utf8mb4 COLLATE utf8mb4_unicode_ci; # Create the database
CREATE USER 'limesurvey_user'@'localhost' IDENTIFIED BY 'YOUR_STRONG_PASSWORD'; # Create the user
GRANT ALL PRIVILEGES ON limesurvey_db. TO 'limesurvey_user'@'localhost'; # Grant all privileges on the database
FLUSH PRIVILEGES; # Refresh privileges
EXIT; # Exit MariaDB
5. Downloading and Unpacking LimeSurvey
Navigate to a temporary directory, download the latest stable version of LimeSurvey (LimeSurvey 7.x is assumed for 2026), and unpack it.
cd /tmp
wget https://download.limesurvey.org/latest-stable-release/limesurvey7.x.zip # Download the current version of LimeSurvey 7.x (replace with the exact link for 2026)
sudo apt install unzip -y           # Install utility for unpacking ZIP archives
sudo unzip limesurvey7.x.zip        # Unpack the archive
Move the unpacked files to the directory where Nginx will serve them. This is usually /var/www/html or a specially created directory.
sudo mkdir -p /var/www/limesurvey   # Create directory for LimeSurvey
sudo mv /tmp/limesurvey/ /var/www/limesurvey/ # Move LimeSurvey files
sudo chown -R www-data:www-data /var/www/limesurvey # Set directory owner for Nginx/PHP-FPM
sudo chmod -R 755 /var/www/limesurvey # Set file permissions
Now all components are installed, and we are ready for their configuration.
Configuration
After installing all components, you need to configure them correctly for LimeSurvey to function. This includes setting up Nginx, PHP-FPM, and obtaining an SSL certificate for HTTPS.
1. Configuring Nginx for LimeSurvey
Let's create a new Nginx configuration file for your domain. Replace yourdomain.com with your actual domain.
sudo nano /etc/nginx/sites-available/yourdomain.com
Insert the following content:
server {
    listen 80;
    server_name yourdomain.com www.yourdomain.com;
    root /var/www/limesurvey;
    index index.php index.html index.htm;

    location / {
        try_files $uri $uri/ /index.php?$query_string;
    }

    location ~ \.php$ {
        include snippets/fastcgi-php.conf;
        fastcgi_pass unix:/run/php/php8.3-fpm.sock;
        fastcgi_param SCRIPT_FILENAME $document_root$fastcgi_script_name;
        include fastcgi_params;
    }

    location ~ /\.ht {
        deny all;
    }

    # Deny access to confidential LimeSurvey directories
    location ~ /(application|framework|installer)/ {
        deny all;
        return 404;
    }
    location ~ /(config|protected|tmp|upload)/ {
        deny all;
        return 404;
    }

    # Deny access to confidential files
    location ~ /\. {
        deny all;
        access_log off;
        log_not_found off;
    }
}
Save the file and create a symbolic link to it in sites-enabled, then test the Nginx configuration and restart it:
sudo ln -s /etc/nginx/sites-available/yourdomain.com /etc/nginx/sites-enabled/
sudo nginx -t                 # Test Nginx configuration syntax
sudo systemctl restart nginx  # Restart Nginx
2. Installing and Configuring Caddy for HTTPS (Recommended)
Caddy is a modern web server that automatically manages Let's Encrypt SSL certificates, making HTTPS setup incredibly simple. We will use Caddy as a reverse proxy in front of Nginx to handle HTTPS connections and issue certificates.
sudo apt install -y debian-keyring debian-archive-keyring apt-transport-https # Install necessary packages
curl -1sLf 'https://dl.cloudsmith.io/public/caddy/stable/gpg.key' | sudo gpg --dearmor -o /usr/share/keyrings/caddy-stable-archive-keyring.gpg # Add Caddy GPG key
curl -1sLf 'https://dl.cloudsmith.io/public/caddy/stable/debian.deb.txt' | sudo tee /etc/apt/sources.list.d/caddy-stable.list # Add Caddy repository
sudo apt update                       # Update package list
sudo apt install caddy -y             # Install Caddy
sudo systemctl enable caddy           # Enable Caddy autostart
sudo systemctl start caddy            # Start Caddy
Now let's configure the Caddyfile. Remove or comment out the existing Nginx server block for port 80, as Caddy will handle incoming requests. Open the Nginx configuration file for your domain and comment out the lines listen 80; and server_name yourdomain.com www.yourdomain.com;. Nginx will now only listen on a local port, for example 127.0.0.1:8080.
sudo nano /etc/nginx/sites-available/yourdomain.com
Modify the server section to look approximately like this (add listen 127.0.0.1:8080;):
server {
    listen 127.0.0.1:8080; # Nginx will listen on a local port
    # server_name yourdomain.com www.yourdomain.com; # Comment out or remove
    root /var/www/limesurvey;
    index index.php index.html index.htm;

    # ... rest of Nginx configuration unchanged ...
}
sudo nginx -t
sudo systemctl restart nginx
Now create the Caddyfile:
sudo nano /etc/caddy/Caddyfile
Insert the following content (replace yourdomain.com):
yourdomain.com {
    reverse_proxy 127.0.0.1:8080
    file_server {
        root /var/www/limesurvey
    }
}
Save the file and restart Caddy:
sudo systemctl reload caddy
Caddy will automatically obtain and install SSL certificates. You can now navigate to https://yourdomain.com.
3. Completing LimeSurvey Installation via Web Interface
Open your domain in a browser (e.g., https://yourdomain.com). You will be redirected to the LimeSurvey installation page. Follow the instructions:
- Language Selection: Choose your language and click "Start".
- License: Accept the license agreement.
- Prerequisites Check: Ensure that all required PHP extensions and file permissions are marked as "OK". If there are warnings, go back and install missing extensions or fix permissions (
sudo chown -R www-data:www-data /var/www/limesurvey). - Database Configuration:
- Database Type: MySQL (or MariaDB)
- Hostname: localhost
- Port: 3306
- Database Name:
limesurvey_db(the one you created) - Database Username:
limesurvey_user(the one you created) - Database Password:
YOUR_STRONG_PASSWORD
- Table Creation: LimeSurvey will create the necessary tables in your database.
- Administrator Setup: Set the username (e.g.,
admin), password, email address, and administrator name for logging into LimeSurvey.
After completing the installation, you will be redirected to the LimeSurvey administration login page. Make sure to delete the /var/www/limesurvey/install directory for security!
sudo rm -rf /var/www/limesurvey/install
4. Verifying Functionality
Open https://yourdomain.com/admin in your browser and log in with the administrator account. Verify that you can create new surveys, manage users, and view system settings.
You can check the availability of the main page using curl:
curl -I https://yourdomain.com # Check HTTP headers, ensure HTTPS is present
You should see an HTTP/2 200 status and headers indicating a successful connection.
At this stage, your LimeSurvey installation is fully configured and ready for use.