Deploying a Production Telegram Bot on a VPS: aiogram, systemd, and Nginx
TL;DR
In this detailed guide, we will step-by-step configure and deploy a Telegram bot built with the aiogram 3.x framework on a Virtual Private Server (VPS), using systemd for process management and Nginx as a reverse proxy to ensure security and stability. We will also set up automatic backups and monitoring to keep your bot running reliably 24/7.
You will learn how to choose a suitable VPS and prepare it for operation.
We will install Python 3.12, aiogram 3.x, Gunicorn, and Nginx.
We will configure a systemd service for automatic bot startup and restart.
We will secure HTTPS connections for Nginx webhooks using Let's Encrypt.
Implementing best practices for backups, maintenance, and troubleshooting.
Your Telegram bot will run stably, securely, and automatically.
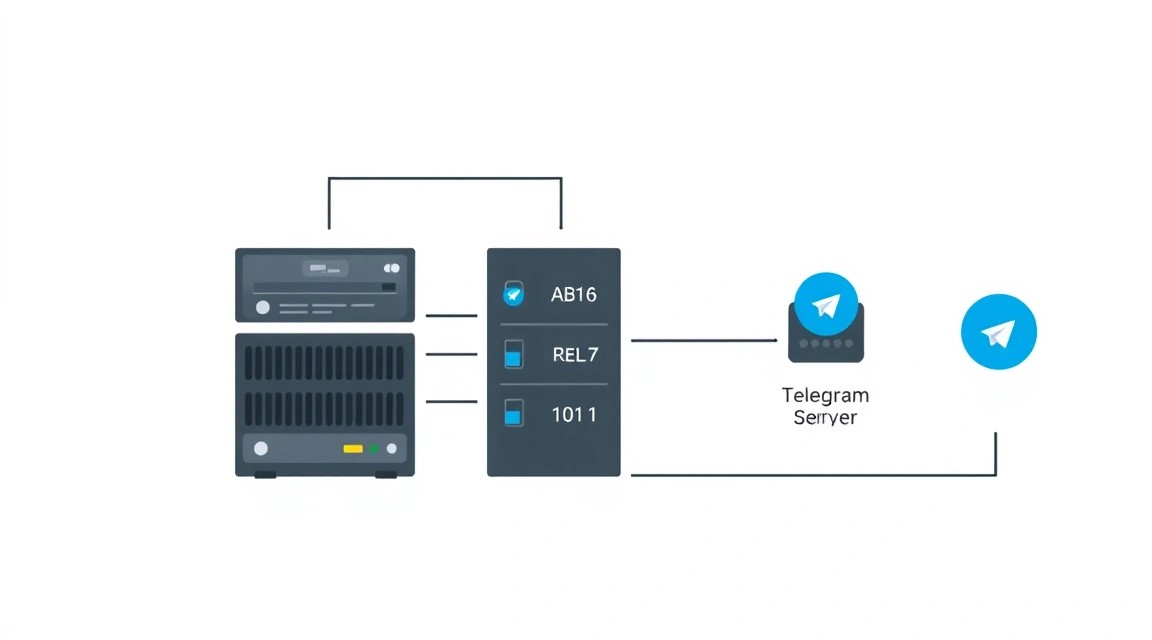
What We Are Setting Up and Why
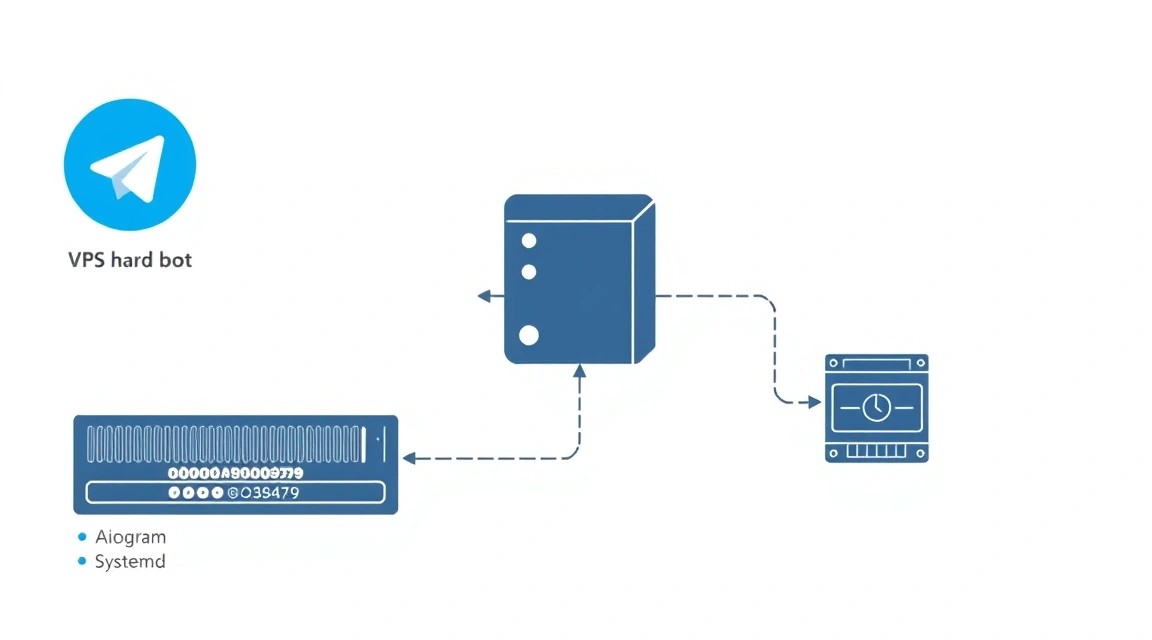
Diagram: What We Are Setting Up and Why
We will be deploying a Telegram bot, written in Python using the aiogram 3.x framework, in a production environment on a VPS. The main goal is to ensure its stable, secure, and automated operation without the need for manual intervention after the initial setup. Ultimately, you will get a reliable Telegram bot that will process user requests 24/7, using webhooks for instant updates from the Telegram API.
Using webhooks (instead of long polling) is the preferred method for production bots, as it significantly reduces server load by eliminating the need to constantly poll the Telegram API. When an event occurs (e.g., a new message), Telegram itself sends an HTTP request to your server. To receive these requests, we will need the Nginx web server, which will act as a reverse proxy, forwarding requests to our bot, and also provide TLS/SSL encryption, which is a mandatory requirement from Telegram for webhooks.
Alternatives: Cloud-Managed vs. Self-Hosted
There are several approaches to deploying Telegram bots:
Cloud-Managed (Serverless/PaaS): Solutions like AWS Lambda, Google Cloud Functions, Heroku, Vercel, or PythonAnywhere allow you to quickly deploy a bot without deep knowledge of server administration. They offer automatic scaling and infrastructure management.
Pros: Ease of deployment, no need to manage a server, automatic scaling.
Cons: Limited flexibility, potentially higher cost under heavy loads, vendor lock-in, sometimes difficulties with persistent storage.
Self-Hosted on VPS/Dedicated: Hosting a bot on your own VPS or dedicated server gives you full control over the environment.
Pros: Full control over configuration, greater flexibility, potentially lower cost in the long run, data privacy, ability to host multiple services on one server.
Cons: Requires Linux administration knowledge, manual setup and maintenance, responsibility for security and stability.
For those who value full control, flexibility, and want a deep understanding of the process, the self-hosted approach on a VPS is the optimal choice. It allows you to gain valuable experience working with Linux, web servers, and system services, which is critically important for any developer or founder.
What VPS Configuration is Needed for This Task
Diagram: What VPS Configuration is Needed for This Task
VPS requirements for a Telegram bot can vary greatly depending on its functionality, number of users, and intensity of use. For most bots, especially at the initial stage, powerful hardware is not required.
Minimum Requirements (for a small bot up to 1000 active users):
CPU: 1 core (x86-64). Modern processors are quite powerful.
RAM: 1-2 GB. Python applications and Nginx with systemd occupy about 300-500 MB RAM, the rest is for caching and peak loads.
Disk: 25-50 GB SSD. SSD significantly speeds up system operation and disk I/O. The volume is needed for the OS, logs, bot code, and potential data (e.g., SQLite database).
Network: 100 Mbps, preferably 1 Gbps. A stable and fast channel is important for webhooks, but most bots do not require huge bandwidth.
Recommended VPS Plan for a Medium Bot (up to 10,000 active users, with a database):
CPU: 2 cores.
RAM: 4 GB.
Disk: 100-150 GB SSD. If you plan to use PostgreSQL/MongoDB on the same server, then 200 GB is better.
Network: 1 Gbps port with sufficient traffic volume (1-2 TB per month).
A dedicated server is usually required for very large projects:
Very high load: Tens and hundreds of thousands of active users, intensive computations, processing large volumes of data.
Specific hardware requirements: For example, GPUs for AI models, very large RAM (64 GB+), RAID arrays for disk fault tolerance.
Maximum performance and isolation: When a VPS might be subject to the "noisy neighbor" effect (performance degradation due to other users on the same physical server).
For most Telegram bots, a VPS is more than sufficient. If your bot grows to a scale requiring a dedicated server, you will realize it through resource monitoring.
Location: What It Affects
Choosing a VPS location is important for several reasons:
Latency: The closer the server is to your target audience (and to Telegram API servers), the lower the latency. For Telegram bots, this is not as critical as for online games, but lower latency is always better.
Legislation: Some countries may have strict data storage laws or restrictions on certain content. Ensure that the chosen location complies with your legal requirements.
Cost: VPS prices can vary depending on the location.
For a Russian-speaking audience and most European countries, a good choice is a VPS in Germany, the Netherlands, or Finland. If your audience is in the USA, choose a location on the East or West Coast of the USA.
Server Preparation
Diagram: Server Preparation
After gaining access to a fresh VPS (assuming it's Debian 12/13 or Ubuntu 24.04 LTS), you need to perform a series of basic configurations to enhance security and ease of use.
1. System Update
First, always update the package list and installed packages to their latest versions.
sudo apt update             # Update the list of available packages
sudo apt upgrade -y         # Upgrade installed packages, -y for automatic confirmation
sudo apt autoremove -y      # Remove unnecessary packages that remained after updates
2. Creating a New User and Configuring Sudo
Working under the root account is insecure. Create a new user and grant them sudo privileges.
sudo adduser botuser            # Create a new user named botuser
sudo usermod -aG sudo botuser   # Add user botuser to the sudo group
Now, exit the root session (if you are in it) and log in as the new user:
exit                       # Exit the current session
ssh botuser@YOUR_SERVER_IP # Log in as the new user
3. SSH Key Configuration (Recommended)
For more secure server access, use SSH keys instead of passwords. If you don't have an SSH key yet, generate one on your local machine:
ssh-keygen -t ed25519 -C "[email protected]" # Generate a new SSH key (on your local machine)
Then, copy the public key to the server:
ssh-copy-id botuser@YOUR_SERVER_IP # Copy the public key to the server (on your local machine)
After this, you can disable password authentication in the file /etc/ssh/sshd_config for the root user and generally. Find and modify the following lines:
sudo nano /etc/ssh/sshd_config # Open the SSH server configuration file
Change or add:
# PermitRootLogin prohibit-password (or no)
PasswordAuthentication no
ChallengeResponseAuthentication no
UsePAM no
Restart the SSH service:
sudo systemctl restart sshd # Restart the SSH service
4. Firewall Configuration (UFW)
Uncomplicated Firewall (UFW) is a convenient utility for managing iptables. We will allow only the necessary ports: SSH (22), HTTP (80), and HTTPS (443).
sudo apt install ufw -y     # Install UFW
sudo ufw default deny incoming # Deny all incoming connections by default
sudo ufw default allow outgoing # Allow all outgoing connections by default
sudo ufw allow OpenSSH      # Allow SSH connections (port 22)
sudo ufw allow http         # Allow HTTP connections (port 80)
sudo ufw allow https        # Allow HTTPS connections (port 443)
sudo ufw enable             # Enable the firewall. Confirm with 'y'
sudo ufw status verbose     # Check firewall status
5. Installing Fail2Ban
Fail2Ban scans service logs (SSH, Nginx, etc.) and blocks IP addresses from which password brute-force attempts or other malicious actions originate.
sudo apt install fail2ban -y    # Install Fail2Ban
sudo systemctl enable fail2ban  # Enable service autostart on boot
sudo systemctl start fail2ban   # Start Fail2Ban
sudo systemctl status fail2ban  # Check service status
The basic Fail2Ban configuration is already quite good, but you can create a file /etc/fail2ban/jail.local for customization:
Now that the server is prepared, let's install the necessary software for our bot.
1. Installing Python and a Virtual Environment
For 2026, the current Python version will most likely be Python 3.12 or 3.13. We will install Python 3.12 and create an isolated virtual environment for the bot.
sudo apt install python3.12 python3.12-venv python3.12-dev -y # Install Python 3.12, venv, and dev files
Let's create a directory for our project and a virtual environment inside it:
mkdir ~/my_telegram_bot                     # Create a directory for the project
cd ~/my_telegram_bot                        # Navigate into the project directory
python3.12 -m venv .venv                    # Create a virtual environment with Python 3.12
source .venv/bin/activate                   # Activate the virtual environment
After activating the virtual environment (you will see (.venv) at the beginning of the terminal prompt), all installed Python packages will be isolated in this directory.
2. Installing Python Dependencies
Let's install aiogram, gunicorn (an ASGI server to run our application), and python-dotenv for working with environment variables.
Nginx will act as a reverse proxy for our bot, receiving requests from the Telegram API and forwarding them to Gunicorn, which runs the bot. Nginx will also handle SSL certificates.
Certbot is a utility for automatically obtaining and renewing SSL/TLS certificates from Let's Encrypt, which are necessary for HTTPS connections.
sudo apt install certbot python3-certbot-nginx -y # Install Certbot and the Nginx plugin
Configuration
Diagram: Configuration
Now that all components are installed, let's proceed with their configuration.
1. Telegram Bot Code
Let's create a simple bot.py file in the ~/my_telegram_bot directory. This file will contain our bot's logic.
nano ~/my_telegram_bot/bot.py
Contents of bot.py:
import os
from dotenv import load_dotenv
from aiogram import Bot, Dispatcher, types
from aiogram.enums import ParseMode
from aiogram.webhook.aiohttp_server import Simple
from aiohttp import web

# Load environment variables from the .env file
load_dotenv()

# Get bot token from environment variables
BOT_TOKEN = os.getenv("BOT_TOKEN")
WEBHOOK_HOST = os.getenv("WEBHOOK_HOST")
WEBHOOK_PATH = os.getenv("WEBHOOK_PATH")
WEB_SERVER_HOST = os.getenv("WEB_SERVER_HOST", "127.0.0.1")
WEB_SERVER_PORT = int(os.getenv("WEB_SERVER_PORT", 8000))

if not BOT_TOKEN:
    raise ValueError("BOT_TOKEN environment variable not set.")
if not WEBHOOK_HOST:
    raise ValueError("WEBHOOK_HOST environment variable not set.")
if not WEBHOOK_PATH:
    raise ValueError("WEBHOOK_PATH environment variable not set.")

WEBHOOK_URL = f"https://{WEBHOOK_HOST}{WEBHOOK_PATH}"

# Initialize bot and dispatcher
bot = Bot(token=BOT_TOKEN, parse_mode=ParseMode.HTML)
dp = Dispatcher()

# Handler for the /start command
@dp.message(commands=["start"])
async def handle_start(message: types.Message):
    await message.reply(f"Hello, {message.from_user.full_name}! I am your new bot.")

# Handler for text messages
@dp.message()
async def handle_message(message: types.Message):
    await message.reply(f"You said: {message.text}")

async def on_startup(dispatcher: Dispatcher, bot: Bot):
    # Set webhook on startup
    await bot.set_webhook(WEBHOOK_URL)
    print(f"Webhook set to: {WEBHOOK_URL}")

async def on_shutdown(dispatcher: Dispatcher, bot: Bot):
    # Delete webhook on shutdown
    await bot.delete_webhook()
    print("Webhook deleted.")

def main():
    # Create an AioHTTP web application for webhooks
    app = web.Application()
    webhook_requests_handler = Simple(dispatcher=dp, bot=bot, path=WEBHOOK_PATH)
    webhook_requests_handler.register(app, path=WEBHOOK_PATH)

    # Register startup and shutdown functions
    app.on_startup.append(lambda app: on_startup(dp, bot))
    app.on_shutdown.append(lambda app: on_shutdown(dp, bot))

    # Start the web server
    web.run_app(app, host=WEB_SERVER_HOST, port=WEB_SERVER_PORT)

if __name__ == "__main__":
    main()
2. Configuring Environment Variables (.env)
Never store sensitive data (tokens, passwords) directly in your code. Use environment variables. Create a .env file in the project's root directory.
nano ~/my_telegram_bot/.env
Contents of .env:
BOT_TOKEN="YOUR_BOT_TOKEN" # Get it from @BotFather
WEBHOOK_HOST="YOUR_DOMAIN_OR_IP" # For example, example.com
WEBHOOK_PATH="/webhook/bot" # Unique path for the webhook
WEB_SERVER_HOST="127.0.0.1" # Gunicorn will listen only locally
WEB_SERVER_PORT=8000 # Port on which Gunicorn will run
Replace ВАШ_ТОКЕН_БОТА with the actual token obtained from @BotFather, and ВАШ_ДОМЕН_ИЛИ_IP with your domain or public VPS IP address.
3. Configuring a Systemd Service for the Bot
Systemd will allow us to run the bot as a system service, automatically restart it in case of failures, and manage it.
[Unit]
Description=Telegram Bot Service
After=network.target

[Service]
User=botuser # User under which the bot will run
Group=www-data # Group, if needed for Nginx file access
WorkingDirectory=/home/botuser/my_telegram_bot # Project working directory
EnvironmentFile=/home/botuser/my_telegram_bot/.env # Path to the environment variables file
ExecStart=/home/botuser/my_telegram_bot/.venv/bin/gunicorn --workers 1 --bind 127.0.0.1:8000 bot:app # Start Gunicorn
Restart=always
RestartSec=5 # Restart after 5 seconds in case of failure
StandardOutput=journal
StandardError=journal
SyslogIdentifier=telegram-bot

[Install]
WantedBy=multi-user.target
Important note: In aiogram 3.x, webhooks are configured via aiohttp.web.Application. Gunicorn can run aiohttp applications. The ExecStart line tells Gunicorn to run the app application from the bot module. In our bot.py, we run web.run_app inside main(). For Gunicorn, we need to export app from bot.py. Let's modify bot.py so that app is available to Gunicorn:
# ... (beginning of bot.py file) ...

# Create an AioHTTP web application for webhooks
app = web.Application()
webhook_requests_handler = Simple(dispatcher=dp, bot=bot, path=WEBHOOK_PATH)
webhook_requests_handler.register(app, path=WEBHOOK_PATH)

# Register startup and shutdown functions
app.on_startup.append(lambda app_instance: on_startup(dp, bot))
app.on_shutdown.append(lambda app_instance: on_shutdown(dp, bot))

# ... (end of bot.py file) ...

# Remove or comment out the if __name__ == "__main__": block
# if __name__ == "__main__":
#     main()
Now Gunicorn will be able to find and run app. After editing the service file, reload systemd and start the bot:
sudo systemctl daemon-reload # Reload systemd to recognize the new service
sudo systemctl enable telegram-bot # Enable bot autostart on boot
sudo systemctl start telegram-bot # Start the bot service
sudo systemctl status telegram-bot # Check bot status
Make sure the service is running and has no errors. Logs can be viewed with the command: sudo journalctl -u telegram-bot -f.
4. Configuring Nginx as a Reverse Proxy
Let's create an Nginx configuration file for our bot. Replace example.com with your domain.
sudo nano /etc/nginx/sites-available/telegram-bot
Contents of telegram-bot:
server {
    listen 80;
    server_name YOUR_DOMAIN_OR_IP; # For example, example.com

    location / {
        return 301 https://$host$request_uri; # Redirect all HTTP traffic to HTTPS
    }
}

server {
    listen 443 ssl;
    server_name YOUR_DOMAIN_OR_IP; # For example, example.com

    ssl_certificate /etc/letsencrypt/live/YOUR_DOMAIN_OR_IP/fullchain.pem; # Will be created by Certbot
    ssl_certificate_key /etc/letsencrypt/live/YOUR_DOMAIN_OR_IP/privkey.pem; # Will be created by Certbot
    ssl_protocols TLSv1.2 TLSv1.3; # Recommended protocols
    ssl_ciphers "EECDH+AESGCM:EDH+AESGCM:AES256+EECDH:AES256+EDH";
    ssl_prefer_server_ciphers on;
    ssl_session_cache shared:SSL:10m;
    ssl_session_timeout 10m;

    location /webhook/bot { # Must match WEBHOOK_PATH in .env
        proxy_pass http://127.0.0.1:8000; # Proxy requests to Gunicorn
        proxy_set_header Host $host;
        proxy_set_header X-Real-IP $remote_addr;
        proxy_set_header X-Forwarded-For $proxy_add_x_forwarded_for;
        proxy_set_header X-Forwarded-Proto $scheme;
        proxy_redirect off;
        proxy_buffering off; # Disable buffering for webhooks
    }

    # If the bot will serve static files or have other HTTP endpoints
    # location / {
    #    root /var/www/html;
    #    index index.html;
    # }
}
Create a symbolic link to this file from sites-enabled and check the Nginx configuration:
Now that Nginx is configured, let's obtain an SSL certificate. Make sure your domain already points to your VPS's IP address.
sudo certbot --nginx -d YOUR_DOMAIN_OR_IP # Run Certbot, replacing with your domain
Certbot will ask a few questions (email, agreement to terms). It will automatically modify the Nginx configuration, adding ssl_certificate and ssl_certificate_key. After successfully obtaining the certificate, Nginx will automatically restart.
Check that Certbot has configured automatic certificate renewal:
sudo systemctl status certbot.timer # Check the status of the timer for auto-renewal
Certbot usually creates a cron job or systemd timer for automatic certificate renewal. This happens twice a day, and the certificate is renewed if its expiration date is within 30 days.
6. Checking Functionality
After all configurations, make sure the bot is working and accessible:
Nginx Check: Open https://YOUR_DOMAIN_OR_IP/ in your browser. If you see the Nginx welcome page or a redirect, Nginx is working.
Webhook Check: Try sending a message to your bot in Telegram. It should respond.
Systemd Service Check:
sudo systemctl status telegram-bot
sudo journalctl -u telegram-bot -f # View bot logs in real-time
You should see messages about the bot starting and the webhook being set.
Gunicorn Port Check: From the server, you can check if Gunicorn is listening on the local port:
ss -ltn | grep 8000
You should see a line indicating that 127.0.0.1:8000 is in the LISTEN state.
Backups and Maintenance
Diagram: Backups and Maintenance
A reliable backup strategy and regular maintenance are critically important for any production service.
Bot data: If the bot uses a database (SQLite, PostgreSQL, MongoDB), then it is necessary to regularly back up this database's data. For SQLite, it's just a file; for PostgreSQL/MongoDB, it's a database dump.
SSH keys: (optional, but useful) ~/.ssh/.
2. Simple Auto-Backup Script
We use rsync to create file copies and pg_dump (if you have PostgreSQL) for the database.
nano ~/backup_script.sh
Contents of backup_script.sh:
#!/bin/bash

# Backup directory
BACKUP_DIR="/var/backups/telegram_bot"
# Bot code directory
BOT_CODE_DIR="/home/botuser/my_telegram_bot"
# SQLite database file name (if used)
SQLITE_DB_NAME="bot_database.db"
# PostgreSQL database name (if used)
POSTGRES_DB_NAME="telegram_bot_db"
# PostgreSQL user
POSTGRES_USER="botuser"

# Create backup directory if it doesn't exist
mkdir -p "$BACKUP_DIR"

# 1. Backup bot code and .env
echo "Starting code and .env backup..."
rsync -avz --exclude '.venv/' "$BOT_CODE_DIR/" "$BACKUP_DIR/code_$(date +%Y%m%d_%H%M%S)/"
cp "$BOT_CODE_DIR/.env" "$BACKUP_DIR/config_$(date +%Y%m%d_%H%M%S)/.env"

# 2. Backup Nginx and Systemd configuration files
echo "Starting config files backup..."
cp /etc/systemd/system/telegram-bot.service "$BACKUP_DIR/config_$(date +%Y%m%d_%H%M%S)/telegram-bot.service"
cp /etc/nginx/sites-available/telegram-bot "$BACKUP_DIR/config_$(date +%Y%m%d_%H%M%S)/nginx_telegram-bot"

# 3. Database backup (choose appropriate option)
# For SQLite:
if [ -f "$BOT_CODE_DIR/$SQLITE_DB_NAME" ]; then
    echo "Starting SQLite database backup..."
    cp "$BOT_CODE_DIR/$SQLITE_DB_NAME" "$BACKUP_DIR/db_sqlite_$(date +%Y%m%d_%H%M%S).db"
fi

# For PostgreSQL (uncomment if used)
# echo "Starting PostgreSQL database backup..."
# PGPASSWORD="YOUR_POSTGRES_PASSWORD" pg_dump -U "$POSTGRES_USER" -Fc "$POSTUPGRES_DB_NAME" > "$BACKUP_DIR/db_pg_$(date +%Y%m%d_%H%M%S).dump"

echo "Backup finished."

# Clean up old backups (keep last 7 days)
find "$BACKUP_DIR" -type d -name "code_" -mtime +7 -exec rm -rf {} \;
find "$BACKUP_DIR" -type d -name "config_" -mtime +7 -exec rm -rf {} \;
find "$BACKUP_DIR" -type f -name "db_sqlite_.db" -mtime +7 -delete
find "$BACKUP_DIR" -type f -name "db_pg_.dump" -mtime +7 -delete
Make the script executable:
chmod +x ~/backup_script.sh
Add the script to cron for daily execution. Open crontab for user botuser:
crontab -e
Add a line at the end of the file to run the script, for example, every day at 3:00 AM:
Storing backups on the same server as the main service is unsafe. In case of server or disk failure, you will lose both the service and the backups. It is recommended:
External S3-compatible object storage: AWS S3, DigitalOcean Spaces, Backblaze B2, MinIO. This is a reliable and scalable solution. You can use rclone for automatic uploads.
Separate VPS: An inexpensive VPS in another data center, where you will copy backups via SSH/rsync.
Local storage with synchronization: For example, Google Drive/Dropbox via rclone.
For more advanced backups, consider borgbackup or restic, which support deduplication, encryption, and incremental backups.
4. Updates: Rolling vs. Maintenance Window
Regularly update your OS and software for security and stability. There are two main approaches:
Maintenance Window: A scheduled time when you stop the service, update the OS and software, test, and restart.
Advantages: Controlled process, less risk of unexpected problems.
Disadvantages: The service will be unavailable during the update.
sudo systemctl stop telegram-bot  # Stop the bot
sudo apt update && sudo apt upgrade -y # Update the system
# ... (update Python dependencies, if needed)
sudo systemctl start telegram-bot # Start the bot
Rolling Updates: Applicable to clusters or systems with multiple service instances, where you update one instance at a time without interrupting the entire service. This is not relevant for a single VPS, but conceptually important.
For most Telegram bots, a maintenance window once every 1-2 months is sufficient. It is important to always check logs after updates.
Troubleshooting + FAQ
This section collects typical problems and questions that may arise during bot deployment and operation.
Nginx returns 502 Bad Gateway
This means that Nginx cannot connect to your Gunicorn server.
What to check:
Ensure that the bot service (telegram-bot.service) is running: sudo systemctl status telegram-bot.
Check bot logs: sudo journalctl -u telegram-bot -f. The bot might not have started due to a code error or missing environment variables.
Ensure that Gunicorn is listening on the correct port (127.0.0.1:8000 in our case): ss -ltn | grep 8000.
Check the Nginx configuration file (/etc/nginx/sites-available/telegram-bot) for errors in proxy_pass.
Bot does not respond to messages in Telegram
If the bot does not respond, but Nginx is working (no 502), the problem might be with the webhook or the bot's logic.
What to check:
Check bot logs (sudo journalctl -u telegram-bot -f). There might be errors in message handlers.
Ensure that the Telegram API was able to set the webhook: the bot's logs on startup should contain the line Webhook set to: https://YOUR_DOMAIN/webhook/bot.
Check that your domain correctly resolves to your VPS's IP address (use dig YOUR_DOMAIN).
Ensure that the firewall (UFW) allows incoming connections on ports 80 and 443 (sudo ufw status verbose).
Use the Telegram Bot API method getWebhookInfo to check the webhook status: https://api.telegram.org/botYOUR_BOT_TOKEN/getWebhookInfo. Make sure the url is correct and last_error_message is empty.
Certbot cannot obtain a certificate
This is usually related to problems with your domain's availability.
What to check:
Ensure that your domain (or subdomain) correctly points to your VPS's IP address in DNS records. Use dig YOUR_DOMAIN.
Check that Nginx is running and correctly listening on port 80 (sudo systemctl status nginx).
Ensure that the firewall (UFW) allows incoming connections on port 80 (sudo ufw status verbose). Certbot uses port 80 for the HTTP-01 challenge.
Temporarily disable the bot's Nginx configuration if it interferes with Certbot.
What is the minimum suitable VPS configuration?
For a simple Telegram bot with a small audience (up to 1000 active users), a VPS with 1 CPU core, 1-2 GB RAM, and 25-50 GB SSD will be minimally suitable. This will be enough for the operating system, Python environment, bot, Nginx, and a small volume of logs. More resources will be required for more complex bots with an active database or intensive computations.
What to choose — VPS or dedicated for this task?
For the vast majority of Telegram bots, a VPS is the optimal choice. It offers sufficient performance, flexibility, and cost-effectiveness. A dedicated server is only needed for very large-scale projects with tens of thousands of concurrent users, specific hardware requirements (e.g., GPU), or when maximum isolation and guaranteed performance are necessary. Start with a VPS and scale up to a dedicated server if a real need arises.
How to update Python dependencies (aiogram, gunicorn)?
To update Python dependencies, activate the virtual environment and use pip.
Steps:
Navigate to the project directory: cd ~/my_telegram_bot
Activate the virtual environment: source .venv/bin/activate
Restart the bot service: sudo systemctl restart telegram-bot
Conclusions and Next Steps
Diagram: Conclusions and Next Steps
We have successfully deployed a production-ready infrastructure for a Telegram bot on a VPS, using aiogram, systemd, and Nginx. Your bot now runs as a reliable system service, automatically starts on server reboot, handles requests over a secure HTTPS connection, and has a basic backup system.
For further development and optimization of your project, consider the following steps:
Monitoring: Implement a monitoring system (e.g., Prometheus + Grafana or Datadog) to track CPU, RAM, disk usage, network traffic, and the bot's health.
Database: If the bot will store a lot of data, migrate it from SQLite to a full-fledged DBMS, such as PostgreSQL or MongoDB, possibly on a separate server or in a managed cloud service.
CI/CD: Set up a Continuous Integration and Continuous Delivery (CI/CD) pipeline using GitHub Actions, GitLab CI, or Jenkins to automate the deployment of new bot code versions.
Was this guide helpful?
Your feedback helps us improve our guides.
Share this post:
Send this guide to someone who may find it useful.