
Deploying an Outline VPN Server on a VPS: Complete Guide 2026
TL;DR
In this detailed guide, we will set up our own Outline VPN server on a Virtual Private Server (VPS) step by step. Outline is a simple and secure way to create a personal VPN that allows you to bypass censorship and protect your internet traffic. You will learn how to prepare the server, install all necessary software, configure Outline, and ensure its stable operation, including backups and maintenance, taking into account current technologies of 2026.
- Outline VPN Installation: Deploying a private VPN server based on Docker.
- Bypassing Censorship: Gaining access to blocked resources and protecting traffic.
- Ease of Management: Using Outline Manager for easy creation and management of access keys.
- Security: Configuring basic server security measures, including firewall and SSH keys.
- Maintenance: Recommendations for backups and system updates for long-term stability.
What We Are Setting Up and Why
In this guide, we will focus on deploying an Outline VPN server. Outline is a free and open-source tool developed by Jigsaw (a Google incubator) that allows you to easily create your own VPN server. The main goal of Outline is to provide secure and reliable internet access, especially in regions with internet censorship or for those seeking increased privacy.
Ultimately, you will get a fully functional VPN server that you can connect to from your devices (smartphones, computers) via the Outline client. This will allow you to bypass blockages, protect your traffic from interception on public Wi-Fi networks, and hide your real IP address from unwanted tracking. Outline uses the Shadowsocks protocol, which is specifically designed to bypass deep packet inspection (DPI) and is often more resistant to blocking than traditional VPN protocols like OpenVPN or WireGuard.
There are various approaches to obtaining a VPN service. You can use commercial VPN providers (cloud-managed) that offer ready-made solutions for a monthly fee. This is convenient, but you entrust your data to a third party and cannot always be sure of their privacy and security policies. An alternative is to deploy your own VPN server on a VPS (self-hosted). This approach gives you full control over the server and data, and allows you to choose a server location that best suits your needs. You are not dependent on the provider's policy and can be sure that your traffic is not logged or sold. Although this requires some technical knowledge to set up, Outline significantly simplifies this process, making it accessible even to those with basic command-line experience.
What VPS Configuration is Needed for This Task
Choosing the right VPS configuration is critical for stable and fast Outline VPN operation. Although Outline is quite lightweight, it still requires minimal resources.
Minimum Requirements
- CPU: 1 core. Modern processors with a clock speed of 2 GHz or higher will provide sufficient performance for most use cases.
- RAM: 512 MB. This is the absolute minimum for Docker and Outline to run. However, for more comfortable operation and the ability to run other services, 1 GB is recommended.
- Disk: 10-15 GB SSD. Outline takes up little space, but the operating system and Docker images require at least 10 GB. SSD is highly recommended for fast boot and I/O operations.
- Network: 100 Mbps port. This will be sufficient for one or two users. If more users or active use of torrents/streaming is planned, a wider channel will be required.
- Operating System: Ubuntu 24.04 LTS (or newer), Debian 12 (or newer), or CentOS Stream 9 (or newer). Outline Manager officially supports these distributions.
Specific VPS Plan for the Task (Current for 2026)
For comfortable operation of an Outline VPN server for multiple users (up to 5-10 people) or for a single user with intensive traffic (4K streaming, large downloads), the following configuration is recommended:
- CPU: 2 vCPU
- RAM: 2 GB
- Disk: 40-60 GB NVMe SSD (or high-performance SATA SSD)
- Network: 1 Gbps port with unlimited traffic or a large limit (from 1 TB/month).
Such a plan will provide sufficient performance for Outline to run without delays even under load, and will also leave room for other background processes or small utilities. For example, you can get a VPS with the specified characteristics.
When a Dedicated Server is Needed, Not a VPS
A dedicated server is usually not required for deploying Outline VPN, unless you plan to serve a very large number of users (hundreds) or use the server for other high-load tasks that require maximum disk subsystem or network channel performance that a VPS cannot provide. For example, for a large corporate VPN or a public VPN service with thousands of users, as well as for simultaneously hosting heavy databases, game servers, or CDN nodes, a dedicated server may be justified. In most cases, even for small teams or families, a VPS will be more than sufficient and significantly more economical. If you do decide that you need a dedicated server, consider a suitable dedicated server.
Location: What It Affects
- Latency: The closer the server is to you physically, the lower the latency (ping) will be. This is critical for online gaming, video calls, and overall internet usage comfort. Choose a server in a region that is geographically close to you or to the location from which you will connect.
- Speed: Location also affects overall bandwidth. Servers in large data centers usually have better communication channels.
- Laws and Jurisdiction: Some countries have strict data retention laws or requirements for internet providers. If privacy is your priority, choose jurisdictions with more liberal data protection laws (e.g., Switzerland, Iceland, Netherlands).
- Content Access: If the purpose of the VPN is to access content blocked in your region, choose a server in a country where that content is available.
Server Preparation
After gaining access to your new VPS, you need to perform a few basic steps to prepare it and ensure its security. We will use Ubuntu 24.04 LTS as the current and stable operating system for 2026.
1. Initial Login and System Update
Connect to the server via SSH using the credentials provided by your VPS provider (usually root login and password).
ssh root@YOUR_VPS_IP_ADDRESS
After successful login, update the package list and installed packages to the latest versions:
sudo apt update && sudo apt upgrade -y
This command updates the package cache and installs all available updates without prompting for confirmation.
2. Creating a New User with Sudo Privileges
Working under the root account is unsafe. Let's create a new user and grant them sudo privileges.
adduser YOUR_USERNAME
Follow the instructions to set a password and fill in (or skip) user information. Then add the user to the sudo group:
usermod -aG sudo YOUR_USERNAME
Now you can switch to the new user and execute commands with sudo privileges.
su - YOUR_USERNAME
3. Configuring SSH Key Authentication
Using SSH keys is much more secure than passwords. If you don't have a key pair yet, generate them on your local computer:
ssh-keygen -t rsa -b 4096
Then copy the public key to the server (replace YOUR_VPS_IP_ADDRESS and YOUR_USERNAME):
ssh-copy-id YOUR_USERNAME@YOUR_VPS_IP_ADDRESS
After this, you will be able to log in without a password. Now you can disable password login for root and other users by editing the /etc/ssh/sshd_config file:
sudo nano /etc/ssh/sshd_config
Find and change the following lines:
PermitRootLogin no
PasswordAuthentication no
Save the file (Ctrl+O, Enter) and exit (Ctrl+X). Restart the SSH service:
sudo systemctl restart sshd
IMPORTANT: Before disabling password login, make sure you can log in with an SSH key. Open a new terminal window and try to log in with the new user using the key. Only proceed after a successful login.
4. Configuring the Firewall (UFW)
UFW (Uncomplicated Firewall) is a convenient utility for managing the Netfilter firewall. Install it if it's not already installed:
sudo apt install ufw -y
Allow SSH connections (usually port 22), HTTP (port 80), and HTTPS (port 443), which will be required by Outline Manager:
sudo ufw allow OpenSSH
sudo ufw allow http
sudo ufw allow https
Enable the firewall:
sudo ufw enable
Confirm the action by typing y. Check the firewall status:
sudo ufw status verbose
You will see the allowed rules. Outline Manager will use port 80/443 for initial setup and verification, and then automatically open the necessary ports for Shadowsocks.
5. Installing Fail2ban
Fail2ban protects your server from brute-force attacks by blocking IP addresses that make too many failed login attempts.
sudo apt install fail2ban -y
sudo systemctl enable fail2ban
sudo systemctl start fail2ban
Fail2ban is configured by default to protect SSH. For more fine-grained configuration, you can copy the configuration file jail.conf to jail.local and make changes:
sudo cp /etc/fail2ban/jail.conf /etc/fail2ban/jail.local
sudo nano /etc/fail2ban/jail.local
You can increase bantime (ban time) or maxretry (maximum number of attempts). After making changes, don't forget to restart Fail2ban:
sudo systemctl restart fail2ban
Now your server has basic protection and is ready for Outline installation.
Software Installation — Step-by-Step
The Outline VPN server is deployed using Docker, which simplifies installation and management. Outline Manager is a separate application that helps automate the server installation process and manage access keys.
1. Installing Docker and Docker Compose (relevant for 2026)
Outline uses Docker to isolate its components. First, let's install Docker Engine.
# Update the package list
sudo apt update

# Install necessary packages to install Docker over HTTPS
sudo apt install -y ca-certificates curl gnupg

# Add Docker's official GPG key
sudo install -m 0755 -d /etc/apt/keyrings
curl -fsSL https://download.docker.com/linux/ubuntu/gpg | sudo gpg --dearmor -o /etc/apt/keyrings/docker.gpg

# Add Docker repository to APT sources
echo \
  "deb [arch="$(dpkg --print-architecture)" signed-by=/etc/apt/keyrings/docker.gpg] https://download.docker.com/linux/ubuntu \
  "$(. /etc/os-release && echo "$VERSION_CODENAME")" stable" | \
  sudo tee /etc/apt/sources.list.d/docker.list > /dev/null

# Update the package list with the new Docker repository
sudo apt update

# Install Docker Engine, Docker CLI, and containerd (versions will be relevant for 2026, e.g., Docker 26.x+)
sudo apt install -y docker-ce docker-ce-cli containerd.io docker-buildx-plugin docker-compose-plugin
Add your user to the docker group to run Docker commands without sudo (requires logging out and back in, or restarting the server):
sudo usermod -aG docker YOUR_USERNAME
Verify Docker installation:
docker run hello-world
You should see the message "Hello from Docker!".
2. Installing Outline Manager
Outline Manager is a client application (available for Windows, macOS, Linux, Android, iOS) that manages your Outline server. To install it on a Linux server, we will use Snap, if you want to manage it directly from the server, although it is more commonly installed on a local computer.
To install on the server (if you want to manage it via the command line on the server):
# Install Snapd if it's not already installed
sudo apt install snapd -y

# Install Outline Manager via Snap (version 1.x will be relevant for 2026)
sudo snap install outline-manager --classic
Note: Typically, Outline Manager is installed on your local computer (workstation) for convenient server management via a graphical interface. If you plan to use the graphical manager, you need to download it from the official website getoutline.org to your local PC. The following steps in this section assume you will run the Outline installation script, which will provide the Outline Manager configuration.
3. Deploying the Outline VPN Server
Outline Manager provides a script that automates the installation of all necessary components on your VPS. Run it on your VPS:
# Run the Outline installation script. It will download and start Docker containers.
# IMPORTANT: Make sure you run this command as a user who can use Docker (added to the docker group or with sudo)
sudo bash -c "$(wget -qO- https://raw.githubusercontent.com/Jigsaw-Code/outline-server/master/src/server_manager/install_scripts/install_server.sh)"
The script will ask you a few questions, including confirming your IP address. In most cases, pressing Enter is sufficient. It will also request permission to open ports in the firewall, which Outline Manager will do automatically. If you are using UFW, Outline Manager integrates with it.
After the installation is complete, the script will output a configuration string that you need to copy. This string contains the URL for connecting Outline Manager to your new server.
# Example output after successful installation:
# Congratulations! Your Outline server is up and running.
#
# To manage your Outline server, please copy the following line into the Outline Manager application:
#
# {"apiUrl":"https://YOUR_IP_ADDRESS:YOUR_PORT/ACCESS_CODE","certSha256":"CERTIFICATE_HASH"}
Copy this JSON string. It looks approximately like this:
{"apiUrl":"https://192.0.2.1:12345/abcdefghijklmnopqrstuvwxyz","certSha256":"0123456789abcdef0123456789abcdef0123456789abcdef0123456789abcdef"}
Open Outline Manager on your local computer (or on the server, if you installed it via Snap and are using text mode, which is less convenient) and paste this string into the appropriate field. Outline Manager will connect to your server, and you can start creating access keys.
4. Checking Outline Server Status
You can verify that Outline Docker containers are running on your server:
sudo docker ps
You should see several containers related to Outline, such as shadowsocks and watchtower (for automatic Docker image updates).
Your Outline VPN server is now installed and ready for use.
Configuration
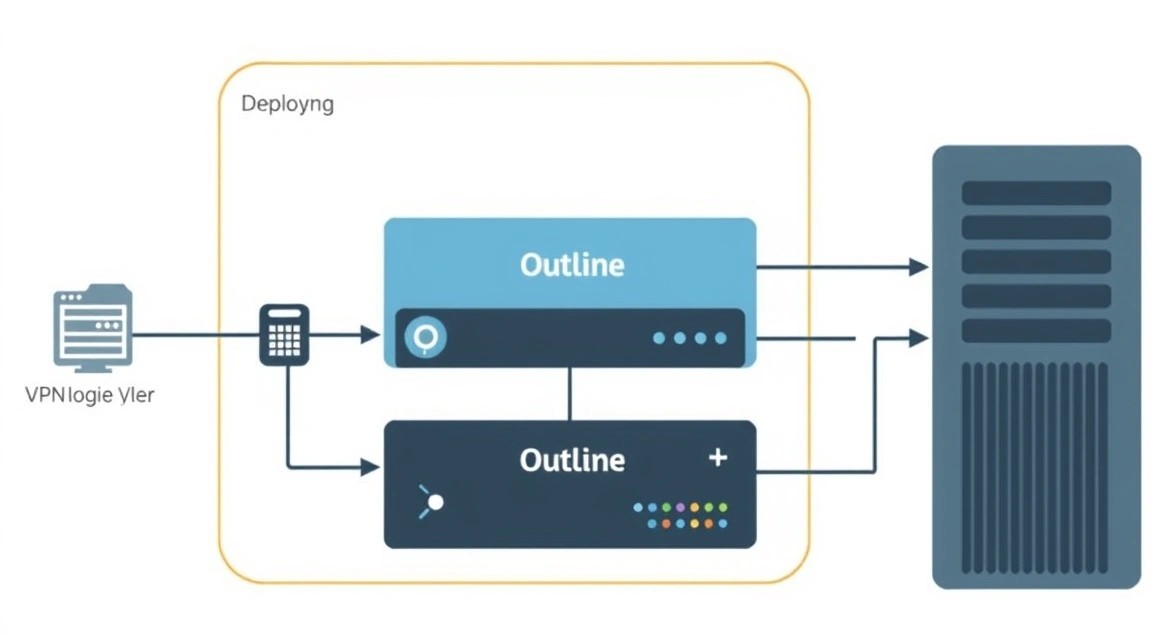
Outline VPN is designed for maximum simplicity, so most of the "configuration" is done through Outline Manager. However, there are a few points worth considering.
1. Managing Access Keys via Outline Manager
The primary task of Outline Manager is to create and manage access keys for your users. After connecting to the server in Outline Manager:
- Click the "Add Key" button.
- Copy the generated key and send it to the user.
- The user must install the Outline Client on their device (Windows, macOS, Linux, Android, iOS) and paste the key.
You can also set data transfer limits for each key, if necessary.
2. Firewall (UFW) Configuration for Outline
During Outline installation, the script automatically attempts to configure the firewall. It opens ports 80 and 443 for initial setup and verification, as well as dynamic UDP ports (usually in the range 1024-65535) for Shadowsocks traffic. It is important to ensure that these rules have been added.
sudo ufw status verbose
You should see rules allowing traffic on ports 80, 443, and a range of UDP ports. If for some reason the automatic configuration did not work, you may need to add them manually:
# Allow HTTP/HTTPS for Outline Manager
sudo ufw allow 80/tcp
sudo ufw allow 443/tcp

# Allow Shadowsocks UDP traffic (Outline uses dynamic ports)
# IMPORTANT: Outline Manager will choose a random port for Shadowsocks.
# It usually opens a wide range of UDP ports.
# If you see a specific Shadowsocks port in the docker ps output, you can open it specifically.
# Otherwise, for reliability, you can open a wide range, but this is less secure.
# Outline Manager usually handles this correctly.
# Example: if Shadowsocks uses port 50000
# sudo ufw allow 50000/udp
After any manual UFW changes, don't forget to reload it:
sudo ufw reload
3. TLS/HTTPS for Outline Manager
Outline Manager uses HTTPS for a secure connection to your server. During installation, the script automatically generates a self-signed SSL certificate. If you have a domain name, you can bind it to your VPS and use Let's Encrypt to obtain a trusted certificate. Outline Manager supports this feature:
- In the Outline Manager interface, there is an option to bind a domain name.
- If you specify a domain, Outline Manager will attempt to obtain and install a Let's Encrypt certificate using the ACME protocol. This requires your domain to point to your VPS's IP address.
For most users, especially if you are using Outline for personal purposes, a self-signed certificate will suffice, as Outline Client does not rely on trusted CA certificates for the VPN connection to work, but uses its own verification mechanism.
4. Verifying Functionality
After installation and configuration, it is important to ensure that everything is working correctly.
- Check Docker containers: Ensure that all Outline containers are running.
sudo docker ps
You should see the outline-ss-server and outline-shadowbox containers.
If all these steps are successful, your Outline VPN server is fully configured and functional.
Backups and Maintenance
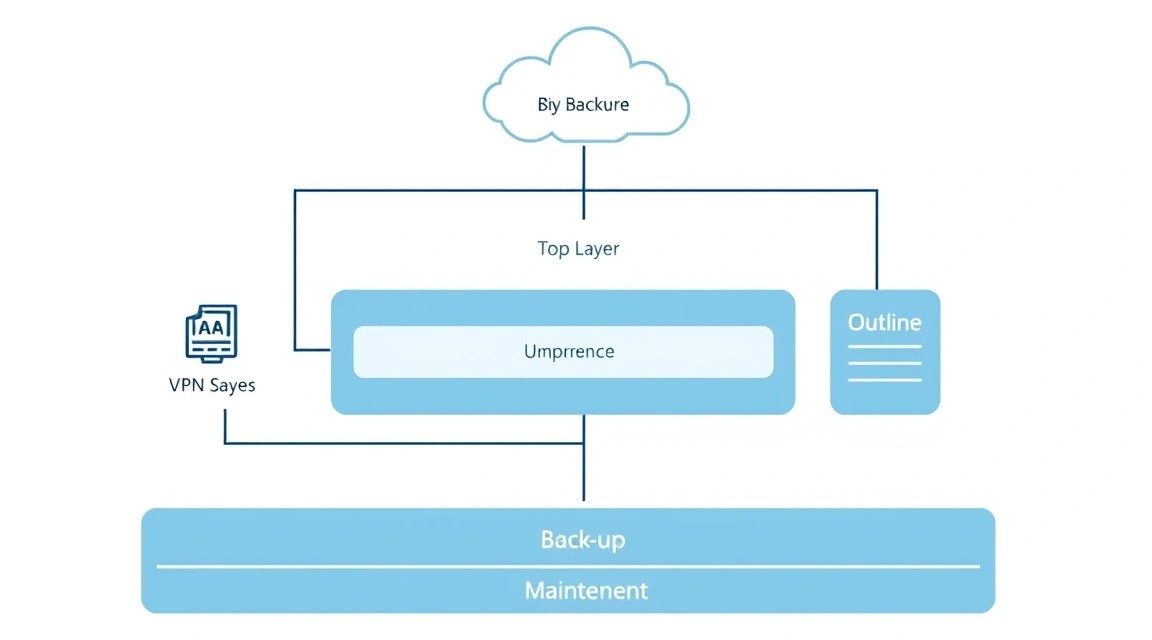
Regular backups and timely server maintenance are key to the stable and secure operation of your Outline VPN.
1. What to Back Up
For an Outline VPN server, the most important data are:
- Outline Configuration Files: These contain information about your server, access keys, and settings. They are usually located in a directory mounted into Outline Docker containers, for example,
/opt/outline/or in Docker volumes. - Access Keys: The access keys themselves that you have issued to users. They are stored in the Outline configuration.
- SSL Certificates: If you use Let's Encrypt, these should also be backed up, although they can be easily regenerated.
Since Outline runs in Docker containers, all critically important data is stored in Docker volumes. You can find their location using the command:
sudo docker volume ls
sudo docker inspect outline-shadowbox
Typically, Outline data is stored in the outline-shadowbox volume.
2. Simple Auto-Backup Script
Let's create a simple script for backing up Outline data. We will use docker cp to extract data from the container.
# Create backup directory
sudo mkdir -p /var/backups/outline

# Create backup script
sudo nano /usr/local/bin/backup_outline.sh
Insert the following content into the file (make sure the container name outline-shadowbox matches yours):
#!/bin/bash

# Directory for temporary backup files
BACKUP_DIR="/var/backups/outline"
TIMESTAMP=$(date +%Y%m%d%H%M%S)
BACKUP_FILE="${BACKUP_DIR}/outline_config_${TIMESTAMP}.tar.gz"
CONTAINER_NAME="outline-shadowbox" # Name of your main Outline Docker container

echo "Starting Outline VPN backup at ${TIMESTAMP}..."

# Check if the container is running
if ! sudo docker ps --format '{{.Names}}' | grep -q "${CONTAINER_NAME}"; then
    echo "Error: Outline container '${CONTAINER_NAME}' is not running."
    exit 1
fi

# Copy important configuration files from the container
# Outline stores its configuration in a JSON file inside the container.
# The exact path may vary, but it is often /root/shadowbox/persisted-state.json
# Or you can back up the entire volume if it is mounted.
# For simplicity, backing up the file with keys is often sufficient.
# Find the path to the state file that contains the keys.
# This could be "/root/shadowbox/persisted-state.json" or another path.
# It's best to inspect the volume content: sudo docker volume inspect outline-shadowbox
# Assume data is in /var/lib/docker/volumes/outline-shadowbox/_data/
# and there is persisted-state.json or config.json

# Example of copying the entire volume
VOLUME_PATH=$(sudo docker volume inspect outline-shadowbox --format '{{ .Mountpoint }}')
if [ -d "$VOLUME_PATH" ]; then
    echo "Backing up Outline volume from ${VOLUME_PATH}..."
    sudo tar -czf "${BACKUP_FILE}" -C "${VOLUME_PATH}" .
else
    echo "Error: Outline volume path not found. Attempting to copy from container directly."
    # If the volume is not found or not directly accessible, you can try to copy from the container
    # This is less reliable as you need to know the exact path inside the container
    sudo docker cp "${CONTAINER_NAME}":/root/shadowbox/persisted-state.json "${BACKUP_DIR}/persisted-state.json"
    sudo tar -czf "${BACKUP_FILE}" -C "${BACKUP_DIR}" persisted.json # Archive the copied file
    sudo rm "${BACKUP_DIR}/persisted-state.json" # Delete the temporary file
fi


if [ $? -eq 0 ]; then
    echo "Backup successful: ${BACKUP_FILE}"
else
    echo "Backup failed!"
    exit 1
fi

# Delete old backups (older than 7 days)
find "${BACKUP_DIR}" -name "outline_config_*.tar.gz" -mtime +7 -delete
echo "Old backups cleaned up."

echo "Outline VPN backup finished."
Make the script executable:
sudo chmod +x /usr/local/bin/backup_outline.sh
Set up daily script execution using cron:
sudo crontab -e
Add the following line to the end of the file so that the script runs every day at 3:00 AM:
0 3 * * * /usr/local/bin/backup_outline.sh >> /var/log/outline_backup.log 2>&1
3. Where to Store Backups
Storing backups on the same server as the original data is risky. It is recommended to use external storage:
- S3-compatible storage: Cloud services such as Amazon S3, DigitalOcean Spaces, Backblaze B2, offer reliable and inexpensive storage. You can integrate the script with
s3cmdorawscliutilities for automatic upload. - Separate VPS: A small, inexpensive VPS in a different location can serve for storing backups. You can use
rsyncorscpfor copying. - Local storage: For personal use, you can copy backups to your local computer.
For automatic upload to S3, for example, using s3cmd:
# Add to backup_outline.sh script after archive creation
# sudo apt install s3cmd -y
# s3cmd --configure # Configure s3cmd once
# s3cmd put "${BACKUP_FILE}" s3://YOUR_S3_BUCKET/outline/
4. Updates: rolling vs maintenance window
Regular updates are important for security and performance. Outline VPN consists of several components:
- Operating System: Update your Ubuntu 24.04 LTS regularly.
sudo apt update && sudo apt upgrade -y
sudo apt autoremove -y
watchtower container, which automatically tracks new versions of Outline Docker images and updates them without your intervention (rolling update). This minimizes downtime.
# Check if watchtower is running:
sudo docker ps | grep watchtower
If watchtower is running, Outline updates will be automatic. If not, you can manually update Outline Docker images:
# Navigate to the directory where Outline's docker-compose.yml is stored (usually /opt/outline)
cd /opt/outline/shadowbox/
sudo docker compose pull # Pull new images
sudo docker compose up -d # Restart containers with new images
For critical OS or Docker Engine updates, especially if a kernel reboot is required, it is recommended to plan a "maintenance window" to minimize impact on users. For the Outline server, thanks to watchtower and Docker, most updates are "rolling" and do not require manual intervention or prolonged downtime.
Troubleshooting + FAQ
Here are typical problems and frequently asked questions that may arise during the deployment and operation of Outline VPN.
What to do if I cannot connect to Outline Manager?
What to check:
- Firewall: Make sure that ports 80 and 443 (or the port specified in the Outline Manager URL, if different) are open on your VPS. Run
sudo ufw status verboseon the server. - Server Availability: Make sure your VPS is running and accessible via its IP address. Try
ping YOUR_IP_ADDRESSfrom your local computer. - Docker Container Status: Check if Outline Docker containers are running on the server:
sudo docker ps. Theoutline-shadowboxandoutline-ss-servercontainers should be in "Up" status. - URL Error: Make sure you copied the correct JSON string from the installation output and pasted it into Outline Manager without errors.
How to fix:
If the firewall is blocking ports, add rules: sudo ufw allow 80/tcp and sudo ufw allow 443/tcp, then sudo ufw reload. If containers are not running, try restarting Docker: sudo systemctl restart docker. As a last resort, you can try rerunning the Outline installation script, but this may reset the current configuration.
Why is internet speed slow through Outline VPN?
What to check:
- Server Location: The further the server, the higher the latency and lower the potential speed.
- VPS Bandwidth: Your VPS may have a limited network channel. Check your tariff plan.
- Server Load: If other resource-intensive services are running on the VPS, this can affect performance.
- VPN Load: If many users are simultaneously using the VPN, this can reduce speed for everyone.
- Local Factors: Your own internet connection, Wi-Fi, ISP network congestion.
How to fix:
Try choosing a VPS in a closer location. Make sure your VPS has sufficient bandwidth (e.g., 1 Gbit/s). If the problem is server load, consider upgrading your VPS to a more powerful plan or moving other services to a separate server. If the problem is due to local factors, check your network equipment and ISP.
What is the minimum suitable VPS configuration?
For stable operation of Outline VPN for 1-2 users, a VPS with 1 vCPU, 512 MB - 1 GB RAM, 10-15 GB SSD, and a 100 Mbit/s network port is minimally suitable. However, for more comfortable operation and the ability to connect up to 5-10 users, 2 vCPU, 2 GB RAM, 40 GB SSD, and a 1 Gbit/s channel are recommended. This will provide sufficient performance and bandwidth headroom.
What to choose — VPS or dedicated for this task?
For most Outline VPN use cases (personal use, small team, or family), a VPS is the optimal choice. It is significantly cheaper, easier to manage, and offers sufficient resources. Dedicated servers are only justified for very large deployments (hundreds of users, very high traffic) where maximum performance is required that virtualization cannot provide. In most cases, a VPS will be the ideal balance between cost, performance, and flexibility.
How to add a new user or delete an existing access key?
All access key management is done through Outline Manager on your local computer. To add a new user, simply click the "Add Key" button in the Manager interface. To delete a key, select the desired key from the list and click the delete button. A deleted key will stop working immediately.
What to do if Outline Manager on the server does not start?
If you installed Outline Manager on the server via Snap and it does not start, check Snap logs: snap changes or snap logs outline-manager. Make sure snapd is running: sudo systemctl status snapd. Try reinstalling: sudo snap remove outline-manager && sudo snap install outline-manager --classic. Most often, however, it is more convenient to use the graphical version of Outline Manager on your local PC.
How to update the Outline VPN server?
Outline usually updates automatically. During installation, Outline Manager deploys a watchtower Docker container, which monitors new versions of Outline images and automatically downloads and restarts them. If automatic updates are disabled or not working, you can update manually by navigating to the Outline installation directory (usually /opt/outline/shadowbox/) and running sudo docker compose pull && sudo docker compose up -d. Before doing this, ensure that Docker Engine is also updated: sudo apt update && sudo apt upgrade -y.
Can I use my own domain name with Outline?
Yes, you can bind a domain name to your Outline server. There is a corresponding option for this in Outline Manager. You must first configure your domain's A-record to point to your VPS's IP address. After that, Outline Manager can automatically obtain an Let's Encrypt SSL certificate for your domain, which will make the connection to the Manager more trusted.
Conclusions and Next Steps
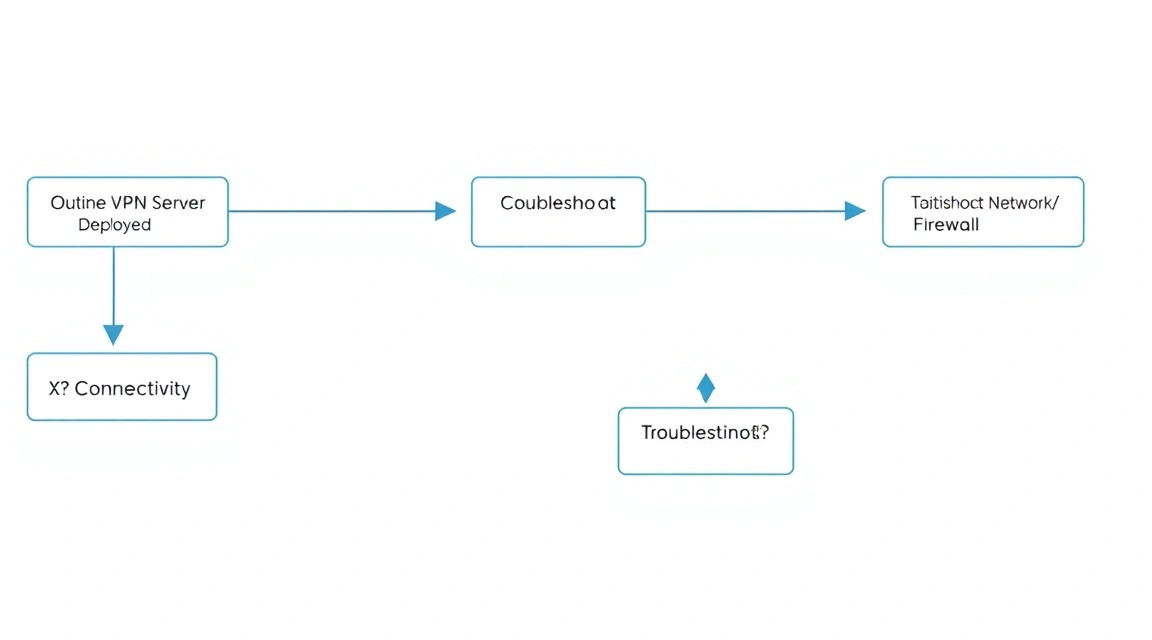
Congratulations! You have successfully deployed and configured your own Outline VPN server on your VPS. You now have a powerful tool for ensuring privacy and freedom of access to the internet, which is entirely under your control. You have learned not only how to install Outline but also how to perform basic server preparation, ensure its security, configure a firewall, and plan backups and updates. This experience provides you with valuable skills in managing your own server infrastructures.
What's next?
- Resource Monitoring: Install monitoring tools such as Prometheus and Grafana to track CPU, RAM, disk, and network traffic on your VPS. This will help you respond promptly to potential issues or plan for scaling.
- Additional Security: Consider implementing more advanced security measures, such as configuring an Intrusion Detection System (IDS) or Web Application Firewall (WAF), if you plan to host other services on the same VPS.
- Scaling: If the number of your users or traffic volume significantly increases, you may need to upgrade your VPS to a more powerful plan or even consider a distributed architecture with multiple Outline servers in different locations.
- Learn Docker: Delve deeper into Docker and Docker Compose. Understanding these technologies will allow you to manage Outline more efficiently and deploy other containerized applications on your server.