Deploying Listmonk on VPS: Managing Mailings with Docker, PostgreSQL, and Caddy
TL;DR
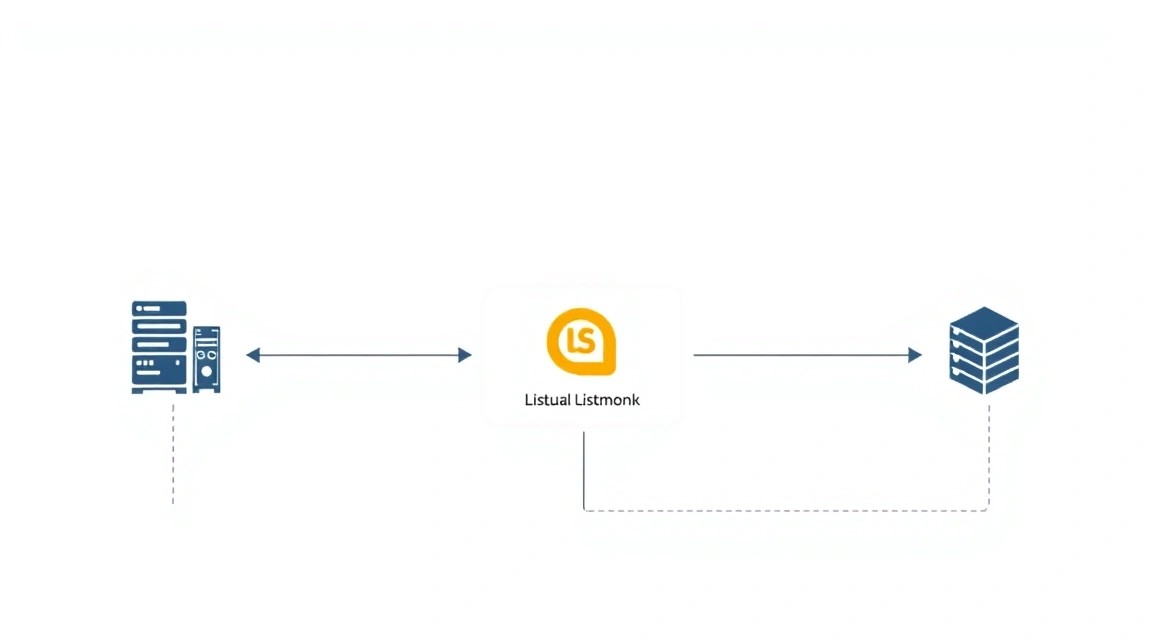
In this detailed guide, we will set up Listmonk — a powerful open-source platform for email newsletters — on your own VPS server, step by step. By using Docker for containerization, PostgreSQL for the database, and Caddy as a reverse proxy with automatic HTTPS, you will get a fully controlled, scalable, and secure solution for managing subscribers and sending campaigns, avoiding reliance on third-party services and their limitations.
- Setting up Listmonk, PostgreSQL, and Caddy using Docker Compose for easy deployment and management.
- Automatic acquisition and renewal of SSL certificates with Caddy.
- Ensuring basic server security (SSH, firewall, Fail2ban).
- Recommendations for choosing the optimal VPS configuration and backup strategies.
- Practical commands and configuration files for each installation step.
- An expanded section on troubleshooting common issues and answers to frequently asked questions.
What We Are Setting Up and Why
In this guide, we will focus on deploying Listmonk — a modern, high-performance, and feature-rich platform for managing email newsletters. Listmonk is an excellent alternative to commercial SaaS solutions like Mailchimp or SendGrid, offering full control over your data and mailings without a monthly fee based on the number of subscribers or emails sent (you only pay for the SMTP service and VPS).
What the reader will get in the end:
- A fully functional system for creating and sending email campaigns.
- Ability to import and manage subscriber lists.
- Tools for audience segmentation and email personalization.
- Detailed analytics on open rates, clicks, and unsubscribes.
- A reliable solution running in Docker containers, with a PostgreSQL database and a Caddy reverse proxy providing automatic HTTPS.
- Your own mailing server that you can scale and customize to your unique needs, without worrying about third-party service usage policies.
What alternatives exist and why self-hosted on a VPS:
There are many email marketing solutions on the market. They can be divided into two main categories:
-
Cloud-managed (SaaS) services: Mailchimp, SendGrid, Brevo (Sendinblue), MailerLite, Constant Contact.
- Pros: Ease of use, no technical expertise required, ready-made infrastructure.
- Cons: High cost with subscriber base growth, dependence on service policies (account blocks, content restrictions), lack of full data control, inability for deep customization.
-
Self-hosted solutions: Listmonk, Mautic, Ghost (with mailing integration), Postfix/Dovecot (for mail server).
- Pros: Full control over data and infrastructure, no subscriber limits, flexibility in configuration and integration, potentially lower long-term cost, increased privacy.
- Cons: Requires technical expertise for installation and maintenance, responsibility for security and operability lies with you.
Choosing a self-hosted solution on a VPS, such as Listmonk, is ideal for developers, startups, small and medium-sized businesses, and anyone who values independence, control, and privacy. This allows you to create a powerful mailing system that will fully meet your requirements and grow with your project.
What VPS Configuration is Needed for This Task
Choosing the right VPS configuration is critical for Listmonk's stable and efficient operation. While Listmonk is quite lightweight, PostgreSQL can be resource-intensive with large data volumes and high loads. Caddy and Docker themselves consume minimal resources, but they need to be considered.
Minimum Requirements:
- CPU: 2 vCPU. One for Listmonk, one for PostgreSQL and the rest of the system.
- RAM: 4 GB. PostgreSQL likes RAM for caching, and Listmonk itself will run more comfortably.
- Disk: 50 GB SSD. SSD significantly speeds up database operations. This will be enough for the operating system, Docker images, Listmonk and PostgreSQL data (for tens of thousands of subscribers and thousands of sent emails).
- Network: 100 Mbps. This is sufficient for most tasks. Stability and no traffic limits are more important.
Specific VPS Plan for the Task:
For a comfortable start and support of several hundred thousand subscribers with regular mailings, the following configuration plan is recommended:
- CPU: 2-4 vCPU (e.g., Intel Xeon E5 or AMD EPYC).
- RAM: 4-8 GB DDR4.
- Disk: 80-160 GB NVMe SSD (NVMe is preferred for speed, but a good SATA SSD will also suffice).
- Network: 1 Gbps port with unlimited traffic or a large limit (e.g., 1-2 TB/month).
- Operating System: Ubuntu Server 24.04 LTS (or a newer stable version).
You can get a VPS with the specified characteristics to start, or consider more powerful options as your needs grow.
When a Dedicated Server is Needed, Not a VPS:
A dedicated server should be considered if you have:
- Millions of subscribers: PostgreSQL will require significantly more CPU and RAM resources, as well as high-speed disks.
- Very high mailing frequency: Sending millions of emails per hour requires a stable and powerful network subsystem, as well as dedicated resources for the SMTP service.
- Increased isolation and security requirements: A dedicated server provides complete physical isolation from other users.
- Need for specific hardware: For example, for GPU computing or special RAID arrays, which is rarely required for Listmonk but may be relevant for related tasks.
For most Listmonk tasks at the small and medium business level, a well-configured VPS will be more than sufficient.
Location: What it Affects
- Latency: Choose a location close to your primary audience or to yourself (for management). Low latency improves the loading speed of the Listmonk interface and the delivery speed of emails to the SMTP provider.
- Legislation: If you work with personal data of users from the EU, ensure that the server is located in a jurisdiction compliant with GDPR. Similarly for other regions.
- SMTP Provider Availability: Some SMTP providers may have preferred regions for better performance.
Server Preparation
Before proceeding with Listmonk installation, it is necessary to perform basic security setup and update the operating system. We will use Ubuntu Server 24.04 LTS as the most common and stable platform for such tasks.
1. Connecting to the Server via SSH
Use an SSH client to connect to your VPS. Typically, the provider gives you the IP address and initial credentials (root login and password).
ssh root@ВАШ_IP_АДРЕС
2. System Update
First, update the package list and installed packages to their latest versions.
sudo apt update -y  # Update package list
sudo apt upgrade -y # Upgrade installed packages
sudo apt autoremove -y # Remove unnecessary dependencies
3. Creating a New User with Sudo Privileges
Using the root user for everyday tasks is insecure. Create a new user and grant them sudo privileges.
adduser listmonkadmin # Create a new user "listmonkadmin"
usermod -aG sudo listmonkadmin # Add user to the sudo group
Now, exit the root session and log in as the new user:
exit # Exit root session
ssh listmonkadmin@ВАШ_IP_АДРЕС # Log in as the new user
4. Setting Up SSH Keys (Recommended)
To enhance security, it is recommended to use SSH keys instead of passwords. Generate a key pair on your local machine (if you haven't already):
ssh-keygen -t rsa -b 4096 # On your local machine
Copy the public key to the server:
ssh-copy-id listmonkadmin@ВАШ_IP_АДРЕС # On your local machine
After this, you can disable password authentication in /etc/ssh/sshd_config by setting PasswordAuthentication no and restarting the SSH service.
5. Firewall Setup (UFW)
Enable UFW (Uncomplicated Firewall) and allow only the necessary ports: SSH (22), HTTP (80), and HTTPS (443).
sudo ufw allow OpenSSH # Allow SSH
sudo ufw allow http # Allow HTTP (for Caddy/Let's Encrypt)
sudo ufw allow https # Allow HTTPS
sudo ufw enable # Enable firewall (confirm 'y')
sudo ufw status # Check firewall status
6. Installing Fail2ban
Fail2ban protects against brute-force attacks by blocking IP addresses that attempt to guess passwords for SSH and other services.
sudo apt install fail2ban -y # Install Fail2ban
sudo systemctl enable fail2ban # Enable autostart
sudo systemctl start fail2ban # Start service
sudo cp /etc/fail2ban/jail.conf /etc/fail2ban/jail.local # Create a local copy of the config
Edit /etc/fail2ban/jail.local to configure parameters, for example, set bantime = 1h (ban time) and maxretry = 5 (number of attempts). Ensure that the [sshd] section is active (enabled = true).
7. Installing Basic Utilities
Install the necessary utilities that will be useful during installation and for debugging.
sudo apt install curl wget git nano htop -y
Your server is now ready for the installation of the main software.
Software Installation — Step-by-Step
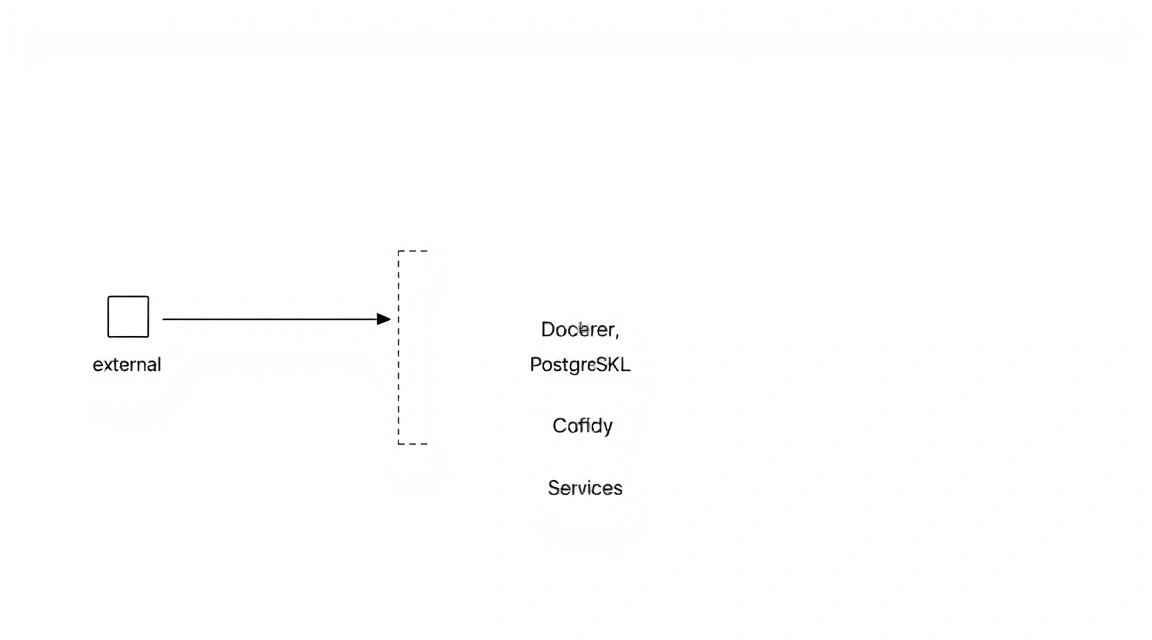
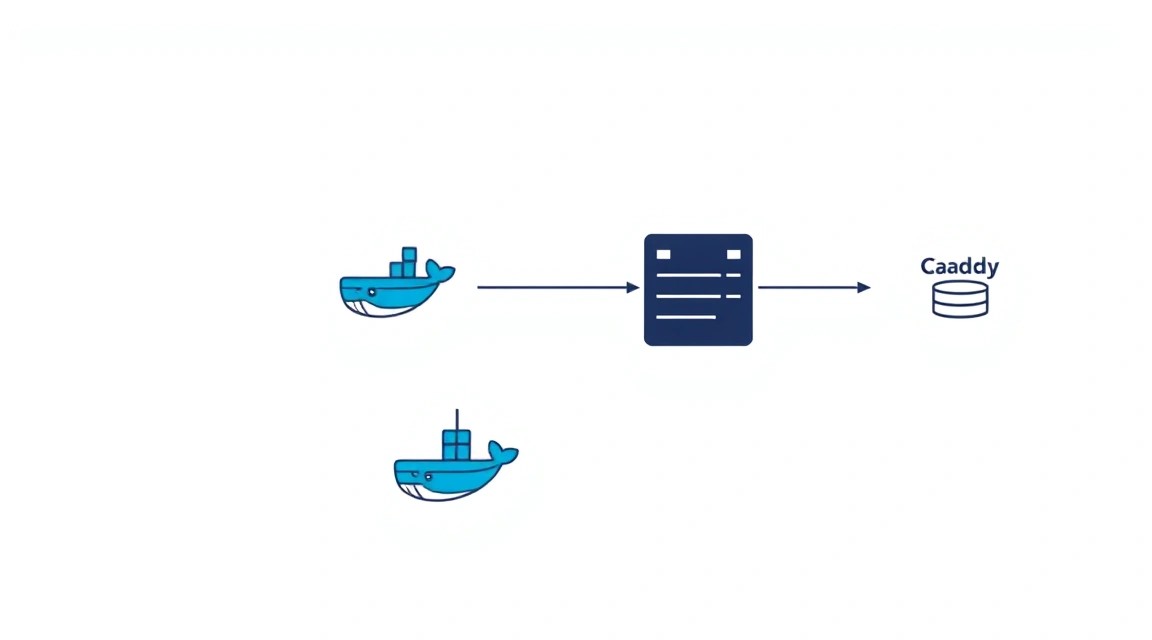
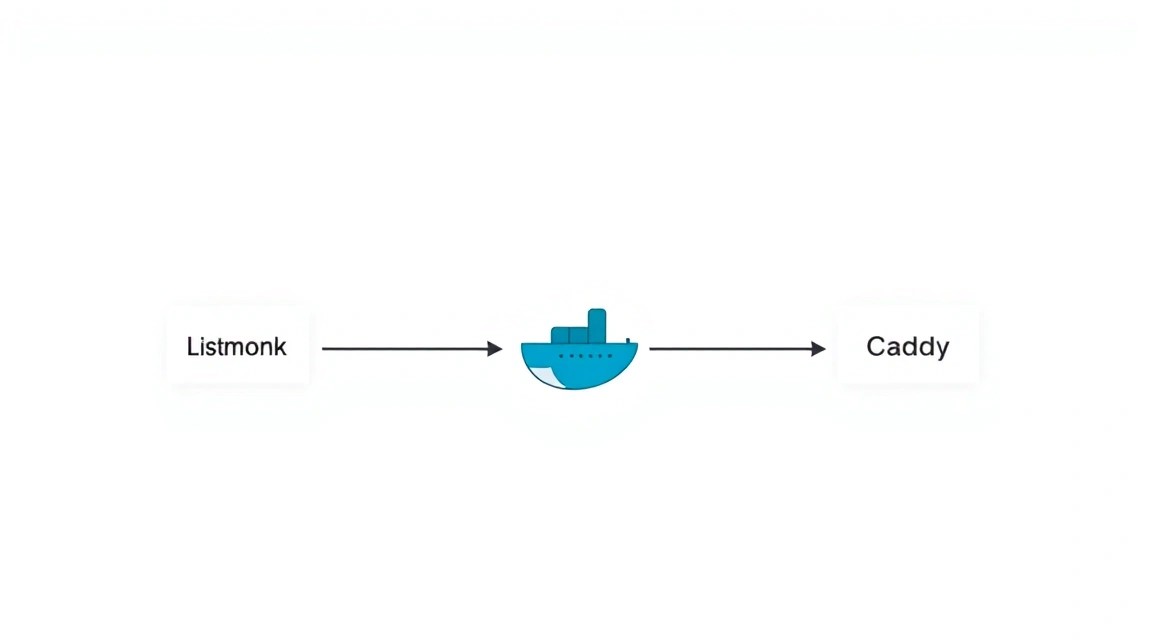
For deploying Listmonk, we will use Docker and Docker Compose. This significantly simplifies installation, dependency management, and ensures solution portability. We will install Docker Engine, Docker Compose, and then configure the Listmonk, PostgreSQL, and Caddy services.
1. Installing Docker Engine
We will install Docker from the official repository to get the latest versions (for 2026, we will target Docker Engine 26.x and above).
# Update package list
sudo apt update -y

# Install necessary packages for working with HTTPS repositories
sudo apt install ca-certificates curl gnupg lsb-release -y

# Add Docker's official GPG key
sudo install -m 0755 -d /etc/apt/keyrings
curl -fsSL https://download.docker.com/linux/ubuntu/gpg | sudo gpg --dearmor -o /etc/apt/keyrings/docker.gpg

# Add Docker repository to Apt sources
echo \
  "deb [arch="$(dpkg --print-architecture)" signed-by=/etc/apt/keyrings/docker.gpg] https://download.docker.com/linux/ubuntu \
  "$(. /etc/os-release && echo "$VERSION_CODENAME")" stable" | \
  sudo tee /etc/apt/sources.list.d/docker.list > /dev/null

# Update package list considering the new repository
sudo apt update -y

# Install Docker Engine, containerd, and Docker Compose (cli)
sudo apt install docker-ce docker-ce-cli containerd.io docker-buildx-plugin docker-compose-plugin -y

# Add current user to the docker group to work without sudo
sudo usermod -aG docker $USER

# Note: To apply group changes, you need to log out and log back into the SSH session
echo "To complete Docker installation, please log out of your SSH session and log back in."
Log out of your SSH session (exit) and log back in for the Docker group changes to take effect. After that, verify the Docker installation:
docker run hello-world # Verify successful Docker installation
If you see the message "Hello from Docker!", then Docker is installed and working correctly.
2. Installing Docker Compose (plugin)
In modern Docker versions, docker compose already comes as a plugin for the Docker CLI, so a separate installation is not required. We have already installed docker-compose-plugin in the previous step. Let's check its version:
docker compose version # Check Docker Compose version
The expected version for 2026 will be something like Docker Compose v2.25.x or higher.
3. Creating a Directory for the Listmonk Project
Let's create a directory where all Listmonk configuration files and data will be stored.
mkdir ~/listmonk # Create project directory in user's home folder
cd ~/listmonk # Navigate to the project directory
4. Preparing the docker-compose.yml File
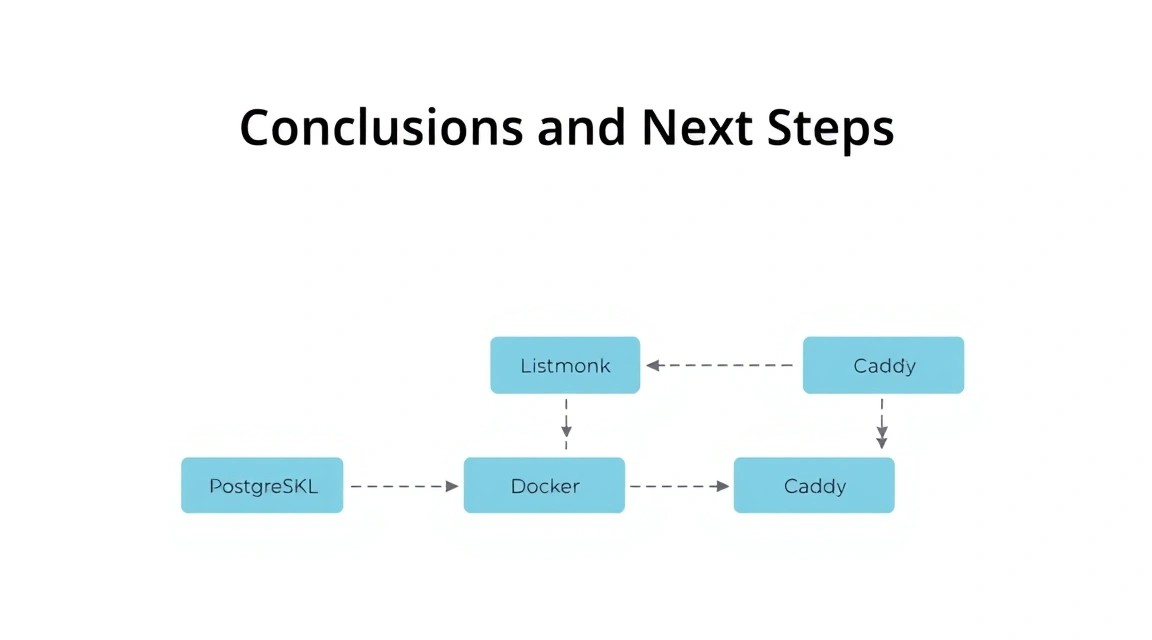
Now, let's create the main docker-compose.yml file, which will describe all our services: Listmonk, PostgreSQL, and Caddy.
nano docker-compose.yml # Open text editor to create the file
Insert the following content (current image versions for 2026):
version: '3.8'

services:
  db:
    image: postgres:17-alpine # Current PostgreSQL version for 2026, alpine for lightness
    restart: always
    environment:
      POSTGRES_DB: listmonk # Database name
      POSTGRES_USER: listmonk # Database user
      POSTGRES_PASSWORD: ${DB_PASSWORD} # Password from .env file
    volumes:
      - db_data:/var/lib/postgresql/data # Persistent storage for DB data
    healthcheck:
      test: ["CMD-SHELL", "pg_isready -U listmonk -d listmonk"]
      interval: 5s
      timeout: 5s
      retries: 5

  listmonk:
    image: listmonk/listmonk:2.5.0 # Current Listmonk version for 2026
    restart: always
    environment:
      LM_APP_NAME: "My Listmonk" # Your application name
      LM_DATABASE_URL: postgres://listmonk:${DB_PASSWORD}@db:5432/listmonk?sslmode=disable # DB connection URL
      LM_ADMIN_USERNAME: admin # Default administrator username
      LM_ADMIN_PASSWORD: ${ADMIN_PASSWORD} # Admin password from .env
      LM_SMTP_HOST: ${SMTP_HOST} # SMTP server host (e.g., smtp.sendgrid.net)
      LM_SMTP_PORT: ${SMTP_PORT} # SMTP server port (e.g., 587)
      LM_SMTP_USERNAME: ${SMTP_USERNAME} # SMTP username
      LM_SMTP_PASSWORD: ${SMTP_PASSWORD} # SMTP password
      LM_SMTP_AUTH_PROTOCOL: login # Authentication protocol (usually login or plain)
      LM_SMTP_FROM_EMAIL: "[email protected]" # Default sender email
      LM_SMTP_FROM_NAME: "Your Company" # Default sender name
      LM_ENABLE_GRAVATAR: "true" # Enable Gravatar
      LM_DEBUG: "false" # Disable debug mode in production
      LM_TLS_ENABLE: "true" # Enable TLS for SMTP (default)
      LM_APP_URL: "https://listmonk.yourdomain.com" # Public URL of your Listmonk
    depends_on:
      db:
        condition: service_healthy # Start Listmonk only after DB is ready
    volumes:
      - listmonk_data:/var/lib/listmonk # Persistent storage for Listmonk data (avatars, attachments)
    labels:
      caddy: "listmonk.yourdomain.com" # Specify Caddy domain for Listmonk
      caddy.reverse_proxy: "{{upstreams}}" # Proxy requests to Listmonk

  caddy:
    image: caddy:2.7.6-alpine # Current Caddy version for 2026, alpine for lightness
    restart: always
    ports:
      - "80:80" # HTTP port
      - "443:443" # HTTPS port
    volumes:
      - caddy_data:/data # For storing SSL certificates and other Caddy data
      - caddy_config:/config # For storing Caddy configuration
      - ./Caddyfile:/etc/caddy/Caddyfile # Our custom Caddyfile
    depends_on:
      - listmonk # Caddy depends on Listmonk (though it can start earlier)

volumes:
  db_data:
  listmonk_data:
  caddy_data:
  caddy_config:
IMPORTANT: Replace listmonk.yourdomain.com with your actual domain that you plan to use for Listmonk. Ensure that the DNS record (A or CNAME) for this domain points to your VPS's IP address.
5. Creating the .env File for Secrets
For security, we will store passwords and other sensitive data in a separate .env file, which will not be committed to version control (if you are using it).
nano .env # Open text editor to create the file
Insert the following content, replacing YOUR_DB_PASSWORD, YOUR_ADMIN_PASSWORD, YOUR_SMTP_HOST, etc., with your own values:
DB_PASSWORD=YOUR_DB_PASSWORD_STRONG_AND_UNIQUE
ADMIN_PASSWORD=YOUR_ADMIN_PASSWORD_STRONG_AND_UNIQUE
SMTP_HOST=smtp.your-email-provider.com
SMTP_PORT=587
SMTP_USERNAME=your-smtp-username
SMTP_PASSWORD=YOUR_SMTP_PASSWORD_STRONG_AND_UNIQUE
Save the file (Ctrl+O, Enter, Ctrl+X).
6. Creating the Caddyfile
Caddy automatically manages SSL certificates, which greatly simplifies HTTPS setup. Let's create a simple Caddyfile for our domain.
nano Caddyfile # Open text editor to create the file
Insert the following content, replacing listmonk.yourdomain.com with your actual domain:
listmonk.yourdomain.com {
    reverse_proxy listmonk:9000 # Proxy requests to Listmonk, which listens on port 9000 inside Docker
    log {
        output stdout
        format json
    }
}
Save the file (Ctrl+O, Enter, Ctrl+X).
7. Starting Docker Compose Services
Now that all files are ready, you can start all services using Docker Compose.
docker compose up -d # Start all services in the background
This command will download the necessary Docker images (Listmonk, PostgreSQL, Caddy), create containers, configure networks, and start them. The -d flag means running in detached mode (in the background).
8. Initializing the Listmonk Database
After the first launch of the Listmonk container, its database needs to be initialized. This only needs to be done once.
docker compose run --rm listmonk ./listmonk --install # Run Listmonk installation command in a new container
This command will create tables in the PostgreSQL database and set up initial data for Listmonk. The --rm parameter ensures that the temporary container is removed after the command execution.
After successful initialization, you can check the status of the running containers:
docker compose ps # Check container status
All containers (db, listmonk, caddy) should be in the running state.
Now Listmonk should be accessible via your domain (e.g., https://listmonk.yourdomain.com) over HTTPS. Caddy will automatically obtain and configure an SSL certificate from Let's Encrypt.