Deploying FreeIPA on a VPS for Centralized Identity Management
TL;DR
In this guide, we will step-by-step configure FreeIPA on a Virtual Private Server (VPS) to create a centralized identity and access management system. FreeIPA combines Kerberos, LDAP, DNS, and Certificate Authority, providing a single point for authenticating users and machines, managing access, and issuing certificates in your Linux-based infrastructure.
- You will deploy FreeIPA 4.10 on Ubuntu Server 24.04 LTS.
- You will configure a basic identity infrastructure, including DNS and Kerberos.
- You will learn to manage users, groups, and hosts via the web interface and command line.
- You will secure the server using UFW and Fail2ban.
- You will receive recommendations for FreeIPA backup and maintenance.
What we are configuring and why
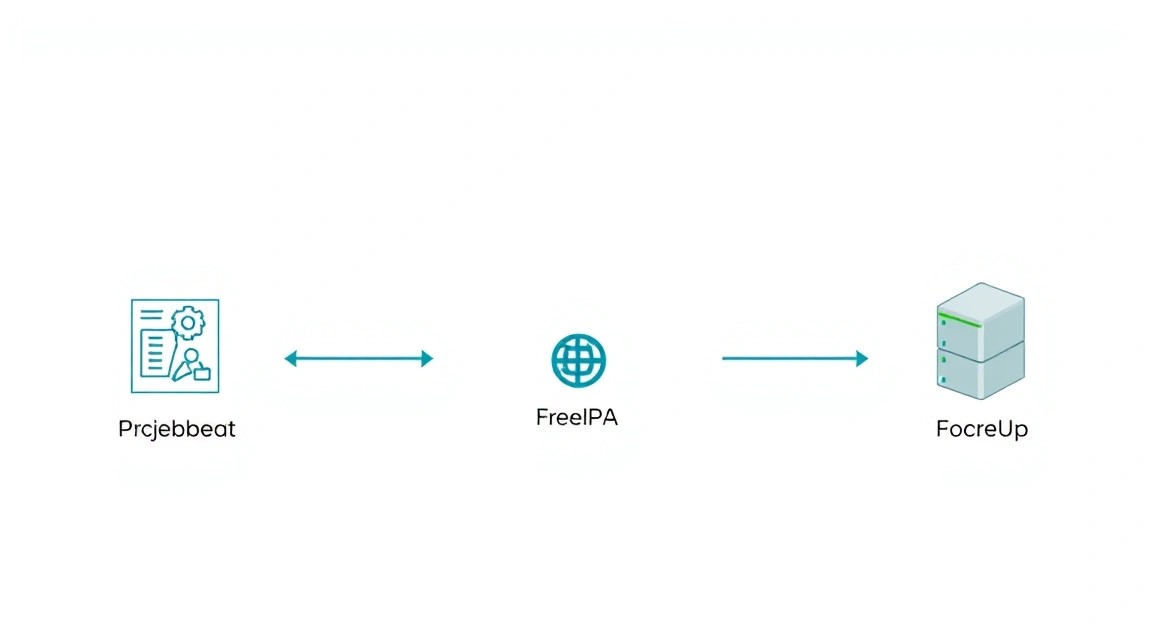
FreeIPA (Identity, Policy and Audit) is an integrated open-source solution for centralized identity, policy, and audit management in predominantly Linux/Unix environments. Essentially, it is a powerful toolkit that combines several key components: Kerberos for authentication, LDAP (389 Directory Server) for storing identity information, DNS for name resolution, and Certificate Authority (Dogtag) for certificate management.
By deploying FreeIPA on a VPS, you create a single point of management for all your servers, workstations, and applications. This means that users can log in to various machines using the same credentials (Single Sign-On, SSO), and administrators gain centralized control over access, groups, and security policies. Instead of creating local users on each machine or manually synchronizing passwords, FreeIPA automates this process, significantly simplifying administration and enhancing security.
Ultimately, the reader will have a fully functional FreeIPA system capable of managing identity for dozens and hundreds of systems. You will be able to create users, groups, assign them access rights (e.g., via HBAC — Host-Based Access Control), manage DNS records for your infrastructure, and even issue TLS certificates for internal services. This is an ideal solution for small and medium-sized teams that need a powerful yet manageable IDM system without the cost of proprietary solutions or the complexity of configuring individual components.
There are alternatives to FreeIPA. The most well-known include: OpenLDAP (as a standalone component), Microsoft Active Directory (for Windows environments, but with Linux integration capabilities), as well as cloud solutions like Okta, Auth0, or Azure AD. The choice of a self-hosted solution on a VPS, such as FreeIPA, is driven by several factors:
- Full Control: You have complete control over the data, configuration, and security of your identity system, which is critical for some organizations.
- Cost Savings: The absence of monthly fees for cloud services can significantly reduce operational costs, especially if you already have a paid VPS.
- Flexibility: The ability to fine-tune settings for specific needs, integrate with local services that may not have direct connectors to cloud IDMs.
- Privacy: Data remains on your server, which is important for complying with regulatory requirements and privacy policies.
Deploying FreeIPA on a VPS strikes a balance between enterprise-level functionality and accessibility for individual developers, startups, or enthusiasts.
What VPS configuration is needed for this task
For deploying FreeIPA, especially in a test or small production environment, resource requirements are relatively moderate. However, as with any critical infrastructure service, it is recommended to have some headroom.
Minimum Requirements:
- CPU: 2 cores. FreeIPA actively uses the processor for Kerberos and LDAP requests, as well as for certificate operations.
- RAM: 4 GB. This is a critical parameter. The LDAP server and Kerberos KDC can consume a significant amount of memory, especially under high load or with a large number of users.
- Disk: 50 GB SSD. SSD significantly speeds up the operation of the LDAP database and other components. 50 GB is sufficient for the operating system, FreeIPA, and a small volume of logs. Larger deployments or long-term log storage will require more.
- Network: 100 Mbps. For most tasks, this is sufficient, as FreeIPA traffic is usually not very intensive, unless you are replicating it between geographically distant nodes.
Recommended VPS plan for medium usage (up to 1000 users/hosts):
- CPU: 4 cores.
- RAM: 8 GB.
- Disk: 100-150 GB SSD.
- Network: 1 Gbps.
For these characteristics, you can consider a VPS with the specified characteristics. It is important that the provider offers the ability to configure reverse DNS records (PTR), as this is critical for the correct operation of Kerberos.
When a dedicated server is needed, not a VPS:
A dedicated server becomes preferable for FreeIPA in the following cases:
- Very large number of users/hosts: More than 5000-10000 objects in the directory.
- High request intensity: If FreeIPA is used for authenticating many high-load applications or services.
- I/O performance requirements: For very active read/write operations to the LDAP directory, where VPS SSD performance might become a bottleneck.
- Specific security or compliance requirements: Some regulatory requirements may dictate the use of physically isolated hardware.
- Need for hardware security modules: For example, for using Hardware Security Modules (HSM) to protect CA keys.
In such scenarios, a suitable dedicated server will provide the necessary performance and isolation.
Location: what it affects
- Latency: Choose a VPS location that is geographically close to most of your FreeIPA users and clients. This minimizes latency during authentication and directory access.
- Geopolitics and Legislation: Depending on the sensitivity of the data and storage requirements, the jurisdiction in which your VPS is located can be critical. Consider data protection laws (e.g., GDPR).
- Network Connectivity: Some locations have better connectivity to certain regions of the world, which can be important for globally distributed teams.
Server Preparation
Before installing FreeIPA, you need to perform basic operating system configuration. In this guide, we will use Ubuntu Server 24.04 LTS, which will be current and supported in 2026. Make sure you have SSH access to the server with root privileges or a user with sudo.
1. System Update
First, update all packages to the latest versions to ensure stability and security.
sudo apt update && sudo apt upgrade -y
This command updates the list of available packages and then installs all available updates without prompting for confirmation.
2. Hostname and DNS Configuration
FreeIPA is extremely sensitive to correct DNS and hostname configuration. Use a Fully Qualified Domain Name (FQDN) for your FreeIPA server. For example, ipa.example.com.
sudo hostnamectl set-hostname ipa.example.com
Set the server's hostname. Replace ipa.example.com with your actual FQDN.
echo "127.0.0.1   ipa.example.com ipa localhost" | sudo tee -a /etc/hosts
echo "::1         ipa.example.com ipa localhost" | sudo tee -a /etc/hosts
Add the FQDN entry to the /etc/hosts file. This ensures that the server can resolve its own name.
Ensure that your FQDN resolves to the public IP address of your VPS. This needs to be configured with your DNS provider (e.g., Cloudflare, Namecheap, GoDaddy). Create an A-record for ipa.example.com pointing to your VPS's IP address.
3. Create a sudo user (if not root)
For better security, it is recommended to work as a regular user with sudo privileges rather than as root.
sudo adduser username
sudo usermod -aG sudo username
Create a new user (replace username) and add them to the sudo group.
After this, exit the root session and log in as the new user.
4. SSH Key Configuration
To enhance SSH access security, it is recommended to use key-based authentication instead of passwords.
# On your local machine
ssh-keygen -t rsa -b 4096 -C "[email protected]"
ssh-copy-id username@your_vps_ip
On your local machine, generate an SSH key (if you don't have one) and copy the public key to the VPS. Then, on the VPS, disable password authentication.
sudo nano /etc/ssh/sshd_config
Find the lines:
#PasswordAuthentication yes
#PermitRootLogin yes
Change them to:
PasswordAuthentication no
PermitRootLogin no
Restart the SSH service:
sudo systemctl restart sshd
5. Firewall Configuration (UFW)
UFW (Uncomplicated Firewall) is an easy-to-use interface for iptables. FreeIPA requires several ports to be open.
sudo apt install ufw -y
sudo ufw allow OpenSSH
sudo ufw allow http
sudo ufw allow https
sudo ufw allow 80/tcp
sudo ufw allow 443/tcp
sudo ufw allow 389/tcp   # LDAP
sudo ufw allow 636/tcp   # LDAPS
sudo ufw allow 88/tcp    # Kerberos (TCP)
sudo ufw allow 88/udp    # Kerberos (UDP)
sudo ufw allow 464/tcp   # Kerberos (TCP)
sudo ufw allow 464/udp   # Kerberos (UDP)
sudo ufw allow 123/udp   # NTP
sudo ufw allow 53/tcp    # DNS (TCP)
sudo ufw allow 53/udp    # DNS (UDP)
sudo ufw enable
sudo ufw status verbose
Install UFW, allow the necessary ports for SSH, HTTP/HTTPS, LDAP, Kerberos, NTP, and DNS, then enable the firewall and check its status.
6. Install Fail2ban
Fail2ban protects the server from brute-force attacks by blocking IP addresses that generate multiple failed login attempts.
sudo apt install fail2ban -y
sudo systemctl enable fail2ban
sudo systemctl start fail2ban
Install Fail2ban and ensure it is running and will start on every system boot.
Your server is now ready for FreeIPA installation.
Software Installation — Step-by-step
Software Installation — Step-by-Step
In this section, we will install FreeIPA 4.10 on Ubuntu Server 24.04 LTS step-by-step. The process includes package installation, server initialization, and basic DNS configuration.
1. Installing FreeIPA Packages
FreeIPA is available in the standard Ubuntu repositories. Install the main ipa-server package and its dependencies.
sudo apt update
sudo apt install ipa-server -y
This command will update the package list and install the FreeIPA server with all necessary components, such as 389 Directory Server, BIND, Kerberos KDC, and Dogtag CA.
2. Running the FreeIPA Installation Script
After installing the packages, you need to run the ipa-server-install script, which will initialize all FreeIPA components. This script is interactive and will ask you several questions.
sudo ipa-server-install
Below are typical answers to the script's questions:
Do you want to configure integrated DNS? [no]:Enteryes. Integrated DNS simplifies management and is the recommended approach for most FreeIPA deployments.Server host name [ipa.example.com]:Confirm your server's FQDN. Press Enter if it is correct.Please enter the name of the domain for which you want to configure FreeIPA. [example.com]:Enter the FreeIPA domain. This is the domain that will be used for Kerberos and LDAP. For example,example.com.Please enter the name of the realm for which you want to configure FreeIPA. [EXAMPLE.COM]:Confirm the Kerberos Realm (usually your domain in uppercase). Press Enter.The IPA server will be configured with:Check the proposed settings.Continue to configure the system with these values? [no]:Enteryes.Directory Manager password:Enter and confirm the password for the Directory Manager user. This is a very important password; use a strong one.IPA admin password:Enter and confirm the password for the FreeIPAadminuser. This is the primary administrative user for managing FreeIPA. Also use a strong password.
The installation process will take some time (5-15 minutes), as FreeIPA configures the LDAP server, Kerberos Key Distribution Center (KDC), Certificate Authority (CA), and DNS server.
3. Checking FreeIPA Service Status
After the installation is complete, ensure that all FreeIPA services are running correctly.
sudo ipactl status
This command will show the status of all FreeIPA components (Directory Server, KDC, NTP, DNS, Web UI, CA). All of them should be in a running state.
4. Configuring the Client Environment on the FreeIPA Server
To use FreeIPA commands and the web interface, you need to configure Kerberos authentication for the admin user on the server itself.
kinit admin
Enter the FreeIPA administrator password you set during installation. This command will obtain a Kerberos ticket for the admin user, allowing them to interact with FreeIPA.
ipa user-find admin
Verify that the ipa user-find admin command successfully returns information about the admin user. This indicates that Kerberos authentication is working.
5. Configuring the DNS Client on the Server (Optional, but Recommended)
Although FreeIPA has configured its own DNS server, ensure that your VPS uses it for name resolution. This is especially important for FreeIPA clients.
# Temporarily set the FreeIPA DNS server as primary
echo "nameserver 127.0.0.1" | sudo tee /etc/resolv.conf
This command will set the local DNS server (which now serves FreeIPA) as the primary one. In more complex configurations, you can use systemd-resolved or other methods for permanent setup.
Check DNS resolution:
dig ipa.example.com
dig example.com
Both commands should correctly resolve your domains using the local FreeIPA DNS server.
6. Accessing the Web Interface
You can now access the FreeIPA web interface by navigating to https://ipa.example.com/ipa/ui/ in your browser. Upon first access, you will encounter a self-signed certificate warning. This is normal, as FreeIPA has deployed its own Certificate Authority. You can add this certificate to your browser's exceptions or import the FreeIPA CA certificate into your operating system's trusted stores.
Log in as the admin user with the password you set earlier.