
Встановлення та налаштування Umami Analytics на VPS: легка та приватна альтернатива Google Analytics
TL;DR
У цьому посібнику ми розберемо процес розгортання Umami Analytics — сучасного, легковажного та орієнтованого на приватність інструменту веб-аналітики, який не вимагає використання cookie-банерів та повністю відповідає GDPR. Ми пройдемо шлях від вибору конфігурації сервера до налаштування автоматичних резервних копій та оптимізації продуктивності на стеку Docker, PostgreSQL та Nginx.
- Приватність: Повне володіння даними без передачі третім особам.
- Продуктивність: Скрипт важить менше 2 КБ, що не уповільнює завантаження сайту.
- Простота: Встановлення через Docker Compose за 15 хвилин.
- Економія: Працює на мінімальних VPS-планах з 1-2 ГБ RAM.
- Сучасність: Підтримка PostgreSQL 18 та Node.js 24 в реаліях 2026 року.
1. Що ми налаштовуємо і навіщо
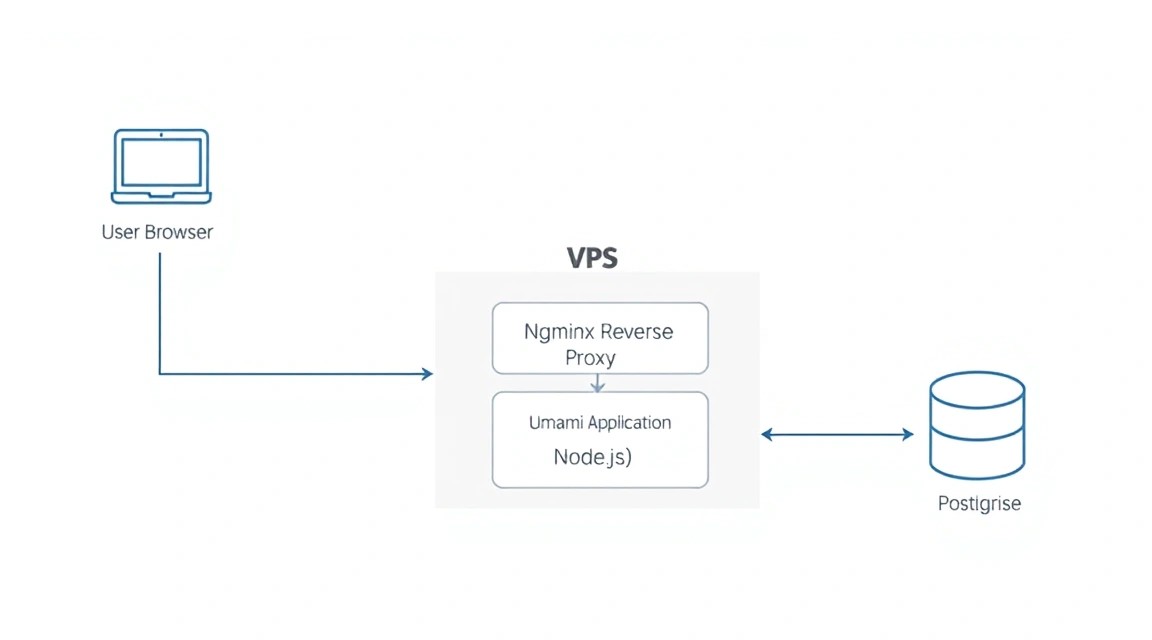
До 2026 року ландшафт веб-аналітики зазнав значних змін. Посилення законодавства про захист даних (GDPR в Європі, CCPA в США та аналогічні закони в інших регіонах) зробило використання Google Analytics 4 (GA4) складним і часто ризикованим процесом. Постійні сповіщення про файли cookie дратують користувачів та знижують конверсію. Саме тут на сцену виходить Umami Analytics.
Umami — це open-source рішення, яке збирає лише необхідні метрики (перегляди, джерела, пристрої, країни, події) без збору персонально ідентифікованої інформації (PII). Це дозволяє легально відмовитися від настирливих cookie-банерів, оскільки сервіс не відстежує користувачів між сайтами та не створює їхній цифровий профіль для рекламних мереж.
Що ви отримаєте в результаті:
- Власну панель аналітики на вашому домені (наприклад, stats.yourdomain.com).
- Повний контроль над базою даних — ніхто, крім вас, не має доступу до статистики.
- Високу швидкість роботи: Umami написаний на Next.js та оптимізований для швидкої обробки мільйонів подій.
- Можливість обходу блокувальників реклами (AdBlock), оскільки скрипт завантажується з вашого власного піддомену.
Вибір self-hosted рішення на базі VPS — це єдиний спосіб гарантувати 100% суверенітет даних. Хмарні версії Umami зручні, але вони знову повертають нас до питання довіри даних третій стороні. Власний сервер знімає це питання раз і назавжди.
2. Який VPS-конфіг потрібен для цього завдання
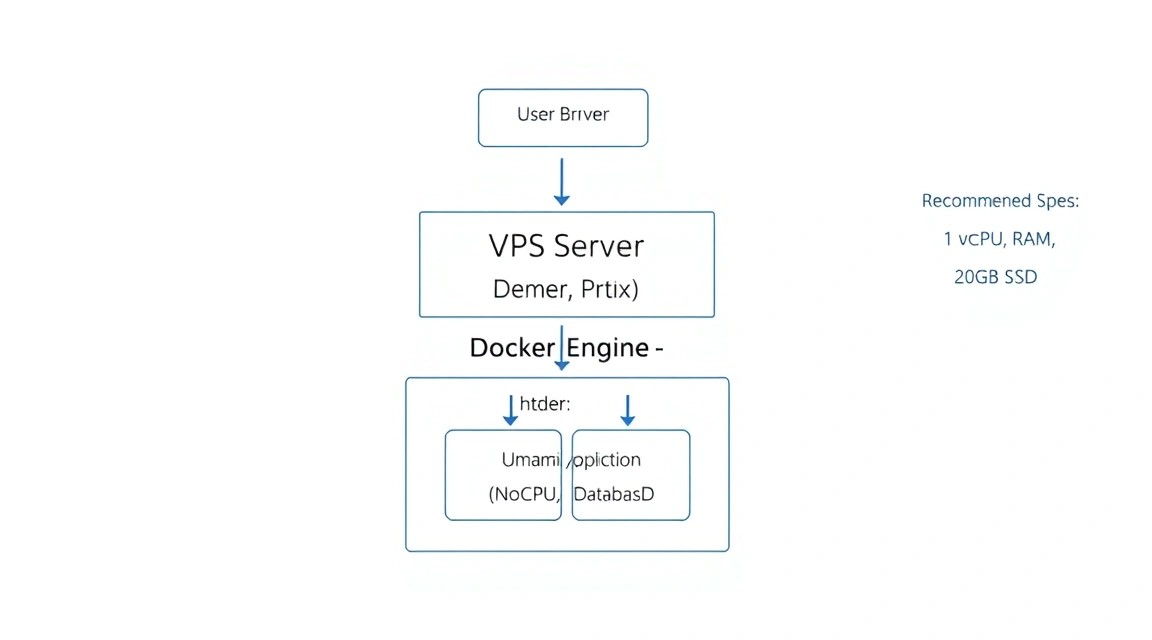
Umami Analytics вкрай невимогливий до ресурсів на початковому етапі, але його апетити зростають разом з обсягом трафіку на ваших проєктах. Основне навантаження лягає на базу даних PostgreSQL при виконанні аналітичних запитів за тривалі періоди.
| Параметр | Мінімальний (до 100 тис. хітів/міс) | Рекомендований (до 1 млн хітів/міс) | Enterprise (5 млн+ хітів/міс) |
|---|---|---|---|
| vCPU | 1 Core (Shared) | 2 Cores (Dedicated) | 4+ Cores |
| RAM | 1 GB | 2-4 GB | 8 GB+ |
| Диск (NVMe) | 10 GB | 40 GB | 100 GB+ |
| ОС | Ubuntu 24.04 / 26.04 | Ubuntu 26.04 LTS | Debian 13 / RHEL |
Для стабільної роботи системи, особливо якщо ви плануєте відстежувати кілька сайтів, найкраще взяти VPS з 2 ГБ оперативної пам'яті. Це забезпечить достатній кеш для PostgreSQL та запобіжить спрацьовуванню OOM Killer (Out of Memory) при генерації складних звітів.
Коли варто задуматися про Dedicated сервер? Якщо ваш трафік перевищує 10-15 мільйонів подій на місяць, або якщо ви використовуєте Umami як частину аналітичного хабу для десятків великих клієнтів. В інших випадках віртуалізації (KVM) більш ніж достатньо.
Локація: Обирайте локацію сервера максимально близько до вашої основної аудиторії. Незважаючи на те, що скрипт Umami асинхронний, швидка передача пакетів (low latency) зменшує ймовірність втрати даних при залишенні користувачем сторінки до завершення запиту аналітики.
3. Підготовка сервера
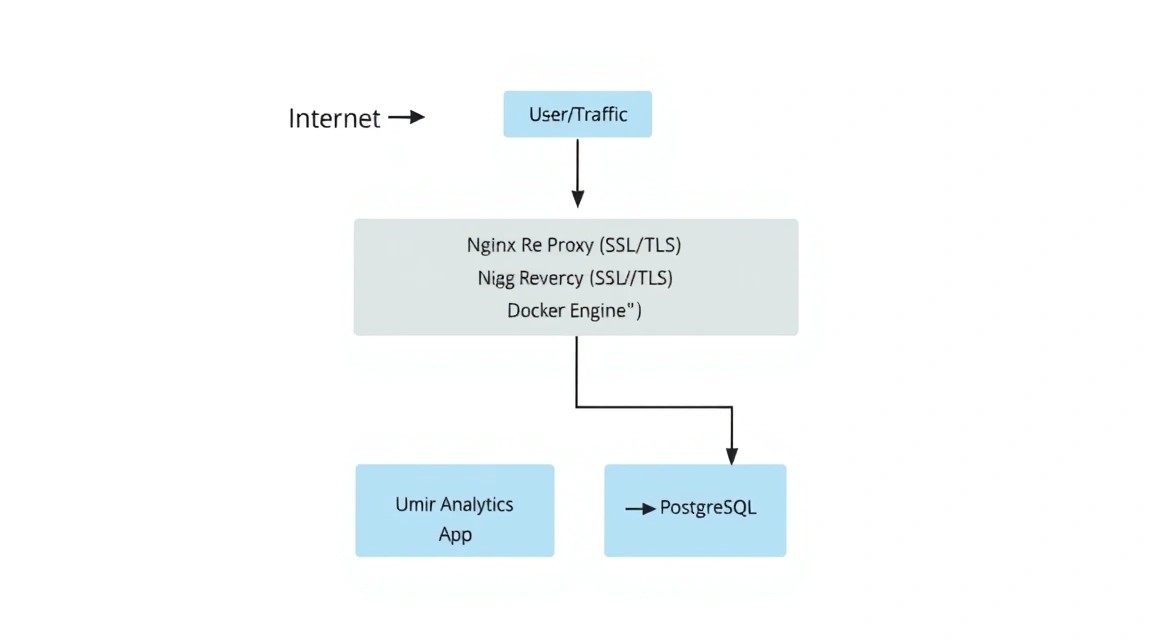
Перш ніж приступати до встановлення Umami, необхідно забезпечити безпеку та актуальність нашого середовища. Ми будемо використовувати Ubuntu 26.04 LTS (або актуальну на поточний момент 24.04).
Насамперед оновимо список пакетів та саму систему:
sudo apt update && sudo apt upgrade -yСтворимо окремого користувача з правами sudo, щоб не працювати під root:
# Створюємо користувача
adduser umamiadmin
# Додаємо до групи sudo
usermod -aG sudo umamiadmin
# Перемикаємося на користувача
su - umamiadmin
Налаштуємо базовий файрвол (UFW). Нам знадобляться порти 22 (SSH), 80 (HTTP) та 443 (HTTPS):
sudo ufw allow OpenSSH
sudo ufw allow 80/tcp
sudo ufw allow 443/tcp
sudo ufw enable
Для захисту від брутфорс-атак встановимо fail2ban:
sudo apt install fail2ban -yБазова конфігурація fail2ban вже захищає SSH "з коробки", що критично важливо для будь-якого публічного VPS.
4. Встановлення Docker та допоміжного ПЗ
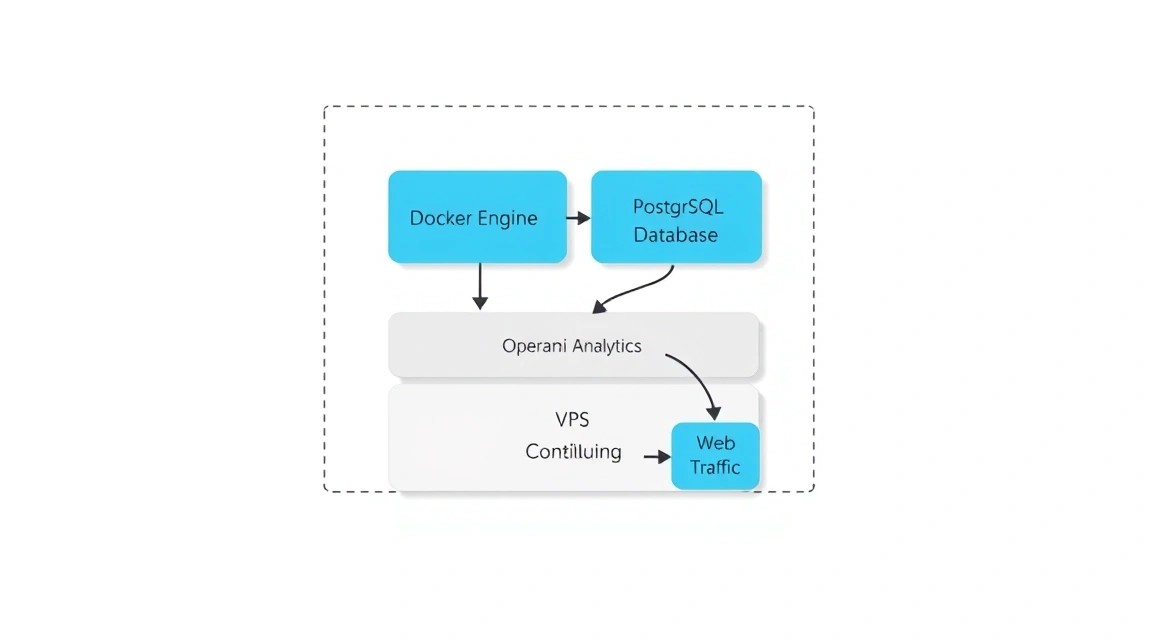
У 2026 році Docker залишається стандартом де-факто для розгортання self-hosted застосунків. Це ізолює залежності Umami від системних бібліотек та спрощує процес оновлення.
Встановимо необхідні пакети для роботи з репозиторіями через HTTPS:
sudo apt install ca-certificates curl gnupg lsb-release -yДодамо офіційний GPG-ключ Docker:
sudo mkdir -p /etc/apt/keyrings
curl -fsSL https://download.docker.com/linux/ubuntu/gpg | sudo gpg --dearmor -o /etc/apt/keyrings/docker.gpg
Підключимо репозиторій:
echo "deb [arch=$(dpkg --print-architecture) signed-by=/etc/apt/keyrings/docker.gpg] https://download.docker.com/linux/ubuntu $(lsb_release -cs) stable" | sudo tee /etc/apt/apt/sources.list.d/docker.list > /dev/null
Встановимо Docker Engine та Docker Compose:
sudo apt update && sudo apt install docker-ce docker-ce-cli containerd.io docker-compose-plugin -yДодамо нашого користувача до групи docker, щоб запускати контейнери без sudo:
sudo usermod -aG docker $USERУвага: Щоб зміни набули чинності, потрібно вийти із системи та зайти знову (logout/login).
5. Розгортання Umami Analytics через Docker Compose
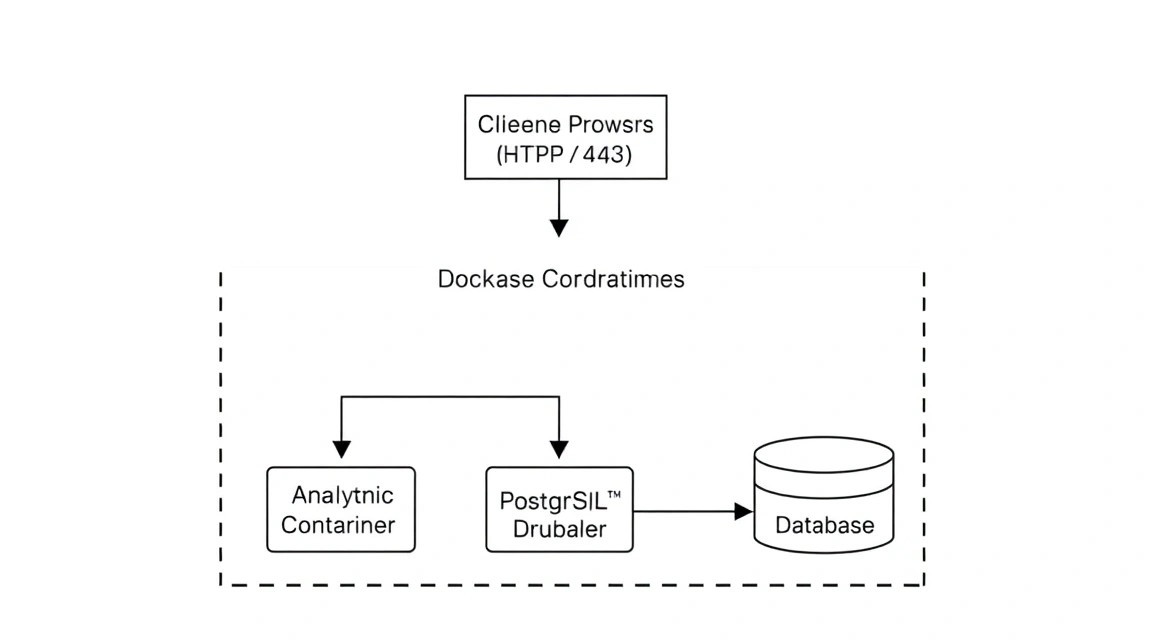
Ми будемо використовувати офіційний образ Umami та базу даних PostgreSQL 18. Це найбільш стабільна та продуктивна зв'язка.
Створимо робочу директорію:
mkdir ~/umami && cd ~/umamiСтворимо файл docker-compose.yml. Ми будемо використовувати сучасний синтаксис:
nano docker-compose.ymlВставте наступний вміст:
services:
  umami:
    image: ghcr.io/umami-software/umami:postgresql-latest
    restart: always
    environment:
      DATABASE_URL: postgresql://umami_user:strong_password@db:5432/umami_db
      APP_SECRET: $(openssl rand -base64 32)
    ports:
      - "3000:3000"
    depends_on:
      db:
        condition: service_healthy
    networks:
      - umami-net

  db:
    image: postgres:18-alpine
    restart: always
    environment:
      POSTGRES_USER: umami_user
      POSTGRES_PASSWORD: strong_password
      POSTGRES_DB: umami_db
    volumes:
      - ./sql_data:/var/lib/postgresql/data
    healthcheck:
      test: ["CMD-SHELL", "pg_isready -U umami_user -d umami_db"]
      interval: 5s
      timeout: 5s
      retries: 5
    networks:
      - umami-net

networks:
  umami-net:
    driver: bridge
Важливо: Замініть strong_password на дійсно складний пароль. Параметр APP_SECRET використовується для шифрування сесій — ви можете згенерувати його командою openssl rand -base64 32 та вставити вручну замість змінної.
Тепер запустимо нашу інфраструктуру:
docker compose up -dПеревіримо статус контейнерів:
docker compose psЯкщо в колонці STATUS вказано "Up (healthy)", значить база даних готова, а застосунок запущено на порту 3000.
6. Налаштування Reverse Proxy (Nginx) та SSL (Certbot)
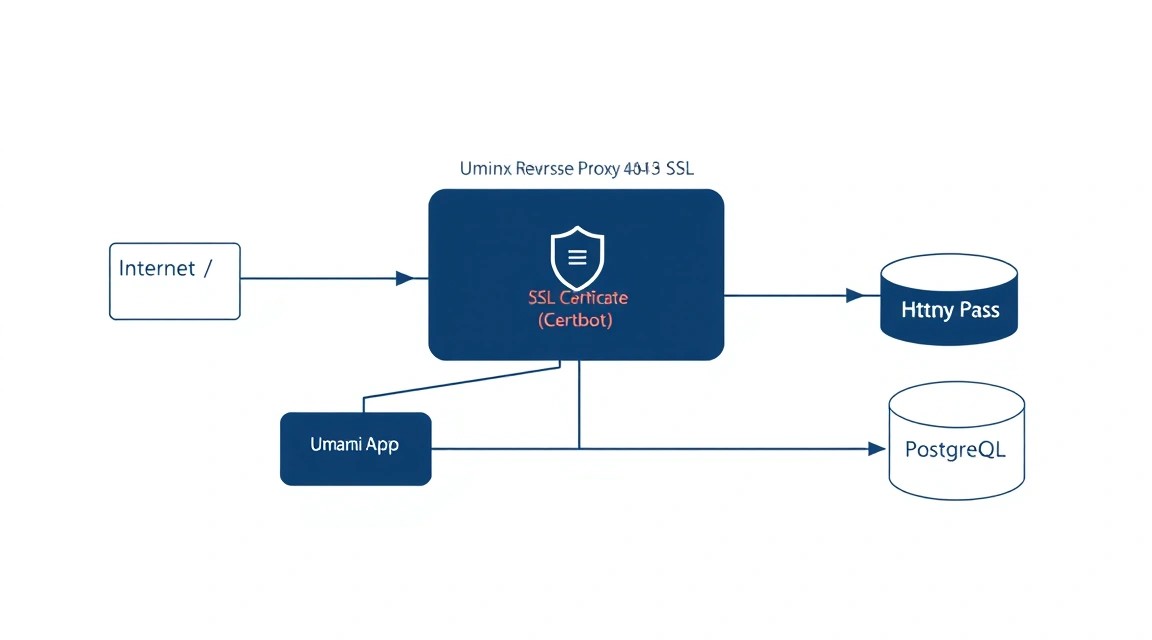
Запускати Umami безпосередньо на порту 3000 у відкритий інтернет — погана практика. Нам потрібен Nginx як зворотний проксі для обробки SSL-сертифікатів та забезпечення безпеки.
Встановимо Nginx:
sudo apt install nginx -yСтворимо конфігураційний файл для нашого домену (наприклад, stats.example.com):
sudo nano /etc/nginx/sites-available/umamiДодайте наступну конфігурацію:
server {
    listen 80;
    server_name stats.example.com; # Замените на ваш домен

    location / {
        proxy_pass http://localhost:3000;
        proxy_set_header Host $host;
        proxy_set_header X-Real-IP $remote_addr;
        proxy_set_header X-Forwarded-For $proxy_add_x_forwarded_for;
        proxy_set_header X-Forwarded-Proto $scheme;
    }
}
Активуємо конфіг та перезапустимо Nginx:
sudo ln -s /etc/nginx/sites-available/umami /etc/nginx/sites-enabled/
sudo nginx -t
sudo systemctl restart nginx
Тепер захистимо з'єднання за допомогою Let's Encrypt:
sudo apt install certbot python3-certbot-nginx -y
sudo certbot --nginx -d stats.example.com
Certbot автоматично змінить конфігурацію Nginx, додасть SSL-сертифікати та налаштує редирект з HTTP на HTTPS.
7. Тонке налаштування та інтеграція трекера
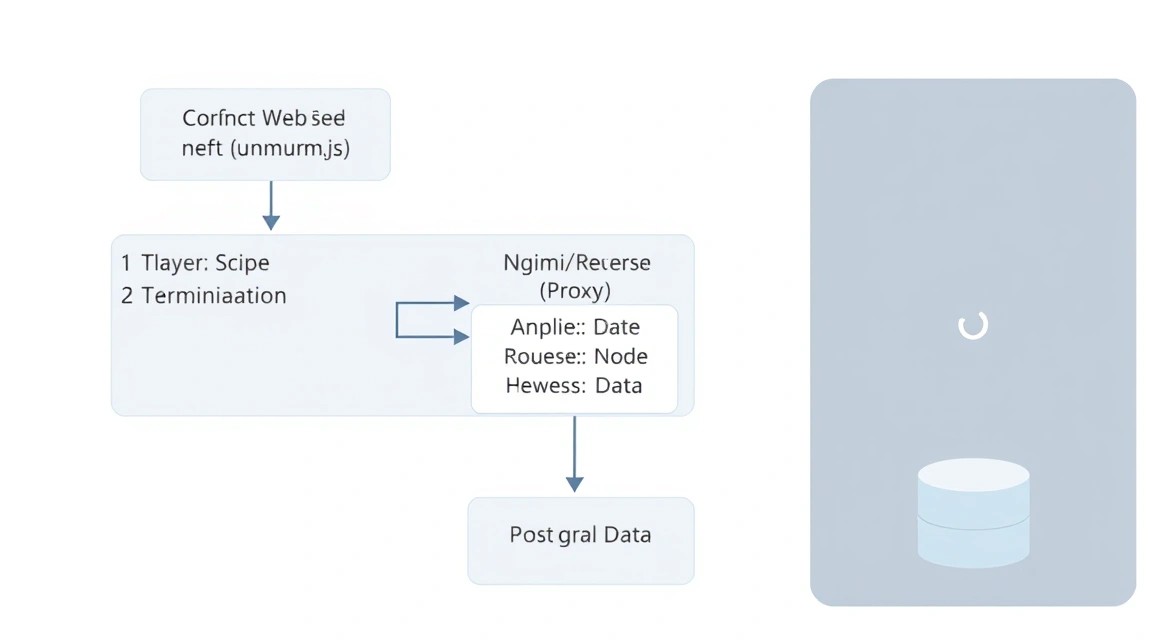
Після встановлення перейдіть за адресою https://stats.example.com. Дані для першого входу за замовчуванням:
- Ім'я користувача: admin
- Пароль: umami
Насамперед змініть пароль адміністратора в налаштуваннях профілю!
Додавання сайту
- Перейдіть до розділу Settings -> Websites.
- Натисніть Add Website.
- Введіть назву та домен вашого сайту.
- Натисніть Save.
Після збереження ви побачите кнопку Get tracking code. Код виглядатиме приблизно так:
<script async src="https://stats.example.com/script.js" data-website-id="your-unique-id"></script>
Цей скрипт потрібно вставити в секцію <head> вашого сайту. Зверніть увагу на атрибут async — він гарантує, що завантаження аналітики не блокуватиме відображення основного контенту сторінки.
Обхід блокувальників (Pro-tip)
Багато блокувальників реклами шукають слово "script.js" або запити до доменів зі словом "stats". У налаштуваннях Umami в Docker Compose можна змінити ім'я скрипта через змінну оточення:
TRACKER_SCRIPT_NAME: custom-analyticsПісля цього ваш скрипт буде доступний за адресою /custom-analytics.js, що значно підвищить точність збору даних серед технічно підкованої аудиторії.
8. Резервне копіювання та обслуговування
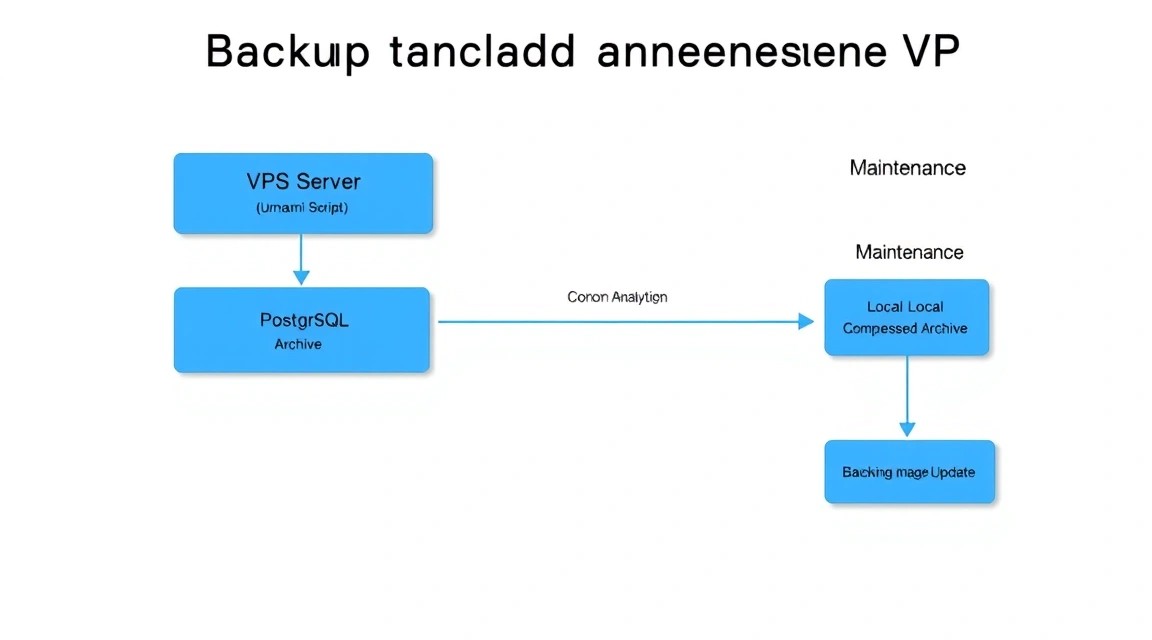
Дані аналітики накопичуються, і їх втрата може бути болючою. Найважливіший елемент для резервного копіювання — база даних PostgreSQL.
Створимо простий скрипт для щоденного резервного копіювання:
mkdir ~/backups && nano ~/backups/backup.sh
#!/bin/bash
# Налаштування
BACKUP_DIR="$HOME/backups/data"
TIMESTAMP=$(date +"%Y%m%d_%H%M%S")
CONTAINER_NAME="umami-db-1" # Проверьте имя через docker ps
DB_USER="umami_user"
DB_NAME="umami_db"

# Створюємо теку, якщо її немає
mkdir -p $BACKUP_DIR

# Робимо дамп
docker exec $CONTAINER_NAME pg_dump -U $DB_USER $DB_NAME > $BACKUP_DIR/umami_backup_$TIMESTAMP.sql

# Видаляємо резервні копії, старші за 30 днів
find $BACKUP_DIR -type f -mtime +30 -name ".sql" -delete
Зробіть скрипт виконуваним і додайте його в crontab:
chmod +x ~/backups/backup.sh
crontab -e
# Додайте рядок для запуску о 3 годині ночі щодня:
0 3    /home/umamiadmin/backups/backup.sh
Оновлення Umami: Завдяки Docker, оновлення до останньої версії відбувається в три команди:
cd ~/umami
docker compose pull
docker compose up -d
Umami автоматично виконає міграції бази даних при запуску нової версії.
9. Усунення несправностей + FAQ
Помилка "Database connection failed" під час запуску
Найчастіше це відбувається, коли контейнер з Umami намагається підключитися до бази даних до того, як PostgreSQL повністю ініціалізувався. У нашому docker-compose.yml ми додали healthcheck, який вирішує цю проблему. Якщо помилка зберігається, перевірте правильність DATABASE_URL та відповідність паролів в обох сервісах.
Скрипт аналітики не завантажується (404 Not Found)
Перевірте налаштування Nginx. Переконайтеся, що proxy_pass вказує на правильний порт (3000). Також переконайтеся, що ви не використовуєте Cloudflare в режимі "Under Attack Mode", який може блокувати JS-запити до нових піддоменів.
Який VPS-конфіг мінімально підійде?
Для невеликого блогу з відвідуваністю до 500 осіб на день достатньо 1 vCPU та 1 GB RAM. Однак для комфортної роботи панелі керування (dashboard), яка будує графіки "на льоту", ми рекомендуємо 2 GB RAM. Це дозволить базі даних PostgreSQL тримати індекси в пам'яті.
Що обрати — VPS чи dedicated для цього завдання?
У 95% випадків VPS — найкращий вибір. Він дозволяє легко масштабувати ресурси (CPU/RAM) у міру зростання вашого проєкту. Виділений сервер (dedicated) має сенс лише якщо ви агрегуєте дані сотень високонавантажених сайтів і стикаєтеся з продуктивністю дискової підсистеми (I/O) або якщо вам потрібні специфічні налаштування безпеки на рівні обладнання.
Як перенести дані з Google Analytics?
На поточний момент прямий імпорт історії з GA4 в Umami ускладнений через різну структуру даних. Більшість користувачів починають збір "з чистого аркуша", паралельно запускаючи обидва лічильники на перехідний період в 1-2 місяці.
Чи впливає Umami на SEO?
Так, позитивно. Оскільки скрипт Umami важить у 20-30 разів менше, ніж важкий бандл Google Analytics, показники Core Web Vitals (особливо LCP та TBT) покращуються. Швидкі сайти ранжуються вище.
10. Висновки та наступні кроки
Ми успішно розгорнули власну систему аналітики, яка повністю належить вам. Ви більше не залежите від примх корпорацій, не боїтеся блокувань облікових записів та забезпечуєте своїм користувачам максимальний рівень приватності.
Що робити далі:
- Налаштуйте події (Events): В Umami можна відстежувати кліки по кнопках, відправлення форм та завантаження файлів. Це робиться через прості
data-umami-eventатрибути в HTML. - Налаштуйте сповіщення: Інтегруйте сповіщення (через кастомні скрипти), якщо трафік на сайті різко впав або зріс.
- Оптимізуйте PostgreSQL: При досягненні мільйонів записів варто вивчити тюнінг параметрів
shared_buffersтаwork_memу конфігурації БД для прискорення важких звітів.
Self-hosting — це шлях до свободи в цифровому просторі. Маючи правильно налаштований VPS та сучасне ПЗ на кшталт Umami, ви створюєте надійний фундамент для своїх проєктів.