
Встановлення та налаштування LibreNMS на VPS для моніторингу мережевої інфраструктури
TL;DR
У цьому докладному посібнику ми крок за кроком налаштуємо LibreNMS на сучасному VPS під керуванням Ubuntu 24.04 LTS, щоб ви могли ефективно моніторити продуктивність та стан вашої мережевої інфраструктури, серверів та застосунків. Ви отримаєте повністю функціонуючу систему моніторингу, здатну збирати дані за допомогою SNMP, ICMP та інших протоколів, візуалізувати їх та сповіщати про проблеми.
- Повне встановлення LibreNMS з нуля на Ubuntu 24.04 LTS.
- Налаштування веб-сервера Nginx, PHP-FPM та бази даних MariaDB.
- Забезпечення безпеки сервера за допомогою UFW та Fail2ban.
- Конфігурація TLS/HTTPS для захищеного доступу до веб-інтерфейсу.
- Рекомендації щодо резервного копіювання та обслуговування системи.
- Детальний розділ щодо усунення типових проблем.
Що ми налаштовуємо і навіщо
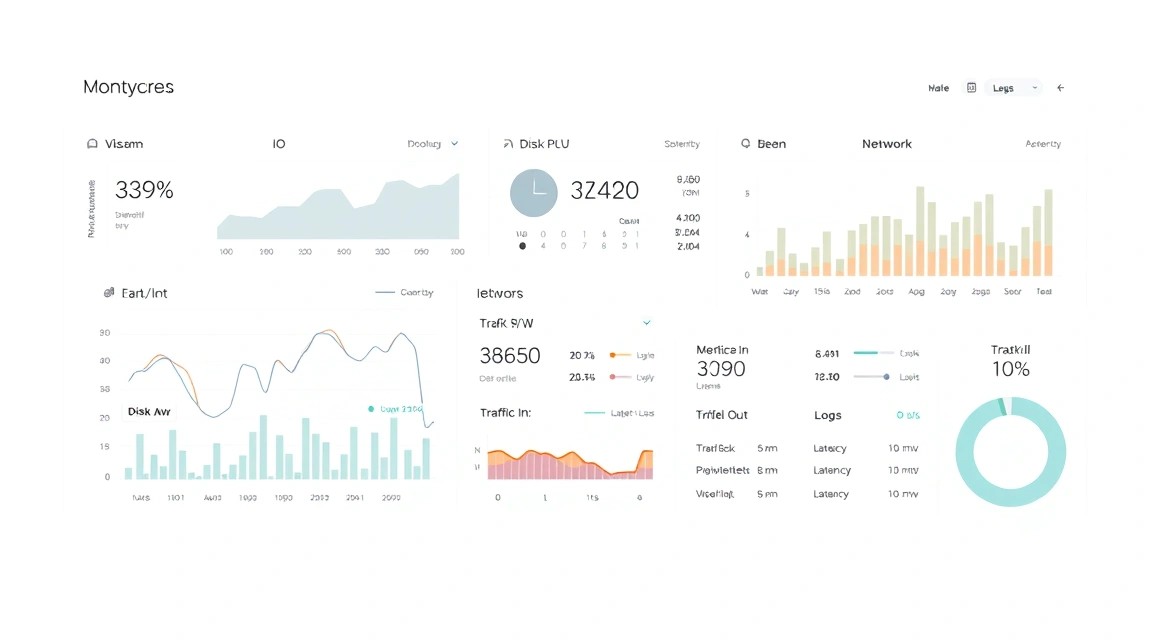
Моніторинг мережевої інфраструктури є критично важливим завданням для будь-якого власника сервера, розробника або системного адміністратора. Він дозволяє своєчасно виявляти проблеми, аналізувати продуктивність, планувати масштабування та запобігати простоям. Сьогодні ми будемо встановлювати та налаштовувати LibreNMS – потужну, відкриту та повністю безкоштовну систему моніторингу, засновану на PHP/MySQL/SNMP. Вона надає широкий спектр функцій для збору, аналізу та візуалізації даних про стан серверів, мережевих пристроїв, застосунків та сервісів.
У підсумку ви отримаєте централізовану панель, яка відображатиме графіки завантаження CPU, використання пам'яті, трафіку, стану дисків, температур та багатьох інших метрик для всіх ваших пристроїв. Ви зможете налаштувати сповіщення про перевищення порогових значень або недоступність сервісів, отримуючи повідомлення електронною поштою, Slack, Telegram або іншими каналами. Це дозволить вам оперативно реагувати на інциденти та підтримувати стабільність вашої інфраструктури.
Існують різні альтернативи LibreNMS, кожна зі своїми особливостями. Серед популярних рішень можна виділити Zabbix (складніший у налаштуванні, але дуже гнучкий), Prometheus + Grafana (потужний стек для метрик, але вимагає окремого налаштування експортерів), Observium (комерційний продукт з обмеженою безкоштовною версією) або хмарні рішення, такі як Datadog, New Relic, Grafana Cloud. Однак, хмарні сервіси часто дорогі та надають менше контролю над даними, а також можуть не підходити для моніторингу приватних мереж без додаткового налаштування VPN. Самостійне встановлення LibreNMS на VPS дає повний контроль над даними, економить бюджет та дозволяє адаптувати систему під унікальні вимоги вашої інфраструктури, забезпечуючи при цьому високу продуктивність та гнучкість.
Який VPS-конфіг потрібен для цього завдання
Вибір відповідного VPS для LibreNMS залежить від кількості пристроїв, які ви плануєте моніторити, та частоти збору даних. LibreNMS може бути досить ресурсоємним, особливо якщо у вас багато пристроїв і ви зберігаєте дані за тривалий період.
Мінімальні вимоги (для 5-10 пристроїв):
- CPU: 2 ядра (наприклад, Intel Xeon E5 або аналогічний).
- RAM: 4 ГБ. LibreNMS, PHP-FPM, Nginx та MariaDB споживають значний обсяг пам'яті.
- Диск: 100 ГБ SSD. SSD критично важливий для продуктивності бази даних та RRD-файлів (Round Robin Database), де зберігаються графіки.
- Мережа: 100 Мбіт/с. Для моніторингу зазвичай достатньо, якщо ваш VPS не є центральним вузлом для величезної кількості даних.
Рекомендований VPS-план (для 20-50 пристроїв):
Для більш серйозного використання, що включає моніторинг кількох десятків пристроїв та зберігання історії за кілька місяців, рекомендується наступна конфігурація:
- CPU: 4 ядра (наприклад, Intel Xeon Gold або AMD EPYC).
- RAM: 8 ГБ.
- Диск: 200-300 ГБ NVMe SSD. NVMe забезпечить максимальну швидкість для операцій з диском.
- Мережа: 1 Гбіт/с.
Ви можете розглянути VPS із зазначеними характеристиками для розміщення вашого інстансу LibreNMS. Переконайтеся, що обраний тарифний план пропонує достатній обсяг пам'яті та швидке дискове введення/виведення.
Коли потрібен dedicated, а не VPS
Якщо ви плануєте моніторити сотні або тисячі пристроїв, зберігати дані роками, або якщо вам потрібна дуже висока продуктивність та ізольовані ресурси, то варто розглянути виділений сервер (dedicated server). Dedicated сервери надають повну потужність фізичного обладнання без віртуалізації, що ідеально підходить для навантажених баз даних та інтенсивних операцій введення-виведення. У цьому випадку, ви можете вибрати відповідний dedicated, щоб забезпечити необхідний рівень продуктивності та масштабованості.
Локація: на що впливає
Вибір локації VPS важливий для мінімізації затримок (latency) при зборі даних. Розміщуйте LibreNMS в тому ж регіоні або максимально близько до пристроїв, які ви плануєте моніторити. Це зменшить час відгуку SNMP-запитів та забезпечить більш точні та своєчасні дані.
Підготовка сервера
Перед встановленням LibreNMS необхідно підготувати ваш VPS. Ми будемо використовувати Ubuntu Server 24.04 LTS як операційну систему, оскільки вона актуальна та підтримується до 2029 року.
1. Підключення до сервера
Підключіться до вашого VPS за допомогою SSH, використовуючи облікові дані, надані вашим провайдером. Рекомендується використовувати SSH-ключі для більшої безпеки.
ssh root@your_vps_ip_address
2. Створення нового користувача з правами sudo
Працювати під root небезпечно. Створимо нового користувача та додамо його до групи sudo.
adduser librenms_admin # Створюємо нового користувача
usermod -aG sudo librenms_admin # Додаємо його до групи sudo
Тепер вийдіть з root та увійдіть під новим користувачем:
exit
ssh librenms_admin@your_vps_ip_address
3. Оновлення системи та встановлення базових утиліт
Оновимо список пакетів та всі встановлені пакети, а також встановимо необхідні утиліти.
sudo apt update && sudo apt upgrade -y # Оновлюємо список пакетів та систему
sudo apt install -y curl wget git vim htop screen unzip # Встановлюємо базові утиліти
4. Налаштування брандмауера (UFW)
UFW (Uncomplicated Firewall) – це простий у використанні інтерфейс для iptables. Налаштуємо його, щоб дозволити лише необхідні порти.
sudo ufw allow OpenSSH # Дозволяємо SSH (порт 22)
sudo ufw allow http # Дозволяємо HTTP (порт 80)
sudo ufw allow https # Дозволяємо HTTPS (порт 443)
sudo ufw allow 161/udp # Дозволяємо SNMP (порт 161 UDP) - для прийому SNMP-трапів
sudo ufw enable # Вмикаємо брандмауер
sudo ufw status # Перевіряємо статус брандмауера
Вивід sudo ufw status має показати дозволені порти.
5. Встановлення Fail2ban
Fail2ban допомагає захистити ваш сервер від атак методом підбору пароля, блокуючи IP-адреси, з яких були помічені багаторазові невдалі спроби входу.
sudo apt install -y fail2ban # Встановлюємо Fail2ban
sudo systemctl enable fail2ban # Вмикаємо автозапуск Fail2ban
sudo systemctl start fail2ban # Запускаємо Fail2ban
Fail2ban за замовчуванням вже налаштований для захисту SSH. Ви можете створити файл конфігурації /etc/fail2ban/jail.local для більш тонкого налаштування, але для початку це не обов'язково.
Встановлення ПЗ — покроково
Встановлення ПЗ — покроково
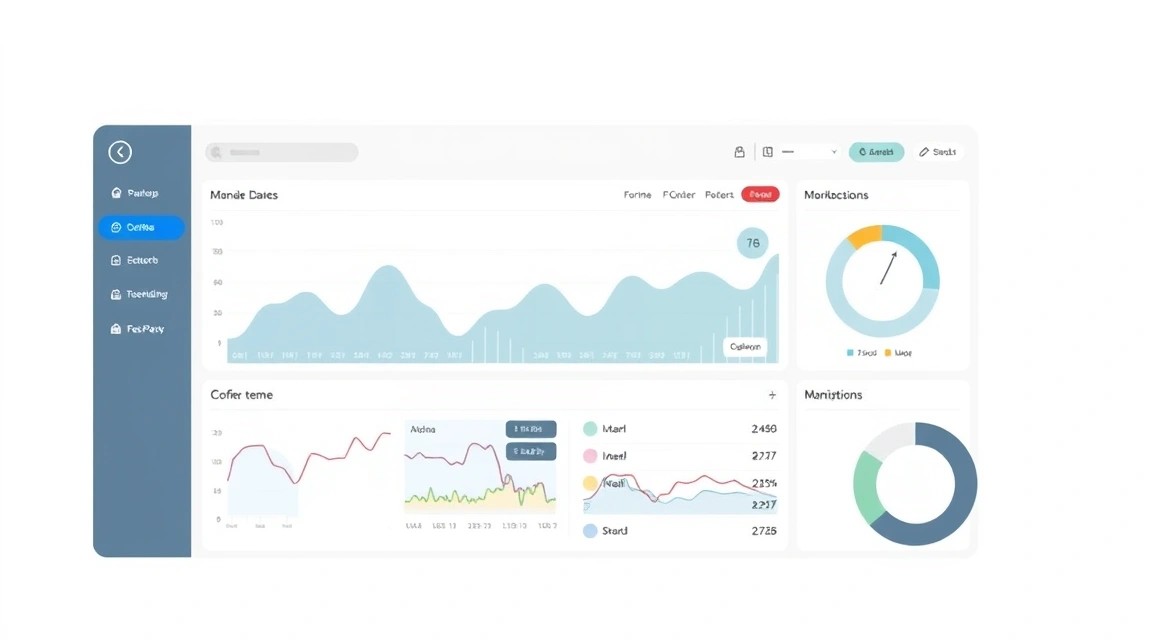
Тепер приступимо до встановлення всіх необхідних компонентів для LibreNMS. Ми будемо використовувати Nginx як веб-сервер, PHP-FPM для обробки PHP-скриптів та MariaDB для бази даних.
1. Встановлення Nginx
Nginx – це високопродуктивний веб-сервер, який чудово підходить для статичного контенту та роботи з PHP-FPM.
sudo apt install -y nginx # Встановлюємо Nginx
sudo systemctl enable nginx # Вмикаємо автозапуск Nginx
sudo systemctl start nginx # Запускаємо Nginx
Перевірити, що Nginx працює, можна, перейшовши за IP-адресою вашого VPS у браузері. Ви повинні побачити сторінку привітання Nginx.
2. Встановлення MariaDB
MariaDB – це форк MySQL, повністю сумісний з ним і часто пропонує кращу продуктивність.
sudo apt install -y mariadb-server mariadb-client # Встановлюємо MariaDB сервер та клієнт
sudo systemctl enable mariadb # Вмикаємо автозапуск MariaDB
sudo systemctl start mariadb # Запускаємо MariaDB
sudo mysql_secure_installation # Запускаємо скрипт для захисту MariaDB
Під час виконання mysql_secure_installation вам буде запропоновано встановити пароль для користувача root бази даних, видалити анонімних користувачів, заборонити віддалений вхід root та видалити тестову базу даних. Рекомендується відповісти "Y" на всі питання.
3. Встановлення PHP та PHP-FPM
LibreNMS вимагає PHP. Для 2026 року актуальною буде PHP 8.2 або 8.3 (або навіть новіша). Ubuntu 24.04 LTS зазвичай постачається з PHP 8.3.
sudo apt install -y php8.3-cli php8.3-fpm php8.3-mysql php8.3-gd php8.3-snmp php8.3-curl php8.3-xml php8.3-zip php8.3-mbstring php8.3-json php8.3-gmp php8.3-pear php8.3-bcmath php8.3-memcached php8.3-imagick php8.3-ssh2 php8.3-redis # Встановлюємо PHP-FPM та необхідні розширення
sudo systemctl enable php8.3-fpm # Вмикаємо автозапуск PHP-FPM
sudo systemctl start php8.3-fpm # Запускаємо PHP-FPM
Необхідно також встановити деякі системні пакети, які LibreNMS використовує для збору даних та обробки графіків.
sudo apt install -y snmp snmpd rrdtool fping imagemagick whois mtr-tiny nmap python3-pymysql python3-memcache python3-dotenv # Встановлюємо додаткові утиліти
4. Налаштування PHP для LibreNMS
Відредагуємо файл конфігурації PHP-FPM, щоб збільшити ліміти пам'яті та часу виконання, що необхідно для LibreNMS.
sudo vim /etc/php/8.3/fpm/php.ini # Відкриваємо файл конфігурації PHP-FPM
Знайдіть наступні рядки та змініть їх значення:
memory_limit = 256M
max_execution_time = 300
date.timezone = Europe/Moscow ; або ваш часовий пояс
Збережіть зміни та перезапустіть PHP-FPM:
sudo systemctl restart php8.3-fpm
5. Встановлення Composer
Composer – це менеджер залежностей для PHP, який використовується LibreNMS для встановлення компонентів.
curl -sS https://getcomposer.org/installer | sudo php -- --install-dir=/usr/local/bin --filename=composer # Завантажуємо та встановлюємо Composer
6. Створення користувача LibreNMS та клонування репозиторію
Створимо окремого системного користувача для LibreNMS без можливості входу по SSH та завантажимо вихідний код.
sudo useradd -r -M -d /opt/librenms librenms # Створюємо системного користувача librenms
sudo usermod -a -G librenms www-data # Додаємо користувача librenms до групи www-data (для Nginx)
sudo mkdir /opt/librenms # Створюємо директорію для LibreNMS
sudo chown librenms:librenms /opt/librenms # Встановлюємо власника директорії
sudo chmod 775 /opt/librenms # Встановлюємо права на директорію
sudo su - librenms # Перемикаємося на користувача librenms
git clone https://github.com/librenms/librenms.git /opt/librenms # Клонуємо репозиторій LibreNMS
exit # Повертаємося до нашого користувача sudo
7. Встановлення залежностей LibreNMS
Переходимо до директорії LibreNMS та встановлюємо всі залежності за допомогою Composer.
sudo su - librenms # Перемикаємося на користувача librenms
cd /opt/librenms # Переходимо до директорії LibreNMS
composer install --no-dev --optimize-autoloader # Встановлюємо залежності
exit # Повертаємося до нашого користувача sudo
8. Налаштування прав доступу до файлів LibreNMS
Необхідно встановити правильні права доступу для деяких директорій, щоб LibreNMS міг записувати дані.
sudo chown -R librenms:librenms /opt/librenms # Встановлюємо власника на всю директорію
sudo setfacl -R -m g:www-data:rwX /opt/librenms/rrd /opt/librenms/logs /opt/librenms/bootstrap/cache/ /opt/librenms/storage/ # Встановлюємо права ACL для веб-сервера
sudo setfacl -R -m o::--- /opt/librenms/rrd /opt/librenms/logs /opt/librenms/bootstrap/cache/ /opt/librenms/storage/ # Забороняємо доступ іншим
Конфігурація
Після встановлення всіх компонентів, необхідно їх правильно сконфігурувати.
1. Налаштування бази даних MariaDB
Створимо базу даних та користувача для LibreNMS.
sudo mysql -u root -p # Підключаємося до MariaDB від імені root (потребуватиме пароль, який ви встановили раніше)
Всередині консолі MariaDB виконайте наступні команди, замінивши your_db_password на надійний пароль:
CREATE DATABASE librenms CHARACTER SET utf8mb4 COLLATE utf8mb4_unicode_ci;
CREATE USER 'librenms'@'localhost' IDENTIFIED BY 'your_db_password';
GRANT ALL PRIVILEGES ON librenms. TO 'librenms'@'localhost';
FLUSH PRIVILEGES;
EXIT;
2. Налаштування Nginx для LibreNMS
Створимо файл конфігурації Nginx для LibreNMS. Видалимо конфігурацію за замовчуванням та створимо нову.
sudo rm /etc/nginx/sites-enabled/default # Видаляємо дефолтний конфіг
sudo vim /etc/nginx/sites-available/librenms.conf # Створюємо новий конфіг
Вставте наступний вміст у файл librenms.conf. Замініть your_domain_or_ip на ваш домен або IP-адресу VPS.
server {
    listen 80;
    server_name your_domain_or_ip;
    root /opt/librenms/html;
    index index.php;

    charset utf-8;
    gzip on;
    gzip_types text/css application/javascript text/xml application/xml application/xml+rss text/javascript;

    location / {
        try_files $uri $uri/ /index.php?$query_string;
    }

    location ~ \.php$ {
        fastcgi_pass unix:/var/run/php/php8.3-fpm.sock;
        fastcgi_index index.php;
        fastcgi_param SCRIPT_FILENAME $document_root$fastcgi_script_name;
        include fastcgi_params;
    }

    location ~ /\.ht {
        deny all;
    }

    location ~ /.env {
        deny all;
    }

    location /images/os {
        deny all;
    }

    # Enable for LibreNMS API
    location /api {
        try_files $uri $uri/ /api_v2.php?$query_string;
    }
}
Збережіть файл, створіть символічне посилання та перевірте конфігурацію Nginx, потім перезапустіть його.
sudo ln -s /etc/nginx/sites-available/librenms.conf /etc/nginx/sites-enabled/ # Створюємо симлінк
sudo nginx -t # Перевіряємо конфігурацію Nginx на помилки
sudo systemctl reload nginx # Перезапускаємо Nginx
3. Базова конфігурація LibreNMS
LibreNMS використовує файл config.php для основних налаштувань. Створимо його з прикладу.
sudo cp /opt/librenms/config.php.default /opt/librenms/config.php # Копіюємо шаблон конфігу
sudo vim /opt/librenms/config.php # Відкриваємо для редагування
Знайдіть та відредагуйте наступні рядки, замінивши значення на свої:
// Database config
$config['db_host'] = 'localhost';
$config['db_user'] = 'librenms';
$config['db_pass'] = 'your_db_password'; // Пароль, який ви задали для користувача librenms
$config['db_name'] = 'librenms';

// Other settings
$config['snmp']['community'][] = 'public'; // Додайте ваші SNMP community рядки
$config['rrd_dir'] = '/opt/librenms/rrd'; // Директорія для RRD файлів
$config['log_dir'] = '/opt/librenms/logs'; // Директорія для логів
$config['timezone'] = 'Europe/Moscow'; // Ваш часовий пояс
Збережіть зміни. Переконайтеся, що часовий пояс у config.php збігається з часовим поясом у php.ini.
4. Налаштування Cron-завдань
LibreNMS використовує cron-завдання для регулярного опитування пристроїв, обробки даних та виконання інших фонових завдань.
sudo cp /opt/librenms/librenms.nonroot.cron /etc/cron.d/librenms # Копіюємо cron-файл
sudo vim /etc/cron.d/librenms # Відкриваємо для редагування
Переконайтеся, що всі рядки починаються з librenms, як користувач, від якого виконуватимуться завдання.
# /etc/cron.d/librenms: crontab entries for librenms

# Update LibreNMS every 5 minutes
/5     librenms /opt/librenms/discovery.php -h all >> /dev/null 2>&1
/5     librenms /opt/librenms/poller-wrapper.py 16 >> /dev/null 2>&1

# Daily maintenance tasks
15 0    librenms /opt/librenms/daily.sh >> /dev/null 2>&1

# Housekeeping
0 /6    librenms /opt/librenms/cronic /opt/librenms/db-schema-validate.php >> /dev/null 2>&1
Збережіть файл.
5. Налаштування SNMP Daemon (snmpd)
На VPS, де встановлено LibreNMS, також корисно налаштувати snmpd, щоб сам сервер LibreNMS міг бути моніторингом як звичайний пристрій.
sudo vim /etc/snmp/snmpd.conf # Відкриваємо файл конфігурації snmpd
Закоментуйте або видаліть рядок agentAddress udp:127.0.0.1:161 та додайте agentAddress udp:161,udp6:[::1]:161 для прослуховування всіх інтерфейсів.
Знайдіть рядок rocommunity public default -V systemonly та змініть його на щось на кшталт:
rocommunity your_snmp_community_string default -V systemonly
Замініть your_snmp_community_string на вашу надійну community-рядок. Також додайте наступний рядок, щоб snmpd міг отримувати інформацію про диски та інші метрики:
disk /
Збережіть зміни та перезапустіть snmpd:
sudo systemctl restart snmpd
6. Встановлення TLS/HTTPS з Certbot
Для безпечного доступу до веб-інтерфейсу LibreNMS необхідно налаштувати HTTPS. Використовуємо Certbot для отримання та автоматичного оновлення SSL-сертифікатів Let's Encrypt.
sudo apt install -y certbot python3-certbot-nginx # Встановлюємо Certbot та плагін для Nginx
sudo certbot --nginx -d your_domain_or_ip # Запускаємо Certbot для отримання сертифіката
Дотримуйтесь інструкцій Certbot. Він автоматично змінить конфігурацію Nginx, додасть необхідні записи для HTTPS та налаштує автоматичне оновлення сертифікатів.
7. Перевірка працездатності
Після всіх налаштувань, відкрийте ваш домен або IP-адресу в браузері (тепер вже за HTTPS). Ви повинні побачити сторінку встановлення LibreNMS.
- Крок 1: Перейдіть на
https://your_domain_or_ip. - Крок 2: Дотримуйтесь інструкцій веб-інсталятора LibreNMS. Він перевірить усі залежності. Якщо є попередження, переконайтеся, що ви правильно виконали всі попередні кроки.
- Крок 3: Створіть першого адміністративного користувача.
- Крок 4: Після завершення встановлення ви потрапите до панелі LibreNMS.
Тепер ви можете додати ваш VPS з LibreNMS як пристрій для моніторингу, використовуючи community-рядок, який ви налаштували в /etc/snmp/snmpd.conf.
Резервне копіювання та обслуговування
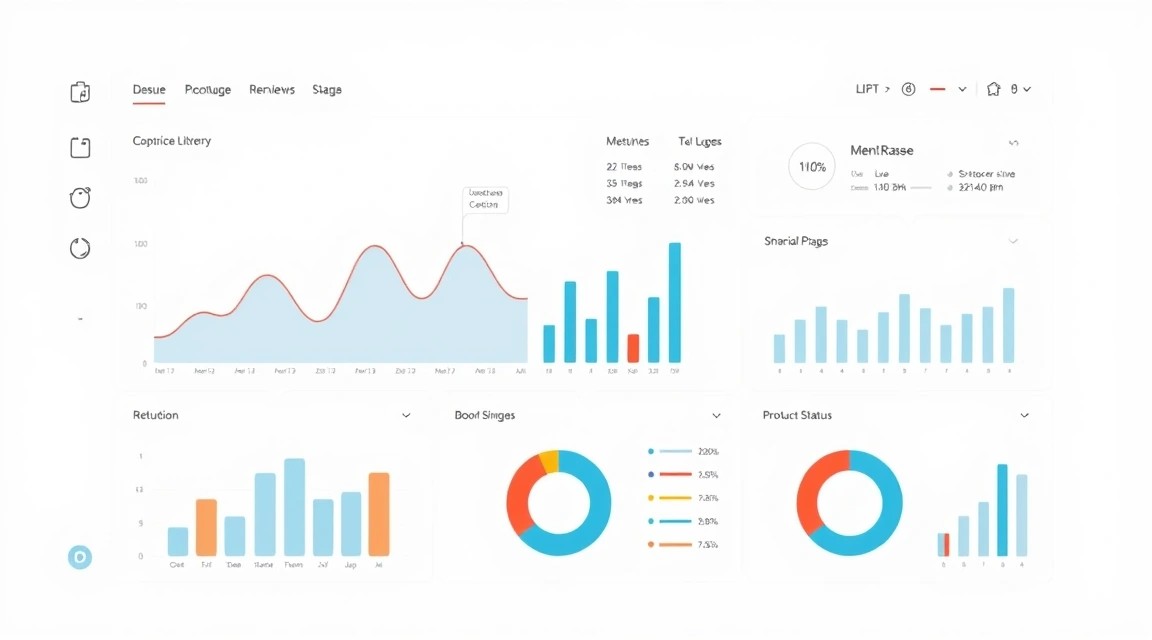
Регулярне резервне копіювання та обслуговування є критично важливими для будь-якої виробничої системи. LibreNMS не виняток.
Що резервувати
- База даних MariaDB: Містить всю інформацію про ваші пристрої, конфігурації, користувачів та історію подій.
- Конфігураційні файли LibreNMS: Особливо
/opt/librenms/config.phpта будь-які кастомні скрипти або шаблони. - RRD-файли: Ці файли в
/opt/librenms/rrd/містять усі дані графіків. Вони можуть бути дуже великими.
Простий скрипт авторезервування
Створимо простий скрипт для щоденного резервного копіювання. Скрипт виконуватиме дамп бази даних та архівуватиме конфігураційні файли та RRD-дані.
sudo mkdir -p /opt/librenms/backups # Створюємо директорію для резервних копій
sudo chown librenms:librenms /opt/librenms/backups # Встановлюємо власника
sudo vim /opt/librenms/backup.sh # Створюємо скрипт резервного копіювання
Вставте наступний вміст у backup.sh, замінивши your_db_password на ваш пароль від бази даних LibreNMS.
#!/bin/bash

# Налаштування
DB_USER="librenms"
DB_PASS="your_db_password"
DB_NAME="librenms"
BACKUP_DIR="/opt/librenms/backups"
LIBRENMS_DIR="/opt/librenms"
TIMESTAMP=$(date +%Y%m%d%H%M%S)

# Створюємо дамп бази даних
echo "Створюємо дамп бази даних..."
mysqldump -u $DB_USER -p$DB_PASS $DB_NAME > $BACKUP_DIR/librenms_db_$TIMESTAMP.sql

# Архівуємо конфіги та RRD
echo "Архівуємо конфіги та RRD..."
tar -czvf $BACKUP_DIR/librenms_files_$TIMESTAMP.tar.gz \
    $LIBRENMS_DIR/config.php \
    $LIBRENMS_DIR/rrd \
    $LIBRENMS_DIR/logs \
    --exclude="$LIBRENMS_DIR/backups"

# Видаляємо старі резервні копії (старші 7 днів)
echo "Очищуємо старі резервні копії..."
find $BACKUP_DIR -type f -name "librenms_*" -mtime +7 -delete

echo "Резервне копіювання завершено!"
Зробіть скрипт виконуваним та додайте його до cron.
sudo chmod +x /opt/librenms/backup.sh # Робимо скрипт виконуваним
sudo crontab -e -u librenms # Відкриваємо crontab для користувача librenms
Додайте наступний рядок у кінець файлу cron для щоденного запуску резервного копіювання (наприклад, о 3:00 ночі):
0 3 * * * /opt/librenms/backup.sh >> /opt/librenms/logs/backup.log 2>&1
Куди зберігати
Зберігати резервні копії на тому ж сервері, що й оригінальні дані, небезпечно. Розгляньте наступні варіанти:
- Зовнішнє S3-сумісне сховище: Використовуйте утиліти типу
s3cmdабоrcloneдля автоматичної синхронізації резервних копій з хмарним сховищем (наприклад, Amazon S3, DigitalOcean Spaces, Backblaze B2). - Окремий VPS: Налаштуйте
rsyncпо SSH для копіювання резервних копій на інший ваш VPS. - Локальне сховище з шифруванням: Для невеликих обсягів можна використовувати локальне сховище, але воно має бути зашифроване та регулярно копіюватися вручну або за скриптом на зовнішній носій.
Оновлення: rolling vs maintenance window
LibreNMS регулярно випускає оновлення. Важливо підтримувати систему в актуальному стані.
- Rolling updates: LibreNMS має скрипт
daily.sh, який виконує оновлення коду, якщо він запускається з cron. Це відносно безпечно для мінорних оновлень. - Maintenance window: Для великих оновлень (наприклад, зміна версії PHP або ядра ОС) рекомендується виділяти вікно обслуговування.
- Зупиніть LibreNMS poller:
sudo systemctl stop librenms-poller.service(якщо ви використовуєте systemd service для поллера). - Зробіть повне резервне копіювання.
- Виконайте оновлення ОС:
sudo apt update && sudo apt upgrade -y. - Оновіть LibreNMS вручну:
cd /opt/librenms && git pull && composer install --no-dev --optimize-autoloader && ./daily.sh. - Перевірте логи та веб-інтерфейс.
- Запустіть poller:
sudo systemctl start librenms-poller.service.
- Зупиніть LibreNMS poller:
Вирішення проблем + FAQ
З: Який VPS-конфіг мінімально підійде для LibreNMS?
В: Для початку, якщо ви плануєте моніторити до 10 пристроїв, мінімально прийнятний конфіг буде 2 ядра CPU, 4 ГБ ОЗУ та 100 ГБ SSD. Однак, для стабільної роботи та зберігання даних за більш тривалий період, рекомендується збільшити ці параметри до 4 ядер CPU, 8 ГБ ОЗУ та 200 ГБ NVMe SSD. Це забезпечить кращу продуктивність бази даних та більш плавну роботу веб-інтерфейсу.
З: Що обрати — VPS чи dedicated для цього завдання?
В: Для більшості індивідуальних користувачів або невеликих команд VPS буде оптимальним вибором, пропонуючи хороший баланс між вартістю та продуктивністю. Якщо ж ви керуєте великою інфраструктурою із сотнями або тисячами пристроїв, вимагаєте максимальної продуктивності дискової підсистеми та бажаєте повної ізоляції ресурсів, то виділений сервер (dedicated) буде більш підходящим рішенням. Він надасть вам повний контроль над апаратним забезпеченням та гарантовану продуктивність.
З: Веб-інтерфейс LibreNMS не завантажується або показує помилку 502 Bad Gateway. Що робити?
В: Помилка 502 зазвичай вказує на проблеми з PHP-FPM. Перевірте статус PHP-FPM: sudo systemctl status php8.3-fpm. Переконайтеся, що він запущений і працює. Також перевірте логи Nginx (sudo tail /var/log/nginx/error.log) та PHP-FPM (sudo tail /var/log/php8.3-fpm.log або аналогічний шлях). Часто проблема пов'язана з неправильними дозволами файлів, нестачею пам'яті або помилками в конфігурації PHP.
З: Пристрої додані, але графіки порожні або немає даних.
В: Це означає, що поллер LibreNMS не може зібрати дані по SNMP. Перевірте наступне:
- Firewall: Переконайтеся, що порт 161 UDP відкритий на сервері LibreNMS та на цільовому пристрої.
- SNMP Community: Переконайтеся, що рядок SNMP community в LibreNMS (у
config.phpта при додаванні пристрою) збігається з тим, що налаштований на цільовому пристрої. - SNMP Daemon: На цільовому пристрої переконайтеся, що
snmpdзапущений і правильно налаштований. - Poller: Запустіть poller вручну для одного пристрою:
sudo su - librenms -c "/opt/librenms/poller.php -h <device_id_or_hostname> -r -f -d". Це дасть детальний вивід про процес збору даних.
З: LibreNMS працює повільно, сторінки довго завантажуються.
В: Повільна робота може бути викликана кількома причинами:
- Нестача ресурсів: Перевірте завантаження CPU, використання RAM та операції введення-виведення диска на вашому VPS (
htop,iostat,free -h). Якщо якийсь ресурс постійно завантажений, можливо, вам знадобиться більш потужний VPS. - Оптимізація MariaDB: Переконайтеся, що MariaDB налаштована оптимально. Для початку можна використовувати скрипт
mysqltuner.plдля рекомендацій. - PHP-FPM Workers: Можливо, у вас недостатньо процесів PHP-FPM. Відредагуйте
/etc/php/8.3/fpm/pool.d/www.confта збільштеpm.max_children,pm.start_serversта інші параметри, перезапустивши PHP-FPM. - RRD Updates: Переконайтеся, що cron-завдання працюють коректно і немає затримок в оновленні RRD-файлів.
З: Як додати новий пристрій для моніторингу?
В: Після входу до веб-інтерфейсу LibreNMS, перейдіть до розділу "Devices" -> "Add Device". Вам потрібно буде вказати IP-адресу або hostname пристрою, а також SNMP Community String. LibreNMS автоматично виявить тип пристрою та розпочне збір даних.
Висновки та наступні кроки
Вітаємо! Ви успішно встановили та налаштували LibreNMS на вашому VPS, створивши потужну та гнучку систему для моніторингу мережевої інфраструктури. Тепер у вас є централізований інструмент для відстеження стану та продуктивності всіх ваших пристроїв, що значно спростить керування та скоротить час реакції на потенційні проблеми. Ви можете бути впевнені, що ваша інфраструктура знаходиться під постійним контролем.
Тепер, коли базове налаштування завершено, ви можете рухатися далі:
- Додавання пристроїв: Почніть додавати всі ваші сервери, роутери, комутатори та інші мережеві пристрої до LibreNMS.
- Налаштування сповіщень: Вивчіть систему сповіщень LibreNMS. Налаштуйте сповіщення електронною поштою, Slack, Telegram або іншими каналами для своєчасного інформування про критичні події.
- Дослідження можливостей: LibreNMS має розширений функціонал, включаючи автовиявлення, кастомні графіки, карти мережі, інтеграції. Витратьте час на вивчення документації та експериментування з різними функціями, щоб максимально використати потенціал вашої нової системи моніторингу.