
Hardening Ubuntu 24.04 in 30 Minutes: Checklist for a New VPS
TL;DR
Hardening Ubuntu 24.04 for a new VPS is a set of quick measures that reduce the attack surface: updates, a separate sudo user, SSH keys, disabling root login, UFW, Fail2ban, automatic security updates, and backups. Basic protection can be implemented in 30 minutes without locking yourself out of the server.
- First, create a separate user with an SSH key and verify login in a second terminal.
- Only after verification, disable root SSH login and password authentication.
- Open only the necessary ports in UFW: usually 22, 80, and 443.
- Install Fail2ban, automatic security updates, and basic diagnostic tools.
- Do not expose Docker ports, databases, administration panels, or Redis to the internet unless necessary.
- Set up an external encrypted backup: hardening without the ability to restore is incomplete.
What We Are Configuring and Why
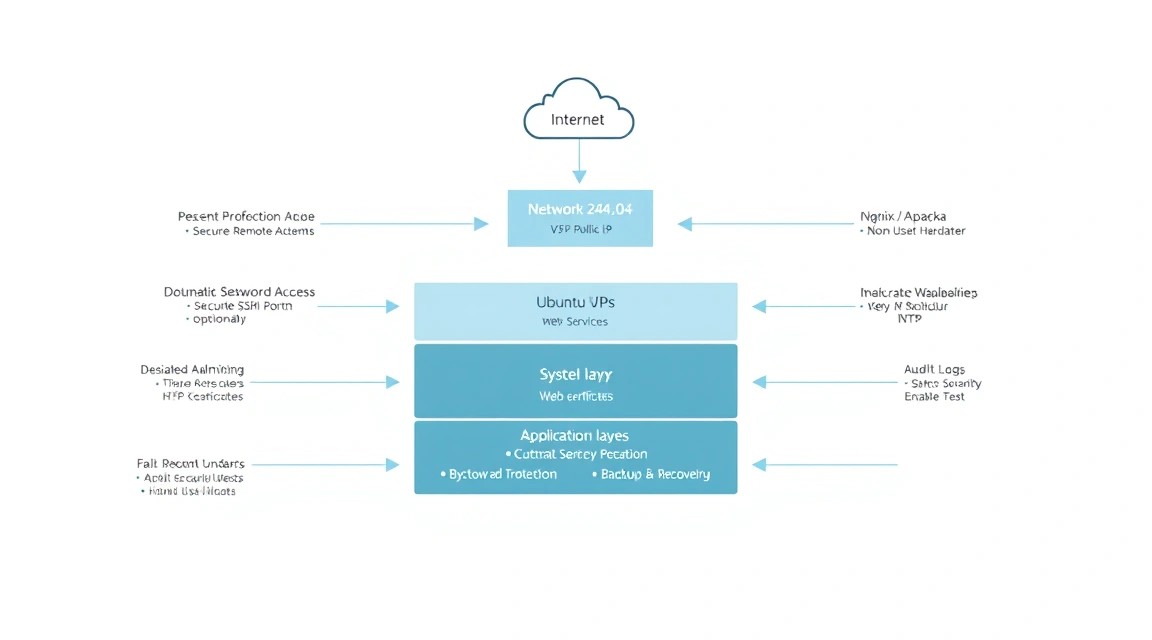
A new VPS running Ubuntu 24.04 is usually accessible via a public IPv4 address immediately after provisioning. Internet scanners find such an address within minutes: they check SSH, web ports, databases, the Docker API, control panels, and services with known vulnerabilities. Even a server without a website or applications starts receiving password brute-force attempts almost immediately.
The goal of this guide is to create a secure baseline layer for Ubuntu 24.04 LTS. It does not replace an audit of a specific application, code protection, IAM configuration, or DDoS protection, but it addresses common new VPS mistakes: password-based root access, unnecessary open ports, missing updates, unlimited login attempts, and no backups.
After completing the checklist, the server will have a separate administrator, SSH key-based login, a restricted firewall, Fail2ban, enabled automatic security updates, an audit of open ports, and a foundation for encrypted backups. This set is suitable for a VPS hosting a website, API, VPN, Git service, Minecraft server, bot, Docker Compose, and internal tools.
What Is Not Included in Basic Hardening
OS hardening does not make an insecure application secure. If you expose WordPress, GitLab, Nextcloud, Grafana, Mattermost, or your own API, you must separately update the application itself, use strong passwords and MFA, disable test endpoints, restrict administrative URLs, and regularly review logs.
You should also not treat changing the SSH port as protection. A non-standard port reduces log noise, but it does not replace keys, a firewall, and disabling passwords. Scanners find open ports quickly.
Safe order rule: first add and test new access, then tighten the old one. Do not close the current SSH session until you have confirmed that the new session works.
Cloud-Managed and Self-Hosted: What to Choose
| Approach | What the Provider Handles | What Remains Your Responsibility |
|---|---|---|
| Managed platform | Some updates, load balancing, redundancy for individual services | Access management, application configuration, data, billing, vendor lock-in |
| Self-hosted on a VPS | Network, virtualization, physical infrastructure | OS, SSH, firewall, updates, backups, monitoring, application |
| Dedicated | Physical server and network connection | Everything, including the OS and often hardware monitoring |
Self-hosted VPS solutions are chosen for control: you can run the required software versions, keep data in a chosen jurisdiction, avoid paying for every managed component, and avoid dependence on platform limitations. The cost of control is the need for regular operations. This checklist reduces initial risk, but it must be repeated after infrastructure changes.
What VPS Configuration Is Needed for This Task
Hardening itself requires almost no resources. Ubuntu 24.04, OpenSSH, UFW, Fail2ban, and unattended-upgrades run well on a small server. Resources are determined not by security, but by your future application: a database, Docker containers, a game server, VPN, CI, file storage, or web application.
| Scenario | vCPU | RAM | Disk | Network |
|---|---|---|---|---|
| VPN only, bot, static website, bastion | 1 | 1 GB | 20–25 GB SSD | 100 Mbps |
| Docker Compose, small API, Caddy, PostgreSQL | 2 | 2–4 GB | 40–80 GB NVMe | 100–1000 Mbps |
| Nextcloud, Mattermost, Minecraft, Git service | 4 | 8 GB | 100 GB NVMe | 1 Gbps |
For a versatile new server for a small project, a sensible starting point is 2 vCPU, 4 GB RAM, 60–80 GB NVMe, and a public IPv4 address. This capacity allows you to use Docker, a reverse proxy, logs, swap, and a small database without constant memory pressure. As one neutral option, you can choose a VPS with the specified characteristics, but before ordering, compare disk capacity with backup size and data growth.
When a VPS Is Enough
A VPS is suitable for almost all standalone services and small teams. Virtual machine isolation, regular snapshots, and the ability to quickly upgrade a plan make it convenient for getting started. For WireGuard, a web application, monitoring, a couple of containers, and several dozen users, a VPS is usually more than enough.
When You Need Dedicated
Choose dedicated if you need guaranteed CPU without competition from neighbors, very intensive I/O, a lot of memory, large local data arrays, high throughput, or predictable performance under constant load. Typical examples include a large game server, blockchain indexer, CI runners, several heavy virtual machines, media transcoding, and a database with hundreds of gigabytes.
How Location Affects Things
Location affects latency, data legislation, and speed to your audience. For VPN, choose a region close to users. For a database containing personal data, consider the requirements of your jurisdiction and contracts. For administration, not only geography but also route stability matters: check latency with the ping command and actual speed after launch.
Server Preparation
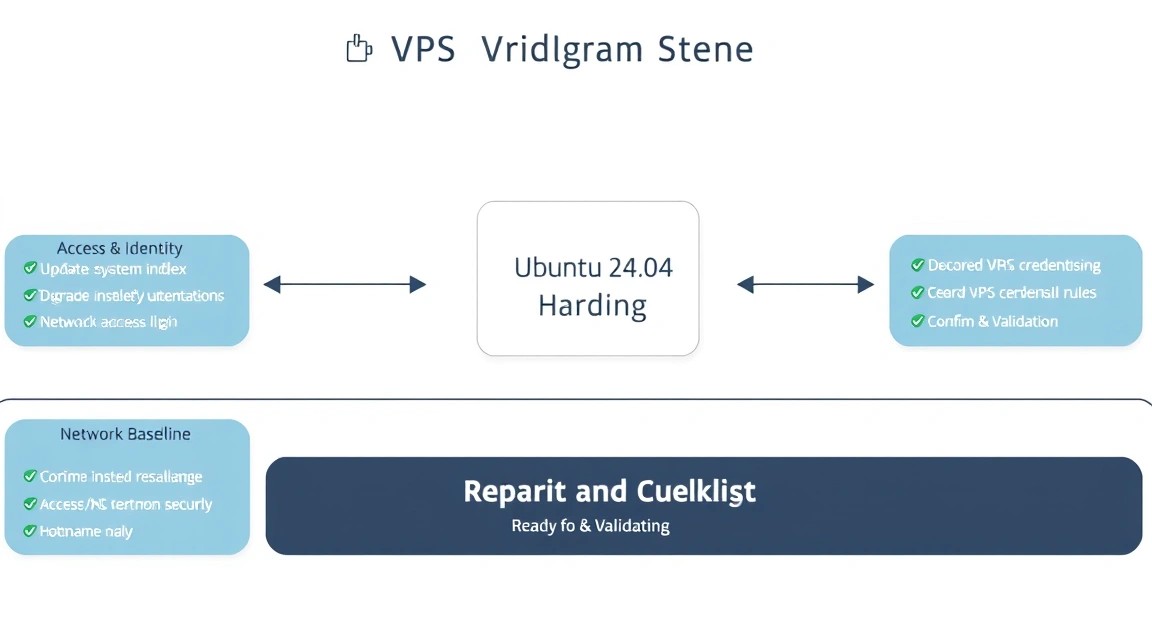
The following assumes that the provider has issued an IPv4 address and a temporary root password or added your public key. Work from a regular local terminal. On Windows, PowerShell, Windows Terminal, or WSL will work. All commands are run on the server unless stated otherwise.
Check the System and Update Packages
Ubuntu 24.04 LTS uses the Linux 6.8 branch with HWE updates depending on the image. Do not rely only on the version number: security patches are often backported, so a package may have an older upstream number while still being fixed.
# Connect to the server using the address issued after provisioning.
ssh root@SERVER_IP

# Check the Ubuntu release, kernel, and current user.
cat /etc/os-release
uname -r
whoami

# Update the package index and installed packages.
apt update && apt full-upgrade -y

# Reboot the server if the kernel or systemd was updated.
reboot
After rebooting, connect again. If SSH is temporarily unavailable, wait one or two minutes and check the provider's web console. Do not continue configuration until you have confirmed that the system has booted.
Create a Separate Administrator
Do not use root as your daily account. A separate user provides a clear audit trail, reduces the risk of accidentally running a command with full privileges, and allows you to safely disable root login over SSH.
# Create the admin user and add it to the sudo group.
adduser admin
usermod -aG sudo admin

# Create the directory for SSH keys with correct permissions.
install -d -m 700 -o admin -g admin /home/admin/.ssh

# Copy the already working root authorized_keys to the new user.
cp /root/.ssh/authorized_keys /home/admin/.ssh/authorized_keys
chown admin:admin /home/admin/.ssh/authorized_keys
chmod 600 /home/admin/.ssh/authorized_keys
If root does not have an authorized_keys file, create a key on your computer. For 2026, Ed25519 is a practical choice. Do not transfer the private key to the server or send it through messaging apps.
# Run on the local computer: create an Ed25519 key.
ssh-keygen -t ed25519 -a 100 -C "admin@my-vps"

# Copy the public key to the server; the command will ask for the current root password.
ssh-copy-id -i ~/.ssh/id_ed25519.pub root@SERVER_IP

# On the server, repeat copying the key to the admin account.
install -d -m 700 -o admin -g admin /home/admin/.ssh
cp /root/.ssh/authorized_keys /home/admin/.ssh/authorized_keys
chown admin:admin /home/admin/.ssh/authorized_keys
chmod 600 /home/admin/.ssh/authorized_keys
Open a second terminal and verify the new access. Do not close the old root session.
# Run locally: login should work with the key without a user password.
ssh -i ~/.ssh/id_ed25519 admin@SERVER_IP

# Check that sudo works in the new session.
sudo whoami
The expected result of the last command is root. Only then proceed to SSH configuration. If the key does not work, first fix permissions on /home/admin/.ssh and authorized_keys.
Software Installation — Step by Step
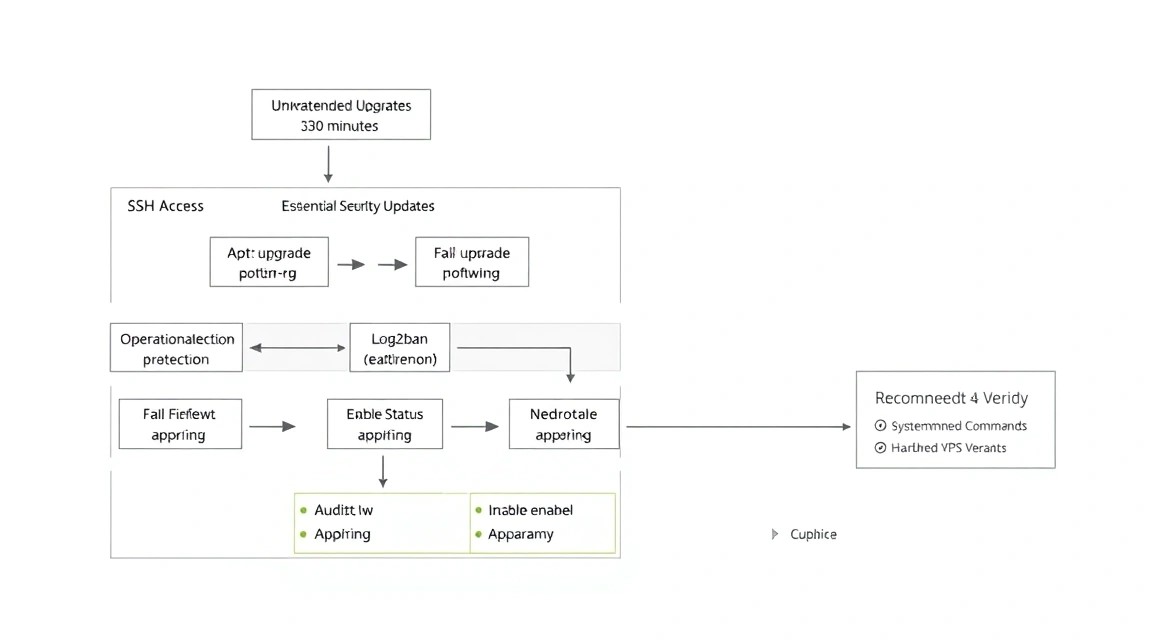
Ubuntu 24.04 uses OpenSSH 9.6p1 packages with Ubuntu patches, UFW 0.36.x, Fail2ban 1.0.x, and unattended-upgrades 2.9.x. Always check the exact installed version with apt-cache policy: security is determined by the available updates in a specific repository, not just by the upstream version number.
# Connect as the new user and install the basic tools.
ssh admin@SERVER_IP
sudo apt update
sudo apt install -y ufw fail2ban unattended-upgrades apt-listchanges \
  curl ca-certificates gnupg jq vim-tiny lsof needrestart chrony
The needrestart package reports which services require restarting after library updates. chrony maintains accurate time, which is important for TLS, tokens, logs, and incident investigations.
# Check versions and the status of the main services after installation.
apt-cache policy openssh-server ufw fail2ban unattended-upgrades
systemctl status ssh --no-pager
systemctl status chrony --no-pager
timedatectl status
Configure UFW before disabling weak SSH methods
UFW manages Netfilter rules. The safe sequence is: allow SSH, enable the firewall, check its status, then open only the required services. If you use a non-standard SSH port, allow that specific port before applying the configuration.
# Set the policy: deny incoming traffic, allow outgoing traffic.
sudo ufw default deny incoming
sudo ufw default allow outgoing

# Allow SSH and enable the firewall.
sudo ufw allow 22/tcp comment 'OpenSSH'
sudo ufw enable

# Check active rules and rule numbers.
sudo ufw status numbered
If the server will host a regular HTTPS website, open HTTP and HTTPS. Port 80 is required by Caddy or Certbot to issue a certificate using HTTP-01. After obtaining the certificate, it is usually kept open for automatic renewal and redirection to HTTPS.
# Open web ports only if the server will actually run an HTTP/HTTPS service.
sudo ufw allow 80/tcp comment 'HTTP'
sudo ufw allow 443/tcp comment 'HTTPS'

# Make sure that only the expected set of ports is available.
sudo ufw status verbose
sudo ss -tulpn
Install and enable automatic security updates
Automatically applying security updates does not replace manual updates. It closes the critical gap between a patch release and your scheduled maintenance window. For production services sensitive to restarts, test updates on a staging server in advance.
# Run the interactive Ubuntu automatic updates configuration.
sudo dpkg-reconfigure --priority=low unattended-upgrades

# Enable timers for downloading package lists and installing updates.
sudo systemctl enable --now apt-daily.timer apt-daily-upgrade.timer

# Check the schedule of system timers.
systemctl list-timers --all | grep -E 'apt-daily|unattended'
Enable Fail2ban
Fail2ban reads logs and temporarily blocks IP addresses after a series of failed attempts. It is useful against mass brute-force attacks, but it is not a replacement for SSH keys. On Ubuntu 24.04, the SSH log is usually available through the systemd journal; the systemd backend is used below.
# Create the local Fail2ban configuration directory.
sudo install -d -m 755 /etc/fail2ban/jail.d

# Create a separate local configuration for SSH.
sudo tee /etc/fail2ban/jail.d/sshd.local > /dev/null <<'EOF'
[sshd]
enabled = true
backend = systemd
port = ssh
maxretry = 5
findtime = 10m
bantime = 1h
banaction = ufw
EOF

# Check the configuration and start the service.
sudo fail2ban-client -d > /dev/null
sudo systemctl enable --now fail2ban
sudo fail2ban-client status sshd
Do not edit package-supplied /etc/fail2ban/jail.conf and /etc/ssh/sshd_config files unless necessary: updates may change them. Use jail.d/.local and sshd_config.d/.conf for local settings.
Configuration
Harden SSH without losing access
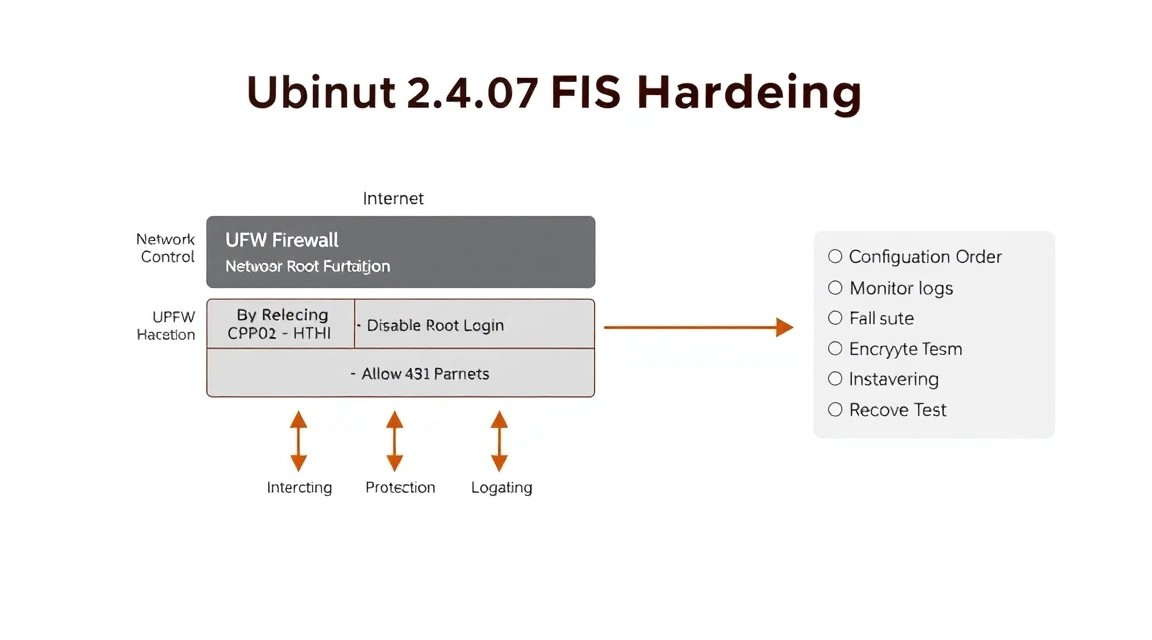
Ubuntu 24.04 supports the /etc/ssh/sshd_config.d/ directory. We will create a file with a high-priority local set of parameters. Always run a syntax check before restarting: a single error in the SSH configuration can leave the server without remote access.
# Create a local file with secure OpenSSH settings.
sudo tee /etc/ssh/sshd_config.d/99-hardening.conf > /dev/null <<'EOF'
PermitRootLogin no
PasswordAuthentication no
KbdInteractiveAuthentication no
PubkeyAuthentication yes
PermitEmptyPasswords no
UsePAM yes
X11Forwarding no
AllowUsers admin
MaxAuthTries 3
LoginGraceTime 30
ClientAliveInterval 300
ClientAliveCountMax 2
LogLevel VERBOSE
EOF

# Check the syntax and apply changes without a full restart.
sudo sshd -t
sudo systemctl reload ssh

# Check the effective parameters, taking all include files into account.
sudo sshd -T | grep -E 'permitrootlogin|passwordauthentication|kbdinteractiveauthentication|allowusers|maxauthtries'
Now open another new SSH connection as admin. If the connection succeeds, root access via SSH has been disabled correctly. If you have multiple administrators, list them in AllowUsers separated by spaces, or remove this line and manage access by other means.
# Run locally: verify administrator login after SSH hardening.
ssh -o PreferredAuthentications=publickey admin@SERVER_IP

# Run locally: root login should be rejected.
ssh root@SERVER_IP
Add kernel parameters through sysctl
The following parameters disable unused IPv4 routing and reduce the risk of certain network spoofing attacks. Do not apply them blindly to a VPS that acts as a router, WireGuard gateway, Kubernetes node, or NAT gateway: those cases require separate network configuration.
# Create secure sysctl settings for a standard public server.
sudo tee /etc/sysctl.d/99-hardening.conf > /dev/null <<'EOF'
net.ipv4.conf.all.accept_redirects = 0
net.ipv4.conf.default.accept_redirects = 0
net.ipv4.conf.all.send_redirects = 0
net.ipv4.conf.default.send_redirects = 0
net.ipv4.conf.all.rp_filter = 1
net.ipv4.conf.default.rp_filter = 1
net.ipv4.icmp_echo_ignore_broadcasts = 1
net.ipv4.icmp_ignore_bogus_error_responses = 1
net.ipv4.tcp_syncookies = 1
kernel.kptr_restrict = 2
kernel.dmesg_restrict = 1
fs.protected_hardlinks = 1
fs.protected_symlinks = 1
EOF

# Apply sysctl files and check one of the parameters.
sudo sysctl --system
sysctl net.ipv4.tcp_syncookies
Keep secrets outside code and the repository
Database passwords, API tokens, S3 keys, and SMTP credentials must not end up in Git, Dockerfile, shell history, or public Nginx/Caddy configurations. For a small service, store variables in a .env file with 600 permissions. For systemd, use EnvironmentFile. In larger infrastructure, use Vault, SOPS, a cloud secret manager, or a similar secret store.
# Create a protected directory and environment variables file for the application.
sudo install -d -m 750 -o root -g root /etc/myapp
sudo tee /etc/myapp/app.env > /dev/null <<'EOF'
APP_ENV=production
DATABASE_URL=postgresql://app:[email protected]:5432/app
JWT_SECRET=CHANGE_ME_TO_A_LONG_RANDOM_VALUE
EOF
sudo chmod 600 /etc/myapp/app.env

# Generate a cryptographically random secret and replace the placeholder manually.
openssl rand -base64 48
TLS/HTTPS with Caddy
If the VPS has a web service, publish it through a reverse proxy. Caddy automatically obtains and renews TLS certificates if the domain DNS record points to the server IP and ports 80 and 443 are externally accessible. Do not install Caddy solely for hardening: if there is no web service, keep ports 80 and 443 closed.
# Add the official Caddy repository for the current stable 2.x branch.
sudo apt install -y debian-keyring debian-archive-keyring apt-transport-https
curl -1sLf 'https://dl.cloudsmith.io/public/caddy/stable/gpg.key' | \
  sudo gpg --dearmor -o /usr/share/keyrings/caddy-stable-archive-keyring.gpg
curl -1sLf 'https://dl.cloudsmith.io/public/caddy/stable/debian.deb.txt' | \
  sudo tee /etc/apt/sources.list.d/caddy-stable.list
sudo apt update && sudo apt install -y caddy

# Check the installed Caddy version.
caddy version
Assume the application listens only on the local address 127.0.0.1:3000. This is an important restriction: the service must not also expose port 3000 to the internet. Replace the domain and port with your own values.
example.com {
    encode zstd gzip

    reverse_proxy 127.0.0.1:3000

    header {
        -Server
        X-Content-Type-Options "nosniff"
        X-Frame-Options "DENY"
        Referrer-Policy "strict-origin-when-cross-origin"
        Strict-Transport-Security "max-age=31536000; includeSubDomains"
    }

    log {
        output file /var/log/caddy/example.com.access.log
        format json
    }
}
# Save the Caddyfile, validate it, and reload Caddy.
sudo cp /etc/caddy/Caddyfile /etc/caddy/Caddyfile.bak
sudo vim /etc/caddy/Caddyfile
sudo caddy validate --config /etc/caddy/Caddyfile
sudo systemctl enable --now caddy
sudo systemctl reload caddy
# Check the HTTP redirect, HTTPS, and the application's local health endpoint.
curl -I http://example.com
curl -I https://example.com
curl -fsS http://127.0.0.1:3000/health || echo "Check the application endpoint"Final attack surface check
Check not only what you configured, but also what the network is actually listening on. The ss command shows local sockets. Ports bound to 127.0.0.1 are not directly accessible from the internet; addresses 0.0.0.0 and [::] are accessible on all interfaces when allowed by the firewall.
# Show all listening TCP/UDP ports and owning processes.
sudo ss -tulpn

# Check the firewall, Fail2ban, updates, and whether a reboot is required.
sudo ufw status numbered
sudo fail2ban-client status sshd
sudo unattended-upgrade --dry-run --debug
sudo needrestart -r l

# Check server availability and TLS from a local computer.
ping -c 4 SERVER_IP
curl -fsSI https://example.com
For an external check, use a second server or mobile internet: make sure that only 22, 80, and 443 are open, if that is your plan. Do not expose PostgreSQL on 5432, MySQL on 3306, Redis on 6379, the Docker API on 2375, or administration panels “temporarily”: such temporary solutions often remain forever.
Backups and Maintenance
A VPS snapshot is useful, but it should not be the only backup. It may be located in the same account, the same location, and even on the same infrastructure as the original server. The recommended approach is the 3-2-1 rule: at least three copies of the data, on two types of storage, with one copy outside the primary server.
What to Back Up
- Configuration:
/etc, Caddyfile, systemd units, Docker Compose files, firewall settings, and scripts. - Application data: uploads directories, Docker volumes, user files, media, keys, and certificates when necessary.
- Databases: a logical PostgreSQL or MySQL dump plus restoration verification.
- Secrets: encrypted env files, access keys, and recovery codes. Do not store secrets in a regular unencrypted archive.
- Documentation: a list of domains, users, ports, the restoration procedure, and the date of the last restore check.
For a small server, Restic 0.17.x or newer is convenient: it encrypts data on the VPS, supports S3-compatible storage, deduplication, and retention policies. A Restic repository does not replace the password: losing the repository password without separate secure storage means losing access to the copies.
# Установите Restic и создайте каталог для защищённых переменных бэкапа.
sudo apt install -y restic
sudo install -d -m 700 /root/.config/restic

# Создайте файл окружения; замените все значения на реальные.
sudo tee /root/.config/restic/backup.env > /dev/null <<'EOF'
export RESTIC_REPOSITORY="s3:https://s3.example.net/my-vps-backup"
export RESTIC_PASSWORD="CHANGE_ME_TO_A_LONG_UNIQUE_PASSWORD"
export AWS_ACCESS_KEY_ID="CHANGE_ME"
export AWS_SECRET_ACCESS_KEY="CHANGE_ME"
EOF
sudo chmod 600 /root/.config/restic/backup.env

# Инициализируйте новый зашифрованный репозиторий только один раз.
sudo bash -c 'source /root/.config/restic/backup.env && restic init'
For PostgreSQL, first create a dump and then archive it with Restic. The command below is intended for a local database and a user with read permissions for all required objects. For a database Docker container, use docker exec or the official dump mechanism inside the container.
# Создайте каталог для дампов, недоступный обычным пользователям.
sudo install -d -m 700 /var/backups/postgresql

# Пример: создайте сжатый дамп базы appdb от имени системного пользователя postgres.
sudo -u postgres pg_dump -Fc appdb > /var/backups/postgresql/appdb.dump
sudo chmod 600 /var/backups/postgresql/appdb.dump
# Создайте ежедневный скрипт: дамп БД, backup Restic, проверка и политика хранения.
sudo tee /usr/local/sbin/backup-server.sh > /dev/null <<'EOF'
#!/usr/bin/env bash
set -euo pipefail
source /root/.config/restic/backup.env
DATE="$(date +%F)"
BACKUP_PATHS=(
/etc
/home
/opt
/srv
/var/lib/docker/volumes
/var/backups/postgresql
)
restic backup "${BACKUP_PATHS[@]}" \
--exclude-caches \
--exclude='/home//.cache' \
--tag "server" \
--tag "$DATE"
restic forget --keep-daily 7 --keep-weekly 4 --keep-monthly 6 --prune
restic check --read-data-subset=1/50
EOF
sudo chmod 700 /usr/local/sbin/backup-server.sh
# Запустите первый бэкап вручную и убедитесь, что он завершается без ошибок.
sudo /usr/local/sbin/backup-server.sh
sudo bash -c 'source /root/.config/restic/backup.env && restic snapshots'The /var/lib/docker/volumes path must not be copied indiscriminately while a database is actively being written to: for PostgreSQL and MySQL, use a dump or the standard backup tool. File data can be archived from volumes, but first ensure the application's consistency.
# Добавьте запуск каждый день в 03:20 и запись лога в отдельный файл.
sudo tee /etc/cron.d/server-backup > /dev/null <<'EOF'
20 3    root /usr/local/sbin/backup-server.sh >> /var/log/server-backup.log 2>&1
EOF

# Проверьте, что cron видит задание, и посмотрите последние строки лога после запуска.
sudo systemctl status cron --no-pager
sudo tail -n 50 /var/log/server-backup.log
Restoration Verification
A backup is considered functional only after restoration. Once a month, restore one file and a test database dump to a separate directory or server. Do not restore a database over production data without stopping the application and confirming a rollback plan.
# Просмотрите содержимое последнего snapshot и восстановите его в тестовый каталог.
sudo bash -c 'source /root/.config/restic/backup.env && restic snapshots'
sudo mkdir -p /tmp/restic-restore
sudo bash -c 'source /root/.config/restic/backup.env && restic restore latest --target /tmp/restic-restore'

# Убедитесь, что нужные файлы и дамп действительно восстановились.
sudo find /tmp/restic-restore -maxdepth 4 -type f | head -n 30
Update Plan
Security updates can be applied automatically, but application updates, Docker images, and major database versions should preferably be scheduled during a maintenance window. For a stateless web application, use a rolling update: launch the new version, check the healthcheck, and then switch the reverse proxy. A standalone database usually requires a short, controlled outage.
- Once a week, review
journalctl -p warning..alert, disk status, and backup logs. - Once a month, run
sudo apt update && sudo apt full-upgradeand reboot if necessary. - Once a month, verify the restoration of at least one file and one database dump.
- Once a quarter, review users, SSH keys, open ports, and access tokens.
Troubleshooting + FAQ
After configuring SSH, I get Permission denied (publickey)
First, do not close the old session or use the web console. Check that you are logging in as the correct user: ssh admin@SERVER_IP. On the server, check the permissions: the ~/.ssh directory must have mode 700, while authorized_keys must have mode 600 and belong to the user. Check the reason in sudo journalctl -u ssh -n 100. A common mistake is copying the key to root while PermitRootLogin no is already enabled in the configuration.
UFW is enabled, but the website or SSH is unavailable
Connect through the console and run sudo ufw status numbered and sudo ss -tulpn. The firewall may allow the port, but the application may not be listening on it or may be bound only to 127.0.0.1. For SSH, there must be an allow rule for the actual port. For the website, check the 80/tcp and 443/tcp rules, the domain's DNS record, and the Caddy status. If a rule is incorrect, it can be deleted by number using sudo ufw delete НОМЕР.
Fail2ban is not banning addresses or does not detect SSH attempts
Check the service with sudo systemctl status fail2ban, then run sudo fail2ban-client status sshd. On Ubuntu 24.04, the correct backend for SSH is usually systemd, which is why it is specified in the local jail file. View the logs with sudo journalctl -u fail2ban -n 100. Make sure that banaction = ufw is specified in the configuration if UFW is used as the firewall.
Automatic updates are enabled, but the server requests a reboot
This is normal after updating the kernel, certain libraries, or systemd. Check for the /var/run/reboot-required file and the output of sudo needrestart -r l. Choose a maintenance window, notify users, and run sudo reboot. Automatic security updates reduce the vulnerability window, but they cannot safely restart all applications without considering your workload and dependencies.
What is the minimum suitable VPS configuration?
For basic hardening, 1 vCPU, 1 GB of RAM, and a 20 GB SSD are sufficient if the server acts as a bastion host, a simple VPN, or a small bot. For a practical general-purpose start, 2 vCPUs, 2–4 GB of RAM, and 40–80 GB of NVMe are better: there will be room for Docker, logs, updates, and backup dumps. Do not size the disk only for the OS: plan space in advance for data, temporary files, and local copies before uploading them to external backup storage.
Which should you choose—VPS or dedicated for this task?
For hardening, a small website, VPN, API, and several containers, a VPS is sufficient. It is cheaper, deploys faster, and is easier to scale by memory or disk. A dedicated server is needed not because of Ubuntu hardening itself, but for sustained heavy workloads: high database I/O, a large game server, transcoding, CI, or guaranteed CPU performance requirements. In both cases, SSH, firewall, updates, and backups remain the administrator's responsibility.
Caddy cannot obtain a TLS certificate and returns an ACME error
Check that the domain's A record points to the VPS's public IPv4 address and that the AAAA record is either correct or absent. Ports 80 and 443 must be open in UFW and in the provider's external firewall. Run sudo journalctl -u caddy -n 100 --no-pager. The problem is often that another web server has already occupied port 80 or that the domain points to an old IP. After the issue is fixed, Caddy will retry automatically.
How can I tell whether Docker accidentally exposed a database or panel to the Internet?
Run sudo ss -tulpn and check the binding addresses. Services on 0.0.0.0:5432, 0.0.0.0:3306, 0.0.0.0:6379, and similar ports are dangerous. In Docker Compose, publish internal services as 127.0.0.1:5432:5432, or do not use the ports section at all if the containers communicate over an internal network. Expose only the reverse proxy on 80/443 and SSH on the selected port.
Conclusions and Next Steps
The new Ubuntu 24.04 VPS now has basic protection: an updated system, key-based SSH access, root login disabled, UFW, Fail2ban, sysctl settings, TLS for the web service, and encrypted external backup. This significantly reduces the risk of common automated attacks and initial configuration errors.
As the next step, add monitoring of resources and availability, such as checking disk space, memory, TLS certificate expiration, and the status of the backup task. Then configure separate hardening policies for your application: Docker, PostgreSQL, WireGuard, the web framework, or the control panel.
After every new service, repeat a short audit: does it need a public port, who has access, where are secrets stored, how are updates performed, and can the data be restored from a backup? This cycle is what turns a one-time VPS setup into maintainable infrastructure.