bolt Valebyte VPS from $4/mo — NVMe, 60s deploy.

Get a VPS arrow_forward
eco Beginner Tutorial/How-to

Install Seafile on VPS

calendar_month Aug 22, 2026 schedule 22 min read visibility 33 views
Установка Seafile на VPS для создания приватного облачного хранилища
info

Need a server for this guide? We offer dedicated servers and VPS in 50+ countries with instant setup.

Need a server for this guide?

Deploy a VPS or dedicated server in minutes.

Installing Seafile on a VPS to Create a Private Cloud Storage

TL;DR

In this detailed guide, we will step-by-step configure your own private Seafile cloud storage on a Virtual Private Server (VPS). You will learn how to prepare a server based on Ubuntu 24.04 LTS, install Seafile using Docker Compose, set up automatic HTTPS via Caddy, and ensure reliable data backup to gain full control over your files without relying on public cloud services.

  • We will install Seafile Professional Edition 13.x with PostgreSQL and Caddy on Ubuntu 24.04 LTS.
  • Automatic HTTPS will be configured for secure access to your cloud.
  • You will gain a full understanding of the minimum VPS requirements for stable Seafile operation.
  • We will cover basic server security measures and firewall configuration.
  • The guide includes scripts for backing up Seafile data and the database.

What we are configuring and why
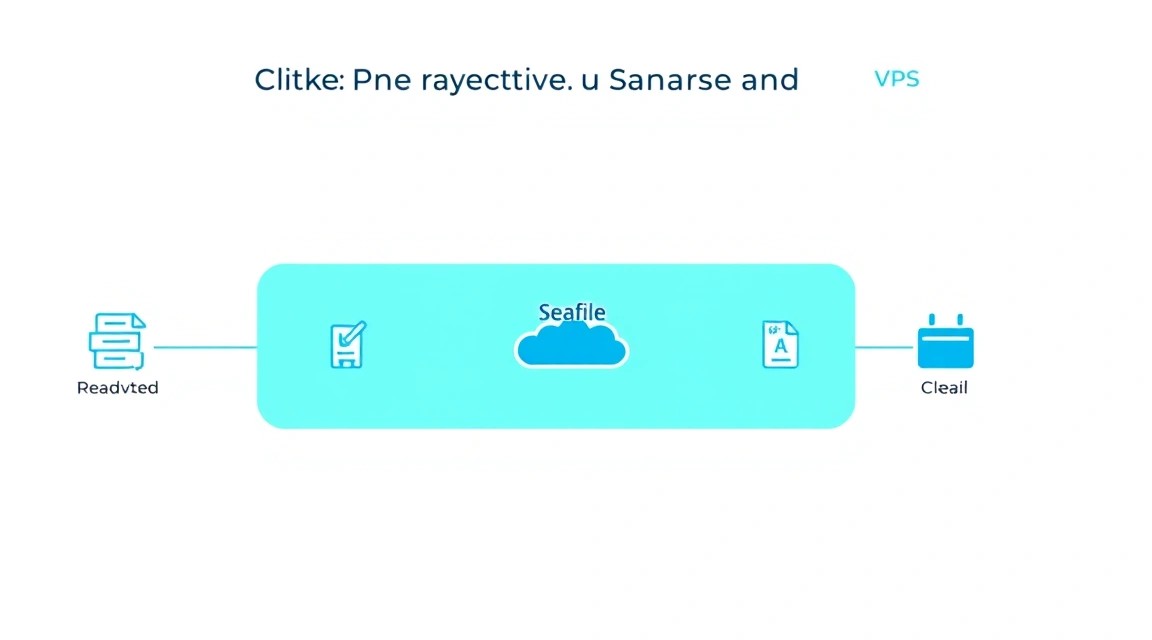
Diagram: What we are configuring and why

In an era of widespread cloud technologies, where our data is stored on third-party servers, the issue of privacy and control is more relevant than ever. We will configure Seafile – a powerful and high-performance solution for file synchronization and sharing, which you will install on your own VPS. This will allow you to create private cloud storage, fully controlled by you, without the need to entrust your confidential data to large corporations.

Ultimately, you will get a full-fledged alternative to Dropbox or Google Drive, but with the difference that all data will be on your server. This is an ideal solution for developers, startups, small teams, and individuals who need a reliable, secure, and scalable platform for storing and sharing files, as well as for collaborative document editing.

Why Seafile?

Seafile stands out among other solutions due to its architecture, which is focused on performance and reliability. It stores files as blocks, which ensures high synchronization speed, especially when working with large files or frequent changes. In addition, Seafile provides:

  • High performance: Optimized for fast synchronization and access.
  • Version control: Automatically saves file change history, allowing easy rollback to previous versions.
  • Encryption: Supports server-side and, optionally, client-side data encryption for maximum privacy.
  • Collaboration: Built-in tools for file commenting, collaborative editing (via integration with OnlyOffice/Collabora), and access management.
  • Cross-platform: Clients for Windows, macOS, Linux, Android, and iOS, as well as a web interface.

Alternatives: Cloud-managed vs Self-hosted

There are two main approaches to cloud storage:

  • Cloud-managed: These are services like Dropbox, Google Drive, OneDrive. They are easy to use, require no server setup, but you fully entrust your data to the provider, and you have no control over the infrastructure and security. The cost usually depends on the data volume and number of users.
  • Self-hosted: These are solutions like Seafile, Nextcloud, Owncloud, which you install on your own server (VPS or dedicated). The main advantages are full control over data, privacy, the ability to customize to your needs, and no subscription fee for the service (only for the server). The disadvantage is that it requires technical knowledge for installation and maintenance.

We choose self-hosted Seafile on a VPS because it's the golden mean: you get full control and privacy at a relatively low cost and flexibility of a VPS, avoiding the complexities of purchasing and maintaining your own physical server.

What VPS configuration is needed for this task
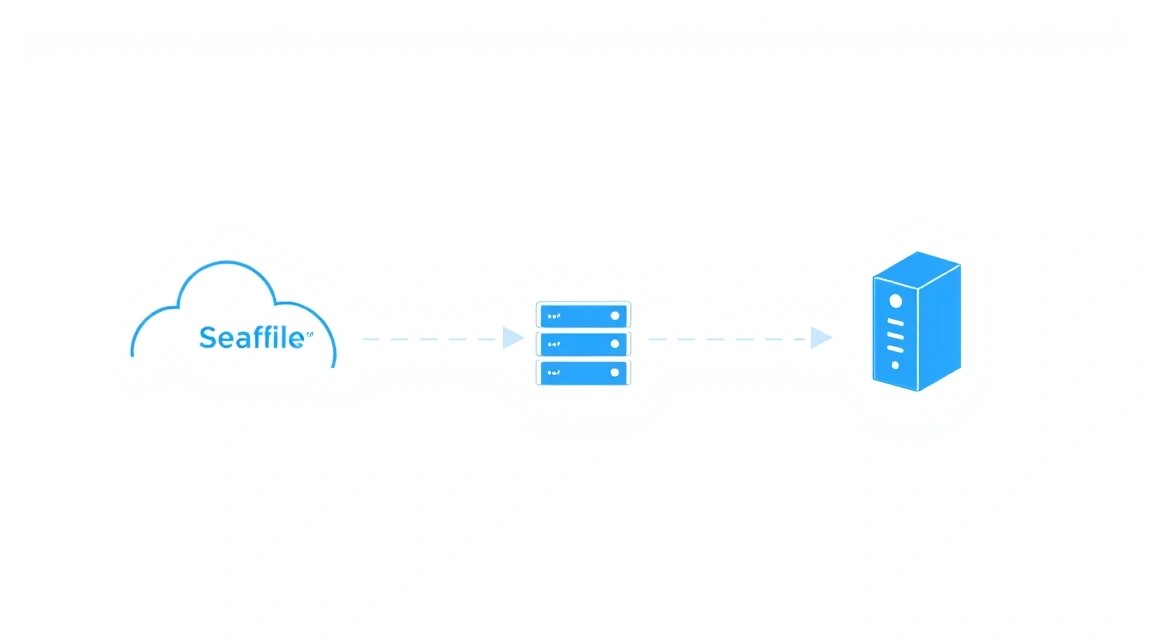
Diagram: What VPS configuration is needed for this task

Choosing the right VPS is a key factor for stable and productive Seafile operation. Requirements may vary depending on the number of users, the volume of data stored, and the intensity of use. Below are recommendations for various scenarios.

Minimum requirements for small teams (up to 10 users)

  • Processor (CPU): 2 vCPU. Seafile is not too demanding on CPU for basic operations, but additional cores will help with file indexing or when multiple users are working simultaneously.
  • Random Access Memory (RAM): 4 GB. This is sufficient for running Seafile, PostgreSQL, and Caddy Docker containers, as well as for data caching. If integrations with OnlyOffice/Collabora are planned, more RAM will be required.
  • Disk (Storage): 100-200 GB SSD. SSD is critical for database performance and file access. The volume depends on the planned data volume. Keep in mind that Seafile stores file versions, which increases the required space.
  • Network: 100 Mbps symmetric channel. For file synchronization, not only download speed but also upload speed is important.

For these purposes, you can choose a VPS with the specified characteristics, for example, with 2 vCPU, 4 GB RAM, and a 100 GB NVMe disk. Make sure the chosen provider offers a reliable channel and stable disk performance.

Recommended configuration for medium teams (10-50 users)

  • Processor (CPU): 4 vCPU.
  • Random Access Memory (RAM): 8-16 GB.
  • Disk (Storage): 500 GB - 1 TB NVMe SSD. NVMe will provide maximum access speed.
  • Network: 1 Gbps symmetric channel.

When a Dedicated Server is needed, not a VPS

A Dedicated Server becomes justified when:

  • Very large number of users: More than 50 active users constantly working with files.
  • Critical data and high load: Maximum performance, guaranteed resources, and low latency are required.
  • Huge data volumes: Several terabytes or more, requiring special disk configurations (RAID).
  • Strict security and compliance requirements: Some regulatory norms may require physical isolation of equipment.
  • Integration with other services: If many other resource-intensive applications are planned to be hosted on the same server.

In this case, instead of a VPS, it is worth considering a suitable dedicated server to gain full control over the hardware and avoid "sharing" with other clients on the same physical server.

VPS location: what it affects

Choosing a VPS location is important for several reasons:

  • Latency: The closer the server is to most of your users, the lower the ping and faster the response. This is critical for comfortable work with cloud storage.
  • Legislation: Depending on the server's country of location, data may fall under various jurisdictions (e.g., GDPR in the EU). Ensure that the chosen location complies with your privacy requirements and legal norms.
  • Connection speed: Some regions may have better backbone channels, which affects overall network performance.

Always choose a location that is geographically closer to the majority of your users and meets your data legislation requirements.

Server preparation
Diagram: Server preparation

After you have gained access to your new VPS, you need to perform a series of basic settings to ensure system security and stability. We will be using Ubuntu 24.04 LTS (Noble Numbat), which will be a current and supported version in 2026.

1. Connecting via SSH

Use an SSH client to connect to your server. Replace your_vps_ip with your server's IP address and root with the username if your provider gave you a different one.


ssh root@your_vps_ip

Upon first connection, you will likely need to enter the root password.

2. System update

Always start by updating all packages to their latest versions.


sudo apt update && sudo apt upgrade -y
sudo apt autoremove -y # Remove unnecessary packages

3. Creating a new user with sudo privileges

Working as the root user is insecure. Create a new user and grant them sudo privileges.


sudo adduser seafileuser # Create a new user
sudo usermod -aG sudo seafileuser # Add them to the sudo group

Then, exit the root session and log in as the new user:


exit
ssh seafileuser@your_vps_ip

4. Setting up SSH keys (recommended)

For increased security, it is recommended to use SSH keys instead of passwords. Generate keys on your local machine (if you haven't already):


ssh-keygen -t ed25519 -C "[email protected]" # On your local machine

Copy the public key to the server:


ssh-copy-id seafileuser@your_vps_ip # On your local machine

After this, you can disable password authentication in /etc/ssh/sshd_config by setting PasswordAuthentication no and restarting the SSH service. Make sure you can log in with a key before disabling passwords!

5. Firewall configuration (UFW)

UFW (Uncomplicated Firewall) is an easy-to-use interface for iptables. Let's configure it to allow only necessary connections.


sudo apt install ufw -y # Install UFW
sudo ufw allow OpenSSH # Allow SSH (port 22)
sudo ufw allow http # Allow HTTP (port 80)
sudo ufw allow https # Allow HTTPS (port 443)
sudo ufw enable # Enable the firewall. Confirm with 'y'.
sudo ufw status # Check status

Now your server is protected from unwanted connections.

6. Installing Fail2Ban

Fail2Ban helps protect against brute-force password attacks by temporarily blocking IP addresses that have too many failed login attempts.


sudo apt install fail2ban -y # Install Fail2Ban
sudo systemctl enable fail2ban # Enable autostart
sudo systemctl start fail2ban # Start the service

Create a local configuration file for Fail2Ban so your changes are not overwritten during updates:


sudo cp /etc/fail2ban/jail.conf /etc/fail2ban/jail.local

You can edit /etc/fail2ban/jail.local to configure parameters (e.g., ban time or number of retries). Make sure the [sshd] section is active (enabled = true).


# Example content of /etc/fail2ban/jail.local
[DEFAULT]
bantime = 10m
findtime = 10m
maxretry = 5

[sshd]
enabled = true
port = ssh
logpath = %(sshd_log)s
backend = %(sshd_backend)s

After making changes, restart Fail2Ban:


sudo systemctl restart fail2ban

Your server is now ready for Seafile installation.

Software Installation — Step-by-Step
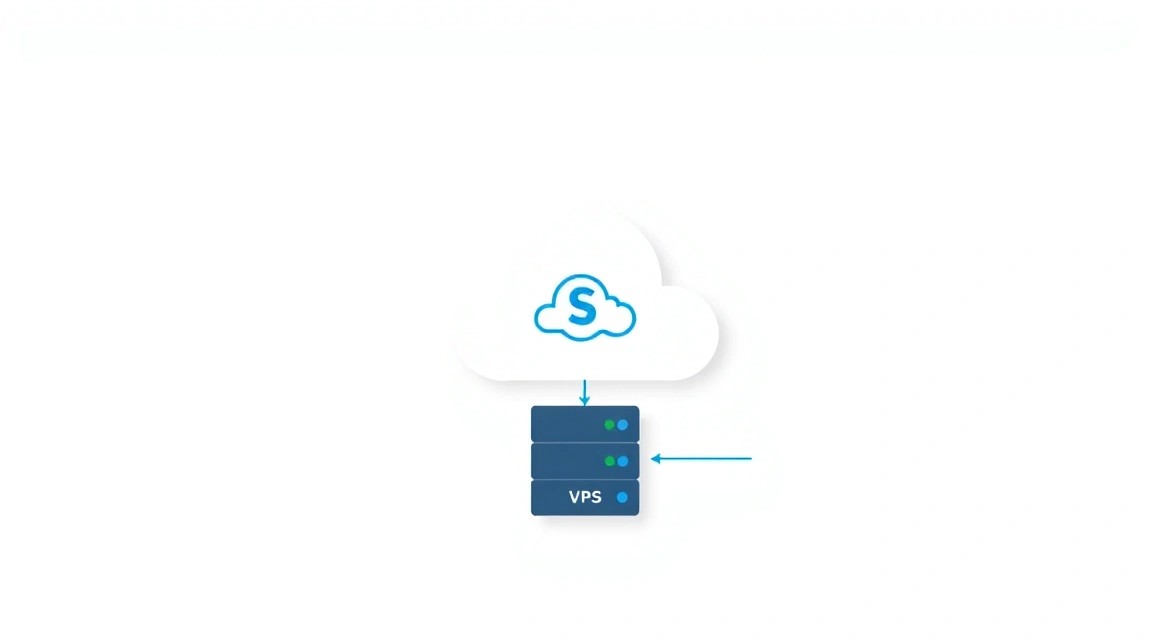
Diagram: Software Installation — Step-by-Step

To install Seafile, we will use Docker Compose. This is a modern and recommended approach that significantly simplifies the deployment and management of all components (Seafile, database, web server) in isolated containers. We will be using Seafile Professional Edition 13.x, the current version for 2026, which offers advanced features compared to the Community Edition.

1. Installing Docker and Docker Compose

First, let's install Docker Engine and Docker Compose on our server.


# Update the package list
sudo apt update

# Install necessary packages for Docker
sudo apt install ca-certificates curl gnupg lsb-release -y

# Add Docker's official GPG key
sudo install -m 0755 -d /etc/apt/keyrings
curl -fsSL https://download.docker.com/linux/ubuntu/gpg | sudo gpg --dearmor -o /etc/apt/keyrings/docker.gpg
sudo chmod a+r /etc/apt/keyrings/docker.gpg

# Add Docker repository to APT sources
echo \
  "deb [arch="$(dpkg --print-architecture)" signed-by=/etc/apt/keyrings/docker.gpg] https://download.docker.com/linux/ubuntu \
  "$(. /etc/os-release && echo "$VERSION_CODENAME")" stable" | \
  sudo tee /etc/apt/sources.list.d/docker.list > /dev/null

# Update the package list with the new Docker repository
sudo apt update

# Install Docker Engine, containerd, and Docker Compose
sudo apt install docker-ce docker-ce-cli containerd.io docker-buildx-plugin docker-compose-plugin -y

# Add the current user to the docker group to run commands without sudo
sudo usermod -aG docker $USER

# Reload user group (or reconnect via SSH)
newgrp docker

# Verify that Docker is installed correctly (should output the version)
docker --version
docker compose version

2. Creating Directories for Seafile

Let's create the directory structure for storing Seafile data and its configuration. This is important for data persistence.


sudo mkdir -p /opt/seafile
cd /opt/seafile
sudo mkdir -p {data,logs,db_data,conf} # Create directories for data, logs, DB, and configs

3. Creating the docker-compose.yml file

We will use the official Seafile Professional Edition image. Create the docker-compose.yml file in the /opt/seafile directory.


sudo nano docker-compose.yml

Insert the following content. This file defines three services: db (PostgreSQL), memcached (for caching), and seafile (the main Seafile service).


version: '3.8'
services:
  db:
    image: postgres:15 # Current PostgreSQL version for 2026
    container_name: seafile-db
    environment:
      - POSTGRES_USER=seafile
      - POSTGRES_PASSWORD=your_db_password # Change to a strong password!
      - POSTGRES_DB=seafile
      - PGDATA=/var/lib/postgresql/data/pgdata
    volumes:
      - /opt/seafile/db_data:/var/lib/postgresql/data/pgdata # Persistent DB data
    restart: unless-stopped
    healthcheck:
      test: ["CMD-SHELL", "pg_isready -U seafile -d seafile"]
      interval: 10s
      timeout: 5s
      retries: 5

  memcached:
    image: memcached:1.6 # Current Memcached version
    container_name: seafile-memcached
    restart: unless-stopped

  seafile:
    image: seafileltd/seafile-pro:13.0.0 # Current Seafile Professional version (example, use the latest)
    container_name: seafile
    ports:
      - "8000:8000" # Port for Seafile HTTP (for internal Caddy use)
      - "8082:8082" # Port for Seafile file server
    volumes:
      - /opt/seafile/data:/shared # Main directory for Seafile data
      - /opt/seafile/logs:/var/log/seafile # Directory for logs
      - /opt/seafile/conf:/opt/seafile/conf # Directory for configuration files
    environment:
      - DB_HOST=db
      - DB_ROOT_PASSWD=your_db_password # PostgreSQL password, must match POSTGRES_PASSWORD
      - [email protected] # Your administrator email
      - SEAFILE_ADMIN_PASSWORD=your_admin_password # Seafile administrator password (Change!)
      - SEAFILE_SERVER_HOSTNAME=your.domain.com # Your domain
      - SEAFILE_SERVER_URL=https://your.domain.com # URL for access
      - TIME_ZONE=Europe/Moscow # Set your timezone
      - SEAFILE_IMAGE_VERSION=13.0.0 # Seafile image version
    depends_on:
      db:
        condition: service_healthy # Start Seafile only after DB is ready
      memcached:
        condition: service_started
    restart: unless-stopped

IMPORTANT:

  • Replace your_db_password with a strong, complex password.
  • Replace [email protected] with your actual email.
  • Replace your_admin_password with a strong, complex password for the Seafile administrator.
  • Replace your.domain.com with your domain name that you will use to access Seafile. Ensure that the DNS A record for this domain points to your VPS's IP address.
  • Check the current version of seafileltd/seafile-pro on Docker Hub or the official Seafile website and use it instead of 13.0.0 if a newer version is available.

4. Starting Seafile

Now that docker-compose.yml is ready, you can start the containers.


cd /opt/seafile
sudo docker compose up -d # Start containers in detached mode

Wait a few minutes for all containers to start and Seafile to perform initial initialization. You can check the status of the containers:


sudo docker compose ps

All services (seafile-db, seafile-memcached, seafile) should be in the running state.
Configuration

Diagram: Configuration

After successfully installing Seafile via Docker Compose, the next step is to configure a web server to handle HTTPS traffic and route requests to Seafile. We will use Caddy – a modern web server that automatically manages TLS certificates from Let's Encrypt, which significantly simplifies HTTPS setup.

1. Domain Name Preparation

Ensure that you have a registered domain name (e.g., cloud.yourdomain.com) and an A or AAAA DNS record pointing to your VPS's IP address. Without this, Caddy will not be able to obtain an SSL certificate.

2. Adding Caddy to docker-compose.yml

Let's edit the existing docker-compose.yml file by adding the Caddy service.


sudo nano /opt/seafile/docker-compose.yml

Add the new caddy service to the end of the file, and also change the seafile port so it doesn't conflict with Caddy if you initially ran Seafile without Caddy. Ensure that ports 80 and 443 are available on your VPS (we opened them in UFW earlier).


version: '3.8'
services:
  db:
    image: postgres:15
    container_name: seafile-db
    environment:
      - POSTGRES_USER=seafile
      - POSTGRES_PASSWORD=your_db_password
      - POSTGRES_DB=seafile
      - PGDATA=/var/lib/postgresql/data/pgdata
    volumes:
      - /opt/seafile/db_data:/var/lib/postgresql/data/pgdata
    restart: unless-stopped
    healthcheck:
      test: ["CMD-SHELL", "pg_isready -U seafile -d seafile"]
      interval: 10s
      timeout: 5s
      retries: 5

  memcached:
    image: memcached:1.6
    container_name: seafile-memcached
    restart: unless-stopped

  seafile:
    image: seafileltd/seafile-pro:13.0.0
    container_name: seafile
    # Remove or comment out ports 8000 and 8082 if you specified them for direct access.
    # Caddy will proxy requests to the internal ports of the Seafile container.
    # ports:
    #   - "8000:8000"
    #   - "8082:8082"
    volumes:
      - /opt/seafile/data:/shared
      - /opt/seafile/logs:/var/log/seafile
      - /opt/seafile/conf:/opt/seafile/conf
    environment:
      - DB_HOST=db
      - DB_ROOT_PASSWD=your_db_password
      - [email protected]
      - SEAFILE_ADMIN_PASSWORD=your_admin_password
      - SEAFILE_SERVER_HOSTNAME=your.domain.com # Ensure this is your domain
      - SEAFILE_SERVER_URL=https://your.domain.com # Ensure this is your domain with HTTPS
      - TIME_ZONE=Europe/Moscow
      - SEAFILE_IMAGE_VERSION=13.0.0
    depends_on:
      db:
        condition: service_healthy
      memcached:
        condition: service_started
    restart: unless-stopped

  caddy:
    image: caddy:2.7.5-alpine # Current Caddy version for 2026
    container_name: caddy
    ports:
      - "80:80" # HTTP
      - "443:443" # HTTPS
    volumes:
      - /opt/seafile/Caddyfile:/etc/caddy/Caddyfile # Caddy config
      - /opt/seafile/caddy_data:/data # Location for Caddy certificates and data
    environment:
      - DOMAIN=your.domain.com # Your domain
    restart: unless-stopped
    depends_on:
      - seafile # Caddy depends on Seafile

IMPORTANT: Replace your.domain.com with your actual domain. Ensure that SEAFILE_SERVER_URL in the seafile service also uses https://your.domain.com.

3. Creating the Caddyfile

Create the configuration file for Caddy in the /opt/seafile/Caddyfile directory.


sudo nano /opt/seafile/Caddyfile

Insert the following content, replacing your.domain.com with your domain:


your.domain.com {
    reverse_proxy /seafhttp/ seafile:8082 # Proxying for Seafile Fileserver
    reverse_proxy / seafile:8000 # Proxying for the main Seafile web interface

    # Additional security settings (optional, but recommended)
    header {
        Strict-Transport-Security "max-age=31536000; includeSubDomains" always
        X-Frame-Options "DENY"
        X-Content-Type-Options "nosniff"
        X-XSS-Protection "1; mode=block"
        Referrer-Policy "strict-origin-when-cross-origin"
    }

    log {
        output file /var/log/caddy/access.log {
            roll_size 10MB
            roll_keep 5
        }
    }
}

Create the directory for Caddy logs:


sudo mkdir -p /opt/seafile/caddy_data /opt/seafile/logs/caddy
sudo chown -R 1000:1000 /opt/seafile/caddy_data # Ensure Caddy has write permissions

4. Restarting Docker Compose

Now that all configurations are ready, let's restart Docker Compose to apply the changes.


cd /opt/seafile
sudo docker compose down # Stop and remove old containers
sudo docker compose up -d # Start new ones with Caddy

Caddy will automatically request and install an SSL certificate for your domain. This may take a few minutes.

5. Verifying Functionality

A few minutes after starting, try to access your Seafile via a web browser using your domain name (e.g., https://your.domain.com). You should see the Seafile login page with a valid SSL certificate.

You can also check availability via curl:


curl -I https://your.domain.com

In the response, you should see an HTTP/2 200 status and headers indicating a successful connection. If there are issues, check the Caddy and Seafile logs.


sudo docker compose logs caddy
sudo docker compose logs seafile

Log in using the administrator email ([email protected]) and password (your_admin_password) that you specified in docker-compose.yml. After logging in, you will be able to create libraries, upload files, and configure users.

Backups and Maintenance

Diagram: Backups and Maintenance

Backups are the cornerstone of any reliable system. For Seafile, it is necessary to regularly create backups so that in the event of a server failure, data corruption, or accidental deletion, you can restore your work. Maintenance includes regular updates and monitoring.

1. What to Back Up

For a complete Seafile recovery, you will need three key components:

  1. Seafile Database: Contains metadata about files, users, libraries, and permissions. Without it, Seafile cannot function.
  2. Seafile Data Directory: Contains the files themselves in encrypted and deduplicated form. This is usually /opt/seafile/data.
  3. Configuration Files: The docker-compose.yml and Caddyfile files, as well as any other settings you may have manually changed (e.g., in /opt/seafile/conf).

2. Simple Auto-Backup Script

Let's create a simple script for automatic backup. We will use pg_dump for the database and rsync for the files. An external S3-compatible object storage or another VPS can be used as the storage location.


sudo nano /opt/seafile/backup_seafile.sh

Insert the following code, replacing the placeholders:


#!/bin/bash

# --- Configuration ---
BACKUP_DIR="/var/backups/seafile"
DB_USER="seafile"
DB_NAME="seafile"
DB_CONTAINER_NAME="seafile-db"
SEAFILE_DATA_DIR="/opt/seafile/data"
SEAFILE_CONF_DIR="/opt/seafile/conf"
CADDY_CONFIG_FILE="/opt/seafile/Caddyfile"
DOCKER_COMPOSE_FILE="/opt/seafile/docker-compose.yml"
TIMESTAMP=$(date +"%Y%m%d%H%M%S")

# --- Create backup directory ---
mkdir -p "$BACKUP_DIR/$TIMESTAMP"
echo "Backup directory created: $BACKUP_DIR/$TIMESTAMP"

# --- 1. PostgreSQL Database Backup ---
echo "Creating database backup..."
# Get password from docker-compose.yml (unsafe for production without encryption, better to use .env)
# For production, it is recommended to use a .env file or Docker secrets
DB_PASS=$(grep POSTGRES_PASSWORD /opt/seafile/docker-compose.yml | awk -F'=' '{print $2}' | xargs)
export PGPASSWORD=$DB_PASS
sudo docker exec $DB_CONTAINER_NAME pg_dump -U $DB_USER -d $DB_NAME > "$BACKUP_DIR/$TIMESTAMP/seafile_db.sql"
if [ $? -eq 0 ]; then
    echo "Database backup successfully created."
else
    echo "Error creating database backup!"
fi
unset PGPASSWORD

# --- 2. Seafile Data Directory Backup ---
echo "Copying Seafile data directory..."
# Use sudo to access /opt/seafile/data, as it might be created by root
sudo rsync -av --delete "$SEAFILE_DATA_DIR" "$BACKUP_DIR/$TIMESTAMP/"
if [ $? -eq 0 ]; then
    echo "Seafile data backup successfully created."
else
    echo "Error copying Seafile data!"
fi

# --- 3. Configuration Files Backup ---
echo "Copying configuration files..."
cp "$SEAFILE_CONF_DIR"/ "$BACKUP_DIR/$TIMESTAMP/" 2>/dev/null
cp "$CADDY_CONFIG_FILE" "$BACKUP_DIR/$TIMESTAMP/"
cp "$DOCKER_COMPOSE_FILE" "$BACKUP_DIR/$TIMESTAMP/"
echo "Configuration backup successfully created."

# --- Clean up old backups (e.g., keep the last 7 days) ---
echo "Cleaning up old backups..."
find "$BACKUP_DIR" -maxdepth 1 -type d -mtime +7 -exec rm -rf {} \;
echo "Old backups deleted."

echo "Backup process completed."

Make the script executable:


sudo chmod +x /opt/seafile/backup_seafile.sh

3. Scheduling Backups with Cron

Add the script to the Cron scheduler for automatic execution. For example, for a daily backup at 03:00 AM:


sudo crontab -e

Add the following line to the end of the file:


0 3    /opt/seafile/backup_seafile.sh >> /var/log/seafile_backup.log 2>&1

This line means: "At 03:00 every day of the week, every day of the month, every month of the year, execute the backup_seafile.sh script and redirect its output to a log file."

4. Where to Store Backups

Important: Do not store backups on the same server as the working data. This negates the purpose of a backup in case of a disk failure on the VPS. Recommended options:

  • External S3-compatible object storage: Cheap, reliable, scalable. Use utilities like s3cmd or rclone for automatic backup uploads.
  • Separate VPS: You can rent a small VPS with sufficient disk space and configure rsync over SSH to copy backups.
  • Local storage with synchronization: If you have a NAS or another server on your local network, you can configure synchronization of backups from the VPS to it.

5. Updates: Rolling vs Maintenance Window

Regular updates are important for security and new features. Since we use Docker Compose, the update process is relatively simple.

  • OS Update: Regularly run sudo apt update && sudo apt upgrade -y on your VPS.
  • Seafile Docker Image Update:
    1. Before updating, always perform a full backup.
    2. Change the Seafile image tag (e.g., from seafileltd/seafile-pro:13.0.0 to seafileltd/seafile-pro:13.0.1 or latest if it's a stable release) in your docker-compose.yml.
    3. Stop the containers: sudo docker compose down.
    4. Pull new images: sudo docker compose pull.
    5. Start the containers: sudo docker compose up -d.

    Maintenance Window: It is recommended to perform Docker image updates during a predefined maintenance window when user activity is minimal. This will help avoid potential issues and quickly resolve them if they arise. Seafile usually does not require long downtime for minor updates, but it is always better to be prepared.

  • Caddy/PostgreSQL/Memcached Update: Similar to Seafile, update the image tags in docker-compose.yml and restart the containers.

Always check the official Seafile documentation before major version upgrades, as additional database migration steps may be required.

Troubleshooting + FAQ

Various issues may arise during the installation and operation of Seafile. Below are answers to frequently asked questions and typical troubleshooting scenarios.

What to do if Seafile does not start or is inaccessible?

Problem: After running docker compose up -d, containers do not start or the Seafile web interface is inaccessible via your domain.

What to check:

  1. Container Status: Execute sudo docker compose ps. Ensure that all containers (seafile-db, seafile-memcached, seafile, caddy) are in the running state. If any container is in an exited or restarting state, proceed to the next step.
  2. Container Logs: Check the logs of the problematic container, for example: sudo docker compose logs seafile or sudo docker compose logs caddy. Look for errors related to DB connection, permissions, configuration, or resource scarcity.
  3. Firewall (UFW): Ensure that ports 80 and 443 are open: sudo ufw status.
  4. DNS: Verify that your domain name correctly points to your VPS's IP address using dig your.domain.com or nslookup your.domain.com.
  5. Caddyfile Configuration: Check the syntax of /opt/seafile/Caddyfile. Any typo can lead to Caddy failure.
  6. Passwords in docker-compose.yml: Ensure that the database passwords (POSTGRES_PASSWORD and DB_ROOT_PASSWD) match.
  7. Domain Names in docker-compose.yml: Ensure that SEAFILE_SERVER_HOSTNAME and SEAFILE_SERVER_URL contain your correct domain.

How to fix: Correct errors in configuration files, then restart the containers: sudo docker compose down && sudo docker compose up -d. If the problem is with Caddy certificates, ensure your domain is accessible from the internet and not blocked by a firewall.

Cannot obtain an SSL certificate from Let's Encrypt via Caddy. What to do?

Problem: Caddy reports an error when trying to obtain an SSL certificate, for example, "certificate acquisition failed".

What to check:

  1. DNS Record: The most common cause. Ensure that the A-record for your domain (e.g., your.domain.com) points to the public IP address of your VPS. Check this using services like whatsmydns.net or locally with dig your.domain.com +short. DNS changes can take up to several hours.
  2. Port 80 and 443 Availability: Ensure that your firewall (UFW) allows incoming connections on ports 80 and 443. Caddy uses port 80 for the Let's Encrypt HTTP-01 challenge.
  3. Caddyfile: Check that the correct domain is specified in /opt/seafile/Caddyfile.
  4. Caddy Logs: sudo docker compose logs caddy. Look for error messages from Let's Encrypt.

How to fix: Correct DNS records, open ports in the firewall, check the Caddy config. After fixing, restart Caddy: sudo docker compose restart caddy.

What is the minimum VPS configuration suitable for Seafile?

Answer: For a small team (up to 10 users) or personal use, a VPS with 2 vCPU, 4 GB RAM, and 100-200 GB SSD storage will be minimally sufficient. It is important that the disk is SSD for good I/O performance, especially for the database. The network channel should be at least 100 Mbps symmetric to ensure comfortable synchronization and upload/download speeds. Remember that the more users and data, the higher the resource requirements should be.

What to choose – VPS or dedicated for this task?

Answer: For most Seafile installation scenarios for small and medium teams (up to 50 users), a VPS is the optimal choice. It offers sufficient performance, scaling flexibility, and significantly lower cost compared to a dedicated server. A dedicated server should be considered if you have a very large number of users (more than 50-100), mission-critical data with high IOPS requirements, huge storage volumes (several terabytes), or if you need full control over hardware and maximum physical isolation for security or regulatory compliance reasons. To start, it's always better to begin with a VPS and then scale to a dedicated server if a real need arises.

How to update Seafile to a new version?

Answer: The process of updating Seafile installed via Docker Compose consists of several steps. First, always make a full backup of the database and Seafile data directory before starting the update. Then, open the docker-compose.yml file and change the Seafile image tag (e.g., from seafileltd/seafile-pro:13.0.0 to seafileltd/seafile-pro:13.0.1 or to latest if it's a stable release). After that, execute sudo docker compose down to stop current containers, sudo docker compose pull to download the new image, and sudo docker compose up -d to start Seafile with the new version. Sometimes, for major updates, additional migration steps described in the official Seafile documentation may be required – always check it before updating.

Seafile takes up too much space. How to reduce disk consumption?

Problem: The VPS disk fills up quickly, especially with active file operations and versioning.

What to check and how to fix:

  1. File Versioning: Seafile by default stores file version history. You can configure the version retention policy for each library or globally to delete old versions after a certain period. This is done through the administrator web interface.
  2. Trash Bin: Files deleted from libraries first go to the trash bin. Regularly clear the trash bin through the administrator web interface.
  3. Garbage Collection: Seafile has a built-in "garbage collection" function to delete unused data blocks. It can be run from the administrator web interface or manually in the Seafile container. For example: sudo docker exec seafile /opt/seafile/seafile-server-latest/seaf-gc.sh. This can take a long time for large volumes of data.
  4. Disk Size: If the listed methods do not help, you may simply need to increase your VPS's disk space. Most providers allow this without reinstalling the system.

How to change the Seafile domain name after installation?

Answer: If you need to change the domain name for your Seafile, you will need to make changes in several places. First, update the DNS record for the new domain so that it points to your VPS's IP address. Then, edit the /opt/seafile/docker-compose.yml file, changing the values of SEAFILE_SERVER_HOSTNAME and SEAFILE_SERVER_URL to the new domain. Also, edit /opt/seafile/Caddyfile, specifying the new domain in the first line. After saving the changes, execute sudo docker compose down && sudo docker compose up -d so that Caddy can request a new SSL certificate for the new domain, and Seafile updates its internal links.

Conclusions and Next Steps

Diagram: Conclusions and Next Steps

Congratulations! You have successfully installed and configured your own private Seafile cloud storage on your VPS. Now you have full control over your data, high performance, and security ensured by HTTPS and regular backups. You have created a reliable platform for file synchronization and collaboration that fully meets your needs for privacy and control.

Next steps for developing your cloud storage:

  • Integration with OnlyOffice/Collabora Online: For full real-time document collaboration, consider integrating Seafile with OnlyOffice or Collabora Online. This will allow you to edit documents directly in the browser.
  • Advanced User Management: If you have a large team, set up Seafile integration with LDAP/Active Directory for centralized user management.
  • Performance Monitoring: Install monitoring tools (e.g., Prometheus + Grafana) to track CPU, RAM, disk, and network usage to anticipate problems and plan for scaling.
  • Storage Optimization: Explore Seafile's storage configuration options, such as using external S3-compatible storage for file blocks, which can be more cost-effective for very large data volumes.

Was this guide helpful?

Your feedback helps us improve our guides.

Share this post:

Send this guide to someone who may find it useful.

Telegram VKVK WhatsApp Facebook LinkedIn XX

Install Seafile on VPS for private cloud storage
support_agent
Valebyte Support
Usually replies within minutes
Hi there!
Send us a message and we'll reply as soon as possible.