Installation of Mailcow on VPS: A Complete Guide to Self-Hosted Email with Docker and Let's Encrypt
TL;DR
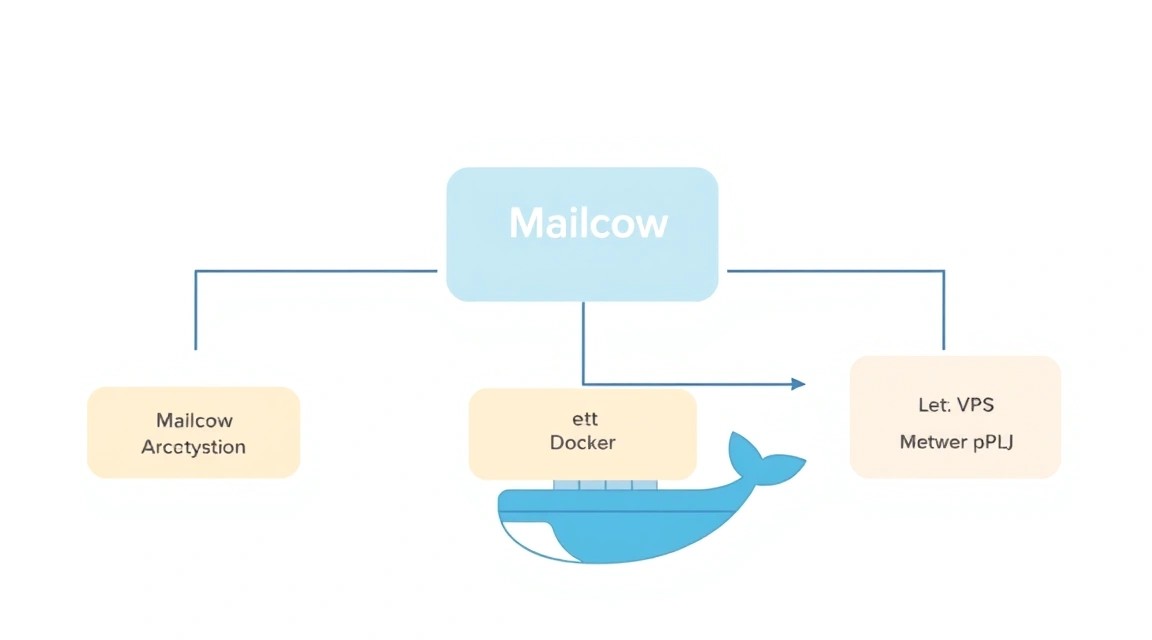
In this detailed guide, we will step-by-step set up a full-fledged Mailcow email server on your Virtual Private Server (VPS), using Docker and automatically generated SSL certificates from Let's Encrypt. You will gain complete control over your email, ensuring privacy, reliability, and flexibility, which is ideal for developers, solo founders, and companies striving for independence from third-party email providers.
- Setting up Mailcow on a VPS allows you to create your own email service with full data control.
- Using Docker simplifies the deployment, isolation, and updating of all Mailcow components.
- Automatic integration of Let's Encrypt provides free and up-to-date SSL/TLS certificates for traffic protection.
- The guide covers all stages: from VPS selection and basic server setup to Mailcow installation, DNS configuration, backup, and troubleshooting common issues.
- You will get a fully functional email server, including a web interface, antispam, antivirus, and support for modern protocols.
- All commands and settings are current for 2026 and are intended for immediate execution.
What We Are Setting Up and Why
In this guide, we will install and configure Mailcow, a comprehensive solution for creating your own email server. Mailcow is a powerful, fully containerized (Docker-based) email service that provides all the necessary components for email operation: SMTP, IMAP/POP3, web interface (SOGo), antispam (Rspamd), antivirus (ClamAV), calendar, contacts, as well as integration with Let's Encrypt for automatic issuance of SSL/TLS certificates.
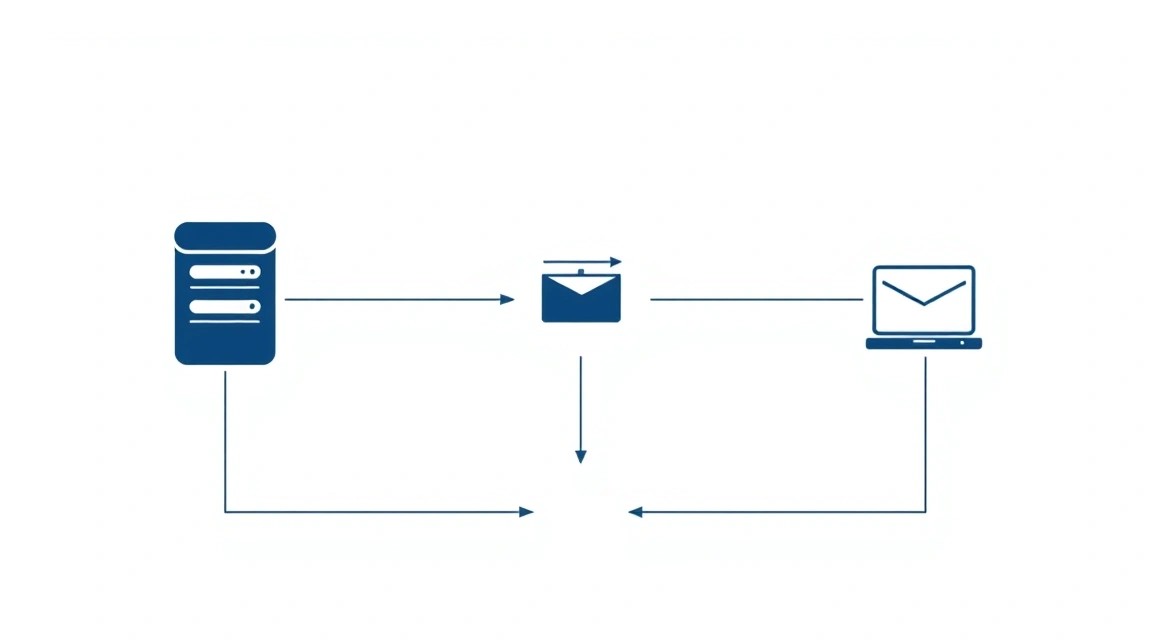
The task is to deploy Mailcow on your own VPS or dedicated server, which will give you full control over your email infrastructure. Ultimately, you will get a reliable and secure email server that can serve domains and users of your choice. You will be able to create mailboxes, manage aliases, configure spam filtering rules, and be confident in the confidentiality of your data, as it will be stored on your own hardware, not with a third-party provider.
Why self-hosted email on a VPS, and not cloud services?
There are many alternatives to self-hosted email, such as Gmail, Outlook 365, ProtonMail, or Yandex.Mail for a domain. They offer convenience and ease of use but have their drawbacks:
- Data Control: When using cloud services, your data is stored on third-party servers, which can raise privacy and security concerns. A self-hosted solution gives you full control over where and how your emails are stored.
- Flexibility and Customization: Cloud services offer limited customization options. Mailcow, being deployed on your server, allows you to finely tune all aspects of email operation, from filtering rules to integration with other systems.
- Long-term Cost: For large teams or many mailboxes, the cost of cloud email services can significantly increase. Your own server, when properly configured, can be a more cost-effective solution.
- Independence: You are not dependent on the policies, failures, or changes in the operation of third-party providers. Your email server will work as you have configured it.
This guide is ideal for those who value privacy, want full control over their infrastructure, or have specific requirements that cannot be met by standard cloud offerings. Developers can set up email for their projects, startups for team communication, and crypto enthusiasts for ensuring privacy.
What VPS Configuration is Needed for This Task
For successful and stable Mailcow deployment, it is critically important to choose a suitable VPS or dedicated server. Mailcow, although optimized for containerized operation, is a fairly resource-intensive application due to the multitude of included components (database, web server, antispam, antivirus, etc.).
Minimum Requirements (for 1-5 users, low traffic):
- CPU: 2 x86-64 cores. Modern processors with high clock speeds are preferred.
- RAM: 4 GB. This is the absolute minimum; with active antispam and antivirus, it might be insufficient. Part of the RAM will be used by Docker and the OS.
- Disk: 50 GB SSD. SSD is critically important for database performance and fast access to email files. Keep in mind that emails quickly fill up disk space.
- Network: 100 Mbps with unlimited traffic or a large volume (minimum 1 TB/month). A stable IP address, preferably without a spam history.
Recommended VPS Plan (for 5-20 users, moderate traffic):
- CPU: 4 x86-64 cores.
- RAM: 8 GB. This will ensure comfortable operation of all components, including Rspamd and ClamAV.
- Disk: 100-200 GB SSD. With a reserve for mailbox growth and log storage.
- Network: 1 Gbps with unlimited traffic.
For such characteristics, you can consider a VPS with the specified characteristics. When choosing, always pay attention to the disk type (SSD only) and the availability of unlimited or large traffic volume.
When is a dedicated server needed, not a VPS?
A dedicated server becomes necessary if:
- Large Number of Users: More than 50 active users generating significant traffic.
- High Email Volume: The server processes hundreds of thousands of emails per day.
- Performance Requirements: Maximum performance is needed for antispam, antivirus, or specific integrations.
- Strict SLAs and Isolation: Full physical isolation is required for security and stability, as well as guaranteed resources without "noisy neighbors".
- Large Data Storage: Mailboxes with terabytes of data.
For such scenarios, it is advisable to consider a suitable dedicated server, which provides full control over hardware and guarantees dedicated resources.
Location: What it affects
The choice of server location can affect several factors:
- Latency: The closer the server is to most of your users, the lower the latency will be when accessing the web interface and IMAP/POP3.
- Legislation: Data storage and privacy laws vary in different countries. Choose a location that complies with your requirements and regulatory norms.
- IP Address Reputation: Some IP ranges in certain countries may have a worse reputation with spam filters, which can affect your email deliverability. It is preferable to choose providers with a good reputation and the possibility of obtaining a "clean" IP address.
- DNS Resolution: Proximity to major internet nodes can slightly speed up DNS queries, but this is less critical than user latency.
It is usually recommended to choose a location as close as possible to your primary audience or business location.
Server Preparation
Before installing Mailcow, basic server preparation is required. We will use Ubuntu 24.04 LTS as a stable and widely used operating system. Ensure you have SSH access to the server with root privileges or a user with sudo.
1. System Update and Basic Utility Installation
First, let's update the system and install the necessary packages.
sudo apt update                                 # Update package list
sudo apt upgrade -y                             # Upgrade installed packages
sudo apt install -y curl wget git               # Install basic utilities: curl, wget, git
2. Creating a New User with Sudo Privileges (Recommended)
Working as root is not recommended for everyday tasks. Let's create a new user and add them to the sudo group.
sudo adduser mailuser                           # Create a new user 'mailuser'
sudo usermod -aG sudo mailuser                  # Add user 'mailuser' to the 'sudo' group
Now, exit the root session and log in as mailuser. All subsequent commands requiring privileges will be executed with sudo.
3. SSH Key Setup (Optional, but Highly Recommended)
To enhance security, it is recommended to use SSH keys instead of passwords. If you don't already have a key pair, generate them on your local machine:
ssh-keygen -t rsa -b 4096 # Generate a new SSH key on the local machine
Then copy the public key to the server:
ssh-copy-id mailuser@ВАШ_IP_СЕРВЕРА # Copy the public key to the server for 'mailuser'
After this, you can disable password authentication in the file /etc/ssh/sshd_config by setting PasswordAuthentication no and restarting the SSH service.
4. Firewall Configuration (UFW)
Let's install and configure UFW (Uncomplicated Firewall) to protect the server. By default, all incoming connections will be denied, except those we explicitly allow.
sudo apt install -y ufw                         # Install UFW
sudo ufw default deny incoming                  # Deny all incoming connections by default
sudo ufw default allow outgoing                 # Allow all outgoing connections by default
sudo ufw allow ssh                              # Allow SSH (port 22)
sudo ufw enable                                 # Enable firewall
sudo ufw status                                 # Check firewall status
At this stage, the server is ready for Docker and Mailcow installation.
Software Installation — Step-by-Step
Mailcow runs on Docker, so the first step will be to install Docker Engine and Docker Compose. We will use the current versions for 2026.
1. Docker Engine Installation
We will install Docker Engine using the official Docker repository to always get the latest versions.
# Добавляем GPG ключ Docker
sudo apt update
sudo apt install -y ca-certificates curl gnupg lsb-release
sudo install -m 0755 -d /etc/apt/keyrings
curl -fsSL https://download.docker.com/linux/ubuntu/gpg | sudo gpg --dearmor -o /etc/apt/keyrings/docker.gpg
sudo chmod a+r /etc/apt/keyrings/docker.gpg

# Добавляем репозиторий Docker в APT
echo \
  "deb [arch="$(dpkg --print-architecture)" signed-by=/etc/apt/keyrings/docker.gpg] https://download.docker.com/linux/ubuntu \
  "$(. /etc/os-release && echo "$VERSION_CODENAME")" stable" | \
  sudo tee /etc/apt/sources.list.d/docker.list > /dev/null

# Устанавливаем Docker Engine, Docker CLI и containerd
sudo apt update
sudo apt install -y docker-ce docker-ce-cli containerd.io docker-buildx-plugin docker-compose-plugin

# Проверяем установку Docker
sudo docker run hello-world                     # Запускаем тестовый контейнер для проверки установки Docker
Add your user to the docker group to avoid using sudo with every Docker command:
sudo usermod -aG docker $USER                   # Добавляем текущего пользователя в группу 'docker'
newgrp docker                                   # Применяем изменения группы без перезахода
Docker is now installed and ready to use. The Docker Engine version will be approximately 26.x - 27.x, and Docker Compose Plugin 2.24.x - 2.27.x, which is current for 2026.
2. Cloning the Mailcow-Dockerized Repository
Navigate to the directory where you want to store Mailcow files (e.g., /opt/mailcow-dockerized) and clone the official Mailcow repository.
sudo mkdir /opt/mailcow-dockerized              # Создаем директорию для Mailcow
sudo chown $USER:$USER /opt/mailcow-dockerized  # Устанавливаем владельца директории на текущего пользователя
cd /opt/mailcow-dockerized                      # Переходим в созданную директорию
git clone https://github.com/mailcow/mailcow-dockerized . # Клонируем репозиторий Mailcow в текущую директорию
3. Generating the Mailcow Configuration File
Mailcow uses the mailcow.conf file for its settings. It can be generated using a script.
./generate_config.sh # Запускаем скрипт для генерации mailcow.conf
The script will ask a few questions:
- Hostname (FQDN): Enter the fully qualified domain name of your mail server, for example,
mail.yourdomain.com. This will be the primary name by which your server is accessible. - Timezone: Select your timezone.
After answering the questions, the mailcow.conf file will be created. Open it and ensure all settings meet your needs. Pay special attention to variables related to ports and networking if you have specific requirements.
4. Configuring DNS Records
This is a critically important step for the mail server to function. Without correct DNS records, your mail will not be delivered or will end up in spam. You will need to add the following records to your domain's DNS management panel (yourdomain.com):
- A-record for Mailcow FQDN:
- Name/Host:
mail(or your FQDN, e.g.,mail.yourdomain.com) - Type:
A - Value:
YOUR_SERVER_IP
- Name/Host:
- AAAA-record for Mailcow FQDN (if using IPv6):
- Name/Host:
mail - Type:
AAAA - Value:
YOUR_SERVER_IPV6_ADDRESS
- Name/Host:
- MX-record: (points to your mail server)
- Name/Host:
@oryourdomain.com - Type:
MX - Priority:
10(or any number, lower means higher priority) - Value:
mail.yourdomain.com
- Name/Host:
- SPF-record: (to prevent sender spoofing)
- Name/Host:
@oryourdomain.com - Type:
TXT - Value:
v=spf1 mx a:mail.yourdomain.com -all
- Name/Host:
- DKIM-record: (for signing outgoing emails; generated by Mailcow)
- After the first launch, Mailcow will generate DKIM keys. You will need to copy the TXT record from the Mailcow web interface (
Configuration->Domains->Add domainorEdit domain) and add it to DNS. The format will be approximately:dkim._domainkey.yourdomain.com TXT v=DKIM1; k=rsa; p=PUBLIC_KEY
- After the first launch, Mailcow will generate DKIM keys. You will need to copy the TXT record from the Mailcow web interface (
- DMARC-record: (to define the policy for handling emails that fail SPF/DKIM)
- Name/Host:
_dmarc - Type:
TXT - Value:
v=DMARC1; p=quarantine; fo=1; ruf=mailto:[email protected]; rua=mailto:[email protected](replace[email protected]with a real address)
- Name/Host:
Ensure that all DNS records are indexed and available (this may take several hours). You can check them using dig or online tools, such as MXToolbox.
dig A mail.yourdomain.com               # Проверяем A-запись
dig MX yourdomain.com                   # Проверяем MX-запись
dig TXT yourdomain.com                  # Проверяем SPF-запись
dig TXT _dmarc.yourdomain.com           # Проверяем DMARC-запись
5. Starting Mailcow
Now that Docker is installed, the configuration is generated, and DNS is set up, you can start Mailcow.
cd /opt/mailcow-dockerized                      # Убедитесь, что вы находитесь в директории Mailcow
docker compose pull                             # Загружаем все необходимые Docker-образы (актуальные на 2026)
docker compose up -d                            # Запускаем все контейнеры Mailcow в фоновом режиме
The process of downloading images and starting containers may take some time depending on your internet connection speed and server performance. After starting, you can check the status of the containers:
docker compose ps # Проверяем статус запущенных контейнеров Mailcow
All containers should be in the running state.
6. Allowing Mailcow Ports in UFW
Mailcow uses many ports. Let's allow them in the UFW firewall.
sudo ufw allow 80/tcp                           # HTTP (for Let's Encrypt ACME challenge)
sudo ufw allow 443/tcp                          # HTTPS (for web interface and mail clients)
sudo ufw allow 25/tcp                           # SMTP (for sending/receiving mail)
sudo ufw allow 465/tcp                          # SMTPS (SMTP over SSL/TLS)
sudo ufw allow 587/tcp                          # Submission (SMTP for clients with StartTLS)
sudo ufw allow 110/tcp                          # POP3
sudo ufw allow 995/tcp                          # POP3S (POP3 over SSL/TLS)
sudo ufw allow 143/tcp                          # IMAP
sudo ufw allow 993/tcp                          # IMAPS (IMAP over SSL/TLS)
sudo ufw allow 4190/tcp                         # Sieve (server-side mail filtering)
sudo ufw status                                 # Check firewall status
Your Mailcow mail server is now running and accessible via the specified FQDN.