Setting up Authelia on a VPS for Centralized Authentication and Two-Factor Protection of Web Applications
TL;DR
In this detailed guide, we will set up Authelia step-by-step on your VPS to provide centralized authentication and robust two-factor protection for all your web applications. You will learn how to use Docker and Caddy to deploy Authelia, integrate it with your services, and protect them from unauthorized access.
Installation and configuration of Authelia using Docker Compose.
Integration of Authelia with the Caddy reverse proxy for automatic HTTPS.
Protecting your web applications with a single point of authentication.
Implementing two-factor authentication (2FA) to enhance security.
Recommendations for backups, maintenance, and troubleshooting common issues.
Detailed commands and configuration file examples, current for 2026.
What we are setting up and why
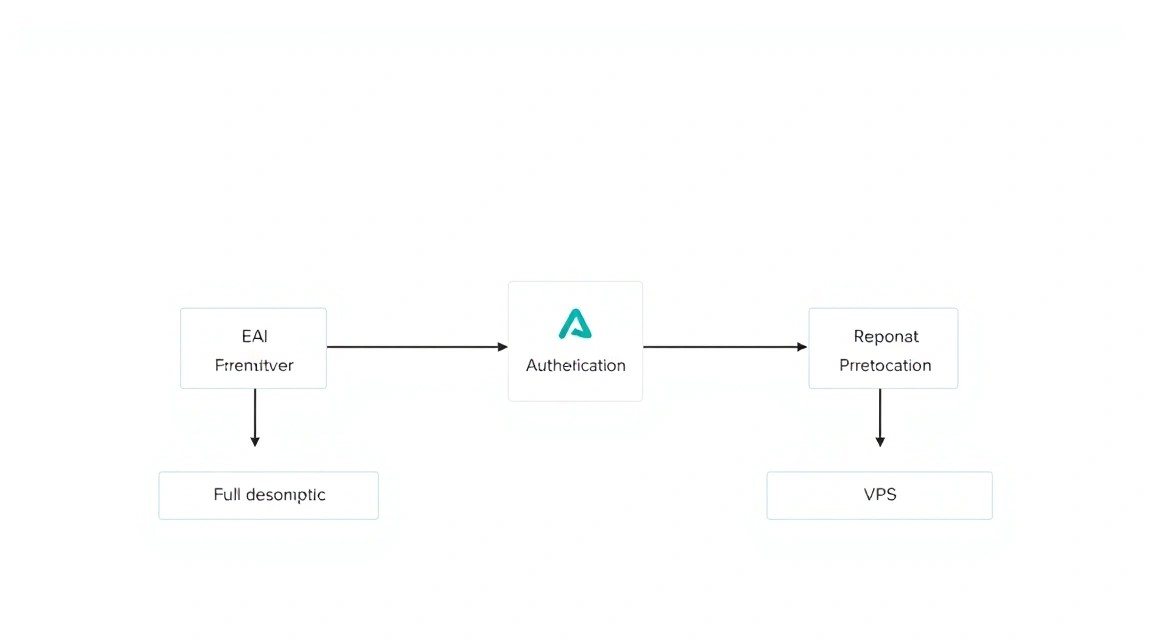
Diagram: What we are setting up and why
In today's world, where every developer, solo founder, or even gamer manages multiple web services on their VPS, ensuring security and convenient access becomes critically important. It's common to deal with dozens of logins and passwords for GitLab, Mattermost, Grafana, Nextcloud, a Minecraft server, or even a custom blockchain node. This is not only inconvenient but also insecure, especially if separate two-factor authentication (2FA) has to be configured for each service.
This is where Authelia comes to the rescue. Authelia is a free, open-source solution that acts as an Authentication Gateway for your web applications. It allows you to centralize the authentication and authorization process, and add a second factor of protection (2FA) for access to any service behind it. Simply put, you configure Authelia once, and it takes over user verification before they gain access to your applications.
What will you get in the end? You will be able to protect any web application running on your VPS, whether it's an internal tool, a control panel, or a public service. Users will only need to authenticate once through Authelia to gain access to all authorized applications (Single Sign-On, SSO). Additionally, Authelia enforces 2FA for all protected services, significantly enhancing their security without the need to configure 2FA in each application separately. This is especially valuable for critical services such as admin panels or financial tools.
There are alternatives to Authelia, such as cloud solutions (Okta, Auth0, Google Identity Platform) or other self-hosted options (Keycloak, Pomerium, Authentik). Cloud services are convenient but can be expensive, limit control over data, and may not be suitable for confidential or experimental projects. Self-hosted solutions, like Authelia, on the other hand, give you full control over data, configuration, and security, without requiring significant financial investment beyond the cost of the VPS. Choosing self-hosted on a VPS is ideal for those who value independence, cost savings, and flexibility, especially if you already use a VPS to host your services.
What VPS configuration is needed for this task
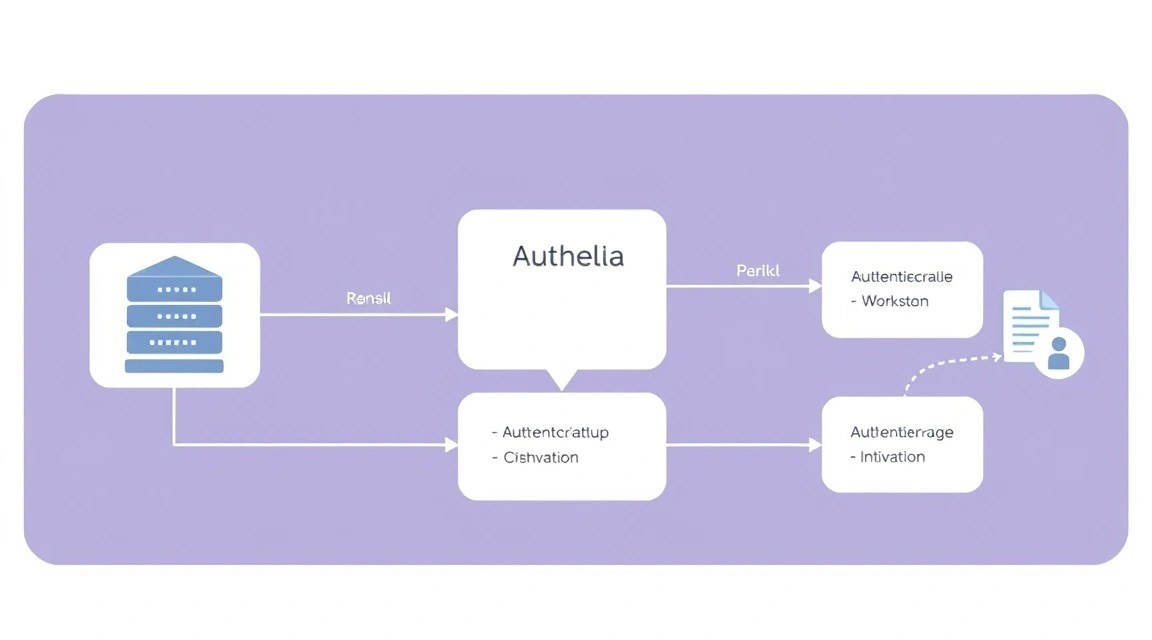
Diagram: What VPS configuration is needed for this task
Authelia itself is not a resource-intensive application, especially when used with a local user database and SQLite for internal data storage. However, it will work in conjunction with a reverse proxy (e.g., Caddy or Nginx), and possibly with your other web applications. Therefore, it is important to choose the correct VPS configuration.
Minimum requirements for Authelia and Caddy:
CPU: 1-2 vCPU. Authelia and Caddy are well-optimized and do not require much CPU time, except during peak authentication loads.
RAM: 1-2 GB. Authelia in a Docker container typically consumes 50 to 200 MB of RAM, Caddy similarly. Free RAM is needed for the operating system and other background processes.
Disk: 25-50 GB SSD. This will be more than enough for the operating system, Docker images, logs, and configuration files. SSD is important for fast loading and operation.
Network: 100 Mbps. Traffic for authentication is minimal. If other high-load applications will run on the same VPS, a wider channel will be required.
Recommended VPS plan for a typical task (up to 50-100 active users):
For comfortable operation of Authelia, Caddy, and several protected applications (e.g., GitLab, Mattermost), the following configuration plan is recommended:
CPU: 2 vCPU
RAM: 2-4 GB
Disk: 50-100 GB NVMe SSD (preferred for better performance)
Network: 1 Gbps port with unlimited traffic or a large limit
To rent a VPS with the specified characteristics, you can consider providers offering plans with 2 vCPU, 2-4 GB RAM, and 50+ GB SSD. Such a configuration will ensure stable operation of Authelia and the protected services.
When is a dedicated server needed, not a VPS?
A dedicated server may be required if:
Very large number of users: If you plan to protect hundreds or thousands of active users, especially with frequent authentication requests.
High-load protected applications: If Authelia will run on the same server as extremely resource-intensive applications (e.g., a large GitLab instance, Elasticsearch, databases with high load), a dedicated server will provide guaranteed performance.
Performance and isolation requirements: For critical corporate systems where complete isolation from "neighbors" on the hypervisor and guaranteed I/O disk and network performance are important.
Complex integrations: If Authelia will be integrated with multiple external LDAP/Active Directory servers or other SSO providers, which may increase the load.
For most personal projects, small teams, or SaaS solo founders, a VPS with the characteristics described above will be more than sufficient.
VPS location: what it affects
The choice of VPS location affects several key aspects:
Latency: The closer the server is to your primary users, the lower the latency will be. This is critical for interactive applications and overall user experience. For authentication, this means faster loading of login pages.
Regulatory requirements: Depending on where your audience is located and what data you process, different data protection laws (e.g., GDPR in Europe) may apply. Choosing a server in a specific jurisdiction can help comply with these requirements.
Cost: VPS prices can vary depending on the location.
Service availability: Some cloud storage or external services may be more accessible or faster from certain regions.
Choose a location that is geographically closer to most of your users to minimize latency when accessing protected applications.
Server preparation
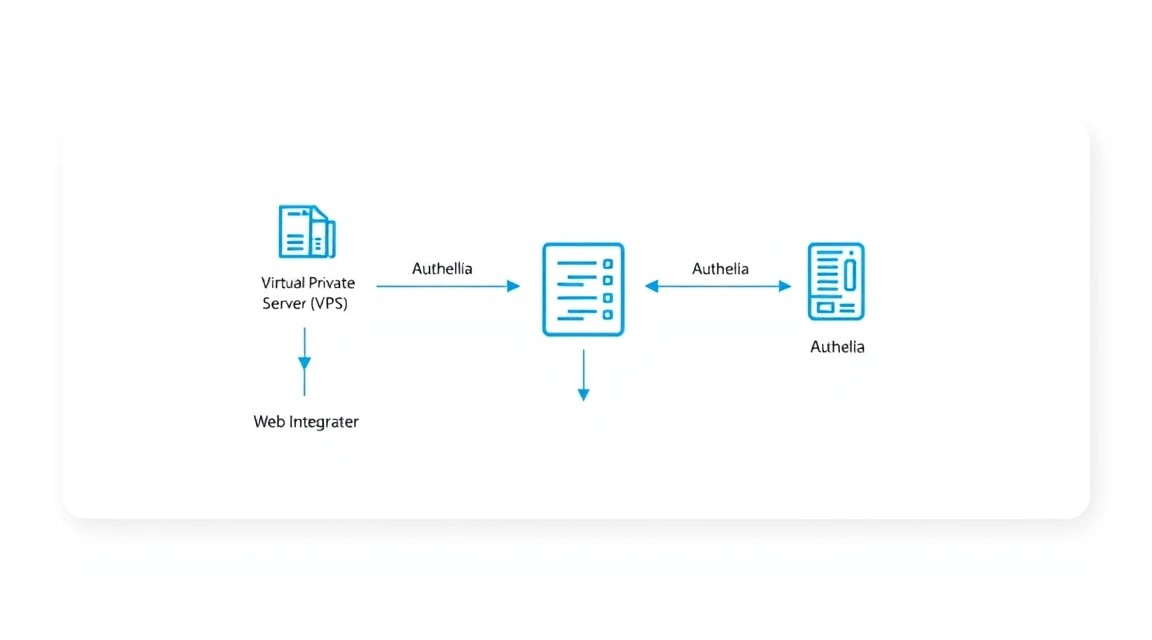
Diagram: Server preparation
Before proceeding with Authelia installation, you need to prepare your VPS. In this guide, we will use Ubuntu Server 24.04 LTS, as it is a current and stable version of the operating system for 2026, widely used in production.
1. SSH Connection
Connect to your new VPS using SSH. Use the root user or the user provided by your hosting provider.
ssh user@your_vps_ip_address
2. System Update
Always update the system first to ensure all packages are current and known vulnerabilities are patched.
sudo apt update          # Update package list
sudo apt upgrade -y      # Upgrade installed packages to the latest versions
sudo apt autoremove -y   # Remove unnecessary dependencies
3. Creating a new user and configuring sudo (optional, but recommended)
Working as the root user is insecure. Create a new user with limited privileges and grant them the ability to execute commands with sudo.
sudo adduser authelia_admin          # Create a new user
sudo usermod -aG sudo authelia_admin # Add the user to the sudo group
Now, exit the root session and log in as the new user:
exit
ssh authelia_admin@your_vps_ip_address
4. Configuring SSH keys (recommended)
For increased security, it is recommended to use SSH keys instead of passwords. If you haven't set them up yet, copy your public SSH key to the server.
ssh-copy-id authelia_admin@your_vps_ip_address # Run this on your local machine
After copying the keys, you can disable password authentication in the /etc/ssh/sshd_config file by setting PasswordAuthentication no and restarting the SSH service.
sudo nano /etc/ssh/sshd_config
# Find the line "PasswordAuthentication yes" and change it to "no"
# Save and close the file (Ctrl+X, Y, Enter)
sudo systemctl restart sshd
5. Configuring Firewall (UFW)
Uncomplicated Firewall (UFW) is an easy-to-use interface for iptables. Configure it to allow only the necessary ports (SSH, HTTP, HTTPS).
Fail2ban protects your server from brute-force attacks by blocking IP addresses that make too many failed login attempts.
sudo apt install fail2ban -y     # Install Fail2ban
sudo systemctl enable fail2ban   # Enable Fail2ban on system startup
sudo systemctl start fail2ban    # Start the Fail2ban service
The basic Fail2ban configuration already includes SSH protection. For more fine-grained settings, you can copy and edit the /etc/fail2ban/jail.conf file to /etc/fail2ban/jail.local.
sudo cp /etc/fail2ban/jail.conf /etc/fail2ban/jail.local
sudo nano /etc/fail2ban/jail.local
# In this file, you can configure, for example, the ban time (bantime) or the number of retries (maxretry)
# Save and close, then restart Fail2ban:
sudo systemctl restart fail2ban
Now your server is ready for Authelia and related software installation.
Software Installation — Step-by-Step
Diagram: Software Installation — Step-by-Step
To deploy Authelia, we will use Docker and Docker Compose. This ensures isolation, simplifies dependency management, and facilitates updates. For the reverse proxy server that will redirect requests to Authelia and provide HTTPS, we will choose Caddy due to its ease of configuration and automatic integration with Let's Encrypt.
1. Docker Engine Installation
The current version of Docker Engine (e.g., v25.x or newer as of 2026) is required to run Authelia and Caddy containers.
# Remove old Docker versions, if any
for pkg in docker.io docker-doc docker-compose docker-compose-v2 podman-docker containerd runc; do sudo apt remove $pkg; done

# Install necessary dependencies
sudo apt update
sudo apt install ca-certificates curl gnupg lsb-release -y

# Add Docker's official GPG key
sudo install -m 0755 -d /etc/apt/keyrings
curl -fsSL https://download.docker.com/linux/ubuntu/gpg | sudo gpg --dearmor -o /etc/apt/keyrings/docker.gpg
sudo chmod a+r /etc/apt/keyrings/docker.gpg

# Add the Docker repository to APT sources
echo \
  "deb [arch="$(dpkg --print-architecture)" signed-by=/etc/apt/keyrings/docker.gpg] https://download.docker.com/linux/ubuntu \
  "$(. /etc/os-release && echo "$VERSION_CODENAME")" stable" | \
  sudo tee /etc/apt/sources.list.d/docker.list > /dev/null

# Update package list and install Docker Engine
sudo apt update
sudo apt install docker-ce docker-ce-cli containerd.io docker-buildx-plugin docker-compose-plugin -y

# Add the current user to the docker group to avoid using sudo before each docker command
sudo usermod -aG docker $USER
# Log out and log back in for the changes to take effect:
# exit
# ssh authelia_admin@your_vps_ip_address

# Verify Docker installation
docker run hello-world
If the command docker run hello-world executed successfully, Docker is installed and running.
2. Creating the Directory Structure for Authelia
We will create a separate directory for all Authelia files, including configuration, data, and the Docker Compose file.
mkdir -p ~/authelia/config         # Create the main directory and a subdirectory for configuration
cd ~/authelia                      # Navigate to the authelia directory
3. Creating the docker-compose.yml file
This file will define our services: Authelia and Caddy.
nano docker-compose.yml
Insert the following content (current for Docker Compose v3.x and Authelia v4.x):
version: "3.8"

services:
  authelia:
    image: authelia/authelia:4.37.0 # Current version as of 2026, e.g., 4.37.0
    container_name: authelia
    restart: unless-stopped
    volumes:
      - ./config:/config
    environment:
      - AUTHELIA_CONFIG=/config/configuration.yml
      # Environment variables for secrets (will be created later)
      - AUTHELIA_JWT_SECRET=replace_with_a_strong_jwt_secret
      - AUTHELIA_SESSION_SECRET=replace_with_a_strong_session_secret
      - AUTHELIA_DUO_API_SECRET=replace_with_a_duo_api_secret # If using Duo Security
      - AUTHELIA_AUTHENTICATION_BACKEND_LDAP_PASSWORD=replace_with_ldap_bind_password # If using LDAP
    ports:
      - "9091:9091" # Default port for Authelia, will be proxied by Caddy
    healthcheck:
      test: ["CMD", "authelia", "healthcheck"]
      interval: 5s
      timeout: 3s
      retries: 5

  caddy:
    image: caddy:2.7.6-alpine # Current Caddy version as of 2026, e.g., 2.7.6
    container_name: caddy
    restart: unless-stopped
    ports:
      - "80:80"
      - "443:443"
    volumes:
      - ./Caddyfile:/etc/caddy/Caddyfile
      - ./caddy_data:/data # For storing Let's Encrypt certificates
    depends_on:
      - authelia # Caddy depends on Authelia

networks:
  default:
    name: authelia_network # Optional, for better organization
Save the file (Ctrl+X, Y, Enter).
4. Generating Secrets
Authelia requires strong secrets for JWT tokens and sessions. Generate them using the following command (can be run multiple times for different secrets):
openssl rand -base64 64 # Generates a 64-byte secret in Base64
Copy the generated strings. You will need at least two: for AUTHELIA_JWT_SECRET and AUTHELIA_SESSION_SECRET. Replace them in the docker-compose.yml file.
IMPORTANT: Never use the same secrets. Generate unique ones for each.
5. Starting Docker Compose (first time)
Start the containers. They will likely not start completely, as Authelia is not yet configured, but this will allow the necessary directories to be created and basic Docker functionality to be checked.
docker compose up -d           # Start services in the background
docker compose ps              # Check container status
You will see that the authelia and caddy containers are running, but Authelia might be in an "unhealthy" or "restarting" state due to missing configuration.
Configuration
Diagram: Configuration
Now that the main components are installed, it's time to configure Authelia and Caddy.
1. Authelia Configuration (configuration.yml)
Create the configuration.yml file in the ~/authelia/config/ directory. This file contains all Authelia settings.
nano ~/authelia/config/configuration.yml
Paste the following example configuration. Note that we are using SQLite for the database and a local file for users, which simplifies initial setup. Replace your_domain.com with your actual domain.
# configuration.yml
# Current structure for Authelia v4.x in 2026

server:
  host: 0.0.0.0
  port: 9091
  tls:
    enabled: false # Caddy will handle TLS

log:
  level: debug # Change to 'info' or 'warn' for production
  format: json

authentication_backend:
  file:
    path: /config/users_database.yml # Path to the users file

session:
  domain: your_domain.com # Replace with your domain
  secret: "$AUTHELIA_SESSION_SECRET" # Taken from environment variable
  name: authelia_session
  expiration: 1h
  inactivity: 5m
  remember_me_duration: 1d

TOTP:
  issuer: authelia.your_domain.com # Replace with your domain

access_control:
  default_policy: deny # Deny all by default
  rules:
    - domain: "authelia.your_domain.com" # Access to Authelia itself
      policy: bypass # Does not require authentication for the login page
    - domain: "auth.your_domain.com" # Domain through which Authelia will be accessible
      policy: bypass # Does not require authentication for the login page
    - domain: "*.your_domain.com" # Protect all subdomains
      policy: two_factor # Require two-factor authentication
      # users: ["john", "jane"] # Access can be restricted to specific users

identity_providers:
  oidc:
    enabled: false # OIDC can be enabled later for integration with other IdPs

notifier:
  smtp:
    host: "smtp.mail.com" # Replace with your SMTP server
    port: 587
    username: "authelia@your_domain.com" # Replace with your address
    password: "your_smtp_password" # Password for SMTP
    sender: "Authelia " # Sender
    disable_starttls: false
    disable_require_tls: false

storage:
  sqlite:
    path: /config/db.sqlite3 # Path to the SQLite database file

jwt_secret: "$AUTHELIA_JWT_SECRET" # Taken from environment variable

duo_api:
  secret: "$AUTHELIA_DUO_API_SECRET" # If using Duo Security
Be sure to replace:
your_domain.com with your actual domain (e.g., example.com).
SMTP server settings in the notifier section, otherwise Authelia will not be able to send emails for password reset or 2FA.
Ensure that the environment variables $AUTHELIA_SESSION_SECRET and $AUTHELIA_JWT_SECRET match those you set in docker-compose.yml.
2. Creating the Users File (users_database.yml)
Create the users_database.yml file in the same ~/authelia/config/ directory. This file will store users and their passwords (in hashed form).
nano ~/authelia/config/users_database.yml
To generate a password hash, use the Authelia utility. First, start the container:
# Start Authelia if it's not running, or update:
docker compose pull authelia
docker compose up -d authelia

# Then execute the command to generate a password hash
docker compose exec authelia authelia hash-password your_strong_password
# Example output: $argon2id$v=19$m=65536,t=3,p=4$some_salt$some_hash
Copy the generated hash and paste it into the file users_database.yml:
# users_database.yml
users:
  john:
    display_name: John Doe
    password: "your_hashed_password_for_john" # Paste the hash obtained above
    email: john.doe@your_domain.com
    groups:
      - admins
      - developers
  jane:
    display_name: Jane Smith
    password: "your_hashed_password_for_jane" # Paste the hash
    email: jane.smith@your_domain.com
    groups:
      - users
Save the file.
3. Caddy Configuration (Caddyfile)
Create the Caddyfile in the ~/authelia/ directory. Caddy will listen on ports 80 and 443, automatically obtain SSL certificates, and redirect traffic.
nano ~/authelia/Caddyfile
Paste the following config. Replace your_domain.com with your actual domain and app.your_domain.com with the domain of your application that you want to protect. Ensure that DNS records for auth.your_domain.com and app.your_domain.com point to your VPS IP.
# Caddyfile
# Current structure for Caddy v2.x in 2026

# Domain for Authelia
auth.your_domain.com {
  # Automatic HTTPS
  tls internal # Use 'tls your_email@your_domain.com' for Let's Encrypt

  # Redirect to Authelia
  reverse_proxy authelia:9091 {
    # Headers required for Authelia
    header_up X-Original-URL {uri}
    header_up X-Forwarded-Proto {scheme}
    header_up X-Forwarded-Host {host}
    header_up X-Forwarded-For {remote_host}
  }

  # Additional security headers
  header {
    Strict-Transport-Security "max-age=31536000; includeSubDomains; preload"
    X-Content-Type-Options "nosniff"
    X-Frame-Options "SAMEORIGIN"
    X-XSS-Protection "1; mode=block"
    Referrer-Policy "same-origin"
  }
}

# Example of a protected application (e.g., GitLab, Mattermost, Grafana)
app.your_domain.com {
  # Automatic HTTPS
  tls internal # Use 'tls your_email@your_domain.com' for Let's Encrypt

  # Authentication check via Authelia
  handle_errors {
    @authelia {
      expression {http.response.status} in [401, 403]
    }
    rewrite @authelia /authelia
    reverse_proxy @authelia authelia:9091 {
      # Headers for Authelia
      header_up Remote-User {env.Remote-User}
      header_up Remote-Groups {env.Remote-Groups}
      header_up Remote-Name {env.Remote-Name}
      header_up Remote-Email {env.Remote-Email}
    }

    # If authentication is successful, proxy to the application
    reverse_proxy localhost:8080 # Replace with your application's address (e.g., localhost:3000 for Grafana)
  }

  # If the application does not require authentication, but you want to add it
  # handle {
  #   # Authentication check via Authelia
  #   reverse_proxy authelia:9091 {
  #     # Headers for Authelia
  #     header_up Remote-User {env.Remote-User}
  #     header_up Remote-Groups {env.Remote-Groups}
  #     header_up Remote-Name {env.Remote-Name}
  #     header_up Remote-Email {env.Remote-Email}
  #   }
  #
  #   # If authentication is successful, proxy to the application
  #   reverse_proxy localhost:8080 # Replace with your application's address
  # }

  # Additional security headers
  header {
    Strict-Transport-Security "max-age=31536000; includeSubDomains; preload"
    X-Content-Type-Options "nosniff"
    X-Frame-Options "SAMEORIGIN"
    X-XSS-Protection "1; mode=block"
    Referrer-Policy "same-origin"
  }
}
Important points in Caddyfile:
tls internal: Caddy will generate self-signed certificates for HTTPS. For production, replace with tls your_email@your_domain.com so Caddy automatically obtains certificates from Let's Encrypt. Ensure that ports 80 and 443 are open and accessible from the internet.
authelia:9091: Points to the Authelia container by service name and its internal port.
localhost:8080: Replace with the actual address and port of your application that you want to protect. If the application runs in another Docker container in the same Docker Compose network, use its service name (e.g., gitlab:80). If it's an application on the host, then localhost:PORT.
handle_errors: This block intercepts 401/403 errors (unauthorized/forbidden) from Authelia and redirects to the Authelia login page.
header_up Remote-User ...: Authelia adds information about the authenticated user to HTTP request headers, which are then passed to your protected application. This allows the application to "know" who is logged in.
Save the file.
4. Restarting Docker Compose Services
After all configuration changes, restart the Docker Compose services so they pick up the new settings.
cd ~/authelia                   # Ensure you are in the directory with docker-compose.yml
docker compose down             # Stop and remove old containers
docker compose up -d            # Start new containers with updated configuration
docker compose logs -f authelia # Check Authelia logs for errors
docker compose logs -f caddy    # Check Caddy logs
In Authelia logs, you should see messages about successful initialization. In Caddy logs, you should see messages about successful certificate acquisition (if using Let's Encrypt) and proxying.
5. Verifying Functionality
After starting all services:
Check DNS: Ensure that DNS records for auth.your_domain.com and app.your_domain.com point to your VPS IP.
Access Authelia: Open https://auth.your_domain.com in your browser. You should see the Authelia login page. Try logging in with the created user (e.g., john and their password).
2FA Setup: After the first login, Authelia will prompt you to set up two-factor authentication (e.g., via Google Authenticator). Follow the instructions.
Access Protected Application: Open https://app.your_domain.com in your browser. If you are already logged in via Authelia, you should be automatically redirected to the application. Otherwise, you will be redirected to the Authelia login page.
Healthcheck: You can check Authelia's status via curl:
curl -k https://auth.your_domain.com/api/health # -k for self-signed certificates
A 200 OK status should be returned.
Backups and Maintenance
Diagram: Backups and Maintenance
Setting up Authelia is just the beginning. It is crucial to ensure regular backups and timely maintenance to guarantee the reliability and security of your system.
1. What to Back Up
For Authelia and its related components, the following data needs to be backed up:
Authelia User Database:~/authelia/config/users_database.yml (if using a file backend) or DB data (e.g., ~/authelia/config/db.sqlite3 for SQLite). If you are using an external database (PostgreSQL, MySQL), you need to configure a backup for that database.
Caddy Configuration:~/authelia/Caddyfile
Caddy Data:~/authelia/caddy_data (contains Let's Encrypt certificates and other Caddy data).
Essentially, you need to back up the entire ~/authelia/ directory.
2. Simple Auto-Backup Script
We will create a simple script that will archive the necessary directories and save them with a timestamp. It is recommended to use external storage for backups, not the same VPS.
nano ~/authelia/backup_authelia.sh
Insert the following content:
#!/bin/bash

# Path to Authelia directory
AUTHELIA_DIR="/home/authelia_admin/authelia" # Replace with your path

# Directory for temporary backup storage on the VPS
BACKUP_TEMP_DIR="/tmp/authelia_backups"

# Directory for storing backups on external storage (example for S3-compatible)
# S3_BUCKET="s3://your-s3-bucket/authelia-backups/"
# AWS_CLI_PROFILE="your-aws-profile" # If using AWS CLI with a profile

# Create temporary directory if it doesn't exist
mkdir -p "$BACKUP_TEMP_DIR"

# Form the backup file name with a timestamp
TIMESTAMP=$(date +%Y%m%d%H%M%S)
BACKUP_FILE="authelia_backup_${TIMESTAMP}.tar.gz"
FULL_BACKUP_PATH="${BACKUP_TEMP_DIR}/${BACKUP_FILE}"

echo "Starting Authelia backup at ${TIMESTAMP}..."

# Create the archive
tar -czvf "$FULL_BACKUP_PATH" -C "$(dirname "$AUTHELIA_DIR")" "$(basename "$AUTHELIA_DIR")"

if [ $? -eq 0 ]; then
    echo "Backup created successfully: $FULL_BACKUP_PATH"

    # Example of uploading to S3-compatible storage (requires awscli to be installed)
    # sudo apt install awscli -y
    # aws s3 cp "$FULL_BACKUP_PATH" "$S3_BUCKET" --profile "$AWS_CLI_PROFILE"

    # Example of copying to another server via SCP (requires SSH key to be configured)
    # scp "$FULL_BACKUP_PATH" user@remote_server:/path/to/remote/backups/

    # Example of deleting old backups (keep the last 7 days)
    find "$BACKUP_TEMP_DIR" -name "authelia_backup_*.tar.gz" -type f -mtime +7 -delete
    echo "Old backups cleaned from $BACKUP_TEMP_DIR"

else
    echo "Error creating backup."
    exit 1
fi

echo "Authelia backup script finished."
Make the script executable:
chmod +x ~/authelia/backup_authelia.sh
3. Configuring Cron for Automatic Backup Execution
Add a task to Cron so that the backup script runs automatically, for example, daily at 3 AM.
crontab -e
Add the following line to the end of the file (if using authelia_admin):
This line runs the script every day at 03:00 and redirects the output to the log file /var/log/authelia_backup.log.
4. Where to Store Backups
Never store backups on the same server where the original data resides. This negates the purpose of a backup in case of disk failure or server compromise. Recommended options:
External S3-compatible storage: Cheap, reliable, scalable (e.g., MinIO, Wasabi, Backblaze B2). awscli will be required for the script to work.
Separate VPS: You can rent a small VPS specifically for storing backups and copy archives there via SCP/SFTP.
NAS/Local Storage: If you have your own network storage, you can configure copying archives there.
5. Updates: Rolling vs. Maintenance Window
Regular updates are extremely important for the security and stability of Authelia and Docker.
OS Update: Regularly run sudo apt update && sudo apt upgrade -y. You can configure automatic updates (unattended-upgrades) for security patches.
Docker Update: Update Docker Engine and Docker Compose, following the official documentation. This is usually done via apt upgrade, as we have added the Docker repository.
Authelia and Caddy Update: Since they run in Docker containers, updating them involves updating the images and restarting the services.
cd ~/authelia
docker compose pull authelia caddy # Downloads the latest image versions
docker compose up -d               # Recreates containers with new images
Update Strategy:
Rolling updates: For non-critical changes or if you have a cluster. In the context of a single VPS, this means updating without prolonged downtime. For Authelia, this might involve a small downtime window (a few seconds/minutes).
Maintenance window: For major updates, migrations, or critical services. Schedule a time, notify users, and perform the update, with the ability to roll back.
Various issues may arise during the setup and operation of Authelia. Here are common questions and their solutions.
1. What is the minimum VPS configuration suitable for Authelia and protected applications?
A minimally sufficient configuration for Authelia, Caddy, and one or two lightweight applications (e.g., Grafana, a small wiki) would include 1 vCPU, 1 GB RAM, and 25 GB SSD. This will be enough for experiments and low load. However, for more comfortable operation and expansion possibilities, 2 vCPU, 2-4 GB RAM, and 50 GB SSD are recommended, especially if you plan to protect more resource-intensive services or have multiple active users. Ensure you have enough disk space for Docker images, logs, and data for all your applications.
2. What to choose – VPS or dedicated for this task?
For most Authelia use cases (personal projects, teams of up to 50-100 people, protecting several internal services), a VPS is the optimal choice. It is significantly cheaper, easier to manage, and provides sufficient performance. A dedicated server should only be considered in cases of very high load (thousands of active users), strict resource isolation requirements, the need to run extremely resource-intensive applications on the same host, or if you want full control over the hardware and its configuration. To start, it's always better to choose a VPS, and scale up to a dedicated server if necessary.
3. Why isn't Authelia starting or why is the container constantly restarting?
What to check:
Authelia container logs:docker compose logs authelia. This is the first place to look.
configuration.yml file: Most often, problems arise due to syntax errors (indentation, typos) in the YAML file or incorrect file paths.
Environment variables: Make sure that AUTHELIA_JWT_SECRET and AUTHELIA_SESSION_SECRET are set in docker-compose.yml and are not empty.
Permissions: Ensure that the Docker container has read permissions for files in /config and write permissions for /config/db.sqlite3.
How to fix: Correct errors in configuration.yml. Use online YAML validators. Ensure all secrets are generated and inserted correctly. Restart containers after corrections: docker compose down && docker compose up -d.
4. Cannot access Authelia by domain (Caddy is not working)?
What to check:
DNS records: Ensure that the domain (e.g., auth.your_domain.com) points to your VPS IP. Check with dig auth.your_domain.com.
Firewall ports: Ensure that ports 80 and 443 are open on your VPS (sudo ufw status).
Caddy logs:docker compose logs caddy. Look for errors related to TLS or proxying.
Caddyfile: Check the syntax and correctness of domain and proxy addresses (authelia:9091).
TLS certificates: If using Let's Encrypt (tls your_email@your_domain.com), ensure that the domain is accessible from the internet via HTTP, otherwise Caddy will not be able to obtain a certificate.
How to fix: Correct DNS, open ports, check Caddyfile. If there is a problem with Let's Encrypt, temporarily use tls internal for testing, then revert to Let's Encrypt after resolving domain accessibility issues.
5. After logging into Authelia, I'm not redirected to the application, or the application doesn't see the user?
What to check:
Caddyfile for the application: Ensure that the block for your application (e.g., app.your_domain.com) is correctly configured to proxy through Authelia and pass the necessary headers (Remote-User, Remote-Email, etc.).
Protected application address: Ensure that reverse_proxy localhost:PORT or service_name:PORT points to the correct address and port of your application.
Authelia configuration (access_control): Ensure that access rules in configuration.yml are correctly configured for your application's domain.
Application logs: Check the logs of your protected application. It might not be configured to read headers passed by Authelia, or it might expect a different format.
How to fix: Check Caddyfile and configuration.yml. Ensure that your application supports header-based authentication or OpenID Connect (OIDC) if you have configured Authelia for OIDC. Many applications have options for integration with proxy authentication (e.g., Nginx/Caddy auth_request).
6. 2FA (TOTP) or password reset not working?
What to check:
SMTP settings: In configuration.yml, check the notifier.smtp section. Ensure that the host, port, username, password, and sender are specified correctly. Check Authelia logs for email sending errors.
TOTP Issuer: Ensure that TOTP.issuer in configuration.yml is correct, as this affects its display in the authenticator.
Time synchronization: Ensure that the time on your VPS is synchronized (timedatectl). Discrepancies can cause TOTP issues.
How to fix: Correct SMTP settings. Install ntp or systemd-timesyncd for time synchronization on the VPS. If there is a TOTP issue, try reconfiguring it in Authelia.
Conclusions and Next Steps
Diagram: Conclusions and Next Steps
Congratulations! You have successfully configured Authelia on your VPS, providing centralized authentication and two-factor protection for your web applications. Now your services are secured with a single point of entry, which significantly enhances security and simplifies access management for you and your team.
What's next?
Integrate More Applications: Continue integrating all your web services (GitLab, Nextcloud, Grafana, Prometheus, Portainer, etc.) with Authelia by adding appropriate blocks to the Caddyfile and rules to Authelia's access_control.
Advanced Authentication Capabilities: Consider integrating Authelia with external identity providers such as OpenLDAP, Active Directory, or even OIDC-compatible services if you need to manage a larger number of users or leverage existing infrastructure.
Monitoring and Logging: Set up centralized logging (e.g., using Loki/Promtail or ELK Stack) for Authelia and Caddy to track login attempts, errors, and user activity. This will help you promptly identify and resolve security issues.
Authelia is a powerful tool that gives you full control over the security of your self-hosted applications. Continue exploring its capabilities to further strengthen the protection of your digital assets.
Was this guide helpful?
Your feedback helps us improve our guides.
Share this post:
Send this guide to someone who may find it useful.