Langfuse self-hosted: tracing and cost of LLM requests on your own VPS
TL;DR
Langfuse self-hosted lets you collect traces of LLM requests, see latency, errors, tokens, and the actual cost of calls to OpenAI, Anthropic, Google, local models, and custom API gateways. In this guide, you will deploy Langfuse v3 on an Ubuntu VPS via Docker Compose, secure it with HTTPS, connect data storage, and configure backups.
- Langfuse stores LLM call chains, prompts, responses, usage, and user metadata.
- For small teams, a VPS with 4 vCPU, 8 GB RAM, and an NVMe disk of at least 100 GB is sufficient.
- The deployment uses Docker Engine, PostgreSQL 16, ClickHouse, Redis, and Caddy.
- Secrets are stored in the
.envfile rather than inside source code or Docker Compose. - HTTPS is issued automatically through Caddy and Let's Encrypt.
- Reliable operation requires backing up PostgreSQL, ClickHouse, configuration, and object storage.
What we are configuring and why
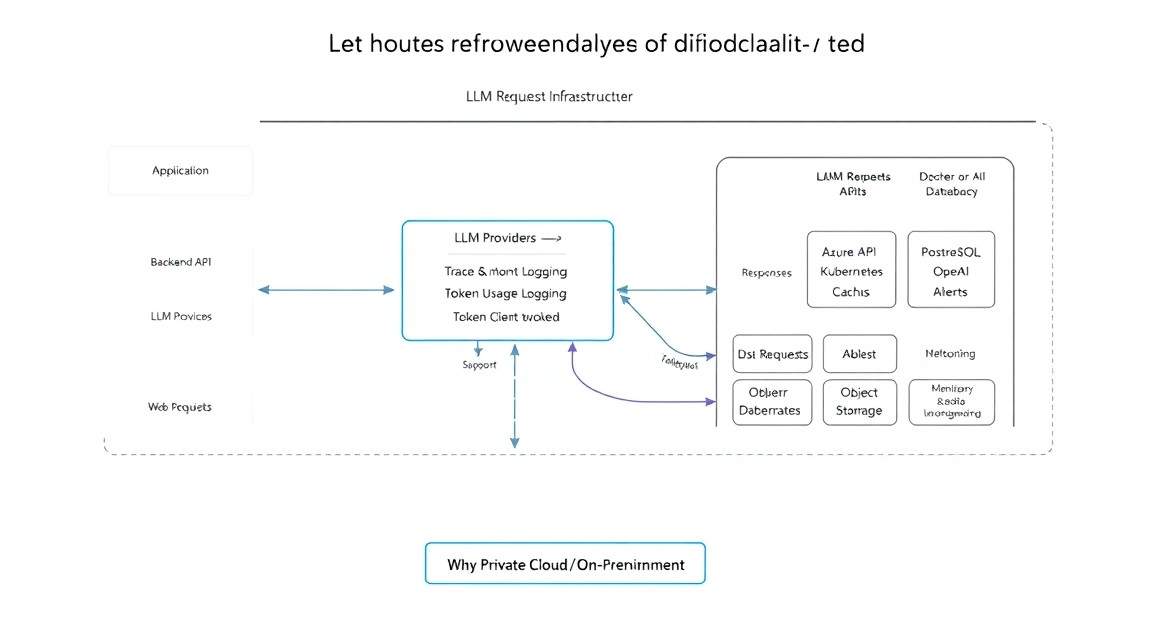
Langfuse is an observability platform for applications with large language models. It accepts events from SDKs, APIs, or integrations with LangChain, LlamaIndex, OpenAI SDK, and other libraries. After that, the web interface lets you see the complete path of a single user request: the input prompt, intermediate RAG pipeline steps, tool calls, the model response, token usage, cost, duration, and errors.
A typical AI application problem looks like this: users complain about slow responses, API bills are growing, and the developer sees only fragmentary application logs. Ordinary logs do not connect the user request, retrieval from the vector database, two model calls, and the final response into a single entity. Langfuse solves this through trace, span, and generation: a trace describes the user scenario, a span is a technical stage, and a generation is a specific LLM call.
Self-hosted Langfuse is especially useful when prompts or responses contain commercial data, personal data, fragments of customer documents, source code, or internal company knowledge. With a self-managed deployment, events remain within your infrastructure. Only requests to the model provider you already use leave your infrastructure—for example, OpenAI, Anthropic, or a cloud endpoint for a local model.
What will work after configuration
- Creating projects, environments, and API keys for development, staging, and production.
- Tracing requests through Python, TypeScript, or OpenTelemetry-compatible integrations.
- Calculating request costs by model and input and output tokens.
- Searching for slow, erroneous, and expensive requests.
- Storing prompts with versions and publishing prompt templates.
- Evaluating responses manually, through user feedback, or with LLM-as-a-judge.
- Exporting and analyzing data through PostgreSQL, ClickHouse, and the API.
Cloud-managed or self-hosted
| Criterion | Cloud service | Langfuse self-hosted |
|---|---|---|
| Startup speed | A few minutes; the infrastructure is already ready | Usually 1–3 hours for the first production instance |
| Data control | Data is stored by an external provider | Data is kept in your database and your storage |
| Maintenance | The service handles updates and backups | You handle updates, monitoring, and backups |
| Network customization | Limited by SaaS capabilities | You can use VPN, private network, SSO, and reverse proxy |
| Economics at scale | Depends on the plan and event volume | Predictable costs for servers and object storage |
The self-hosted option does not eliminate data protection requirements. By default, Langfuse may store model inputs and outputs, which means they may contain email addresses, phone numbers, contract texts, and other sensitive information. Before connecting production traffic, define the event retention period, exclude unnecessary fields from logging, and add secret masking in your application.
Practical rule: send enough context to Langfuse to debug quality and cost, but do not duplicate passwords, access tokens, payment card numbers, or unprocessed documents there if they are not needed for analysis.
What VPS configuration is needed for this task
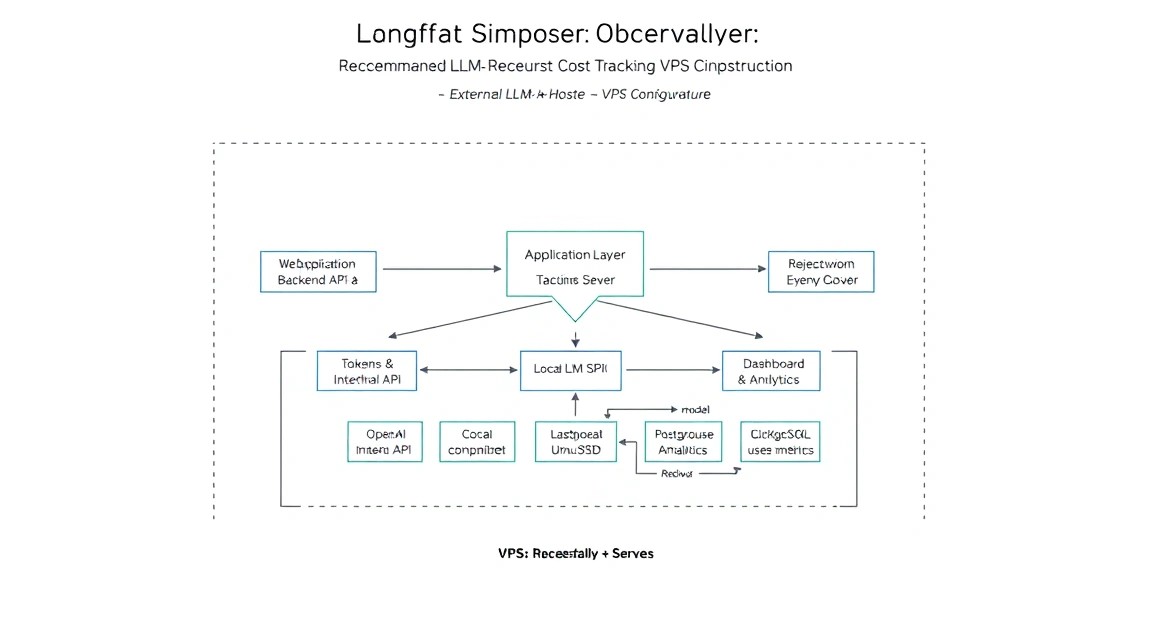
Langfuse is not a single container. For normal operation, you need at least a web application and worker, PostgreSQL for transactional data, ClickHouse for analytical events, and Redis for queues and caching. This is convenient for a small team and a moderate volume of traces on a single VPS, but resources should be provisioned with room to spare.
| Load | vCPU | RAM | NVMe disk | Suitable scenario |
|---|---|---|---|---|
| Minimal test setup | 2 vCPU | 4 GB | 60 GB | Personal testing, up to several thousand events per day |
| Working minimum | 4 vCPU | 8 GB | 100 GB | Small team, RAG, or SaaS with tens of thousands of events per day |
| Intensive operation | 8 vCPU | 16–32 GB | 250 GB+ | High trace volume, long prompts, multiple projects |
A practical starting configuration is 4 vCPU, 8 GB RAM, 100–160 GB NVMe, and a connection of at least 100 Mbps. Such a server leaves room for PostgreSQL and ClickHouse, which are sensitive to insufficient memory and slow disks. One option is to use a VPS with the specified characteristics, but it is more important to check the disk type, backup availability, and server location.
Why NVMe is more important than a large HDD
PostgreSQL constantly writes transaction logs, while ClickHouse creates and merges table parts. On an HDD, the Langfuse interface may remain accessible, but analytical queries, event ingestion, and backups will be noticeably slower. Use an SSD or NVMe for a production instance. Start with 100 GB if you retain traces for 30 days; retaining them for six months, with large payloads and thousands of requests per hour, will require substantially more.
When you need dedicated rather than a VPS
A dedicated server becomes justified if you consistently receive hundreds of thousands or millions of observation events per day, store long agent chains, run heavy analytical queries, or need to isolate database resources from neighboring virtual machines. Another reason is the need for 64 GB of RAM and several fast NVMe disks. Until then, it is easier to scale the VPS by increasing CPU and memory and moving ClickHouse or PostgreSQL to a separate server.
Choosing a location
Location affects latency between your application and Langfuse, legal requirements, and the cost of interregional traffic. If your application backend runs in a European data center, place Langfuse in the same region: tracing will add milliseconds rather than tens of milliseconds. If events contain data from European users, check GDPR, DPA, and internal data retention requirements.
Server preparation
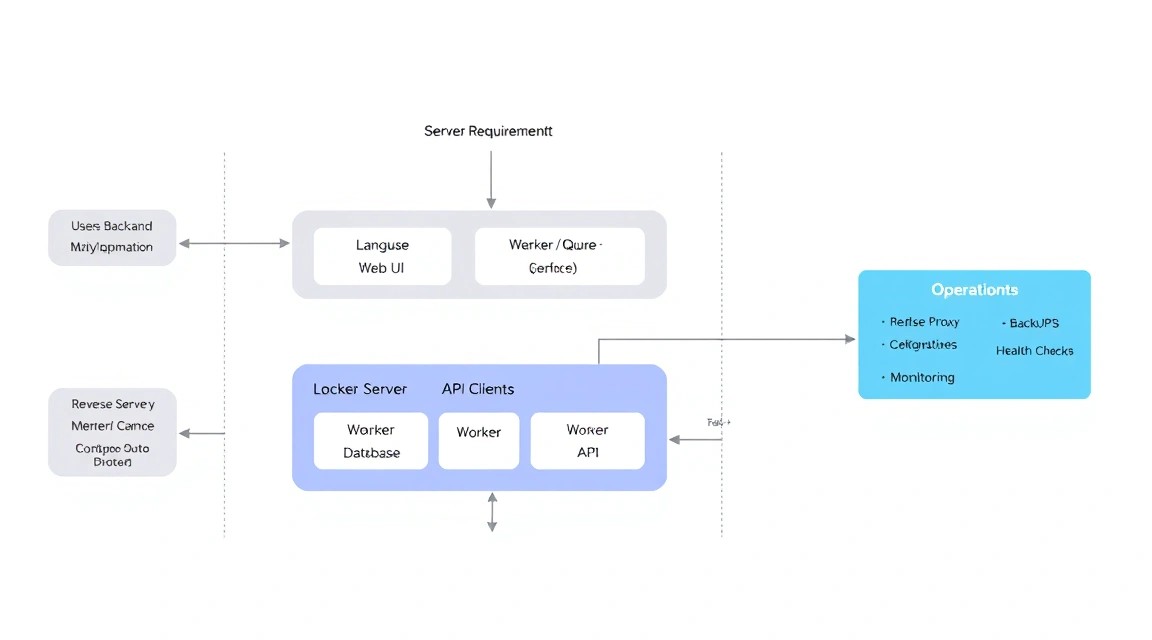
The instructions below assume a clean server running Ubuntu 24.04 LTS, with a public IPv4 address and a domain such as langfuse.example.com. For Ubuntu 22.04, the commands are almost identical. Perform the initial setup through the provider console or SSH as the root user, then disable persistent work as root.
Creating an administrator and SSH access
On your local computer, create a key if you do not already have one. Use the modern Ed25519 algorithm and protect the key with a passphrase.
ssh-keygen -t ed25519 -a 100 -C "admin@langfuse"Copy the public key to the server and log in as root. Replace the IP address with the VPS address.
ssh-copy-id [email protected]
ssh [email protected]
Create a separate user, add it to the sudo group, and prepare the SSH directory.
adduser deploy
usermod -aG sudo deploy
install -d -m 700 -o deploy -g deploy /home/deploy/.ssh
cp /root/.ssh/authorized_keys /home/deploy/.ssh/authorized_keys
chown deploy:deploy /home/deploy/.ssh/authorized_keys
chmod 600 /home/deploy/.ssh/authorized_keys
Open a second SSH session and make sure the user can log in with the key. Do not close the root session until the check is complete.
ssh [email protected]
sudo whoami
Updating the system and basic tools
Update the packages to the latest state. After a kernel update, reboot the server at a convenient time.
sudo apt update && sudo apt full-upgrade -y
sudo apt install -y ca-certificates curl gnupg ufw fail2ban unattended-upgrades \
  jq vim htop cron rsync
Check whether a reboot is required.
test -f /var/run/reboot-required && echo "Reboot required"
sudo reboot
Firewall and Fail2ban
SSH, HTTP, and HTTPS must be accessible on the server. Do not expose PostgreSQL, Redis, or ClickHouse externally: they will be accessible only to containers on the internal Docker network.
sudo ufw default deny incoming
sudo ufw default allow outgoing
sudo ufw allow OpenSSH
sudo ufw allow 80/tcp
sudo ufw allow 443/tcp
sudo ufw enable
sudo ufw status verbose
Fail2ban will limit SSH password brute-force attempts and malicious repeated connections. Create a local configuration instead of editing the package file directly.
sudo tee /etc/fail2ban/jail.d/sshd.local > /dev/null <<'EOF'
[sshd]
enabled = true
maxretry = 5
findtime = 10m
bantime = 1h
EOF

sudo systemctl enable --now fail2ban
sudo fail2ban-client status sshd
After confirming key-based access, disable root login and password authentication. This reduces the attack surface, but first make sure your SSH key works.
sudo tee /etc/ssh/sshd_config.d/99-hardening.conf > /dev/null <<'EOF'
PermitRootLogin no
PasswordAuthentication no
KbdInteractiveAuthentication no
PubkeyAuthentication yes
X11Forwarding no
EOF

sudo sshd -t && sudo systemctl reload ssh
Also enable automatic installation of security updates. Docker images will still need to be updated separately, but vulnerabilities in the base OS will be addressed without manual intervention.
sudo dpkg-reconfigure --priority=low unattended-upgradesSoftware Installation — Step by Step
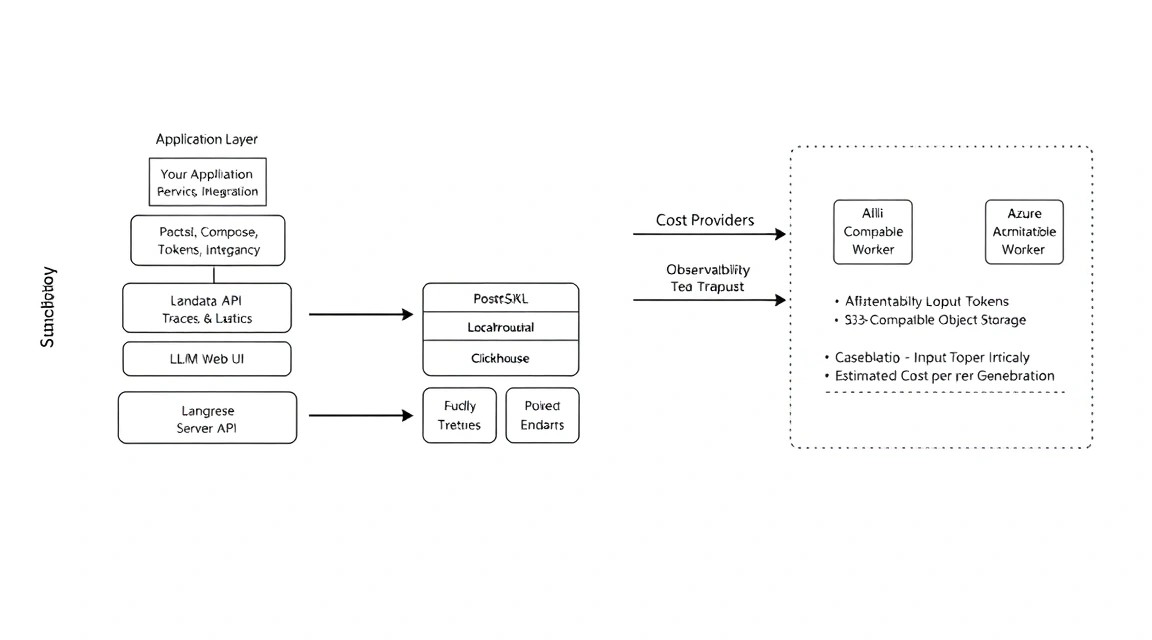
This setup uses Docker Engine 28.x or later, Docker Compose v2, Langfuse v3 branch, PostgreSQL 16, ClickHouse 24.8 LTS, and Redis 7.2. Container versions should be pinned before a production update: the latest tag may result in an unexpected schema migration or incompatibility.
Installing Docker Engine and Compose
Add the official Docker repository for Ubuntu. The command installs Docker Engine, CLI, Buildx, and the Compose plugin.
sudo install -m 0755 -d /etc/apt/keyrings
curl -fsSL https://download.docker.com/linux/ubuntu/gpg | \
  sudo gpg --dearmor -o /etc/apt/keyrings/docker.gpg
sudo chmod a+r /etc/apt/keyrings/docker.gpg
echo \
"deb [arch=$(dpkg --print-architecture) signed-by=/etc/apt/keyrings/docker.gpg] \
https://download.docker.com/linux/ubuntu \
$(. /etc/os-release && echo "$VERSION_CODENAME") stable" | \
sudo tee /etc/apt/sources.list.d/docker.list > /dev/null
sudo apt update
sudo apt install -y docker-ce docker-ce-cli containerd.io \
docker-buildx-plugin docker-compose-pluginAllow the deploy user to run Docker without sudo. Membership in the Docker group effectively grants administrative capabilities on the server, so add only trusted users to it.
sudo usermod -aG docker deploy
newgrp docker
docker version
docker compose version
Creating the Working Directory
Keep the Compose file, environment variables, Caddyfile, and scripts together in a directory accessible to the deployment user. Database data will be stored in Docker volumes.
sudo install -d -m 750 -o deploy -g deploy /opt/langfuse
cd /opt/langfuse
mkdir -p caddy backup scripts
touch .env
chmod 600 .env
Generating Cryptographic Secrets
Langfuse uses separate secrets for sessions, salt, and encryption. Do not use short examples from the documentation or reuse one secret for all variables.
openssl rand -base64 48
openssl rand -hex 32
openssl rand -base64 48
openssl rand -base64 32
Save the four results: they will be needed in .env. Generate separate random strings for the PostgreSQL, Redis, and ClickHouse passwords.
openssl rand -base64 32
openssl rand -base64 32
openssl rand -base64 32
Checking the Domain Before Launch
Create an A DNS record for langfuse.example.com, pointing it to the server's public IPv4 address. Caddy can obtain a certificate only if port 80 is accessible from the internet and DNS already points to this server.
dig +short A langfuse.example.com
curl -4 ifconfig.me
Both addresses must match. If Cloudflare or another proxy DNS is used, it is easier to temporarily disable proxy mode on the first launch or ensure that the HTTP challenge is not blocked.
Pulling Images and Initial Diagnostics
After creating the configuration in the next section, Docker will download the required images. This command pulls them in advance and lets you identify network or registry access errors before startup.
cd /opt/langfuse
docker compose pull
docker compose config > /tmp/langfuse-rendered-compose.yml
docker compose config --quiet
Langfuse Configuration, HTTPS, and Verification
Below is a compact single-node configuration. It is suitable for getting started and does not expose PostgreSQL, ClickHouse, or Redis ports. Only Caddy on ports 80 and 443 is exposed to the external network.
Environment Variables File
Open /opt/langfuse/.env and replace all example values with unique ones. The NEXTAUTH_URL address must exactly match the public URL, including https.
cd /opt/langfuse
nano .env
LANGFUSE_DOMAIN=langfuse.example.com
POSTGRES_DB=langfuse
POSTGRES_USER=langfuse
POSTGRES_PASSWORD=REPLACE_WITH_RANDOM_POSTGRES_PASSWORD
CLICKHOUSE_DB=default
CLICKHOUSE_USER=default
CLICKHOUSE_PASSWORD=REPLACE_WITH_RANDOM_CLICKHOUSE_PASSWORD
REDIS_PASSWORD=REPLACE_WITH_RANDOM_REDIS_PASSWORD
NEXTAUTH_URL=https://langfuse.example.com
NEXTAUTH_SECRET=REPLACE_WITH_RANDOM_BASE64_SECRET
SALT=REPLACE_WITH_RANDOM_HEX_SALT
ENCRYPTION_KEY=REPLACE_WITH_RANDOM_BASE64_KEY
DATABASE_URL=postgresql://langfuse:REPLACE_WITH_RANDOM_POSTGRES_PASSWORD@postgres:5432/langfuse
CLICKHOUSE_URL=http://clickhouse:8123
CLICKHOUSE_USER=default
CLICKHOUSE_PASSWORD=REPLACE_WITH_RANDOM_CLICKHOUSE_PASSWORD
REDIS_CONNECTION_STRING=redis://:REPLACE_WITH_RANDOM_REDIS_PASSWORD@redis:6379
TELEMETRY_ENABLED=falseThe file contains passwords, so do not add it to Git, send it in tickets, or include it in CI logs. Check the access permissions.
chmod 600 /opt/langfuse/.env
ls -l /opt/langfuse/.env
Docker Compose
Create the /opt/langfuse/docker-compose.yml file. Langfuse is pinned to the 3 main branch tag; before a planned update, replace it with a specific tested patch tag from the official registry. The worker container processes background tasks and must run continuously.
cd /opt/langfuse
nano docker-compose.yml
services:
postgres:
image: postgres:16.6-bookworm
restart: unless-stopped
env_file: .env
environment:
POSTGRES_DB: ${POSTGRES_DB}
POSTGRES_USER: ${POSTGRES_USER}
POSTGRES_PASSWORD: ${POSTGRES_PASSWORD}
volumes:
- postgres_data:/var/lib/postgresql/data
healthcheck:
test: ["CMD-SHELL", "pg_isready -U ${POSTGRES_USER} -d ${POSTGRES_DB}"]
interval: 10s
timeout: 5s
retries: 10
clickhouse:
image: clickhouse/clickhouse-server:24.8
restart: unless-stopped
env_file: .env
environment:
CLICKHOUSE_DB: ${CLICKHOUSE_DB}
CLICKHOUSE_USER: ${CLICKHOUSE_USER}
CLICKHOUSE_PASSWORD: ${CLICKHOUSE_PASSWORD}
volumes:
- clickhouse_data:/var/lib/clickhouse
ulimits:
nofile:
soft: 262144
hard: 262144
healthcheck:
test: ["CMD-SHELL", "clickhouse-client --query 'SELECT 1'"]
interval: 15s
timeout: 10s
retries: 10
redis:
image: redis:7.2-alpine
restart: unless-stopped
env_file: .env
command: >
redis-server --appendonly yes
--requirepass ${REDIS_PASSWORD}
volumes:
- redis_data:/data
healthcheck:
test: ["CMD-SHELL", "redis-cli -a \"${REDIS_PASSWORD}\" ping | grep PONG"]
interval: 10s
timeout: 5s
retries: 10
langfuse-web:
image: ghcr.io/langfuse/langfuse:3
restart: unless-stopped
env_file: .env
depends_on:
postgres:
condition: service_healthy
clickhouse:
condition: service_healthy
redis:
condition: service_healthy
environment:
NODE_ENV: production
NEXTAUTH_URL: ${NEXTAUTH_URL}
NEXTAUTH_SECRET: ${NEXTAUTH_SECRET}
SALT: ${SALT}
ENCRYPTION_KEY: ${ENCRYPTION_KEY}
DATABASE_URL: ${DATABASE_URL}
CLICKHOUSE_URL: ${CLICKHOUSE_URL}
CLICKHOUSE_USER: ${CLICKHOUSE_USER}
CLICKHOUSE_PASSWORD: ${CLICKHOUSE_PASSWORD}
REDIS_CONNECTION_STRING: ${REDIS_CONNECTION_STRING}
TELEMETRY_ENABLED: ${TELEMETRY_ENABLED}
expose:
- "3000"
langfuse-worker:
image: ghcr.io/langfuse/langfuse:3
restart: unless-stopped
command: worker
env_file: .env
depends_on:
postgres:
condition: service_healthy
clickhouse:
condition: service_healthy
redis:
condition: service_healthy
environment:
NODE_ENV: production
NEXTAUTH_SECRET: ${NEXTAUTH_SECRET}
SALT: ${SALT}
ENCRYPTION_KEY: ${ENCRYPTION_KEY}
DATABASE_URL: ${DATABASE_URL}
CLICKHOUSE_URL: ${CLICKHOUSE_URL}
CLICKHOUSE_USER: ${CLICKHOUSE_USER}
CLICKHOUSE_PASSWORD: ${CLICKHOUSE_PASSWORD}
REDIS_CONNECTION_STRING: ${REDIS_CONNECTION_STRING}
TELEMETRY_ENABLED: ${TELEMETRY_ENABLED}
caddy:
image: caddy:2.8-alpine
restart: unless-stopped
depends_on:
- langfuse-web
ports:
- "80:80"
- "443:443"
volumes:
- ./caddy/Caddyfile:/etc/caddy/Caddyfile:ro
- caddy_data:/data
- caddy_config:/config
volumes:
postgres_data:
clickhouse_data:
redis_data:
caddy_data:
caddy_config:In some Langfuse minor releases, the set of parameters and the method for starting the worker may change. Before updating, compare the self-hosting section of the official Langfuse documentation and the output of docker compose logs langfuse-web. Do not mix new images with an arbitrary old environment variable schema.
Configuring Caddy and TLS
Caddy automatically obtains and renews a Let's Encrypt TLS certificate. Create a Caddyfile; the certification authority needs the email address to send notifications about certificate issues.
cd /opt/langfuse
nano caddy/Caddyfile
{
email [email protected]
}
langfuse.example.com {
encode zstd gzip
reverse_proxy langfuse-web:3000 {
header_up Host {host}
header_up X-Real-IP {remote_host}
header_up X-Forwarded-For {remote_host}
header_up X-Forwarded-Proto {scheme}
}
log {
output stdout
format json
}
}Start the stack in the background. The first startup may take several minutes: PostgreSQL creates a cluster, ClickHouse initializes tables, and Langfuse applies migrations.
cd /opt/langfuse
docker compose up -d
docker compose ps
docker compose logs --tail=100 langfuse-web
Availability Check
Check the containers and HTTPS from the server itself. A 200, 302, or 307 response code at the root URL usually means that the interface is available; the specific healthcheck route depends on the Langfuse version.
docker compose ps
curl -I http://127.0.0.1
curl -I https://langfuse.example.com
docker compose logs --tail=100 caddy
Open https://langfuse.example.com in a browser, create the first user and organization. Then create a project, for example production, and generate a public key and secret key in its settings. The secret key is displayed only briefly: save it in the application secret manager.
Quick Test from Python
On the machine running your AI application, install the current Langfuse Python SDK. In production, pass keys through CI/CD environment variables, Docker secrets, or a secret store rather than through the source file.
python3 -m venv .venv
. .venv/bin/activate
pip install --upgrade langfuse openai
export LANGFUSE_PUBLIC_KEY="pk-lf-..."
export LANGFUSE_SECRET_KEY="sk-lf-..."
export LANGFUSE_BASE_URL="https://langfuse.example.com"from langfuse import Langfuse
langfuse = Langfuse()
trace = langfuse.trace(
name="manual-cost-test",
user_id="demo-user",
metadata={"environment": "test"}
)
generation = trace.generation(
name="demo-generation",
model="gpt-4o-mini",
model_parameters={"temperature": 0.2},
input=[{"role": "user", "content": "Скажи привет одним словом"}],
)
generation.end(
output="Привет!",
usage={"input": 12, "output": 3, "total": 15}
)
langfuse.flush()Open the Traces section in the interface. The manual-cost-test trace with generation and usage should appear. For automatic cost calculation, the model name must match a model configured in Langfuse model definitions. If you use a proxy, Azure deployment, or local model, create your own model and specify the price per million input and output tokens.
Backups and Maintenance
A VPS snapshot is useful, but it does not replace an independent backup. It may be created after an error has already occurred, depend on a single data center, or not allow you to quickly restore an individual database. The minimum strategy: a daily logical PostgreSQL dump, a ClickHouse backup, a copy of .env, the Caddyfile, and object storage data if it is connected.
What exactly needs to be saved
| Component | Contents | Criticality |
|---|---|---|
| PostgreSQL | Users, projects, settings, keys, metadata | Critical |
| ClickHouse | Traces, observations, analytics data | Critical |
| .env | Passwords, encryption key, URLs, and connection parameters | Critical, store encrypted |
| Caddy data | Certificates and Caddy state | Recommended |
| S3/MinIO | Uploaded files and large payloads, if used | Depends on configuration |
Installing restic
Restic encrypts backups on the server side and can work with S3-compatible storage, SFTP, or a separate machine. Do not store the only backup on the same VPS where Langfuse runs.
sudo apt install -y restic
sudo install -d -m 700 -o deploy -g deploy /opt/langfuse/backup
nano /opt/langfuse/backup/restic.env
chmod 600 /opt/langfuse/backup/restic.env
Example file for an S3-compatible bucket. Substitute your endpoint, bucket, and access keys. The repository password must be separate from all Langfuse passwords.
RESTIC_REPOSITORY=s3:https://s3.example.net/langfuse-backups
RESTIC_PASSWORD=REPLACE_WITH_LONG_UNIQUE_BACKUP_PASSWORD
AWS_ACCESS_KEY_ID=REPLACE_WITH_S3_ACCESS_KEY
AWS_SECRET_ACCESS_KEY=REPLACE_WITH_S3_SECRET_KEY
Initialize the empty repository once.
set -a
. /opt/langfuse/backup/restic.env
set +a
restic init
Daily backup script
The script creates a PostgreSQL dump, uses the built-in ClickHouse backup via a file copy after briefly stopping the service, and sends the result to restic. For large production databases, it is better to configure ClickHouse Keeper and native backup destinations, but for a single-node instance, this option is straightforward and suitable for regular recovery.
nano /opt/langfuse/scripts/backup-langfuse.sh
chmod 700 /opt/langfuse/scripts/backup-langfuse.sh
#!/usr/bin/env bash
set -euo pipefail
APP_DIR="/opt/langfuse"
BACKUP_DIR="${APP_DIR}/backup/staging"
DATE="$(date +%F-%H%M%S)"
mkdir -p "${BACKUP_DIR}"
cd "${APP_DIR}"
set -a
. "${APP_DIR}/.env"
. "${APP_DIR}/backup/restic.env"
set +a
docker compose exec -T postgres \
pg_dump -U "${POSTGRES_USER}" -d "${POSTGRES_DB}" \
-Fc > "${BACKUP_DIR}/postgres-${DATE}.dump"
docker compose stop clickhouse
docker run --rm \
-v langfuse_clickhouse_data:/source:ro \
-v "${BACKUP_DIR}:/backup" \
alpine:3.20 \
sh -c "tar -czf /backup/clickhouse-${DATE}.tar.gz -C /source ."
docker compose start clickhouse
tar -czf "${BACKUP_DIR}/config-${DATE}.tar.gz" \
"${APP_DIR}/.env" \
"${APP_DIR}/docker-compose.yml" \
"${APP_DIR}/caddy/Caddyfile"
restic backup "${BACKUP_DIR}"
restic forget --keep-daily 7 --keep-weekly 4 --keep-monthly 6 --prune
rm -f "${BACKUP_DIR}"/Test the script manually before adding cron. If the ClickHouse container is large, stopping it will take time; run the backup at night and notify the team about the brief analytics downtime window.
/opt/langfuse/scripts/backup-langfuse.sh
set -a && . /opt/langfuse/backup/restic.env && set +a
restic snapshots
restic check
Add a daily run at 03:20 and log output. Edit the crontab of the deploy user.
crontab -e20 3 /opt/langfuse/scripts/backup-langfuse.sh >> /opt/langfuse/backup/backup.log 2>&1Updates and health monitoring
For a single server, updating Langfuse is a maintenance window rather than a full rolling update: the web interface and ingestion may be temporarily unavailable. First create a backup, read the release notes, record the current versions, and only then update the images.
cd /opt/langfuse
docker compose images
/opt/langfuse/scripts/backup-langfuse.sh
docker compose pull
docker compose up -d
docker compose logs --tail=150 langfuse-web
docker compose ps
Do not run docker system prune -a on a production server without checking first: it may remove required images and complicate rollback. After the update, create a test trace, verify login to the interface, and review container errors.
docker compose logs --since=15m | grep -iE "error|fatal|exception" || true
df -h
docker stats --no-stream
Troubleshooting and FAQ
Why is Caddy not getting a certificate and the logs show an ACME error?
First check DNS: the dig +short A langfuse.example.com command should return your server's IP. Then make sure UFW allows TCP ports 80 and 443, and that another web server has not taken these ports: sudo ss -ltnp '( sport = :80 or sport = :443 )'. If a CDN proxy is enabled, temporarily switch the record to DNS-only. Also check that the domain does not have an AAAA record pointing to an unavailable IPv6 server.
Langfuse opens, but after logging in there is an infinite redirect or session error. What should I do?
The most common cause is an incorrect NEXTAUTH_URL or a changed NEXTAUTH_SECRET. The URL must be a public address with https://, without an extra path and without localhost. Check the variable with docker compose exec langfuse-web printenv | grep NEXTAUTH, then restart the container. Do not change NEXTAUTH_SECRET unless necessary: this will end existing user sessions.
Why are there no traces in the interface after sending events from the application?
Check three things: the public key, secret key, and LANGFUSE_BASE_URL. The keys must belong to the correct project, and the base URL must point to your HTTPS domain. Then check the worker and web logs: docker compose logs --tail=100 langfuse-worker. If the application is in a closed network, check outbound access to the Langfuse domain. For diagnostics, send a minimal test trace from the example above and call langfuse.flush() before the process ends.
Request costs are displayed as zero or an empty value. Why?
Langfuse may show usage but not calculate the price if the model name is unknown, tokens are not provided, or the model is called through a non-standard deployment name. Pass the input, output, and usage fields from the provider response. Then open the model settings in the project and add a definition for your model with a rate per million input/output tokens. For Azure OpenAI, it is usually helpful to manually map the deployment name to the actual model.
The ClickHouse container keeps restarting or the server runs out of memory. How can I fix this?
Check the cause using docker compose logs clickhouse and dmesg -T | grep -i oom. An OOM message means the kernel killed the process due to insufficient RAM. For stable operation, increase memory to 8 GB, reduce parallel workload, and make sure there is enough free disk space. Temporary swap is acceptable as an emergency measure, but it does not replace RAM: ClickHouse becomes significantly slower on swap.
What is the minimum suitable VPS configuration?
For a personal test environment, 2 vCPU, 4 GB RAM, and 60 GB SSD/NVMe will be sufficient if you do not store many events or run several parallel applications. For an actual team, a reasonable minimum is 4 vCPU, 8 GB RAM, and 100 GB NVMe. Monitor docker stats, free -h, and df -h during the first week: ClickHouse-data growth will show the actual disk requirements.
Which should I choose for this task: VPS or dedicated?
For getting started, a VPS is almost always sufficient: it is cheaper, scales faster, and lets you quickly increase RAM or disk capacity. Dedicated is needed for a very large stream of telemetry events, long retention, heavy analytical queries, or hardware isolation requirements. A good intermediate stage is to keep the web application on one VPS and move PostgreSQL and ClickHouse to separate managed or dedicated nodes. This is simpler than buying a large server prematurely.
Can I delete old traces and reduce disk usage?
Yes, but first define a retention policy: for example, 30 days for raw production traces and 90 days for aggregated analytics. It is better to perform deletion through the native retention mechanisms and documentation for the current Langfuse version rather than manually deleting files from a Docker volume. Manually deleting ClickHouse directories will damage table metadata. After configuring retention, monitor volume size with docker system df -v and available free space on the host.
How do I restore from a backup?
Deploy compatible container versions on a new server, restore .env and the Compose configuration, then stop the services. A custom-format PostgreSQL dump is restored using pg_restore inside the container. The ClickHouse archive should be extracted into an empty volume while the container is stopped, then start ClickHouse. Before switching DNS, be sure to verify login, the project list, and several traces on a temporary domain or through the hosts file.
Conclusions and Next Steps
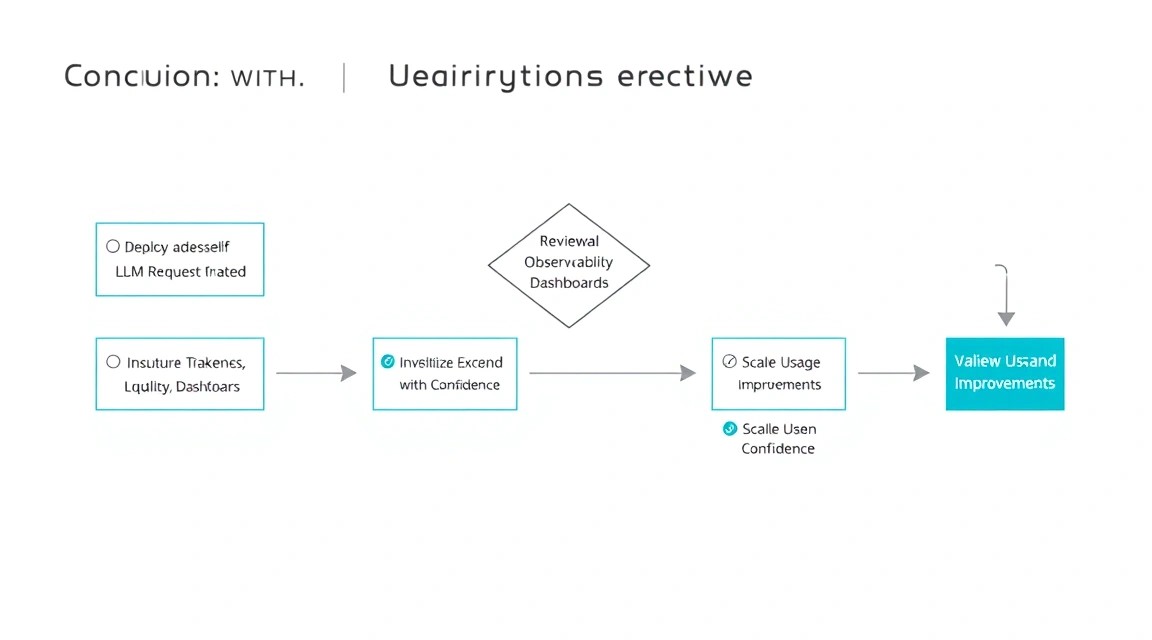
You now have self-hosted Langfuse with HTTPS, isolated internal databases, LLM call tracing, and a foundation for calculating token costs. This setup helps identify expensive prompts, slow agent chains, and integration errors before they become a problem for users.
- Connect the SDK to the production application and start by tracing one critical user scenario.
- Configure models and prices, then create a regular cost report by user, project, or endpoint.
- As load grows, move ClickHouse and PostgreSQL to separate nodes, and add monitoring for disk, memory, and backup success.