bolt Valebyte VPS from $4/mo — NVMe, 60s deploy.

Get a VPS arrow_forward
eco Beginner Tutorial/How-to

Installing Authentik on VPS: SSO,

calendar_month Jun 11, 2026 schedule 21 min read visibility 35 views
Установка Authentik на VPS: SSO, MFA и централизованная аутентификация
info

Need a server for this guide? We offer dedicated servers and VPS in 50+ countries with instant setup.

Need a server for this guide?

Deploy a VPS or dedicated server in minutes.

Installing Authentik on VPS: SSO, MFA, and Centralized Authentication

TL;DR

In this detailed guide, we will step-by-step configure Authentik — a powerful Open Source Identity and Access Management (IAM) solution on your own VPS. You will get a centralized Single Sign-On (SSO) and Multi-Factor Authentication (MFA) system, ready for integration with your web applications, which will significantly enhance security and simplify user management.

  • Authentik will be installed using Docker Compose for easy deployment and management.
  • An external PostgreSQL 16 database will be used for better performance and scalability.
  • We will configure Caddy as a reverse proxy with automatic TLS/HTTPS certificate acquisition from Let's Encrypt.
  • Basic server security steps, including firewall and SSH keys, will be covered.
  • You will learn how to set up backups and keep the system up to date.

What we are configuring and why

Diagram: What we are configuring and why

In the modern digital world, managing user accounts and ensuring their secure access to multiple applications has become a critically important task. Authentik offers an elegant and powerful solution to this problem, acting as a centralized identity provider.

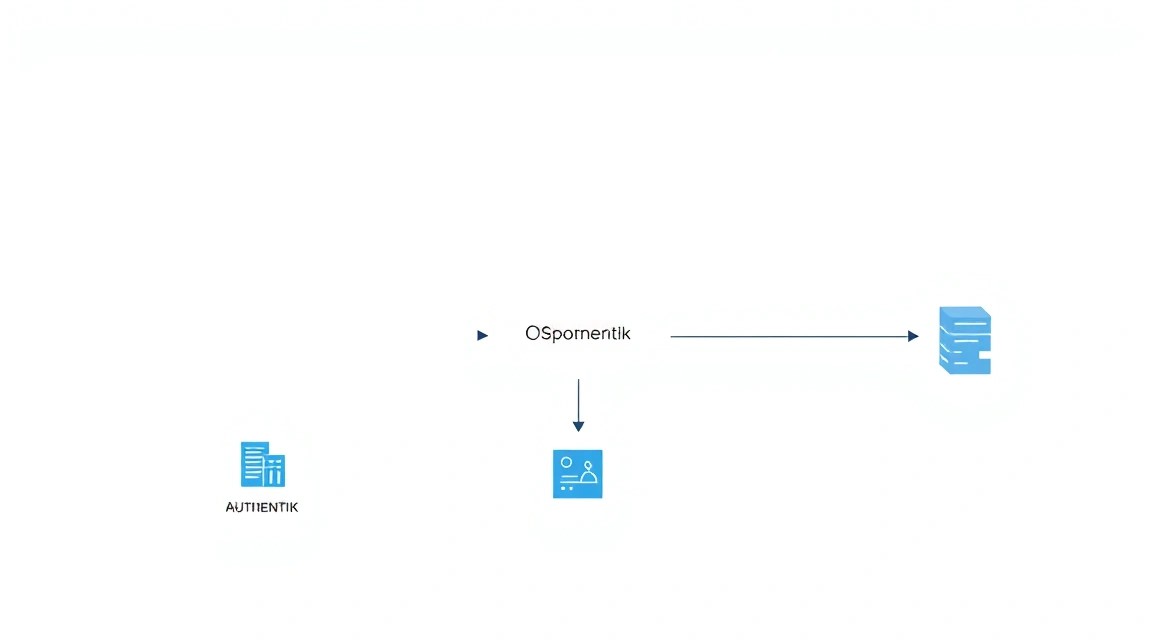
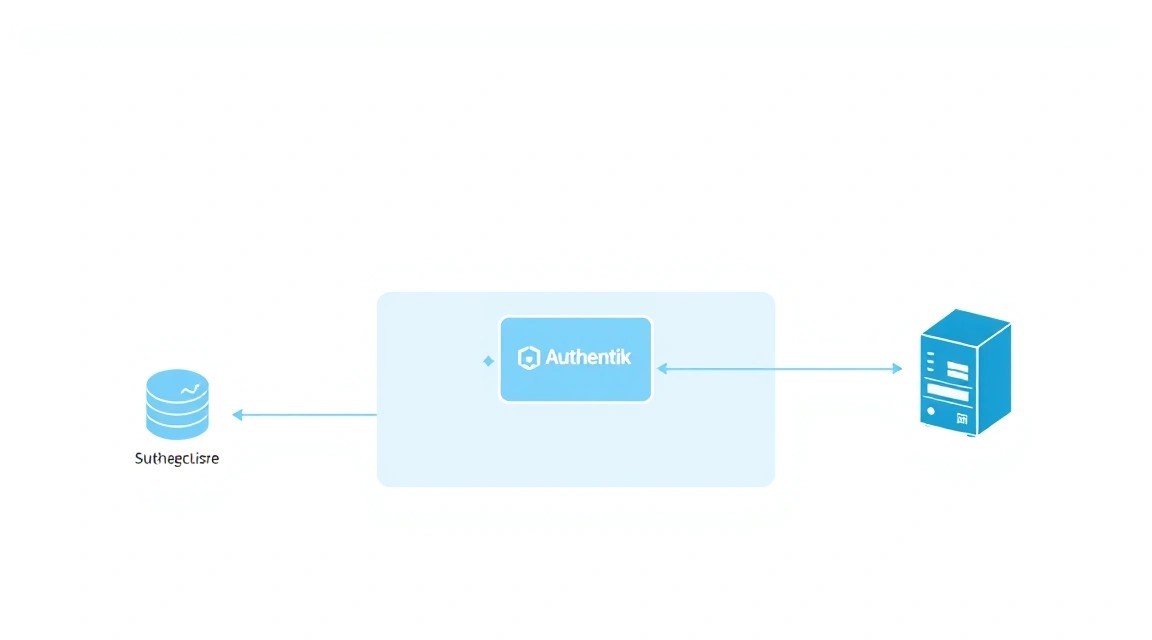
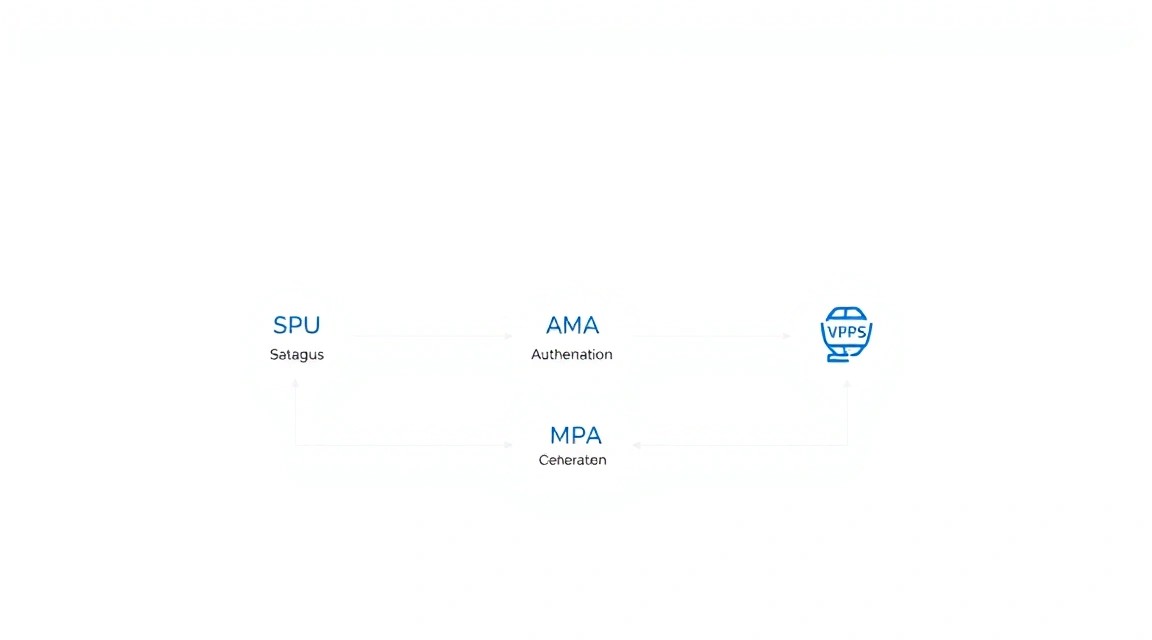
Authentik is an Open Source Identity and Access Management (IAM) platform that enables Single Sign-On (SSO) and Multi-Factor Authentication (MFA) for all your applications. Instead of creating and managing separate accounts for each service (GitLab, Mattermost, Nextcloud, Grafana, etc.), users will authenticate once through Authentik and then gain seamless access to all integrated applications.

Ultimately, upon completing this guide, you will have a fully configured Authentik system on your VPS, which will serve as a central authentication point. This will significantly enhance security through enforced MFA and centralized password management, as well as improve user experience by eliminating the need to remember multiple logins and passwords.

There are various approaches to solving IAM tasks. Among cloud-managed services, Okta, Auth0, or Azure AD offer high availability and minimal administration costs, but they require monthly payments and imply transferring control over data to a third party. On the other hand, there are other self-hosted solutions such as Keycloak or FreeIPA, which also provide SSO and MFA capabilities but can be more complex to deploy and configure compared to Authentik, especially for small and medium-sized installations.

The choice of a self-hosted solution on a VPS, such as Authentik, is driven by several key advantages. Firstly, it provides full control over your data and infrastructure, which is especially important for privacy and regulatory compliance. Secondly, it offers significant cost savings compared to cloud counterparts, especially in the long term. And finally, it provides flexibility and the ability for deep customization to meet your unique needs, making it an ideal choice for developers, solo SaaS founders, and anyone who values independence and security.

What VPS configuration is needed for this task

Diagram: What VPS configuration is needed for this task

The correct choice of VPS configuration is key to the stable and productive operation of Authentik. Below are the minimum and recommended requirements, current for 2026, taking into account the growth of Authentik's functionality and optimization.

Minimum requirements (for small teams up to 50 users)

  • CPU: 2 vCPU (modern x86-64 processor, e.g., Intel Xeon E3/E5 or AMD EPYC).
  • RAM: 4 GB (sufficient for the operating system, Authentik, and PostgreSQL).
  • Disk: 80-100 GB NVMe SSD. Disk subsystem speed is critical for database performance and overall system responsiveness. NVMe significantly outperforms standard SATA SSDs.
  • Network: 1 Gbit/s uplink. A public IPv4 address is mandatory for accessing Authentik from the internet.

Recommended VPS plan (for teams up to 200-300 users)

For more comfortable operation, with room for scaling and integrating several dozen applications, the following configuration is recommended:

  • CPU: 4 vCPU.
  • RAM: 8 GB.
  • Disk: 160-200 GB NVMe SSD.
  • Network: 1 Gbit/s uplink, public IPv4.

To rent a VPS with the specified characteristics, you can consider offers from various providers that match these parameters. Make sure the chosen plan includes NVMe SSD and sufficient RAM.

When a dedicated server is needed, not a VPS

While a VPS is an excellent choice for most scenarios, there are situations where a dedicated server would be more preferable:

  • Very high load: If you expect thousands of active users, hundreds of authentication requests per second, or integration with critical enterprise systems, a dedicated server will provide you with the full power of physical hardware without virtualization.
  • Strict performance requirements: For applications where even millisecond latency is critical, a dedicated server can offer more predictable and stable performance.
  • Specific security/compliance requirements: Some regulatory norms or internal company policies may require full control over hardware, which is best achieved on a dedicated server.
  • Large data volumes: If Authentik will store significant amounts of user data, logs, or integrate with very large directories, the larger disk subsystem of a dedicated server will be beneficial.

VPS location: what it affects

Choosing the geographical location of your VPS has several important aspects:

  • Latency: Place the VPS as close as possible to the majority of your users. The shorter the distance, the faster the server responses will be, which is critical for interactive web applications and overall user experience.
  • Data legislation: If you are working with personal data, ensure that the VPS location complies with GDPR, HIPAA, or other local data storage and processing laws.
  • Network availability: Choose locations with good network connections and peering with major providers to ensure stable and fast access.

Server preparation

Diagram: Server preparation

Before proceeding with Authentik installation, you need to perform basic configuration of your VPS to ensure security and stability. We will use Ubuntu Server 24.04 LTS as the operating system, as it is one of the most popular and well-supported platforms for servers.

1. Connecting to the server

Connect to your VPS via SSH using the credentials provided by your provider (usually root login and password, or a user with an SSH key).


ssh root@ВАШ_IP_АДРЕС

2. System update

First, update all packages to their latest versions. This will ensure system security and stability.


sudo apt update && sudo apt upgrade -y

3. Creating a new user and configuring sudo

Working as the root user is not recommended for everyday tasks. Create a new user with limited privileges and add them to the sudo group.


# Replace 'youruser' with your desired username
sudo adduser youruser
sudo usermod -aG sudo youruser

Exit the root session and log in as the new user:


exit
ssh youruser@ВАШ_IP_АДРЕС

4. Configuring SSH key access (recommended)

For increased security, it is recommended to use SSH keys instead of passwords. If you already use keys, make sure your public key is added to the ~/.ssh/authorized_keys file of the new user.

On your local machine:


# If you don't have an SSH key, generate one
ssh-keygen -t rsa -b 4096

# Copy the public key to the server (replace youruser and ВАШ_IP_АДРЕС)
ssh-copy-id youruser@ВАШ_IP_АДРЕС

On the server: disable password login and for the root user.


sudo nano /etc/ssh/sshd_config

Find and change the following lines (or add them if they are missing):


# Disable root login
PermitRootLogin no

# Disable password authentication (after you ensure key login works!)
PasswordAuthentication no

# Make sure key authentication is enabled
PubkeyAuthentication yes

Restart the SSH service:


sudo systemctl restart sshd

5. Installing and configuring Fail2Ban

Fail2Ban helps protect against brute-force attacks by blocking IP addresses from which numerous failed login attempts occur.


sudo apt install fail2ban -y
sudo systemctl enable fail2ban
sudo systemctl start fail2ban

Create a local configuration file:


sudo cp /etc/fail2ban/jail.conf /etc/fail2ban/jail.local
sudo nano /etc/fail2ban/jail.local

In the [DEFAULT] section, you can set more aggressive parameters, for example:


bantime = 1h    # Ban time (1 hour)
findtime = 10m  # Time window for attempts (10 minutes)
maxretry = 3    # Maximum number of attempts before banning

Ensure that the [sshd] section is active (enabled = true).


sudo systemctl restart fail2ban

6. Configuring the firewall (UFW)

UFW (Uncomplicated Firewall) is a convenient interface for managing iptables. We will configure it to allow only necessary traffic.


sudo apt install ufw -y

# Deny all incoming traffic by default
sudo ufw default deny incoming

# Allow all outgoing traffic by default
sudo ufw default allow outgoing

# Allow SSH (default port 22)
sudo ufw allow ssh

# Allow HTTP (port 80) and HTTPS (port 443) for the web server
sudo ufw allow http
sudo ufw allow https

# Enable UFW
sudo ufw enable

Confirm the action by typing y. Check the firewall status:


sudo ufw status verbose

7. Installing basic utilities

Install several useful utilities that may come in handy during the installation and debugging process.


sudo apt install curl wget git htop net-tools -y

Now your server is prepared and secured for further Authentik deployment.

Software Installation — Step-by-Step

Diagram: Software Installation — Step-by-Step

Authentik is deployed using Docker Compose, which significantly simplifies the management of its components. We will also use an external PostgreSQL database for better performance and scalability.

1. Installing Docker Engine and Docker Compose Plugin (relevant for 2026)

We will install Docker Engine and Docker Compose Plugin, which are essential for running Authentik.


# 1. Update packages and install necessary dependencies
sudo apt update && sudo apt install ca-certificates curl gnupg lsb-release -y

# 2. Add Docker's official GPG key
sudo install -m 0755 -d /etc/apt/keyrings
curl -fsSL https://download.docker.com/linux/ubuntu/gpg | sudo gpg --dearmor -o /etc/apt/keyrings/docker.gpg

# 3. Add Docker repository
echo \
  "deb [arch="$(dpkg --print-architecture)" signed-by=/etc/apt/keyrings/docker.gpg] https://download.docker.com/linux/ubuntu \
  "$(. /etc/os-release && echo "$VERSION_CODENAME")" stable" | \
  sudo tee /etc/apt/sources.list.d/docker.list > /dev/null

# 4. Update APT package index and install Docker Engine
sudo apt update
sudo apt install docker-ce docker-ce-cli containerd.io docker-buildx-plugin docker-compose-plugin -y

# 5. Add current user to the docker group to execute commands without sudo
sudo usermod -aG docker $USER
newgrp docker # Apply group changes without restarting the session

# 6. Verify Docker installation
docker run hello-world

# 7. Verify Docker Compose Plugin installation
docker compose version

The expected output for Docker Compose version will be approximately Docker Compose version v2.24.x or higher.

2. Installing and Configuring PostgreSQL 16

Authentik uses a database to store its data. Instead of using the built-in database in a Docker container, we will install PostgreSQL 16 directly on the VPS for better performance and manageability.


# 1. Install PostgreSQL 16
sudo apt install postgresql-16 -y

# 2. Start and enable PostgreSQL
sudo systemctl enable postgresql
sudo systemctl start postgresql

# 3. Switch to postgres user for database configuration
sudo -i -u postgres

# 4. Create a new database and user for Authentik
psql -c "CREATE DATABASE authentik;"
psql -c "CREATE USER authentik_user WITH PASSWORD 'ВАШ_ОЧЕНЬ_СИЛЬНЫЙ_ПАРОЛЬ_ДЛЯ_БД';"
psql -c "GRANT ALL PRIVILEGES ON DATABASE authentik TO authentik_user;"

# 5. Exit postgres user
exit

Replace 'ВАШ_ОЧЕНЬ_СИЛЬНЫЙ_ПАРОЛЬ_ДЛЯ_БД' with a strong unique password. Record it, as it will be needed for Authentik configuration.

3. Deploying Authentik with Docker Compose

Now we are ready to deploy Authentik using its official Docker images.


# 1. Create a directory for Authentik and navigate into it
mkdir ~/authentik
cd ~/authentik

# 2. Download docker-compose.yml and .env files from the official Authentik repository
# For example, we use the current version for 2024, which will also be relevant for 2026 with minor updates
# Always check the current URL on the official Authentik website (goauthentik.io)
wget https://goauthentik.io/docker-compose.yml
wget https://goauthentik.io/docker-compose.env
mv docker-compose.env .env # Rename the .env file

# 3. Generate a unique secret key for Authentik
# This key is used for data encryption and must be strong.
# Replace it with your generated key.
AUTHENTIK_SECRET_KEY=$(python3 -c 'import secrets; print(secrets.token_urlsafe(64))')
echo "AUTHENTIK_SECRET_KEY=$AUTHENTIK_SECRET_KEY" >> .env
echo "Authentik secret key generated and added to .env"

Important: ensure that you are using the latest versions of docker-compose.yml and .env files from the official Authentik website. The commands above use public links, but there might be changes in 2026.

4. Configuring the .env file

Edit the .env file so that Authentik can connect to your external PostgreSQL database and use the correct domain.


nano .env

Find the following lines and modify them according to your configuration:

  • AUTHENTIK_HOST=https://your.domain.com/: Replace your.domain.com with your actual domain name through which Authentik will be accessible.
  • AUTHENTIK_POSTGRESQL__HOST=localhost: Indicates that PostgreSQL is on the same server.
  • AUTHENTIK_POSTGRESQL__NAME=authentik: The name of the database we created.
  • AUTHENTIK_POSTGRESQL__USER=authentik_user: The database username.
  • AUTHENTIK_POSTGRESQL__PASSWORD=ВАШ_ОЧЕНЬ_СИЛЬНЫЙ_ПАРОЛЬ_ДЛЯ_БД: The database user's password.
  • AUTHENTIK_REDIS__HOST=redis: Leave as is if you are using Docker Compose's internal Redis.

Example of edited lines in .env:


AUTHENTIK_HOST=https://auth.example.com/ # Your domain name
AUTHENTIK_SECRET_KEY=ВАШ_СГЕНЕРИРОВАННЫЙ_КЛЮЧ # It should already be there
AUTHENTIK_POSTGRESQL__HOST=localhost
AUTHENTIK_POSTGRESQL__NAME=authentik
AUTHENTIK_POSTGRESQL__USER=authentik_user
AUTHENTIK_POSTGRESQL__PASSWORD=ВАШ_ОЧЕНЬ_СИЛЬНЫЙ_ПАРОЛЬ_ДЛЯ_БД
AUTHENTIK_REDIS__HOST=redis

Save changes (Ctrl+O, Enter, Ctrl+X).

5. Starting Authentik

Now that everything is configured, start Authentik using Docker Compose.


# Download Docker images
docker compose pull

# Start Authentik containers in the background
docker compose up -d

Check the status of running containers:


docker compose ps

You should see authentik_server, authentik_worker, and redis containers in running status.

6. Creating an Authentik Superuser

To log into Authentik for the first time, you need to create a superuser account.


docker compose exec authentik sh -c "python3 manage.py createsuperuser"

Follow the instructions in the terminal to create an admin user (or any other name) and set a strong password for it. Record these credentials.

At this step, Authentik is installed and running. Next, we will configure access to it via the web interface using a reverse proxy and HTTPS.

Configuration

Diagram: Configuration

After installing Authentik, we need to configure access to it via the web interface, ensure traffic encryption with HTTPS, and verify its functionality. For these purposes, we will use Caddy — a powerful and easy-to-configure web server that automatically manages Let's Encrypt certificates.

1. Installing and Configuring Caddy

Caddy significantly simplifies HTTPS setup by automatically obtaining and renewing SSL certificates. We will install it on the VPS.


# 1. Install necessary dependencies to add the Caddy repository
sudo apt install -y debian-keyring debian-archive-keyring apt-transport-https

# 2. Add Caddy's GPG key
curl -1sLf 'https://dl.cloudsmith.io/public/caddy/stable/gpg.key' | sudo gpg --dearmor -o /usr/share/keyrings/caddy-stable-archive-keyring.gpg

# 3. Add Caddy repository
curl -1sLf 'https://dl.cloudsmith.io/public/caddy/stable/debian.deb.txt' | sudo tee /etc/apt/sources.list.d/caddy-stable.list

# 4. Update APT package index and install Caddy
sudo apt update
sudo apt install caddy -y

# 5. Check Caddy status (it should be running automatically)
sudo systemctl status caddy

If Caddy is not running, use sudo systemctl start caddy.

2. Configuring Caddyfile for Authentik

Create or edit the Caddy configuration file (Caddyfile) to act as a reverse proxy for Authentik.


sudo nano /etc/caddy/Caddyfile

Remove existing content and add the following:


your.domain.com {
    # Replace 'your.domain.com' with your actual domain name (e.g., auth.example.com)

    # Enable GZIP compression
    encode gzip

    # Reverse proxy settings for Authentik
    reverse_proxy authentik:9000 {
        # Headers for correct proxying
        header_up Host {host}
        header_up X-Real-IP {remote_ip}
        header_up X-Forwarded-For {remote_ip}
        header_up X-Forwarded-Proto {scheme}
    }

    # Log settings (optional, but useful for debugging)
    log {
        output file /var/log/caddy/access.log
    }
}

Important: replace your.domain.com with your actual domain that you specified in the Authentik .env file (e.g., auth.example.com). Ensure that the DNS A-record for this domain points to your VPS's IP address.

Save changes (Ctrl+O, Enter, Ctrl+X) and validate the Caddy configuration:


sudo caddy validate --config /etc/caddy/Caddyfile

If the configuration is correct, reload Caddy to apply the changes:


sudo systemctl reload caddy

Caddy will automatically obtain SSL/TLS certificates from Let's Encrypt for your domain. To do this, ensure that ports 80 and 443 are open in the firewall (we did this during server preparation).

3. Working with Secrets

As shown previously, all sensitive data, such as the Authentik secret key (AUTHENTIK_SECRET_KEY) and database passwords, are stored in the .env file. This is standard practice for Docker applications. Never store this data directly in docker-compose.yml or in public repositories.

Ensure that the .env file has restricted permissions so that only the owner can read it:


chmod 600 ~/authentik/.env

4. Verifying Functionality

After configuring all components, we will perform several checks to ensure that Authentik is working correctly.

  • Check Docker container status:
  • 
    docker compose ps
    

    All containers (authentik_server, authentik_worker, redis) should be in running status.

  • Check Authentik logs:
  • 
    docker compose logs authentik_server
    docker compose logs authentik_worker
    

    Look for errors or warnings. Normal logs should show successful startup and initialization.

  • Check Caddy status:
  • 
    sudo systemctl status caddy
    sudo journalctl -u caddy --no-pager
    

    Ensure that Caddy is running and there are no errors in the logs related to certificate acquisition or proxying.

  • Check access via curl:
  • 
    curl -I https://your.domain.com/
    

    You should receive an HTTP status of 200 OK or 302 Found (redirect to the Authentik login page), which indicates a successful connection and HTTPS operation.

  • Access via browser:
  • Open https://your.domain.com/ in your web browser. You should see the Authentik login page. Use the superuser credentials created earlier for the first login.

Congratulations! Authentik is successfully installed and configured on your VPS with HTTPS. You can now proceed to integrate your applications.

Backups and Maintenance

Diagram: Backups and Maintenance

Regular backups and timely maintenance are critically important aspects for any production system, and Authentik is no exception. In this section, we will look at what needs to be backed up, how to automate the process, and where to store backup copies.

1. What to Back Up

For a full Authentik recovery, you will need the following components:

  • PostgreSQL Database: Contains all user data, application configurations, policies, logs, and other critically important Authentik information. This is the most important component for backup.
  • Authentik Configuration Files: The .env file, containing the secret key and DB connection parameters, as well as docker-compose.yml.
  • Reverse Proxy Configuration: The /etc/caddy/Caddyfile file (or Nginx configuration).
  • Authentik Media Files Data (optional): If you upload images or other media files via Authentik (e.g., provider logos), this data is stored in a Docker volume. By default, Authentik uses the named volume authentik_media. If this volume is not mounted to the host system, its content needs to be backed up separately.

2. Simple Auto-Backup Script

Let's create a simple script that will back up the database, configuration files, and, if necessary, media files.


nano ~/backup_authentik.sh

Insert the following content:


#!/bin/bash

# --- Settings ---
DATE=$(date +%Y%m%d%H%M%S)
BACKUP_DIR="/var/backups/authentik" # Directory for storing backups
DB_NAME="authentik"                 # Authentik database name
DB_USER="authentik_user"            # Database user
DB_HOST="localhost"                 # Database host (our VPS)
DB_PASSWORD="YOUR_VERY_STRONG_DB_PASSWORD" # DB password. IN PRODUCTION, USE .pgpass OR SECRETS!

AUTHENTIK_ROOT_DIR="$HOME/authentik" # Path to the directory with docker-compose.yml and .env
CADDY_CONFIG_PATH="/etc/caddy/Caddyfile" # Path to Caddyfile

# --- Create backup directory if it doesn't exist ---
mkdir -p "$BACKUP_DIR"

# --- 1. PostgreSQL database backup ---
echo "Starting PostgreSQL database backup..."
export PGPASSWORD="$DB_PASSWORD" # Set password for pg_dump
pg_dump -h "$DB_HOST" -U "$DB_USER" -d "$DB_NAME" > "$BACKUP_DIR/authentik_db_$DATE.sql"
unset PGPASSWORD # Remove password from environment variables
if [ $? -eq 0 ]; then
    echo "Database backup successfully created: $BACKUP_DIR/authentik_db_$DATE.sql"
else
    echo "Error creating database backup."
fi

# --- 2. Authentik configuration files backup ---
echo "Backing up Authentik configuration files..."
cp "$AUTHENTIK_ROOT_DIR/.env" "$BACKUP_DIR/authentik_env_$DATE.env"
cp "$AUTHENTIK_ROOT_DIR/docker-compose.yml" "$BACKUP_DIR/authentik_compose_$DATE.yml"
echo "Authentik configuration files backed up."

# --- 3. Caddyfile backup ---
echo "Backing up Caddyfile..."
cp "$CADDY_CONFIG_PATH" "$BACKUP_DIR/Caddyfile_$DATE"
echo "Caddyfile backed up."

# --- 4. Backup Docker volume 'authentik_media' (if not mounted to host) ---
# If your authentik_media volume is mounted to the host, you need to back up this directory directly.
# Otherwise, if it's a named Docker volume, you can use the following approach:
# Determine the path to the Docker volume. This may vary depending on the Docker version.
# VOLUME_PATH=$(docker volume inspect authentik_media --format '{{ .Mountpoint }}')
# if [ -d "$VOLUME_PATH" ]; then
#    echo "Backing up Docker volume authentik_media..."
#    tar -czf "$BACKUP_DIR/authentik_media_$DATE.tar.gz" -C "$VOLUME_PATH" .
#    echo "Docker volume authentik_media backed up."
# else
#    echo "Volume authentik_media not found or not mounted to host."
# fi

# --- 5. Cleaning up old backups (e.g., keep backups for the last 7 days) ---
echo "Cleaning up old backups..."
find "$BACKUP_DIR" -type f -name 'authentik_db_*.sql' -mtime +7 -delete
find "$BACKUP_DIR" -type f -name 'authentik_env_*.env' -mtime +7 -delete
find "$BACKUP_DIR" -type f -name 'authentik_compose_*.yml' -mtime +7 -delete
find "$BACKUP_DIR" -type f -name 'Caddyfile_*' -mtime +7 -delete
# find "$BACKUP_DIR" -type f -name 'authentik_media_*.tar.gz' -mtime +7 -delete # If you are backing up the media volume
echo "Old backups deleted."

echo "Authentik automatic backup completed at $DATE."

Important: Replace 'YOUR_VERY_STRONG_DB_PASSWORD' with the actual password for your DB. In a production environment, it is highly recommended not to store passwords directly in the script. Instead, use a ~/.pgpass file with restricted permissions (chmod 0600 ~/.pgpass) or environment variables that are securely loaded.

Make the script executable:


chmod +x ~/backup_authentik.sh

3. Automating Backups with Cron

Add the script to the Cron scheduler so it runs automatically.


crontab -e

Add the following line to the end of the file so the script runs daily at 3:00 AM:


0 3 * * * /home/youruser/backup_authentik.sh > /dev/null 2>&1

Replace /home/youruser/backup_authentik.sh with the full path to your script.

4. Where to Store Backups

Storing backups on the same server as the main service is risky. In case of a VPS failure, you will lose both data and backups. It is recommended to use external storage:

  • S3-compatible storage: Cloud services such as Amazon S3, DigitalOcean Spaces, Backblaze B2 offer reliable and inexpensive storage. Utilities like s3cmd or rclone can be used to upload backups.
  • Separate VPS/Dedicated server: You can set up a second, cheaper VPS exclusively for storing backups and synchronizing them via rsync or scp.
  • Local NAS/Network storage: For home use or small offices, you can use your own network storage accessible via VPN.

5. Authentik and System Updates

Regular updates are important for security and new features.

  • Updating Authentik:

    To update Authentik Docker containers:

    
    cd ~/authentik
    docker compose pull # Download new images
    docker compose down # Stop current containers
    docker compose up -d # Start new containers
    

    Always check the official Authentik documentation before major updates (e.g., when upgrading to a new major version), as database migrations or changes to the docker-compose.yml file may be required.

  • Updating Operating System and PostgreSQL:

    Regularly update the OS and all installed packages:

    
    sudo apt update && sudo apt upgrade -y
    sudo apt autoremove -y
    

    For PostgreSQL, updates usually occur with system updates, but sometimes major versions require manual data migration. Always follow Ubuntu/PostgreSQL recommendations for such cases.

  • Maintenance Planning:

    Perform updates during scheduled maintenance windows when server load is minimal to minimize potential impact on users. Always make backups before major updates.

Troubleshooting + FAQ

In this section, we will cover typical problems that may arise during Authentik installation and operation, and answer frequently asked questions.

Authentik containers are not starting.

What to check: First, check the Docker Compose logs. Go to the Authentik directory (~/authentik) and run docker compose logs. This will show the output of all containers. If the problem is with a specific container (e.g., authentik_server), you can view its logs separately: docker compose logs authentik_server.

How to fix: Look for error messages in the logs. Common causes: incorrect parameters in the .env file (especially AUTHENTIK_SECRET_KEY or DB parameters), PostgreSQL database unavailability (check if PostgreSQL is running: sudo systemctl status postgresql), port conflicts (if another service is already using port 9000), or insufficient resources (RAM/CPU) on the VPS.

Cannot connect to Authentik via browser (502 Bad Gateway or Connection Refused).

What to check:

  • DNS A-record: Make sure your domain name (e.g., auth.example.com) correctly points to your VPS's IP address. Use dig your.domain.com or nslookup your.domain.com.
  • Caddy/Nginx status: Check if your reverse proxy server is running: sudo systemctl status caddy (or nginx).
  • Caddy/Nginx logs: Examine the proxy server logs. For Caddy, this is sudo journalctl -u caddy --no-pager or the file specified in Caddyfile (e.g., /var/log/caddy/access.log). For Nginx, it's usually /var/log/nginx/error.log.
  • Firewall: Make sure ports 80 and 443 are open in UFW: sudo ufw status verbose.
  • Authentik internal accessibility: Try running curl http://localhost:9000 on the VPS itself. If this works, the problem is with the proxy server or its configuration.

How to fix: If the problem is with DNS, update the A-record with your domain name registrar. If Caddy is not running, try starting it: sudo systemctl start caddy and check the Caddyfile for syntax errors. Make sure the Caddyfile specifies the correct address for proxying (authentik:9000 or localhost:9000, depending on the Docker network configuration).

TLS issues (Let's Encrypt certificates).

What to check: Caddy automatically obtains certificates. The main reason for problems is Caddy's inability to contact Let's Encrypt servers. Make sure that:

  • Your domain is accessible from the internet on ports 80 and 443.
  • No other services are occupying these ports.
  • The DNS A-record for the domain is configured correctly.

How to fix: Check Caddy logs for error messages when obtaining certificates. Make sure UFW allows incoming traffic on ports 80 and 443. If you have just updated DNS, give it time to propagate (up to several hours).

What is the minimum suitable VPS configuration?

For a small team (up to 50 users) and basic authentication scenarios, a VPS with 2 vCPU, 4 GB RAM, and 80 GB NVMe SSD will be minimally suitable. This will ensure stable operation of Authentik and PostgreSQL, but without much room for growth or high load.

What to choose — VPS or dedicated for this task?

For most scenarios, especially for teams of up to several hundred users, a VPS will be an optimal and cost-effective solution. A dedicated server should be considered for very high loads (thousands of active users, intensive requests), strict performance requirements, or the need for full control over hardware. A VPS offers sufficient flexibility and power for most centralized authentication needs.

How to update Authentik?

To update Authentik, you need to update its Docker images. Go to the Authentik installation directory (~/authentik), then run: docker compose pull (to download new images), docker compose down (to stop current containers), and docker compose up -d (to start new containers). Always check the official Authentik documentation before major updates for database migrations or configuration changes to avoid compatibility issues.

How to change the Authentik superuser password?

If you forgot the superuser password, you can reset it by running a command inside the Authentik container: docker compose exec authentik sh -c "python3 manage.py changepassword admin" (replace admin with your superuser's name). The system will prompt you to enter a new password.

Conclusions and Next Steps

Diagram: Conclusions and Next Steps

We have successfully deployed and configured Authentik on your VPS, providing a powerful and flexible solution for centralized identity and access management. You now have your own platform for Single Sign-On (SSO) and Multi-Factor Authentication (MFA), capable of significantly enhancing security and usability for your applications.

Further steps will help you maximize Authentik's potential and integrate it into your infrastructure:

  • Integrate your first application: Start by integrating one of your web applications (e.g., GitLab, Mattermost, Nextcloud, Grafana). Authentik supports numerous protocols (OpenID Connect, SAML, LDAP) and offers ready-made integrations.
  • Explore advanced features: Explore Authentik's capabilities such as LDAP Outposts (for synchronization with existing directories), creating complex MFA policies, configuring various identity sources (e.g., social providers), and managing users/groups.
  • Implement monitoring and alerts: Set up monitoring systems (e.g., Prometheus + Grafana) to track Authentik's status, VPS resource usage, and authentication activity, enabling timely response to potential issues or security incidents.

Was this guide helpful?

Authentik installation on VPS, SSO, MFA, centralized authentication
support_agent
Valebyte Support
Usually replies within minutes
Hi there!
Send us a message and we'll reply as soon as possible.