Installing FreshRSS on a VPS: Your Own RSS Aggregator Accessible From Anywhere
TL;DR
In this detailed guide, we will step-by-step set up a personal FreshRSS aggregator on your own Virtual Private Server (VPS). You will gain full control over your news feeds, ensure reading privacy, and be able to access your favorite information sources from any device, leveraging the power of open-source software and the reliability of cloud infrastructure.
- Install and configure FreshRSS on Ubuntu Server 24.04 LTS.
- Ensure secure access via HTTPS using Caddy.
- Deploy the Caddy web server, PHP 8.3, and MariaDB database.
- Set up automatic feed updates and a backup system.
- Gain full control over data and news reading privacy.
What We Are Setting Up and Why
In the modern information flow, it is crucial to have tools for effective information management. RSS (Really Simple Syndication) remains one of the most powerful and private ways to follow news, blogs, and podcasts without relying on social media algorithms or email newsletters. However, many popular RSS services are proprietary cloud solutions that may collect data about your reading, display ads, or simply cease to exist.
This is where FreshRSS comes in — a free and open-source (GPL v3) RSS aggregator that you can install on your own server. It offers a clean, fast, and intuitive interface, multi-language support, an API for mobile clients (compatible with Fever API), and powerful tools for filtering and categorizing feeds. By installing FreshRSS on your VPS, you gain full control over your data, guarantee reading privacy, and create a centralized hub for all your information streams, accessible from anywhere.
Ultimately, upon completing this guide, you will have a fully functional FreshRSS aggregator running on your VPS under Ubuntu Server 24.04 LTS. It will be accessible via a secure HTTPS connection using a domain name of your choice and will be able to automatically update your feeds. You will be able to add and read RSS feeds through the web interface or through any mobile application that supports the Fever API, without any restrictions or tracking.
There are also alternatives such as Feedly, Inoreader, or The Old Reader. These are cloud services that offer "out-of-the-box" convenience for a monthly fee. They are ideal for those who do not want to bother with technical setup. However, by choosing a self-hosted solution on a VPS, you avoid monthly fees for the service itself (you only pay for the VPS), gain full confidentiality (your data remains only with you), can customize the system to your needs without restrictions, and are not dependent on the policies of third-party companies. This is an ideal choice for those who value independence and control over their digital life.
What VPS Configuration is Needed for This Task
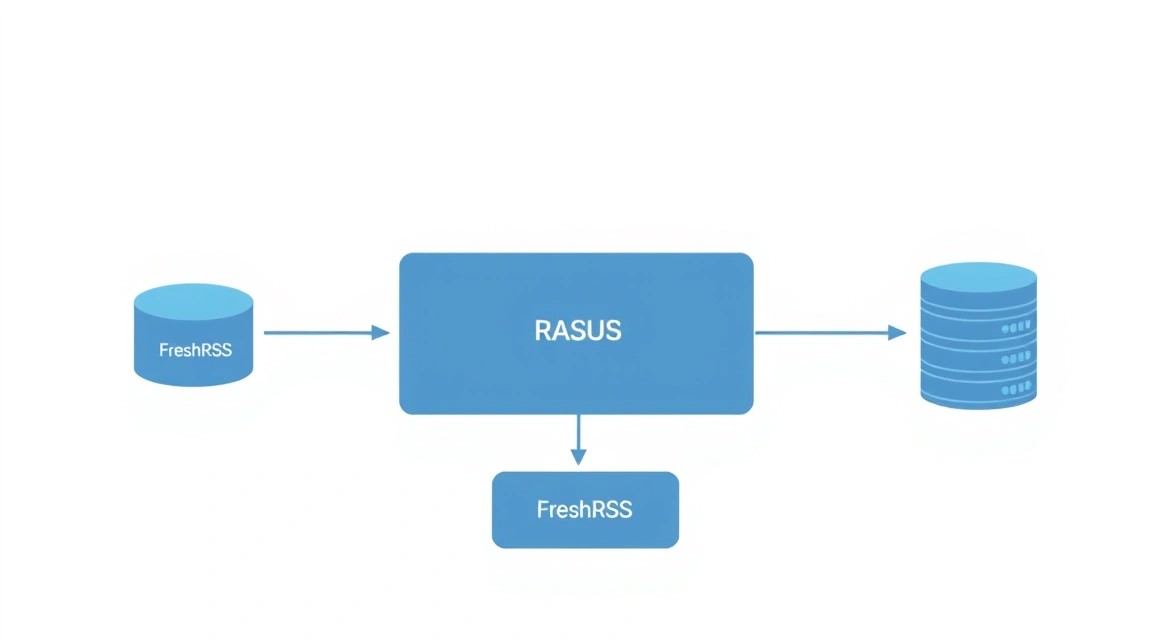
FreshRSS is a relatively lightweight application, especially if you plan to use it alone or for a small group of users (up to 5-10 people) with a reasonable number of feeds (up to several hundred). Such a task does not require a powerful server, making it an ideal candidate for deployment on a budget VPS.
Minimum requirements:
- Processor (CPU): 1 core (x86_64, 2 GHz+). FreshRSS is primarily single-threaded, so high frequency is more important than the number of cores for basic operations.
- Random Access Memory (RAM): 1-2 GB. 1 GB will be sufficient for FreshRSS and all its dependencies (Caddy, PHP-FPM, MariaDB) in a minimal configuration. 2 GB will provide more comfortable operation and allow more data to be kept in the database cache.
- Disk space: 20-40 GB SSD. The operating system will take up about 10-15 GB. FreshRSS and its database will use the remaining space to store articles, images, and cache. SSD is critical for fast database operation and file access.
- Network: 100 Mbps or 1 Gbps port. For an RSS aggregator, which primarily downloads text content, port speed is less critical than connection stability. Monthly traffic usually does not exceed several hundred gigabytes.
Recommended VPS plan for comfortable operation (as of 2026):
- CPU: 2 vCPU
- RAM: 2-4 GB
- Disk: 50-80 GB SSD
- Network: 1 Gbps port, 1-2 TB traffic.
This configuration will be sufficient for FreshRSS with several thousand feeds and dozens of users, and there will also be room for other small services on the same VPS. A VPS with the specified characteristics can be rented from most cloud service providers.
When a dedicated server is needed, not a VPS:
For FreshRSS, in the vast majority of cases, a dedicated server is overkill. It is needed if you plan to:
- Serve hundreds or thousands of users.
- Aggregate millions of articles daily and store huge amounts of data.
- Run many other resource-intensive applications on the same hardware.
- Require maximum I/O performance or exclusive access to hardware.
VPS Location: What it affects
The choice of your VPS's geographical location affects several factors:
- Latency: The closer the server is to you and your primary audience (if any), the faster the web interface response will be. For an RSS aggregator, this is not critical but pleasant.
- Content availability: If you aggregate content from specific regions, placing the server closer to these sources may slightly speed up feed updates.
- Legislation: The server's location in a particular jurisdiction means your data will be subject to the laws of that country. If data privacy is a priority, choose countries with strong data protection laws.
Server Preparation
Before installing FreshRSS, you need to perform basic setup and preparation of your VPS. We will use Ubuntu Server 24.04 LTS (Long Term Support), as it is a stable and widely used operating system with long-term support, relevant in 2026 as well.
1. Connecting to the server and updating the system
Connect to your new VPS via SSH. Typically, the provider gives you an IP address and login (e.g., root) with a temporary password or an SSH key.
ssh root@ВАШ_IP_АДРЕС
After successful login, update the package list and the system itself to the latest versions:
sudo apt update && sudo apt upgrade -y
This command will update all installed packages to their current versions and ensure all necessary security patches are present.
2. Creating a new user and configuring sudo
Working under the root account is insecure. Let's create a new user with limited privileges and grant them the ability to execute commands with sudo.
sudo adduser freshrssuser
Follow the on-screen instructions to set a password and user information. Then add the new user to the sudo group:
sudo usermod -aG sudo freshrssuser
Now you can log out of root and log in as freshrssuser:
exit
ssh freshrssuser@ВАШ_IP_АДРЕС
All subsequent commands will be executed as freshrssuser, using sudo when necessary.
3. Configuring SSH keys (recommended)
For increased security, it is recommended to use SSH keys instead of passwords. If you don't already have a key pair, generate them on your local computer:
ssh-keygen -t rsa -b 4096
Then copy the public key to the server:
ssh-copy-id freshrssuser@ВАШ_IP_АДРЕС
After this, you will be able to log in without a password. To completely disable password login (which is highly recommended for security), edit the SSH server configuration file:
sudo nano /etc/ssh/sshd_config
Find and change the following lines (or add them if they are missing):
PasswordAuthentication no
ChallengeResponseAuthentication no
UsePAM no
Restart the SSH service to apply the changes:
sudo systemctl restart sshd
Important: Make sure you can log in with your key before disabling password authentication, otherwise you will lose access to the server.
4. Configuring the firewall (UFW)
UFW (Uncomplicated Firewall) is an easy-to-use interface for configuring iptables rules. Enable it and allow the necessary ports:
sudo ufw allow OpenSSH         # Allow SSH (port 22)
sudo ufw allow http            # Allow HTTP (port 80)
sudo ufw allow https           # Allow HTTPS (port 443)
sudo ufw enable                # Enable the firewall
sudo ufw status                # Check status
After enabling UFW, ensure that the SSH connection has not been interrupted. If everything is in order, the firewall is now protecting your server.
5. Installing Fail2ban
Fail2ban scans server logs for suspicious activity (e.g., failed SSH login attempts) and temporarily blocks IP addresses making such attempts. This is excellent protection against brute-force attacks.
sudo apt install fail2ban -y
sudo systemctl enable fail2ban
sudo systemctl start fail2ban
Fail2ban is configured by default to protect SSH. You can check its status:
sudo fail2ban-client status
sudo fail2ban-client status sshd
At this point, the basic server preparation is complete. Now we are ready to install the main software.
Software Installation — Step-by-Step
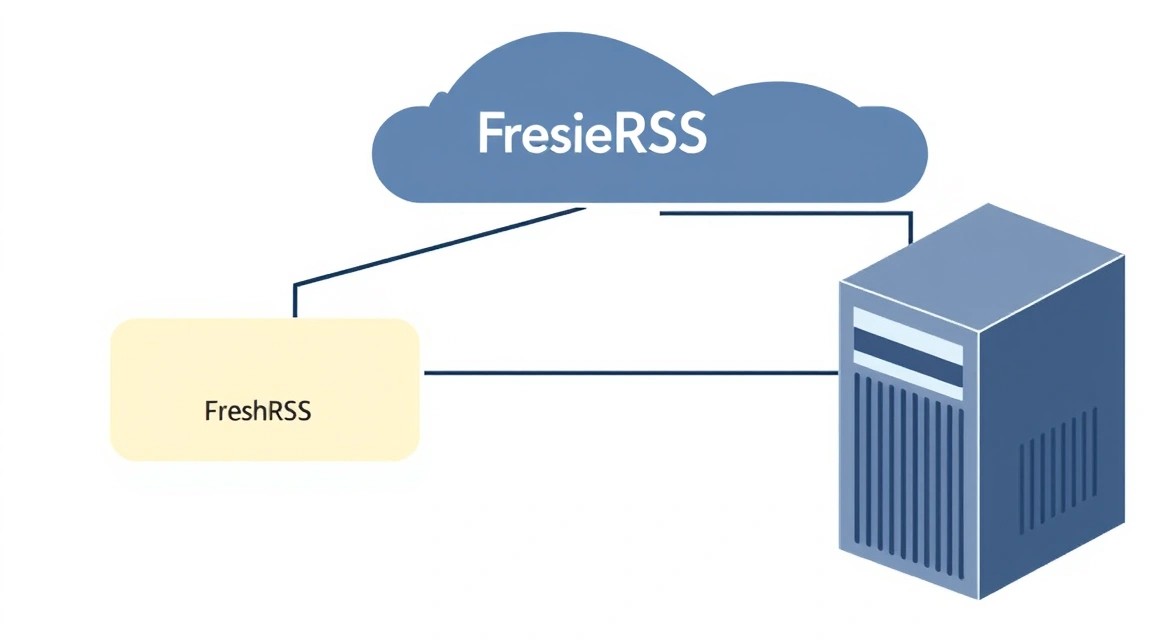
For FreshRSS to work, we will need a web server (Caddy), a PHP interpreter with the FPM module, and a database (MariaDB). We will use the current software versions available in 2026.
1. MariaDB Installation and Configuration (MySQL-compatible database)
MariaDB is a powerful and fast database management system, which is a fork of MySQL and fully compatible with it. FreshRSS works perfectly with MariaDB.
# Установка сервера MariaDB
sudo apt install mariadb-server -y
After installation, run the script for basic MariaDB security:
# Запуск скрипта для защиты MariaDB
sudo mysql_secure_installation
Follow the instructions: set a password for the database root user, remove anonymous users, disallow remote root login, and remove the test database. Then log in to MariaDB as root (database) and create a database and user for FreshRSS:
# Вход в MariaDB
sudo mysql -u root -p
Inside the MariaDB console, execute the following commands, replacing freshrss_user and ВАШ_ПАРОЛЬ_БД with your own values:
CREATE DATABASE freshrss_db CHARACTER SET utf8mb4 COLLATE utf8mb4_unicode_ci;
CREATE USER 'freshrss_user'@'localhost' IDENTIFIED BY 'ВАШ_ПАРОЛЬ_БД';
GRANT ALL PRIVILEGES ON freshrss_db. TO 'freshrss_user'@'localhost';
FLUSH PRIVILEGES;
EXIT;
These commands create the freshrss_db database, the freshrss_user user with the specified password, and grant them full privileges on this database.
2. PHP and Required Extensions Installation
FreshRSS is written in PHP. We will install PHP version 8.3 (or higher, if available) and all necessary extensions.
# Установка PHP 8.3 FPM и необходимых расширений
sudo apt install php8.3-fpm php8.3-mysql php8.3-xml php8.3-gd php8.3-intl php8.3-mbstring php8.3-zip php8.3-curl php8.3-opcache -y
These extensions enable FreshRSS to work with the database, process XML, images, provide multilingual support, compression, and execute HTTP requests. PHP-FPM (FastCGI Process Manager) will manage PHP processes for the web server.
Check PHP-FPM status:
# Проверка статуса PHP-FPM
sudo systemctl status php8.3-fpm
Ensure it is running and active.
3. Caddy Web Server Installation
Caddy is a modern, easy-to-configure web server that automatically manages Let's Encrypt certificates for HTTPS. This significantly simplifies SSL/TLS setup.
# Установка Caddy из официального репозитория
sudo apt install -y debian-keyring debian-archive-keyring apt-transport-https
curl -1sLf 'https://dl.cloudsmith.io/public/caddy/stable/gpg.key' | sudo gpg --dearmor -o /usr/share/keyrings/caddy-stable-archive-keyring.gpg
curl -1sLf 'https://dl.cloudsmith.io/public/caddy/stable/debian.deb.txt' | sudo tee /etc/apt/sources.list.d/caddy-stable.list
sudo apt update
sudo apt install caddy -y
These commands add the official Caddy repository and install the web server. Caddy automatically starts as a system service.
# Проверка статуса Caddy
sudo systemctl status caddy
4. FreshRSS Installation
Let's download the latest stable version of FreshRSS from GitHub and place it in a suitable directory for the web server.
# Переход в директорию для веб-приложений
cd /var/www/

# Скачивание последней стабильной версии FreshRSS (например, v1.25.0, актуальная на 2026 год)
# Всегда проверяйте актуальную версию на GitHub: https://github.com/FreshRSS/FreshRSS/releases
sudo wget https://github.com/FreshRSS/FreshRSS/releases/download/1.25.0/FreshRSS-1.25.0.zip

# Распаковка архива
sudo unzip FreshRSS-1.25.0.zip -d /var/www/

# Переименование директории для удобства
sudo mv /var/www/FreshRSS-1.25.0 /var/www/freshrss

# Удаление архива
sudo rm FreshRSS-1.25.0.zip

# Установка правильных прав доступа. Caddy обычно работает от пользователя 'caddy' или 'www-data'
# PHP-FPM работает от пользователя 'www-data'
sudo chown -R www-data:www-data /var/www/freshrss
sudo chmod -R 755 /var/www/freshrss
Now all components are installed, and we can proceed to their configuration.