
Installing and Configuring Umami Analytics on a VPS: A Lightweight and Private Alternative to Google Analytics
TL;DR
In this guide, we will walk through the process of deploying Umami Analytics — a modern, lightweight, and privacy-focused web analytics tool that doesn't require cookie banners and is fully GDPR compliant. We will cover everything from choosing a server configuration to setting up automatic backups and performance optimization on a stack of Docker, PostgreSQL, and Nginx.
- Privacy: Full data ownership without sharing with third parties.
- Performance: The script weighs less than 2 KB, ensuring it doesn't slow down site loading.
- Simplicity: Installation via Docker Compose in 15 minutes.
- Cost-effective: Runs on minimal VPS plans with 1-2 GB RAM.
- Modern: Support for PostgreSQL 18 and Node.js 24 in the context of 2026.
1. What we are setting up and why
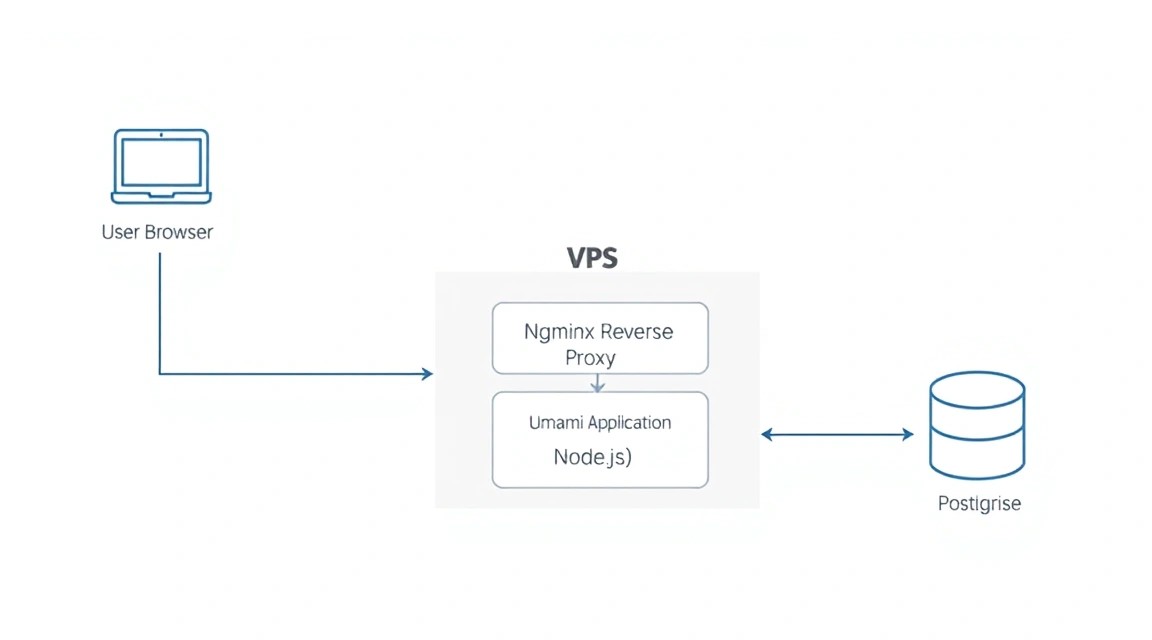
By 2026, the web analytics landscape has undergone significant changes. Stricter data protection laws (GDPR in Europe, CCPA in the US, and similar laws in other regions) have made using Google Analytics 4 (GA4) a complex and often risky process. Constant cookie notifications annoy users and reduce conversion rates. This is where Umami Analytics comes onto the stage.
Umami is an open-source solution that collects only necessary metrics (views, sources, devices, countries, events) without collecting personally identifiable information (PII). This allows you to legally bypass intrusive cookie banners, as the service does not track users across sites and does not create a digital profile for advertising networks.
What you will get in the end:
- Your own analytics dashboard on your domain (e.g., stats.yourdomain.com).
- Full control over the database — no one but you has access to the statistics.
- High performance: Umami is written in Next.js and optimized for fast processing of millions of events.
- Ability to bypass ad blockers (AdBlock), as the script is loaded from your own subdomain.
Choosing a self-hosted solution based on a VPS is the only way to guarantee 100% data sovereignty. Cloud versions of Umami are convenient, but they bring us back to the question of trusting data to a third party. Your own server resolves this issue once and for all.
2. Which VPS configuration is needed for this task
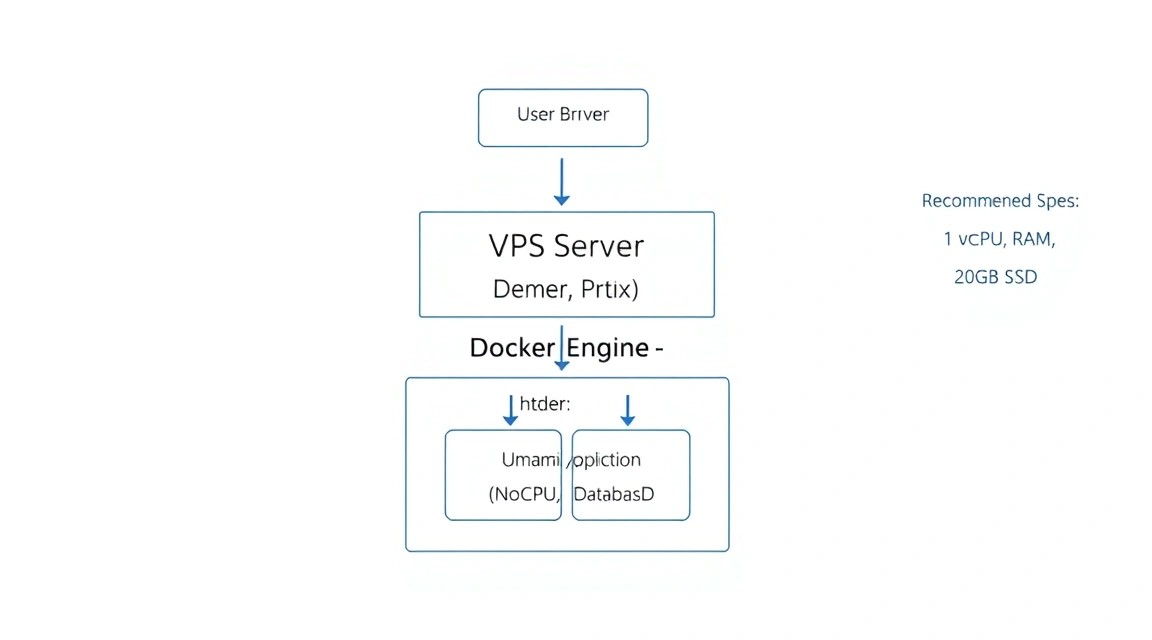
Umami Analytics is extremely undemanding of resources initially, but its requirements grow with the volume of traffic on your projects. The main load falls on the PostgreSQL database when executing analytical queries over long periods.
| Parameter | Minimal (up to 100k hits/mo) | Recommended (up to 1M hits/mo) | Enterprise (5M+ hits/mo) |
|---|---|---|---|
| vCPU | 1 Core (Shared) | 2 Cores (Dedicated) | 4+ Cores |
| RAM | 1 GB | 2-4 GB | 8 GB+ |
| Disk (NVMe) | 10 GB | 40 GB | 100 GB+ |
| OS | Ubuntu 24.04 / 26.04 | Ubuntu 26.04 LTS | Debian 13 / RHEL |
For stable system operation, especially if you plan to track multiple sites, it is best to get a VPS with 2 GB of RAM. This will provide sufficient cache for PostgreSQL and prevent the OOM Killer (Out of Memory) from triggering when generating complex reports.
When should you consider a Dedicated server? If your traffic exceeds 10-15 million events per month, or if you use Umami as part of an analytical hub for dozens of large clients. In other cases, virtualization (KVM) is more than enough.
Location: Choose a server location as close as possible to your main audience. Although the Umami script is asynchronous, fast packet transmission (low latency) reduces the likelihood of data loss when a user leaves the page before the analytics request completes.
3. Server preparation
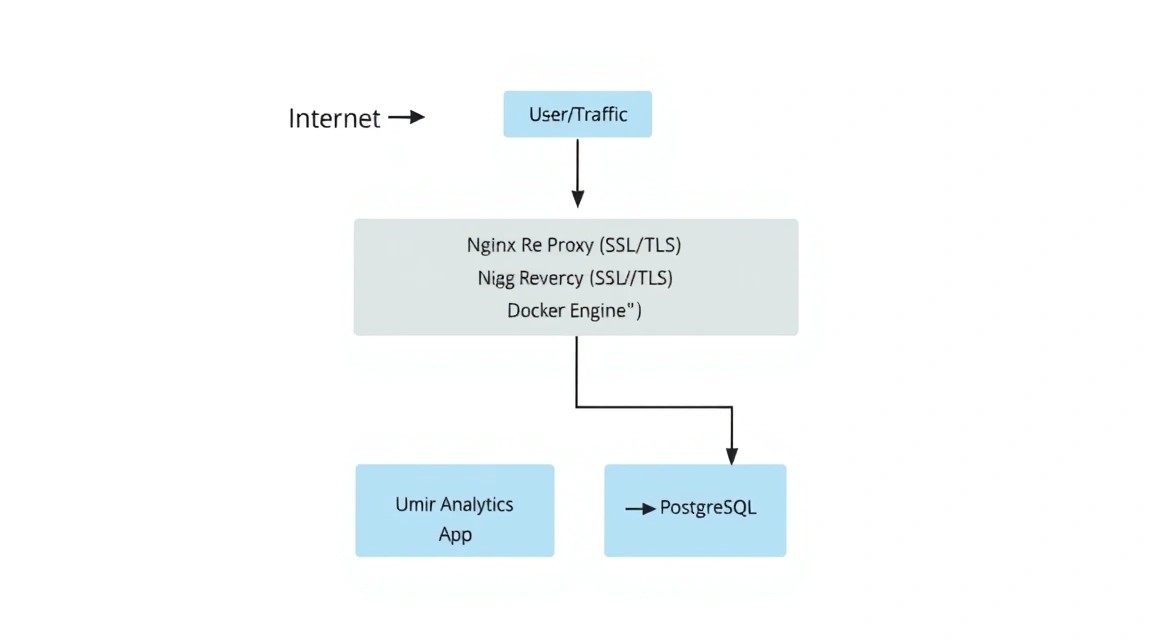
Before proceeding with the Umami installation, it is necessary to ensure the security and relevance of our environment. We will be using Ubuntu 26.04 LTS (or the currently relevant 24.04).
First, update the package list and the system itself:
sudo apt update && sudo apt upgrade -yCreate a separate user with sudo privileges to avoid working as root:
# Create user
adduser umamiadmin
# Add to sudo group
usermod -aG sudo umamiadmin
# Switch to user
su - umamiadmin
Configure the basic firewall (UFW). We will need ports 22 (SSH), 80 (HTTP), and 443 (HTTPS):
sudo ufw allow OpenSSH
sudo ufw allow 80/tcp
sudo ufw allow 443/tcp
sudo ufw enable
To protect against brute-force attacks, install fail2ban:
sudo apt install fail2ban -yThe basic fail2ban configuration already protects SSH "out of the box," which is critical for any public VPS.
4. Installing Docker and auxiliary software
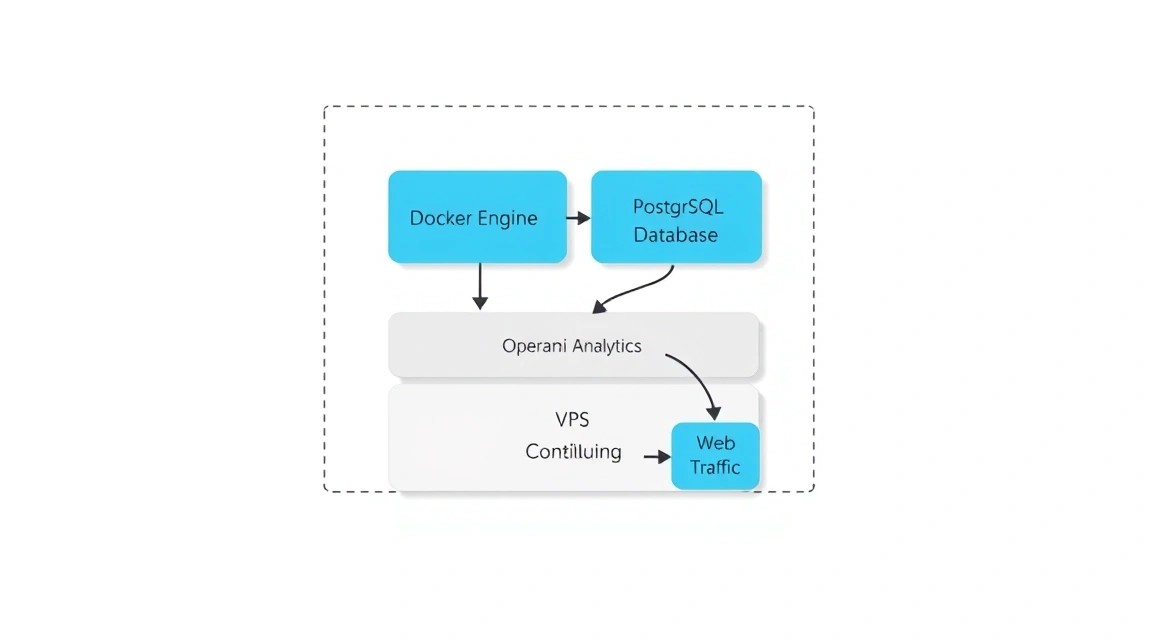
In 2026, Docker remains the de facto standard for deploying self-hosted applications. This isolates Umami's dependencies from system libraries and simplifies the update process.
Install the necessary packages for working with repositories via HTTPS:
sudo apt install ca-certificates curl gnupg lsb-release -yAdd the official Docker GPG key:
sudo mkdir -p /etc/apt/keyrings
curl -fsSL https://download.docker.com/linux/ubuntu/gpg | sudo gpg --dearmor -o /etc/apt/keyrings/docker.gpg
Connect the repository:
echo "deb [arch=$(dpkg --print-architecture) signed-by=/etc/apt/keyrings/docker.gpg] https://download.docker.com/linux/ubuntu $(lsb_release -cs) stable" | sudo tee /etc/apt/apt/sources.list.d/docker.list > /dev/null
Install Docker Engine and Docker Compose:
sudo apt update && sudo apt install docker-ce docker-ce-cli containerd.io docker-compose-plugin -yAdd our user to the docker group to run containers without sudo:
sudo usermod -aG docker $USERNote: For changes to take effect, you need to log out and log back in.
5. Deploying Umami Analytics via Docker Compose
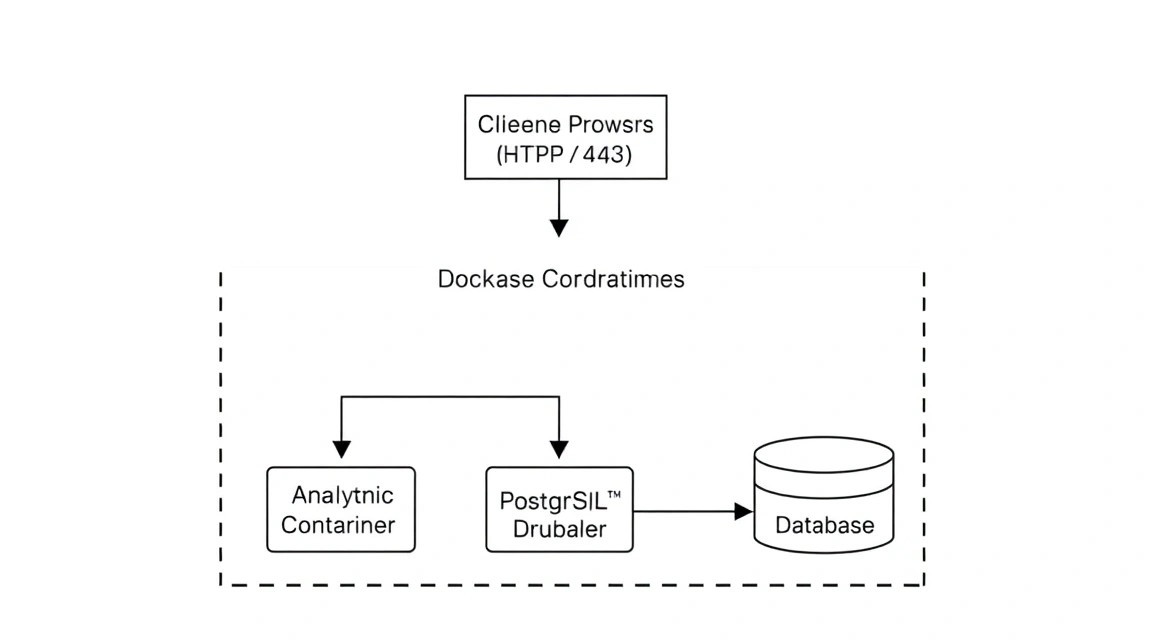
We will use the official Umami image and the PostgreSQL 18 database. This is the most stable and high-performance combination.
Create a working directory:
mkdir ~/umami && cd ~/umamiCreate a docker-compose.yml file. We will use modern syntax:
nano docker-compose.ymlInsert the following content:
services:
  umami:
    image: ghcr.io/umami-software/umami:postgresql-latest
    restart: always
    environment:
      DATABASE_URL: postgresql://umami_user:strong_password@db:5432/umami_db
      APP_SECRET: $(openssl rand -base64 32)
    ports:
      - "3000:3000"
    depends_on:
      db:
        condition: service_healthy
    networks:
      - umami-net

  db:
    image: postgres:18-alpine
    restart: always
    environment:
      POSTGRES_USER: umami_user
      POSTGRES_PASSWORD: strong_password
      POSTGRES_DB: umami_db
    volumes:
      - ./sql_data:/var/lib/postgresql/data
    healthcheck:
      test: ["CMD-SHELL", "pg_isready -U umami_user -d umami_db"]
      interval: 5s
      timeout: 5s
      retries: 5
    networks:
      - umami-net

networks:
  umami-net:
    driver: bridge
Important: Replace strong_password with a truly complex password. The APP_SECRET parameter is used for session encryption — you can generate it with the command openssl rand -base64 32 and insert it manually instead of the variable.
Now, let's start our infrastructure:
docker compose up -dCheck the status of the containers:
docker compose psIf the STATUS column says "Up (healthy)", it means the database is ready and the application is running on port 3000.
6. Configuring Reverse Proxy (Nginx) and SSL (Certbot)
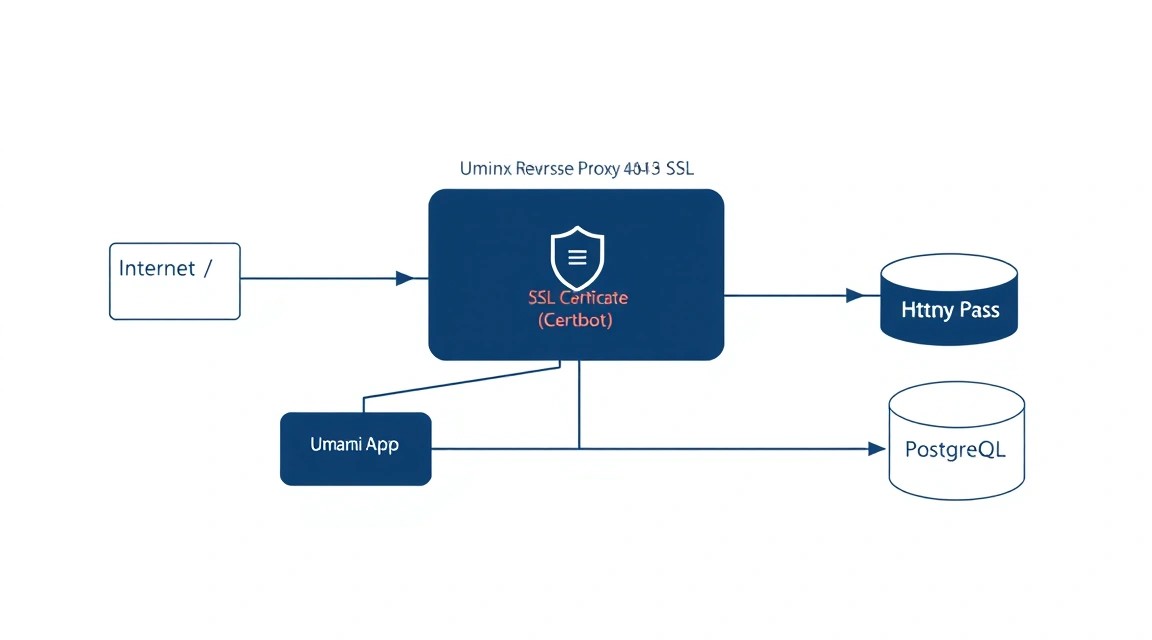
Running Umami directly on port 3000 on the open internet is bad practice. We need Nginx as a reverse proxy to handle SSL certificates and ensure security.
Install Nginx:
sudo apt install nginx -yCreate a configuration file for our domain (for example, stats.example.com):
sudo nano /etc/nginx/sites-available/umamiAdd the following configuration:
server {
    listen 80;
    server_name stats.example.com; # Replace with your domain

    location / {
        proxy_pass http://localhost:3000;
        proxy_set_header Host $host;
        proxy_set_header X-Real-IP $remote_addr;
        proxy_set_header X-Forwarded-For $proxy_add_x_forwarded_for;
        proxy_set_header X-Forwarded-Proto $scheme;
    }
}
Activate the config and restart Nginx:
sudo ln -s /etc/nginx/sites-available/umami /etc/nginx/sites-enabled/
sudo nginx -t
sudo systemctl restart nginx
Now let's secure the connection using Let's Encrypt:
sudo apt install certbot python3-certbot-nginx -y
sudo certbot --nginx -d stats.example.com
Certbot will automatically change the Nginx configuration, add SSL certificates, and set up a redirect from HTTP to HTTPS.
7. Fine-tuning and tracker integration
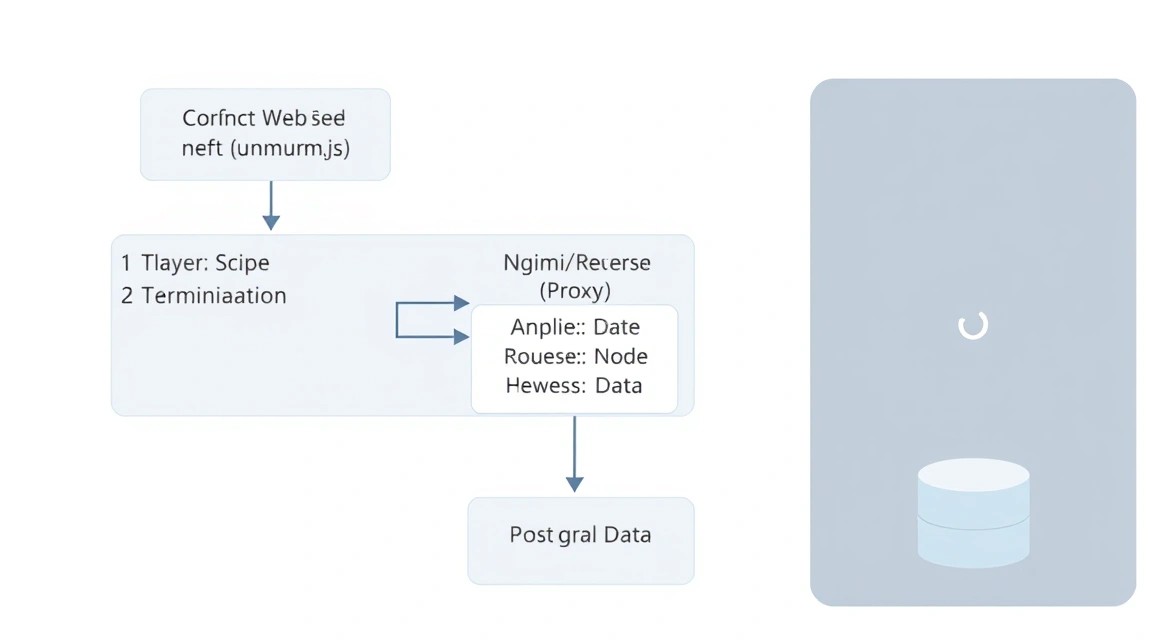
After installation, go to the address https://stats.example.com. Default login data for the first time:
- Username: admin
- Password: umami
First of all, change the administrator password in the profile settings!
Adding a website
- Go to the Settings -> Websites section.
- Click Add Website.
- Enter the name and domain of your website.
- Click Save.
After saving, you will see the Get tracking code button. The code will look something like this:
<script async src="https://stats.example.com/script.js" data-website-id="your-unique-id"></script>
This script needs to be inserted into the <head> section of your website. Note the async attribute — it ensures that loading analytics will not block the rendering of the main page content.
Bypassing blockers (Pro-tip)
Many ad blockers look for the word "script.js" or requests to domains with the word "stats". In the Umami settings in Docker Compose, you can change the script name via an environment variable:
TRACKER_SCRIPT_NAME: custom-analyticsAfter this, your script will be available at /custom-analytics.js, which will significantly increase the accuracy of data collection among a tech-savvy audience.
8. Backups and maintenance
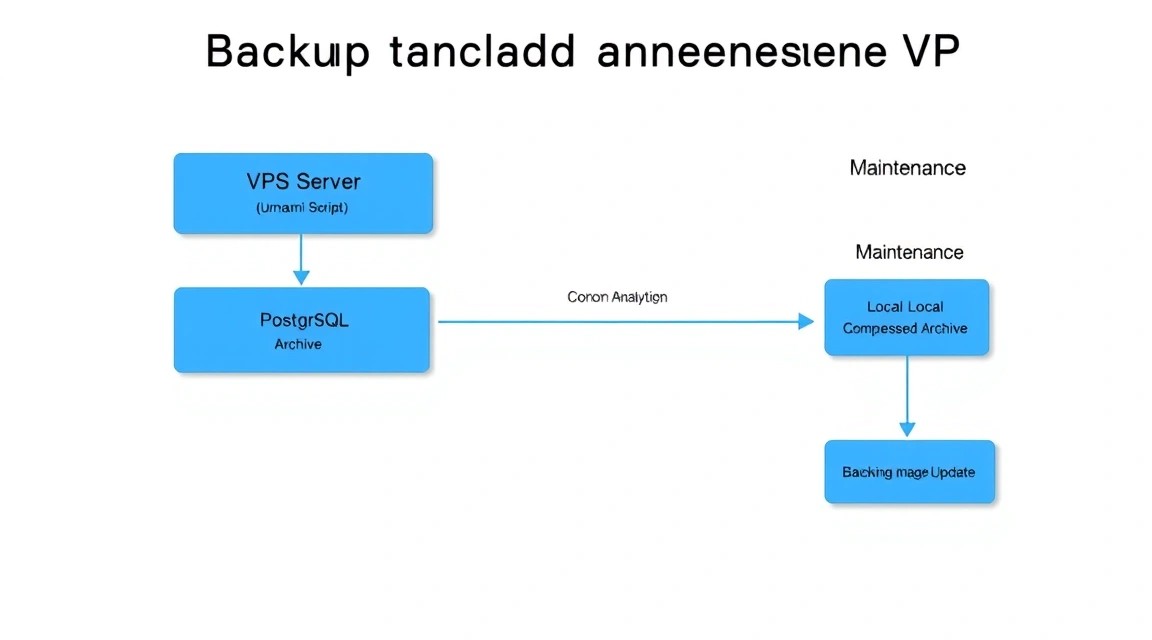
Analytics data accumulates, and its loss can be painful. The most important element for backup is the PostgreSQL database.
Let's create a simple script for daily backups:
mkdir ~/backups && nano ~/backups/backup.sh
#!/bin/bash
# Settings
BACKUP_DIR="$HOME/backups/data"
TIMESTAMP=$(date +"%Y%m%d_%H%M%S")
CONTAINER_NAME="umami-db-1" # Check the name via docker ps
DB_USER="umami_user"
DB_NAME="umami_db"

# Create folder if it doesn't exist
mkdir -p $BACKUP_DIR

# Create dump
docker exec $CONTAINER_NAME pg_dump -U $DB_USER $DB_NAME > $BACKUP_DIR/umami_backup_$TIMESTAMP.sql

# Delete backups older than 30 days
find $BACKUP_DIR -type f -mtime +30 -name ".sql" -delete
Make the script executable and add it to crontab:
chmod +x ~/backups/backup.sh
crontab -e
# Add a line to run at 3 AM daily:
0 3    /home/umamiadmin/backups/backup.sh
Updating Umami: Thanks to Docker, updating to the latest version takes three commands:
cd ~/umami
docker compose pull
docker compose up -d
Umami will automatically perform database migrations when the new version starts.
9. Troubleshooting + FAQ
Error "Database connection failed" on startup
Most often, this happens when the Umami container tries to connect to the database before PostgreSQL has fully initialized. In our docker-compose.yml, we added a healthcheck that solves this problem. If the error persists, check the correctness of DATABASE_URL and the matching passwords in both services.
Analytics script not loading (404 Not Found)
Check the Nginx settings. Make sure proxy_pass points to the correct port (3000). Also, ensure you are not using Cloudflare in "Under Attack Mode", which can block JS requests to new subdomains.
What is the minimum VPS configuration required?
For a small blog with up to 500 visitors per day, 1 vCPU and 1 GB RAM is enough. However, for the comfortable operation of the dashboard, which builds graphs "on the fly", we recommend 2 GB RAM. This will allow the PostgreSQL database to keep indexes in memory.
What to choose — VPS or dedicated for this task?
In 95% of cases, a VPS is the best choice. It allows you to easily scale resources (CPU/RAM) as your project grows. A dedicated server only makes sense if you are aggregating data from hundreds of high-load sites and hitting disk subsystem (I/O) performance limits, or if you require specific hardware-level security settings.
How to transfer data from Google Analytics?
Currently, direct import of history from GA4 to Umami is difficult due to different data structures. Most users start collecting "from scratch", running both trackers in parallel for a transition period of 1-2 months.
Does Umami affect SEO?
Yes, positively. Since the Umami script weighs 20-30 times less than the heavy Google Analytics bundle, Core Web Vitals (especially LCP and TBT) improve. Faster sites rank higher.
10. Conclusions and next steps
We have successfully deployed our own analytics system that belongs entirely to you. You are no longer dependent on the whims of corporations, do not fear account blocks, and provide your users with the maximum level of privacy.
What to do next:
- Set up Events: In Umami, you can track button clicks, form submissions, and file downloads. This is done via simple
data-umami-eventattributes in HTML. - Set up notifications: Integrate alerts (via custom scripts) if site traffic drops or spikes sharply.
- Optimize PostgreSQL: Upon reaching millions of records, it's worth studying the tuning of
shared_buffersandwork_memparameters in the DB configuration to speed up heavy reports.
Self-hosting is the path to freedom in the digital space. With a properly configured VPS and modern software like Umami, you create a solid foundation for your projects.