Garage and SeaweedFS: How to Deploy Your Own S3 Storage on a Dedicated Server
TL;DR
In this guide, we will prepare a dedicated server and run two S3-compatible storage systems on it: Garage for a compact fault-tolerant installation and SeaweedFS for scenarios with a large number of objects and scaling across nodes. Access to both services will be protected by HTTPS, and configurations and data will be prepared for backups.
- Garage is suitable for simple private S3, backups, and applications.
- SeaweedFS is more convenient for a large number of files, high workloads, and future horizontal scaling.
- For a single test node, 4 vCPU, 8 GB RAM, and NVMe storage from 500 GB are sufficient.
- For production, it is better to use ECC memory, RAID or ZFS, separate disks for data, and backups stored off-server.
- The S3 API is published through Caddy with automatic Let’s Encrypt certificates.
- You need to back up not only configurations, but also data, access keys, the Garage layout, and SeaweedFS metadata.
1. What We Are Configuring and Why
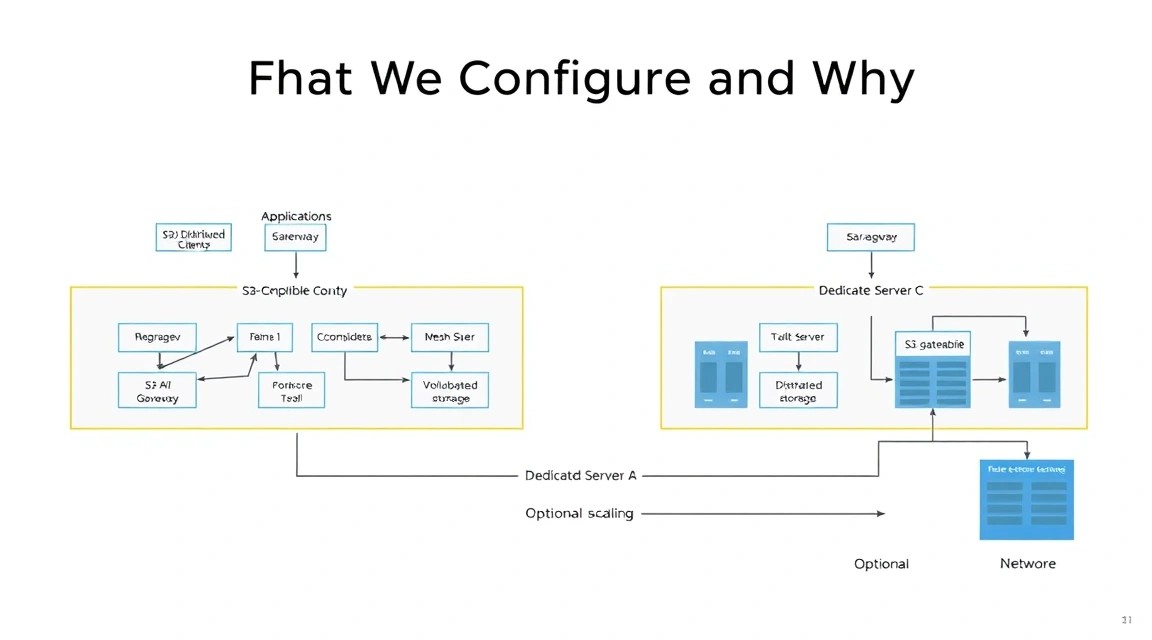
S3 is not a specific server, but an object storage protocol: applications access a bucket, upload objects, and retrieve them by keys. Most modern clients, SDKs, and backup tools can work with an S3-compatible API. Therefore, instead of a public cloud, you can run your own storage on a dedicated server.
This article covers two projects. Garage is a compact distributed S3 storage system focused on simple operation and small clusters. SeaweedFS is a more versatile distributed file system with an S3 gateway, master service, volume servers, and filer.
Usually, there is no need to use Garage and SeaweedFS simultaneously for the same data. Choose one primary backend:
- Garage — when you need a straightforward private S3, a minimal number of components, and several nodes in the future.
- SeaweedFS — when millions or billions of small objects, high write speed, and cluster growth are expected.
- Both on one dedicated server — only for a lab, migration, comparison, or hosting different independent workloads.
What You Will Have in the End
After following the instructions, the server will run two independent S3 endpoints:
https://garage.example.com— Garage S3 API;https://seaweed.example.com— SeaweedFS S3 API;https://garage-admin.example.com— Garage administration interface, if needed;- local directories containing objects on a separate disk;
- Docker Compose files, systemd management, firewall, and a backup scheme.
The examples use the garage.example.com and seaweed.example.com domains. Replace them with your own domains. DNS records must point to the server's public IPv4 address, and for IPv6, you need to separately verify that the firewall and routing are configured correctly.
Self-Hosted or Managed S3
Managed S3 relieves the server owner of operational tasks: redundancy, disk replacement, monitoring, and expansion. It is a good choice if launch speed is more important than control over the data. However, the cost of storage, outbound traffic, and a large number of operations can increase significantly.
Self-hosted S3 lets you control disks, keys, location, and storage costs. The downside is that responsibility for backups, fault tolerance, and updates lies entirely with the administrator. A single server without an external copy is not reliable storage, even if the software itself supports replication.
| Criterion | Managed S3 | Garage or SeaweedFS |
|---|---|---|
| Deployment | Very fast | Server configuration is required |
| Data control | Limited by the provider's policy | Full control |
| Scaling | Usually automatic | Must be planned independently |
| Responsibility for backups | Shared with the provider | With the infrastructure owner |
2. What VPS Configuration Is Needed for This Task
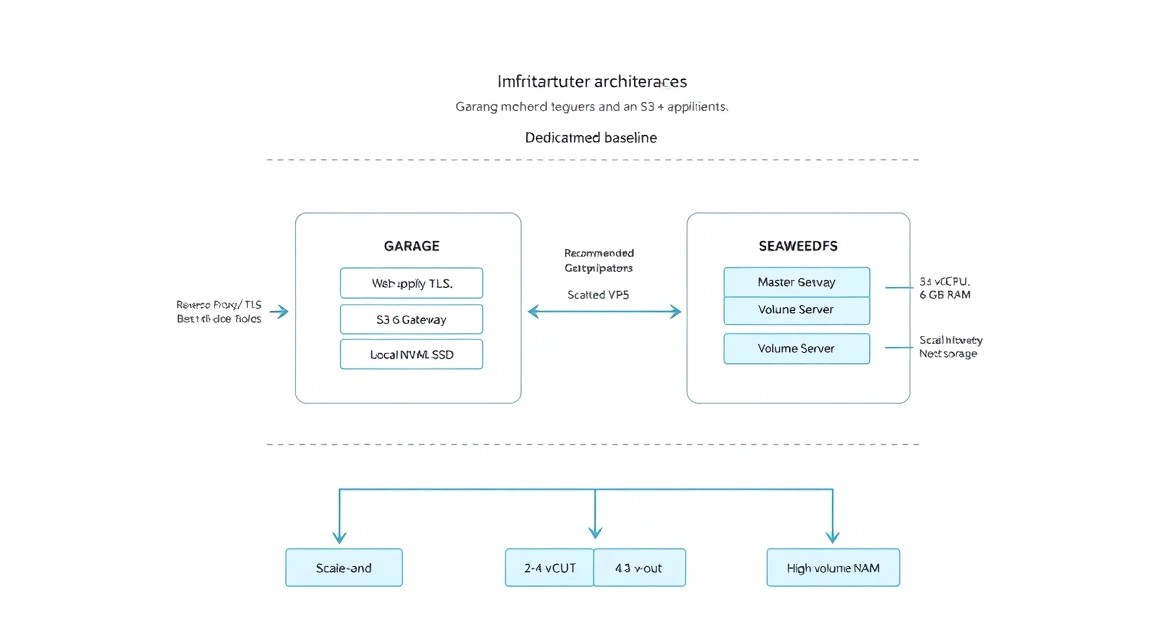
Requirements depend on the data volume, object size, and number of requests. S3 storage is primarily limited by the disk subsystem and network rather than CPU frequency. For a large number of small files, SeaweedFS consumes more RAM for metadata and background operations than a simple Garage cluster.
| Scenario | CPU | RAM | Disk | Network |
|---|---|---|---|---|
| Lab and testing | 2 vCPU | 4 GB | 100 GB SSD | 100 Mbps |
| Small production | 4 vCPU | 8–16 GB | 500 GB–2 TB NVMe | 1 Gbps |
| Many objects and an active API | 8–16 vCPU | 32–64 GB | 2–8 TB NVMe or separate storage | 1–10 Gbps |
Practical Starting Option
For a single production node running Garage, SeaweedFS, and Caddy simultaneously, a sensible starting configuration is 8 vCPU, 16 GB RAM, 1 TB NVMe, public IPv4, and a 1 Gbps port. If you plan to use only one backend, you can start with 4 vCPU and 8 GB RAM.
As one option, you can select a dedicated server with these specifications. A specific plan is not part of the architecture: disk performance, access to backups, traffic limits, and the ability to add a second disk are what matter.
Why a Dedicated Server May Be Better Than a VPS
A dedicated server is preferable if the data occupies hundreds of gigabytes or terabytes, predictable I/O performance is required, and continuous writes are planned. On a VPS, disk speed may depend on neighboring tenants, and the guaranteed disk capacity may sometimes be limited by the plan.
For a small bucket, backups, and development, a VPS is entirely sufficient. A dedicated server becomes justified with a high number of operations, large sequential uploads, requirements for ECC memory, RAID/ZFS, or the need to physically control disks.
Disks and File System
For object storage, use local NVMe or enterprise SSDs. Do not place data on the system partition without a separate limit: filling the root filesystem can stop SSH, Docker, and system services. A practical layout is a separate volume mounted at /srv/object-storage.
For a single node, XFS or ext4 are suitable. ZFS is useful with sufficient RAM and a need for snapshots, checksumming, and pool management, but it adds operational complexity. RAID protects against disk failure but does not replace a backup.
Server Location
Choose a data center closer to applications and users. This reduces latency when uploading objects and shortens multipart upload times. If the storage is used only for backups, stable outbound traffic and the ability to transfer data to another geographic location are more important.
For personal data, also consider legal requirements, agreements with clients, and the physical jurisdiction of the data center. Geographic proximity alone does not guarantee compliance with data processing requirements.
3. Server Preparation
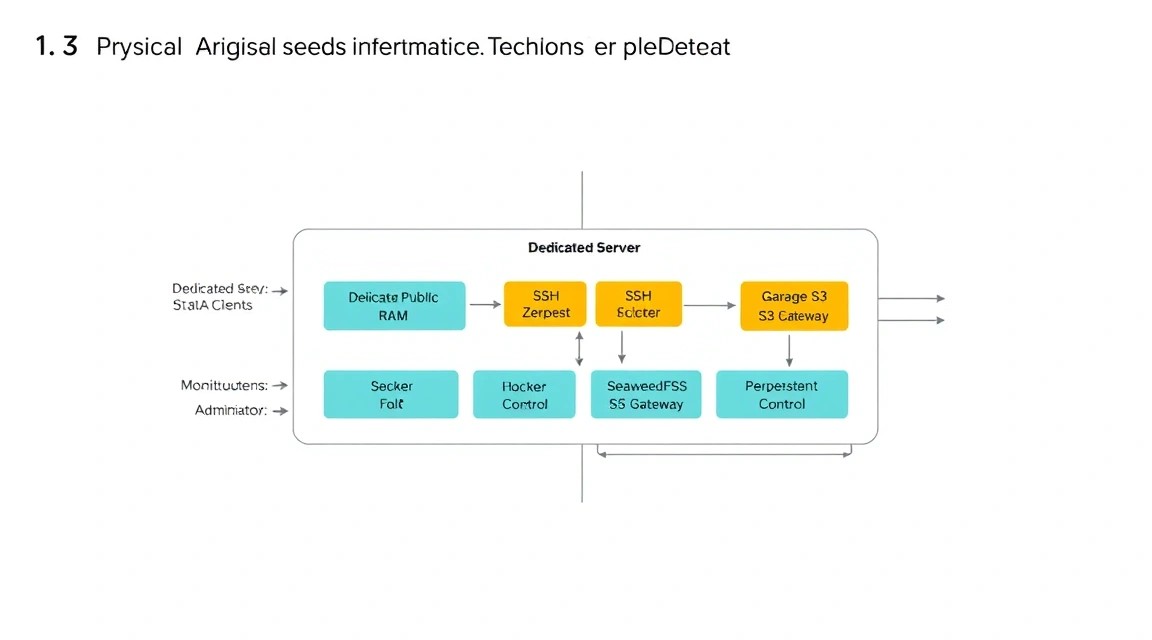
The following assumes Debian 12 or Ubuntu Server 24.04 LTS with a clean installation and a user who has temporary SSH access. All commands are run by a user with sudo privileges. The examples use the name storage.
System Update and Basic Packages
First, update the package index, install security fixes, and install the tools needed for Docker, diagnostics, and backups.
sudo apt update && sudo apt full-upgrade -y
sudo apt install -y ca-certificates curl gnupg lsb-release jq vim htop ncdu \
  unzip rsync restic ufw fail2ban dnsutils smartmontools
Creating a Separate Administrator
Do not use root for everyday work. Create a user, add it to sudo, and transfer the public SSH key. Replace the command containing the key with your own key.
sudo adduser storage
sudo usermod -aG sudo storage
sudo install -d -m 700 -o storage -g storage /home/storage/.ssh
sudo sh -c 'echo "ssh-ed25519 AAAA_REPLACE_WITH_YOUR_PUBLIC_KEY admin@workstation" > /home/storage/.ssh/authorized_keys'
sudo chown storage:storage /home/storage/.ssh/authorized_keys
sudo chmod 600 /home/storage/.ssh/authorized_keys
Open a new SSH session and make sure login works. Only after verification can you disable password authentication and root login.
ssh storage@SERVER_IP
sudo install -d -m 0755 /etc/ssh/sshd_config.d
sudo tee /etc/ssh/sshd_config.d/ hardening.conf > /dev/null <<'EOF'
PasswordAuthentication no
KbdInteractiveAuthentication no
PermitRootLogin no
PubkeyAuthentication yes
EOF
sudo sshd -t
sudo systemctl reload ssh
In the last command, the filename in the actual terminal must not contain a space: /etc/ssh/sshd_config.d/hardening.conf. Corrected version:
sudo tee /etc/ssh/sshd_config.d/hardening.conf > /dev/null <<'EOF'
PasswordAuthentication no
KbdInteractiveAuthentication no
PermitRootLogin no
PubkeyAuthentication yes
EOF
sudo sshd -t
sudo systemctl reload ssh
Firewall
Before enabling UFW, allow SSH on a non-standard port if you changed it, as well as HTTP and HTTPS for ACME validation and the S3 API. Garage and SeaweedFS administrative ports are not exposed externally.
sudo ufw default deny incoming
sudo ufw default allow outgoing
sudo ufw allow 22/tcp
sudo ufw allow 80/tcp
sudo ufw allow 443/tcp
sudo ufw enable
sudo ufw status verbose
Fail2ban and the Data Directory
Fail2ban will temporarily block addresses with a large number of failed SSH login attempts. It does not replace keys, a firewall, or updates, but it reduces noise from automated scanners.
sudo systemctl enable --now fail2ban
sudo systemctl status fail2ban --no-pager
sudo mkdir -p /srv/object-storage/{garage,seaweedfs,caddy,data,backup}
sudo chown -R storage:storage /srv/object-storage
Check the disk before deployment:
df -hT
lsblk -o NAME,SIZE,FSTYPE,MOUNTPOINT,MODEL
sudo smartctl -a /dev/nvme0n1 | less
If a separate disk is used for data, first create a filesystem, add its UUID to /etc/fstab, mount it at /srv/object-storage, and only then start the containers. Do not format the disk until you have verified its device through lsblk.
4. Software Installation
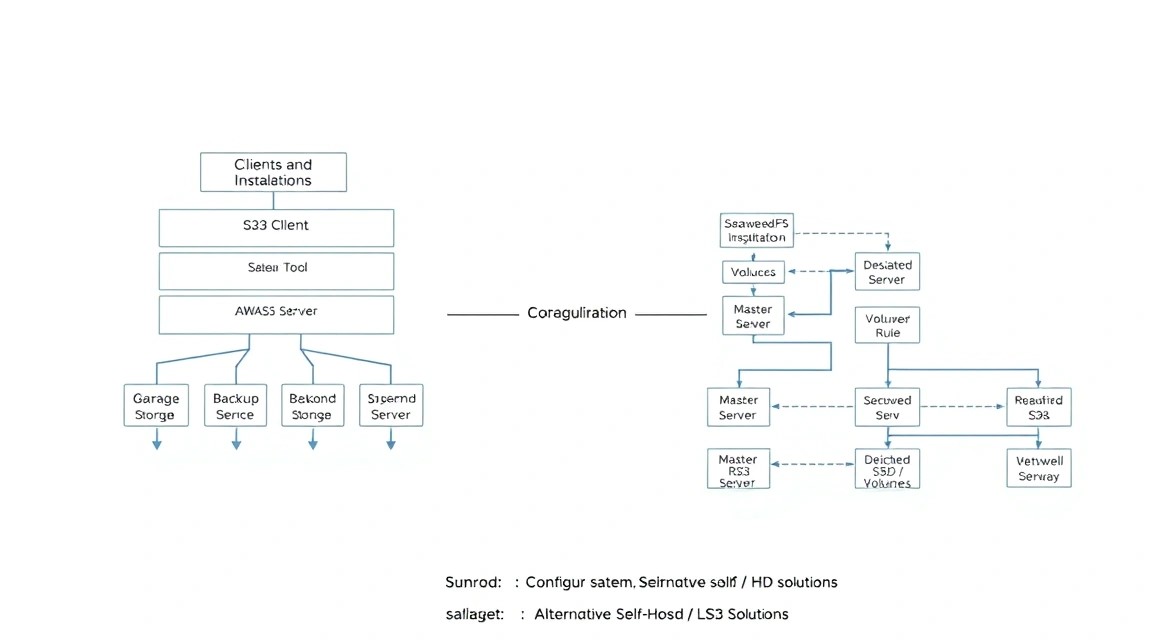
To isolate components, we use Docker Engine and the Compose plugin. In production, it is better to pin image versions rather than use the latest tag. The examples use versions relevant for practical deployment in 2026; before updating, check the release notes and data format compatibility.
Installing Docker Engine from the official repository
sudo install -m 0755 -d /etc/apt/keyrings
curl -fsSL https://download.docker.com/linux/ubuntu/gpg | \
  sudo gpg --dearmor -o /etc/apt/keyrings/docker.gpg
sudo chmod a+r /etc/apt/keyrings/docker.gpg
Add the Docker repository for Ubuntu 24.04. For Debian, replace the ubuntu path with debian and the codename with bookworm.
echo \
  "deb [arch=$(dpkg --print-architecture) signed-by=/etc/apt/keyrings/docker.gpg] https://download.docker.com/linux/ubuntu \
  $(. /etc/os-release && echo "$VERSION_CODENAME") stable" | \
  sudo tee /etc/apt/sources.list.d/docker.list > /dev/null
sudo apt update
sudo apt install -y docker-ce docker-ce-cli containerd.io docker-buildx-plugin docker-compose-plugin
sudo usermod -aG docker "$USER"
Restart the SSH session or run newgrp docker, then verify the installation:
docker run --rm hello-world
docker compose version
sudo systemctl enable --now docker
Image versions
The example uses Garage 2.1.0 and SeaweedFS 3.99. If newer stable versions have been released by the time of installation, test them on a copy of the data first. Do not blindly change to an image with a new major version: metadata migration in storage systems may be irreversible.
Create a working directory and Compose file:
mkdir -p /srv/object-storage/app
cd /srv/object-storage/app
touch .env docker-compose.yml garage.toml s3.json Caddyfile
chmod 600 .env
Creating secrets
Secrets must not be stored in a public Git repository, Dockerfile, or command history. Generate the administrative token, access key, and secret key using the system random data generator.
GARAGE_ADMIN_TOKEN=$(openssl rand -hex 32)
S3_ACCESS_KEY=$(openssl rand -hex 16)
S3_SECRET_KEY=$(openssl rand -hex 32)
sudo tee /srv/object-storage/app/.env > /dev/null <<EOF
GARAGE_ADMIN_TOKEN=${GARAGE_ADMIN_TOKEN}
S3_ACCESS_KEY=${S3_ACCESS_KEY}
S3_SECRET_KEY=${S3_SECRET_KEY}
EOF
sudo chmod 600 /srv/object-storage/app/.env
Store these values in a password manager. Losing the access key will not destroy the data, but you will need to create a new key. Losing the administrative secrets will make it more difficult to restore access.
5. Garage and SeaweedFS Configuration
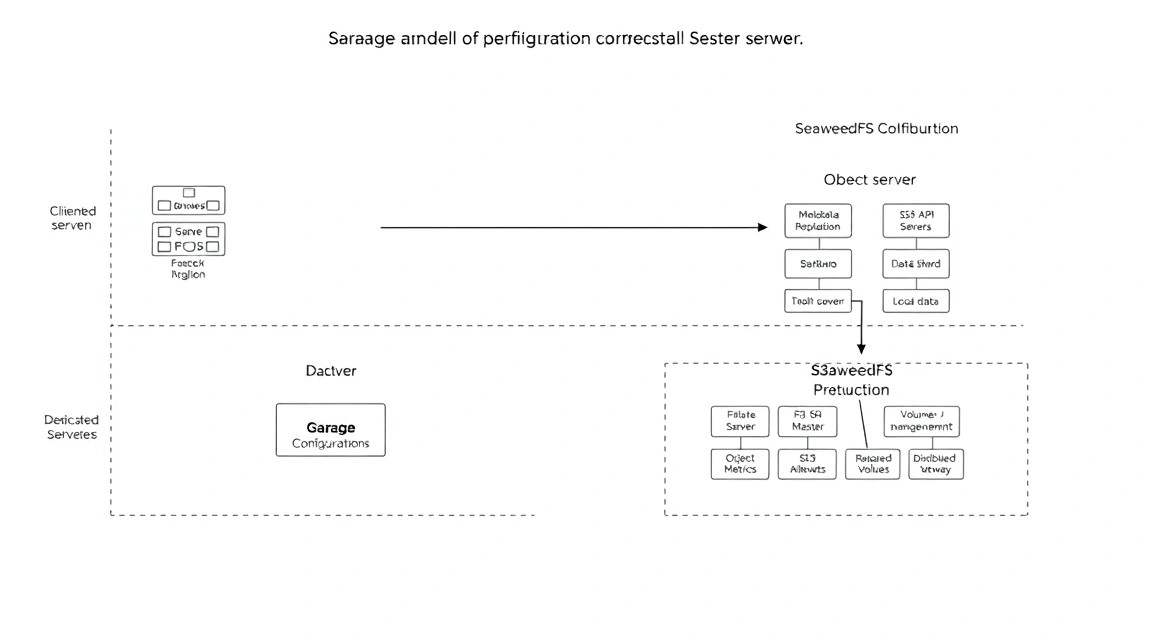
Garage configuration
Garage uses a TOML configuration file and a separate metadata directory. For a single node, we will configure local RPC, the S3 API on port 3900, and the web endpoint on port 3902. In a production cluster, the RPC port must be accessible only between nodes, not from the internet.
cat > /srv/object-storage/app/garage.toml <<'EOF'
metadata_dir = "/var/lib/garage/meta"
data_dir = "/var/lib/garage/data"
db_engine = "lmdb"

replication_factor = 1
consistency_mode = "consistent"

[rpc]
bind_addr = "[::]:3901"
secret_file = "/run/secrets/garage_rpc_secret"

[s3_api]
s3_region = "garage"
api_bind_addr = "[::]:3900"
root_domain = ".s3.garage.local"

[admin]
api_bind_addr = "[::]:3903"
admin_token = "CHANGE_IN_ENV_OR_SECRET"

[web]
bind_addr = "[::]:3902"
root_domain = ".web.garage.local"
index = "index.html"
EOF
For production, do not leave the line with the demonstration token. Depending on the Garage version, the syntax of the admin section may differ, so check the configuration example in the release notes before starting. A safer scheme is used below: the administrative API is not exposed externally, and the Docker service receives the token through an environment variable only for auxiliary operations.
Create the RPC secret and directory structure:
openssl rand -hex 32 > /srv/object-storage/app/garage-rpc-secret
chmod 600 /srv/object-storage/app/garage-rpc-secret
mkdir -p /srv/object-storage/data/garage/{meta,data}
chown -R 1000:1000 /srv/object-storage/data/garage
SeaweedFS configuration
On a single machine, SeaweedFS can run in master, volume, filer, and S3 gateway modes. This setup is convenient for testing and small-scale production, but it does not provide fault tolerance: a server failure makes the entire storage unavailable.
cat > /srv/object-storage/app/s3.json <<'EOF'
{
  "identities": [
    {
      "name": "admin",
      "credentials": [
        {
          "accessKey": "CHANGE_ACCESS_KEY",
          "secretKey": "CHANGE_SECRET_KEY"
        }
      ],
      "actions": ["Read", "Write", "List", "Tagging"]
    }
  ]
}
EOF
chmod 600 /srv/object-storage/app/s3.json
Substitute the values from .env for CHANGE_ACCESS_KEY and CHANGE_SECRET_KEY. Automatic substitution without displaying the secret in process arguments:
set -a
. /srv/object-storage/app/.env
set +a
sed -i "s/CHANGE_ACCESS_KEY/${S3_ACCESS_KEY}/; s/CHANGE_SECRET_KEY/${S3_SECRET_KEY}/" \
  /srv/object-storage/app/s3.json
Docker Compose
Create a single Compose file. The Garage and SeaweedFS services use different ports and directories. The chrislusf/seaweedfs:3.99 image is used for SeaweedFS. If the official tag has changed, replace it with a verified stable release.
services:
  garage:
    image: dxflrs/garage:v2.1.0
    container_name: garage
    restart: unless-stopped
    command: ["/garage", "-c", "/etc/garage.toml", "server"]
    volumes:
      - /srv/object-storage/app/garage.toml:/etc/garage.toml:ro
      - /srv/object-storage/app/garage-rpc-secret:/run/secrets/garage_rpc_secret:ro
      - /srv/object-storage/data/garage/meta:/var/lib/garage/meta
      - /srv/object-storage/data/garage/data:/var/lib/garage/data
    ports:
      - "127.0.0.1:3900:3900"
      - "127.0.0.1:3902:3902"
      - "127.0.0.1:3903:3903"
      - "127.0.0.1:3901:3901"
    healthcheck:
      test: ["CMD", "wget", "-q", "-O", "-", "http://127.0.0.1:3903/health"]
      interval: 30s
      timeout: 5s
      retries: 5

  seaweed-master:
    image: chrislusf/seaweedfs:3.99
    container_name: seaweed-master
    restart: unless-stopped
    command: master -ip=seaweed-master -mdir=/data
    volumes:
      - /srv/object-storage/data/seaweedfs/master:/data
    expose:
      - "9333"
    healthcheck:
      test: ["CMD", "wget", "-q", "-O", "-", "http://127.0.0.1:9333/cluster/status"]
      interval: 30s
      timeout: 5s
      retries: 5

  seaweed-volume:
    image: chrislusfs/seaweedfs:3.99
    container_name: seaweed-volume
    restart: unless-stopped
    command: volume -mserver=seaweed-master:9333 -dir=/data -port=8080
    depends_on:
      seaweed-master:
        condition: service_healthy
    volumes:
      - /srv/object-storage/data/seaweedfs/volume:/data
    expose:
      - "8080"

  seaweed-filer:
    image: chrislusfs/seaweedfs:3.99
    container_name: seaweed-filer
    restart: unless-stopped
    command: filer -master=seaweed-master:9333 -ip=seaweed-filer
    depends_on:
      seaweed-master:
        condition: service_healthy
      seaweed-volume:
        condition: service_started
    volumes:
      - /srv/object-storage/data/seaweedfs/filer:/data
    expose:
      - "8888"

  seaweed-s3:
    image: chrislusfs/seaweedfs:3.99
    container_name: seaweed-s3
    restart: unless-stopped
    command: s3 -filer=seaweed-filer:8888 -port=8333 -config=/etc/seaweed/s3.json
    depends_on:
      - seaweed-filer
    volumes:
      - /srv/object-storage/app/s3.json:/etc/seaweed/s3.json:ro
    ports:
      - "127.0.0.1:8333:8333"

  caddy:
    image: caddy:2.9
    container_name: caddy
    restart: unless-stopped
    depends_on:
      - garage
      - seaweed-s3
    ports:
      - "80:80"
      - "443:443"
    volumes:
      - /srv/object-storage/app/Caddyfile:/etc/caddy/Caddyfile:ro
      - /srv/object-storage/data/caddy/data:/data
      - /srv/object-storage/data/caddy/config:/config
Check the syntax and start the services:
cd /srv/object-storage/app
docker compose --env-file .env config
docker compose --env-file .env up -d
docker compose ps
docker compose logs --tail=100 garage
docker compose logs --tail=100 seaweed-master seaweed-s3
Initializing the Garage layout
After starting Garage, you need to obtain the node identifier and assign capacity to it. Commands depend on the CLI version and can be run inside the container.
cd /srv/object-storage/app
docker compose exec garage garage status
docker compose exec garage garage layout assign \
  -z dc1 -c 800G NODE_ID
docker compose exec garage garage layout show
docker compose exec garage garage layout apply --version 1
Replace NODE_ID with the identifier from the garage status output. The 800G value must be less than the free space on the partition. For a three-node cluster, use different zones, for example dc1, dc2, dc3, and replication factor 3.
Creating a bucket and key also depends on the CLI version. The general sequence is as follows:
docker compose exec garage garage bucket create backups
docker compose exec garage garage key create app-backups
docker compose exec garage garage bucket allow \
  --read --write --owner backups --key app-backups
docker compose exec garage garage bucket list
docker compose exec garage garage key list
Do not grant applications owner permissions unless necessary. Create a separate key for each application and restrict access to specific buckets. Store the administrative key separately from the keys used for automated tasks.
6. TLS, DNS, and verification
DNS
Create A records:
garage.example.com→ server IPv4;seaweed.example.com→ server IPv4.
If IPv6 is used, add AAAA records only after verifying that the server is reachable over IPv6. An incorrect AAAA record may cause some clients to connect to an unavailable address.
dig +short garage.example.com
dig +short seaweed.example.com
Caddy and HTTPS
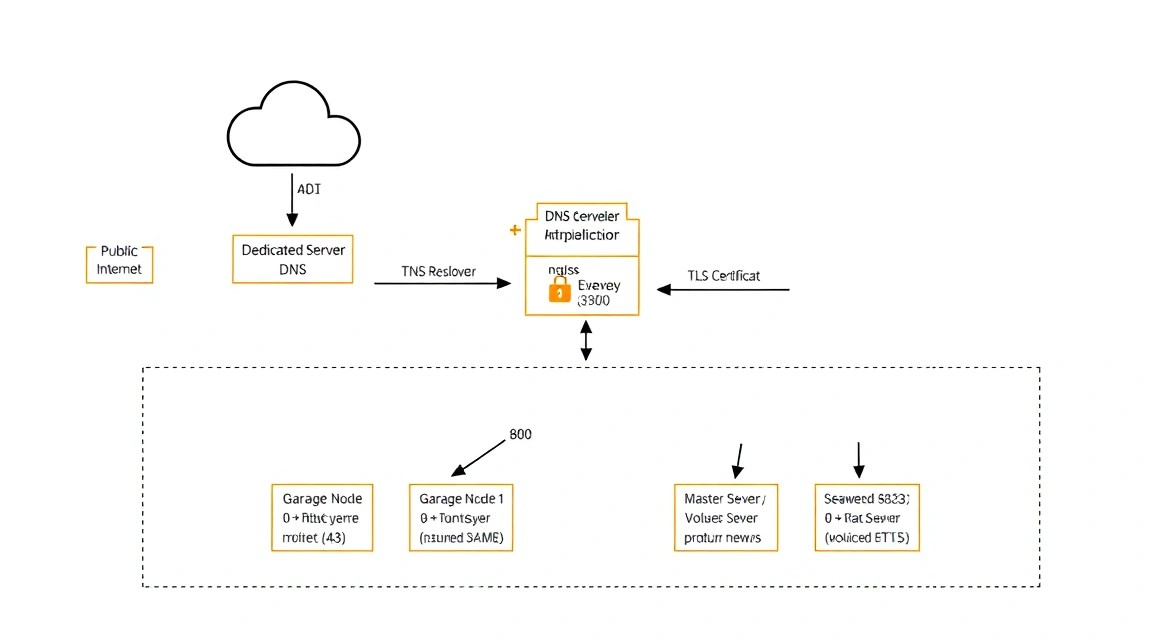
Caddy automatically obtains Let’s Encrypt certificates if the domain already points to the server and ports 80/443 are accessible from the internet. Regular HTTP traffic is passed internally to Garage and SeaweedFS through the local Docker network; only HTTPS is exposed externally.
cat > /srv/object-storage/app/Caddyfile <<'EOF'
garage.example.com {
    reverse_proxy host.docker.internal:3900
    request_body {
        max_size 50GB
    }
}

seaweed.example.com {
    reverse_proxy seaweed-s3:8333
    request_body {
        max_size 50GB
    }
}
EOF
On Linux, the Caddy container cannot always access host.docker.internal without special configuration. It is more reliable to add Garage to the shared Docker network and proxy by service name. To do this, replace the Caddyfile and Compose file so that Caddy and Garage are on the same network:
networks:
  storage_net:

services:
  garage:
    networks:
      - storage_net

  seaweed-s3:
    networks:
      - storage_net

  caddy:
    networks:
      - storage_net
After adding the network, use container names:
cat > /srv/object-storage/app/Caddyfile <<'EOF'
garage.example.com {
    reverse_proxy garage:3900
    request_body {
        max_size 50GB
    }
}

seaweed.example.com {
    reverse_proxy seaweed-s3:8333
    request_body {
        max_size 50GB
    }
}
EOF
cd /srv/object-storage/app
docker compose up -d
docker compose logs --tail=100 caddy
The max_size parameter does not limit the actual bucket size, but protects the reverse proxy from an accidentally huge request. For files larger than 50 GB, use multipart upload or increase the limit while taking disk space and timeouts into account.
HTTP and S3 verification
curl -I https://garage.example.com
curl -I https://seaweed.example.com
curl -vk https://garage.example.com 2>&1 | grep -E "subject:|issuer:|HTTP/"
docker compose ps
docker stats --no-stream
For an S3 client, install AWS CLI v2 from the official AWS archive or use an S3-compatible client. Example with AWS CLI:
export AWS_ACCESS_KEY_ID='REPLACE_ACCESS_KEY'
export AWS_SECRET_ACCESS_KEY='REPLACE_SECRET_KEY'
export AWS_DEFAULT_REGION='garage'

aws --endpoint-url https://garage.example.com s3 ls
aws --endpoint-url https://garage.example.com s3 mb s3://test-bucket
printf 's3 smoke test\n' > /tmp/test.txt
aws --endpoint-url https://garage.example.com s3 cp /tmp/test.txt s3://test-bucket/test.txt
aws --endpoint-url https://garage.example.com s3 cp s3://test-bucket/test.txt -
aws --endpoint-url https://garage.example.com s3 rb s3://test-bucket --force
For SeaweedFS, replace the endpoint:
aws --endpoint-url https://seaweed.example.com s3 mb s3://seaweed-test
aws --endpoint-url https://seaweed.example.com s3 cp /tmp/test.txt s3://seaweed-test/test.txt
aws --endpoint-url https://seaweed.example.com s3 ls s3://seaweed-test/
If HTTPS is not configured yet, temporarily test the local endpoint through http://127.0.0.1:8333. Do not leave the local test endpoint published on a public interface and do not disable TLS verification in production clients.
7. Backups and maintenance
What needs to be backed up
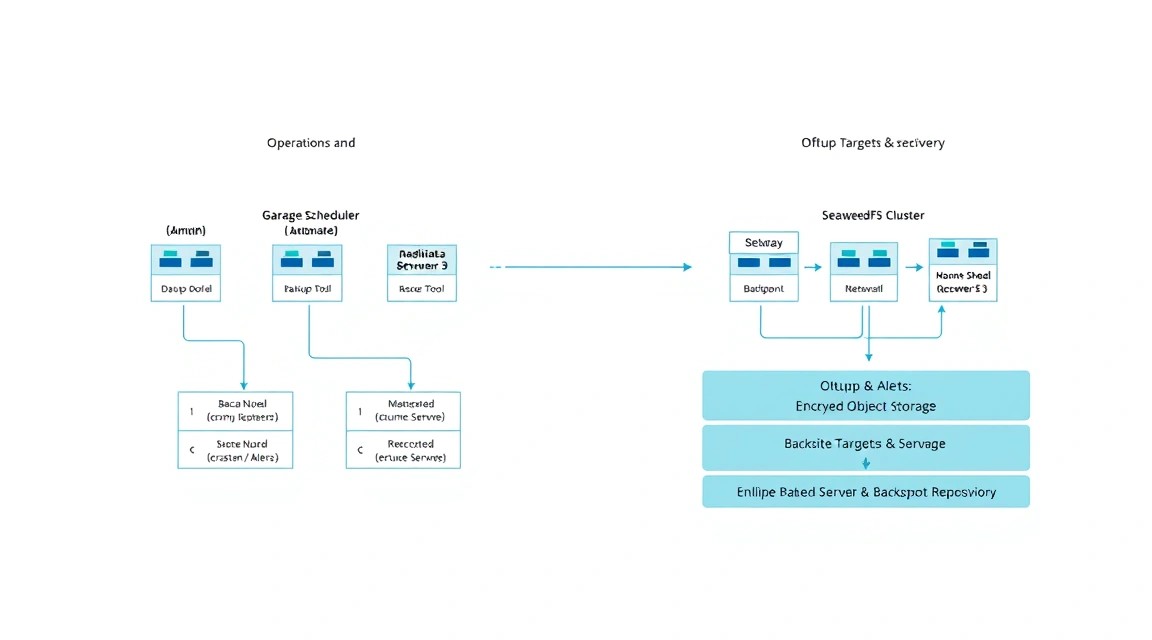
Object storage has several types of data:
- user objects in the Garage and SeaweedFS directories;
- Garage metadata, its layout, and configuration;
- SeaweedFS master data and filer metadata;
- Docker Compose, Caddyfile, JSON configuration, and secrets;
- the list of buckets, users, access keys, and access policies.
Copying only Docker Compose will not restore files. Copying only volume data without configurations will make startup more difficult. Before backing up, create a document with image versions, mount points, and recovery commands.
Restic to a separate server
Do not store the only backup copy on the same disk. A good minimum option is a separate server via SFTP, remote S3 with object lock, or another data center. Below is an example of restic via SFTP. The backup server must have a restic user and a repository directory.
Create a secrets file accessible only to root:
sudo tee /root/.restic-env > /dev/null <<'EOF'
export RESTIC_REPOSITORY='sftp:[email protected]:/srv/restic/object-storage'
export RESTIC_PASSWORD='CHANGE_TO_LONG_RANDOM_PASSWORD'
export RESTIC_SFTP_COMMAND='ssh -i /root/.ssh/restic_backup_ed25519 -o StrictHostKeyChecking=yes'
EOF
sudo chmod 600 /root/.restic-env
Initialize the repository once and test the connection:
sudo bash -c 'source /root/.restic-env && restic init'
sudo bash -c 'source /root/.restic-env && restic snapshots'
Backup script
For a consistent copy, stop the containers for a short maintenance window. This is simpler and safer for a single node than copying actively changing volume files. For large storage systems, it is better to use built-in replication, filesystem snapshots, or a separate backup cluster.
sudo tee /usr/local/sbin/object-storage-backup > /dev/null <<'EOF'
#!/usr/bin/env bash
set -Eeuo pipefail

source /root/.restic-env
APP=/srv/object-storage/app
DATA=/srv/object-storage/data
STAMP=$(date +%F-%H%M)
LOG=/var/log/object-storage-backup.log

exec > >(tee -a "$LOG") 2>&1

echo "[$(date -Is)] backup started"
cd "$APP"
docker compose stop garage seaweed-master seaweed-volume seaweed-filer seaweed-s3

restic backup \
  "$APP/garage.toml" \
  "$APP/garage-rpc-secret" \
  "$APP/s3.json" \
  "$APP/Caddyfile" \
  "$APP/docker-compose.yml" \
  "$APP/.env" \
  "$DATA/garage" \
  "$DATA/seaweedfs" \
  --tag object-storage \
  --tag "$STAMP"

docker compose start garage seaweed-master seaweed-volume seaweed-filer seaweed-s3
restic forget --keep-daily 7 --keep-weekly 4 --keep-monthly 6 --prune
restic check
echo "[$(date -Is)] backup completed"
EOF
sudo chmod 700 /usr/local/sbin/object-storage-backup
The .env file contains secrets, so it is included in the backup only if access to the remote repository is strictly restricted. If policy prohibits storing secrets in the backup, exclude it and store secrets in a separate encrypted manager.
Cron and recovery verification
sudo crontab -eAdd a run every night at 03:30:
30 3 * /usr/local/sbin/object-storage-backupOnce a month, verify not only that a snapshot exists, but also the recovery of an individual object to a temporary directory:
sudo bash -c 'source /root/.restic-env && restic snapshots --tag object-storage'
sudo mkdir -p /srv/restore-test
sudo bash -c 'source /root/.restic-env && restic restore latest --target /srv/restore-test --tag object-storage'
sudo find /srv/restore-test -maxdepth 4 -type f | head
A backup that has never been restored is an assumption, not proof of recovery. Check control files, directory sizes, access permissions, and the ability to start containers with the restored configuration.
Updates
Before updating, record the current images:
cd /srv/object-storage/app
docker compose images
docker image ls
sudo bash -c 'source /root/.restic-env && restic backup /srv/object-storage/app --tag pre-upgrade'
For a single node, use a maintenance window: stop writes, create a backup, download the new image, and restart the services.
docker compose pull
docker compose up -d
docker compose ps
docker compose logs --tail=200 garage seaweed-master seaweed-s3
A rolling update is possible only in a multi-node cluster with replication and a compatible protocol. First update one node, check the healthcheck and read/write operations, then move on to the next. Do not update all nodes simultaneously.
Monitoring
At a minimum, monitor free space, inodes, RAM, load average, SMART, and container errors:
df -h /srv/object-storage
df -ih /srv/object-storage
free -h
uptime
docker compose ps
docker compose logs --since=15m garage seaweed-s3
sudo journalctl -u docker --since "15 minutes ago"
Set up an alert when disk usage exceeds 80–85 percent. At 95 percent, services may start returning write errors, and background recovery operations may fail unexpectedly. Plan expansion in advance.
8. Troubleshooting and FAQ
Why does Caddy return 502 Bad Gateway?
First, check the container status with docker compose ps and the logs with docker compose logs caddy garage seaweed-s3. If Caddy cannot resolve the service name, make sure both containers are connected to the same Docker network. If host.docker.internal is used, replace it with the service name, for example garage:3900. Also check the local endpoint with curl http://127.0.0.1:3900 or make a network request from the Caddy container.
The Let’s Encrypt certificate is not being issued. What should I check?
Check A records with dig, verify that ports 80 and 443 are accessible from the external network, and ensure there is no other reverse proxy. The domain must not have an incorrect AAAA record enabled. Review docker compose logs caddy. If DNS was just changed, wait for the TTL to update. Do not make many repeated requests after an error: Let’s Encrypt applies rate limits.
AccessDenied error when uploading to S3
Check which endpoint and bucket the client is connected to, as well as the values of AWS_ACCESS_KEY_ID and AWS_SECRET_ACCESS_KEY. In Garage, the key must have permissions for the specific bucket. In SeaweedFS, check the s3.json format and ensure the keys match. For diagnostics, run aws s3 ls without multipart and verify that the system time is synchronized via NTP.
Writing fails with a No space left on device error
Check not only free gigabytes with df -h, but also inodes with df -i. Millions of small files can exhaust inodes before disk space. Remove old Docker images only after confirming they are not needed for rollback: docker system df. Do not manually delete files inside Garage or SeaweedFS directories — this may corrupt metadata and lead to object loss.
What is the minimum suitable VPS configuration?
For testing, 2 vCPU, 4 GB RAM, and 100 GB SSD are sufficient. For small production with one backend, a reasonable minimum is 4 vCPU, 8 GB RAM, and 500 GB NVMe. If Garage, SeaweedFS, Caddy, and backups run simultaneously, 8 GB RAM is the minimum recommended, and 16 GB is better for active workloads. Keep 20–30 percent of disk space free for temporary files and recovery.
What should I choose for this task — a VPS or dedicated server?
A VPS is suitable for development, small buckets, backups, and workloads with predictable I/O. A dedicated server is preferable for volumes starting from several terabytes, a high number of operations, the need for ECC, RAID/ZFS, or guaranteed disk performance. In both cases, external backups are mandatory. A dedicated server with a single disk and no copy does not protect against hardware failure, administrator error, or ransomware.
Can Garage and SeaweedFS run on the same node in production?
Technically, yes, but this creates competition for RAM, CPU, and disk I/O. This setup is acceptable for migration, comparison, or independent small tasks. For permanent operation, choose one backend and disable the other. If different storage classes are needed, it is better to separate services across disks or servers and set separate Docker resource limits.
How can I make the storage fault-tolerant?
One node is not fault-tolerant. For Garage, use multiple nodes, different failure domains, and replication factor 3. For SeaweedFS, distribute master, volume, and filer across multiple servers, enable volume replication, and provide separate metadata storage. Nodes should have independent power supplies and preferably not be located in the same physical failure domain. Even cluster replication does not replace an offline or geographically remote backup.
How do I migrate from one service to another?
Create a bucket on the new endpoint and transfer objects through an S3 client, such as rclone sync or AWS CLI. First perform a test migration of one bucket, compare the number of objects, sizes, and checksums. After switching the application, keep the old storage in read-only mode for the rollback period. Do not copy internal Garage directories directly into SeaweedFS: migration must be performed through the S3 API.
9. Conclusions and Next Steps
A dedicated server can host your own S3 storage using Garage or SeaweedFS, with the API secured through Caddy and HTTPS. For a single node, this provides a working setup with Docker Compose, separate data directories, a restricted firewall, and backups through restic.
- Choose one primary backend and perform a load test using realistic object sizes.
- Add a second server, replication, and monitoring if the data is business-critical.
- Configure automatic disk expansion, recovery verification, and lifecycle policies for old objects.