
Dify on Your Own Server: a No-Code AI Agent Builder
TL;DR
Dify is a self-hosted platform for creating AI applications, chatbots, RAG search, and AI agents without writing a full-fledged backend. In this guide, we will deploy Dify on Ubuntu 24.04 LTS using Docker Compose, enable HTTPS, configure basic security and backups, and verify that the service works.
- Dify runs on your own VPS and does not require Python or Node.js to be installed on the host.
- For a test team, 4 vCPU, 8 GB RAM, and an SSD starting from 80 GB are sufficient.
- The configuration uses PostgreSQL, Redis, Weaviate, and Dify sandbox containers.
- Access to the management panel is provided through a domain and a Let’s Encrypt TLS certificate.
- Secrets are stored in the
.envfile, and data is regularly copied to external storage.
1. TL;DR
Dify is a visual builder for AI applications. Its interface lets you create workflows, chatbots, tool-enabled agents, knowledge bases, and APIs for your own website. Unlike the SaaS version, self-hosted Dify runs on your server, so you independently control the configuration, network access, backups, and connected language models.
- We use Ubuntu Server 24.04 LTS.
- We install Docker Engine 28.x and Docker Compose v2.
- We deploy Dify 1.x from the official repository.
- We publish the application through Caddy and HTTPS.
- We verify containers, API, domain, and backups.
2. Contents
This guide is intended for an administrator who can connect to a Linux server via SSH and has a registered domain. Commands are executed as a regular user with sudo privileges unless explicitly stated otherwise.
Before starting, prepare a domain name, for example dify.example.com. Create an A record in DNS pointing to the server's IPv4 address. If IPv6 is used, add an AAAA record only after confirming that the firewall is configured correctly.
3. What We Are Configuring and Why
What Is Dify
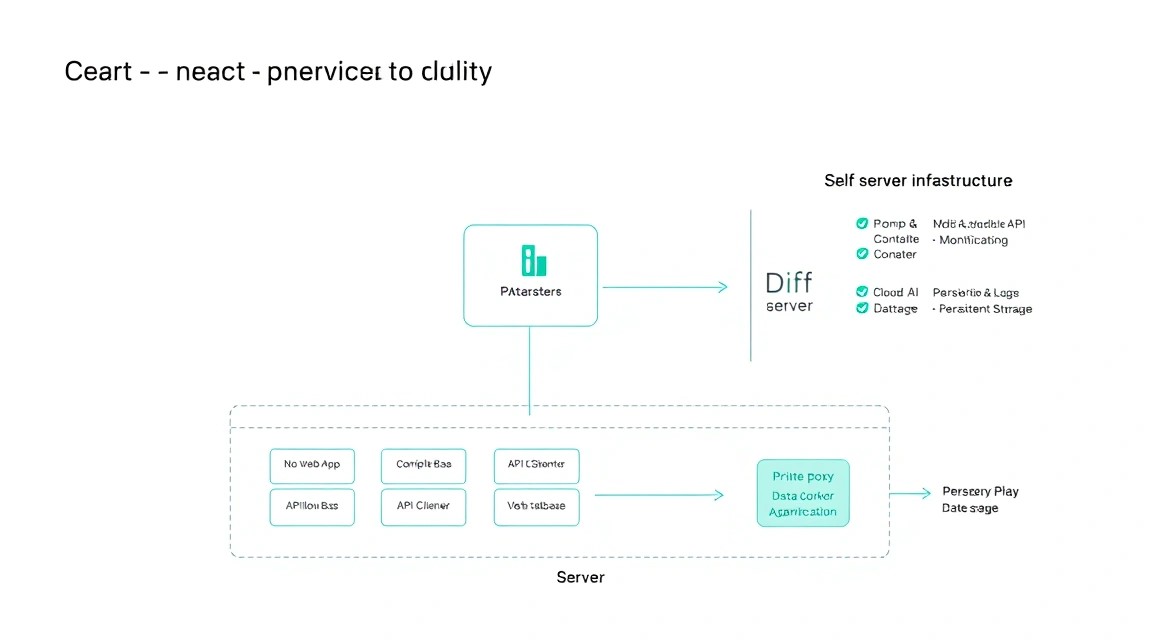
Dify is an open-source platform for developing applications based on large language models. It combines a visual prompt editor, workflow engine, model management, knowledge bases, RAG search, web application publishing, and REST API.
In a typical scenario, a user asks a question in a chat. Dify receives the request, searches for relevant document fragments when necessary, passes the context to the language model, applies additional rules, and returns an answer. This process can be configured through visual blocks without developing a separate backend service.
What Tasks Self-Hosted Dify Solves
- An internal corporate chat for documents and instructions.
- An AI agent for customer support or first-line helpdesk.
- Text generation, request classification, and data extraction.
- RAG search across PDF, DOCX, Markdown, and other materials.
- Prototyping AI features before integration into a SaaS product.
- A unified API gateway for multiple language model providers.
What Will Be Ready at the End
After completing this guide, the server will run Dify, the PostgreSQL database, Redis for queues and caching, vector storage, and auxiliary services. The administrative panel will be available over HTTPS, while user applications can be published as web interfaces or connected through the API.
It is important to understand the limitations of this setup. Dify does not turn a standard VPS into an independent language model. To generate responses, you need to connect an external provider API or deploy a local model through Ollama, vLLM, or another compatible server. A local model will additionally require a GPU or a large amount of RAM.
Cloud-Managed or Self-Hosted
| Criterion | Cloud Version | Self-Hosted on a VPS |
|---|---|---|
| Getting started | No server administration required | You need to install and update software |
| Data control | Depends on the provider's terms | The service and database are under your control |
| Network access | Usually determined by the plan | Can be restricted with VPN, firewall, or allowlist |
| Scaling | Performed through the provider panel | You are responsible for CPU, RAM, disk, and fault tolerance |
| Cost | Payment for the plan and possible limits | Payment for the server plus language model APIs |
The self-hosted option makes sense when you need control over the network perimeter, your own data retention policies, predictable resources, or the ability to modify the infrastructure. It is also convenient for development, but requires regular maintenance: updates, disk checks, backups, and secret management.
4. What VPS Configuration Is Needed for This Task
Minimum Configuration
Dify runs as a set of containers, so it consumes noticeably more resources than a single small web service. The load depends on the number of concurrent workflows, the size of RAG indexes, the number of documents, and the selected models.
| Scenario | CPU | RAM | Disk | Network |
|---|---|---|---|---|
| Testing and one administrator | 2 vCPU | 4 GB | 50 GB SSD | 100 Mbps |
| Small team | 4 vCPU | 8 GB | 80–120 GB NVMe | 100–500 Mbps |
| Production workload | 8 vCPU | 16 GB | 160–300 GB NVMe | 500 Mbps and above |
A practical starting option for a team of several people is 4 vCPU, 8 GB RAM, an NVMe disk starting from 100 GB, and backups stored outside the server. You can choose a suitable VPS with these specifications and increase resources later without changing the architecture.
Why a Fast Disk Matters
PostgreSQL, Redis, vector storage, and background tasks run simultaneously in Dify. A slow HDD increases container startup time, document indexing time, and workflow execution time. SSD is the minimum reasonable option, while NVMe is preferable for frequent file uploads and multiple users.
When a Dedicated Server Is Needed
A dedicated server is justified if you need your own local language model, a large document index, dozens or hundreds of parallel requests, strict resource isolation, or a GPU. For Dify without a local LLM, a dedicated server is usually unnecessary: the application can access an external API, while a VPS remains sufficiently cost-effective.
Choosing a Location
The server region affects latency for users, API provider availability, and legal data requirements. For an interactive chat, it is advisable to choose a data center closer to the primary audience. If Dify accesses an external model in another region, measure latency to both endpoints, not just to the server.
A production server also requires a public IPv4 address, the ability to open TCP ports 80 and 443, automated snapshots, or external backup storage. Do not rely on a snapshot as the only copy: account compromise or VPS deletion can also destroy the snapshot.
5. Server Preparation
Connecting and Updating the System
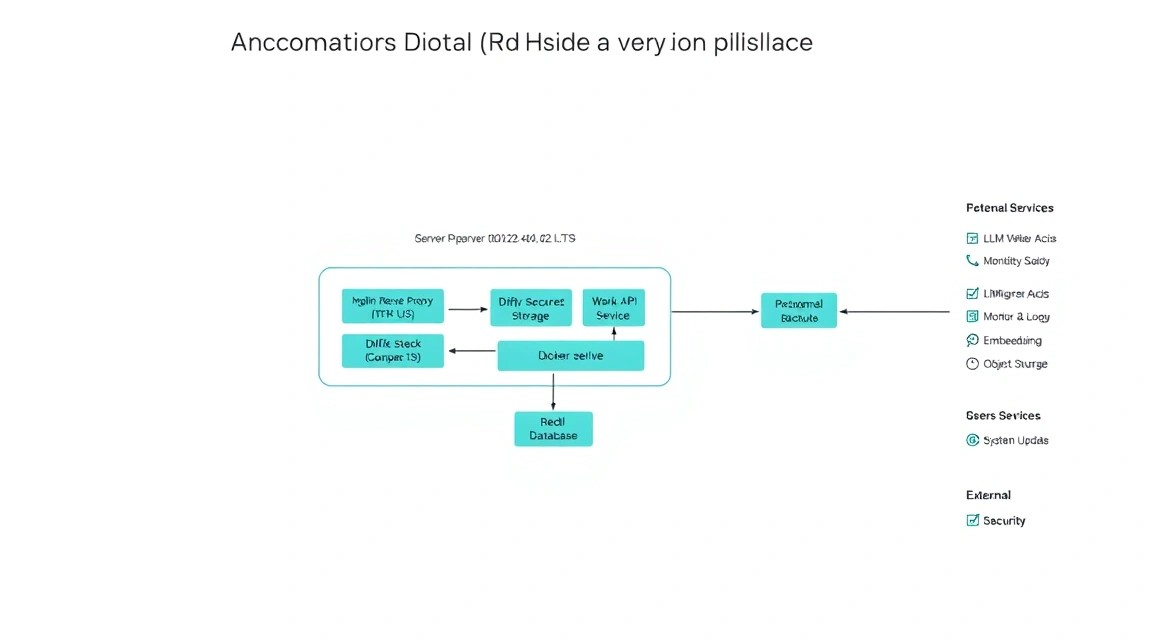
The following assumes a clean Ubuntu Server 24.04 LTS server with the root user. Replace the IP address with the address of your VPS.
ssh [email protected]First, update the package index and installed components.
apt update && apt full-upgrade -y
apt install -y ca-certificates curl gnupg git jq unzip vim ufw fail2ban unattended-upgrades
The first command installs security updates. The second adds utilities for repositories, diagnostics, the firewall, and automatic security updates.
Creating an Administrator
Do not use permanent SSH access as root. Create a separate user and add them to the sudo group.
adduser deploy
usermod -aG sudo deploy
install -d -m 700 -o deploy -g deploy /home/deploy/.ssh
Generate an ED25519 key on your local computer if you do not already have one.
ssh-keygen -t ed25519 -C "dify-admin"Copy the public key to the server. The command will request the password for the deploy user.
ssh-copy-id [email protected]
ssh [email protected]
Make sure sudo works.
sudo -v
id
Configuring SSH
Before disabling password login, verify that a new SSH session using the key opens successfully. Then create a separate drop-in file.
sudo tee /etc/ssh/sshd_config.d/ hardening.conf >/dev/null <<'EOF'
PermitRootLogin no
PasswordAuthentication no
KbdInteractiveAuthentication no
PubkeyAuthentication yes
MaxAuthTries 3
EOF
There must be no space within the path in the command above. The correct version, if the shell did not process the line with the space:
sudo tee /etc/ssh/sshd_config.d/hardening.conf >/dev/null <<'EOF'
PermitRootLogin no
PasswordAuthentication no
KbdInteractiveAuthentication no
PubkeyAuthentication yes
MaxAuthTries 3
EOF
sudo sshd -t
sudo systemctl reload ssh
The sshd -t check is mandatory: it prevents an incorrectly formatted configuration from being applied. Do not close the old SSH session until you have tested the new login in a separate window.
Firewall and fail2ban
We will open SSH, HTTP, and HTTPS. It is better to restrict the SSH port to your IP address if it is static.
sudo ufw default deny incoming
sudo ufw default allow outgoing
sudo ufw allow 22/tcp
sudo ufw allow 80/tcp
sudo ufw allow 443/tcp
sudo ufw enable
sudo ufw status verbose
Enable SSH protection against password and key brute-force attempts.
sudo systemctl enable --now fail2ban
sudo fail2ban-client status sshd
In production, it is useful to restrict SSH with a rule such as sudo ufw allow from 198.51.100.25 to any port 22 proto tcp. Do not run it until you know your current address: an incorrect rule can block access.
Automatic Security Updates
sudo dpkg-reconfigure -plow unattended-upgrades
sudo systemctl status unattended-upgrades --no-pager
Automatic updates are useful for operating system packages, but they do not replace scheduled updates of Dify Docker images. Update the application version separately and only after making a backup.
6. Software Installation — Step by Step
Step 1. Installing Docker Engine
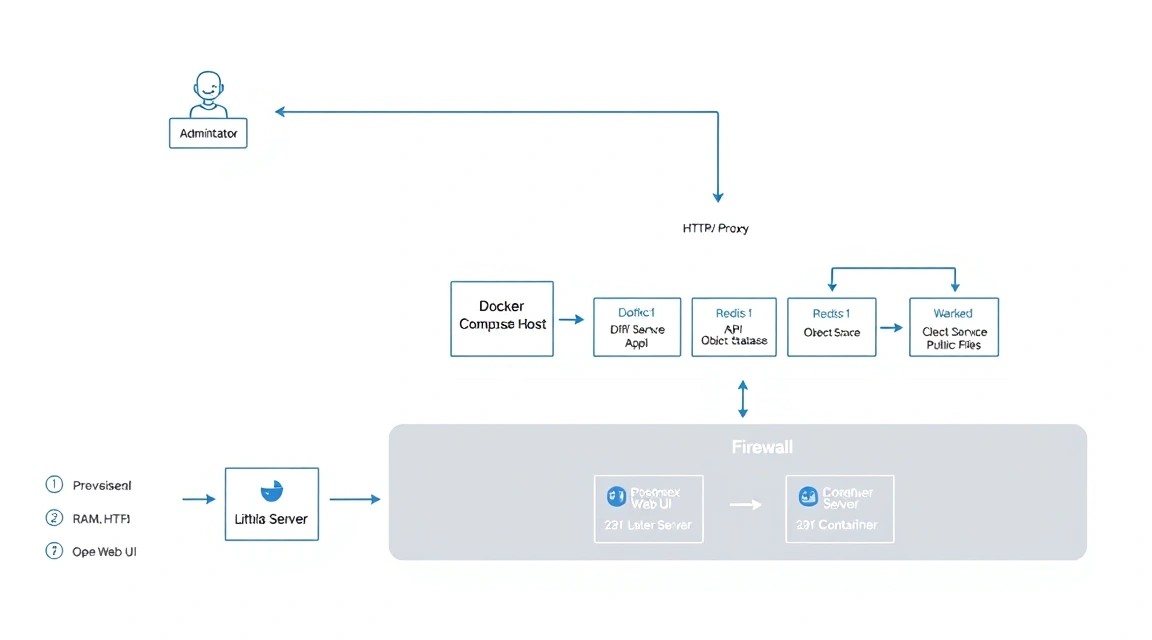
For Dify in 2026, use Docker Engine 27 or 28 and Docker Compose v2. Do not install the old docker-compose package from a random PPA: the current command is docker compose.
sudo install -m 0755 -d /etc/apt/keyrings
curl -fsSL https://download.docker.com/linux/ubuntu/gpg | sudo gpg --dearmor -o /etc/apt/keyrings/docker.gpg
sudo chmod a+r /etc/apt/keyrings/docker.gpg
The commands add the official Docker key and prepare a directory for signed repositories.
echo \
  "deb [arch=$(dpkg --print-architecture) signed-by=/etc/apt/keyrings/docker.gpg] https://download.docker.com/linux/ubuntu \
  $(. /etc/os-release && echo "$VERSION_CODENAME") stable" | \
  sudo tee /etc/apt/sources.list.d/docker.list >/dev/null
sudo apt update
sudo apt install -y docker-ce docker-ce-cli containerd.io docker-buildx-plugin docker-compose-plugin
Check the versions and run a test container.
sudo docker version
sudo docker compose version
sudo docker run --rm hello-world
Add the deploy user to the Docker group so that you do not need to use sudo for every command.
sudo usermod -aG docker "$USER"
newgrp docker
docker ps
Membership in the Docker group effectively grants root privileges. Therefore, server access must be protected with SSH keys, a firewall, and a limited number of administrators.
Step 2. Downloading Dify
The official Dify self-hosted package is located in the project's Git repository. For production, pin a tested release instead of leaving the application on an arbitrary development branch. Below is an example for the Dify 1.x line; before installation, verify the name of the latest stable tag in the official repository.
sudo mkdir -p /opt
sudo chown deploy:deploy /opt
cd /opt
git clone https://github.com/langgenius/dify.git
cd /opt/dify/docker
If you selected a specific stable tag, switch the repository to it. The tag value must exist at the time of installation.
git fetch --tags
git tag --sort=-v:refname | head -n 10
git checkout 1.9.1
If a newer stable release has already been published in the official repository, replace 1.9.1 with it. Do not mix files from different releases or copy an old .env without checking new parameters.
Step 3. Creating the Environment File
Copy the configuration template. Dify uses environment variables for database passwords, signing keys, service addresses, and publication URLs.
cd /opt/dify/docker
cp .env.example .env
chmod 600 .env
sed -n '1,80p' .env
Generate random values for secrets. Do not use short passwords, your date of birth, the project name, or the same key for all components.
python3 - <<'PY'
import secrets
for name in ("SECRET_KEY", "INIT_PASSWORD", "DB_PASSWORD", "REDIS_PASSWORD"):
    print(f"{name}={secrets.token_urlsafe(32)}")
PY
Copy the generated values into the corresponding .env lines. You can use an editor for automatic editing:
nano /opt/dify/docker/.envStep 4. Starting Containers
Before the first launch, check which compose files are included in the selected release.
cd /opt/dify/docker
docker compose config --quiet
If the command finishes without an error message, the configuration is syntactically correct. Start the stack in the background.
docker compose up -dThe first launch may take several minutes: Docker will download images for PostgreSQL, Redis, vector storage, API, worker, and web components.
Step 5. Checking Status
docker compose ps
docker compose logs --tail=100 api
docker compose logs --tail=100 worker
Most containers should have the Up or running status. A one-time health: starting status after launch is normal, but it should change within a few minutes.
Step 6. Local HTTP Check
Check which port is published by the compose configuration.
docker compose port nginx 80
curl -I http://127.0.0.1
If the external proxy container has a different name in the selected version, use the name from the docker compose ps output. A 200, 301, or 302 response means the HTTP layer is responding. A 502 error requires checking backend containers.
7. Configuration
Core Dify Parameters
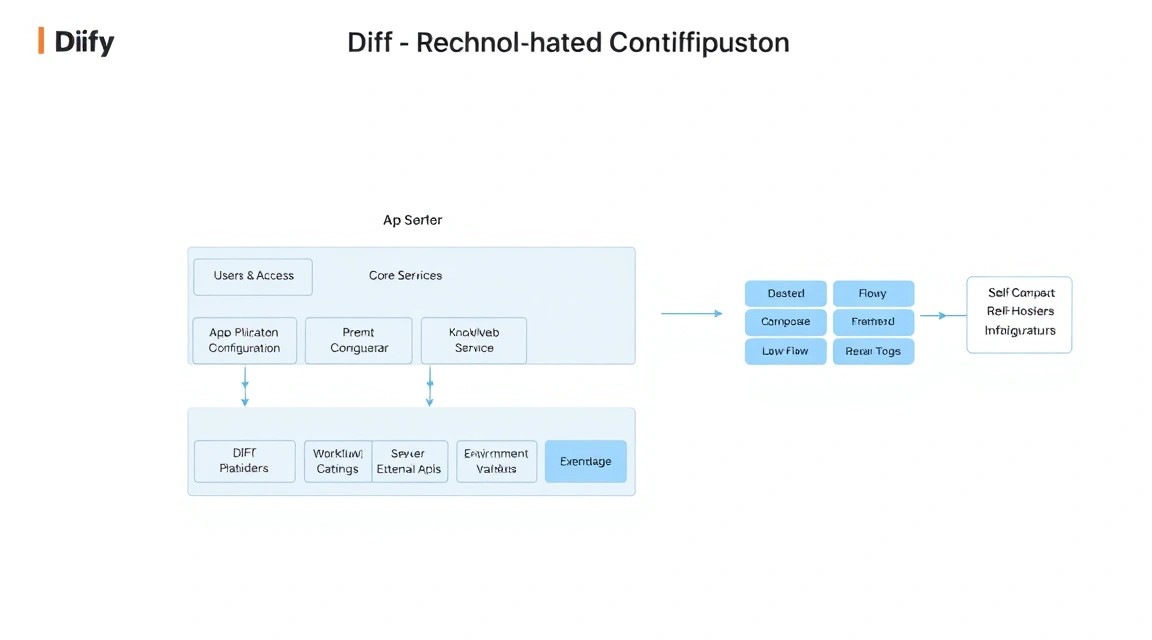
Below are the parameters that usually need to be checked in /opt/dify/docker/.env. The names of individual variables may change between releases, so refer to the comments in the current .env.example.
cd /opt/dify/docker
grep -E '^(SECRET_KEY|INIT_PASSWORD|CONSOLE_API_URL|CONSOLE_WEB_URL|SERVICE_API_URL|FILES_URL|DB_|REDIS_|VECTOR|LOG_LEVEL)' .env
For the Dify domain, console, API, and file service URLs are usually specified. Example:
CONSOLE_API_URL=https://dify.example.com
CONSOLE_WEB_URL=https://dify.example.com
SERVICE_API_URL=https://dify.example.com
APP_WEB_URL=https://dify.example.com
FILES_URL=https://dify.example.com
If your release includes other names for URL variables, do not add them blindly: use the names from the template for the specific version. Do not publish the contents of the entire .env file in tickets and chats.
Connecting a Language Model Provider
After logging in to the web console, open the model provider settings and add the API key for the required provider. The key is stored in the Dify configuration or in the provider's secure storage, depending on the selected method.
For the first test, select an inexpensive model with limited context and set spending limits with the API provider. Then create a simple Chatflow application with a system instruction and one test question. Check not only response quality, but also token usage, latency, and erroneous tool calls.
Connecting a Knowledge Base
- Create a Dataset in the Dify dashboard.
- Upload a small set of documents without confidential data.
- Select a text splitting method and chunk size.
- Wait for indexing to complete.
- Create an application with a Dataset search block.
- Check the response to a question that is explicitly covered in the documents.
If documents contain tables, scans, or complex layouts, check text extraction quality separately. RAG does not correct OCR errors and does not guarantee an accurate quote when the source file is split incorrectly.
Reverse Proxy via Caddy
The built-in Dify proxy is convenient for local startup, but a separate Caddy instance simplifies certificate issuance and renewal. In this setup, Caddy will listen on ports 80 and 443 on the host, while Dify will be available only through a local port.
First, stop or reconfigure the Dify component that already occupies port 80. Service names vary by version, so first view the list of published ports:
cd /opt/dify/docker
docker compose ps
docker compose port nginx 80 || true
sudo ss -ltnp | grep -E ':(80|443)\b'
Install Caddy from the official apt repository:
sudo apt install -y debian-keyring debian-archive-keyring apt-transport-https curl
curl -1sLf 'https://dl.cloudsmith.io/public/caddy/stable/gpg.key' | sudo gpg --dearmor -o /usr/share/keyrings/caddy-stable-archive-keyring.gpg
curl -1sLf 'https://dl.cloudsmith.io/public/caddy/stable/debian.deb.txt' | sudo tee /etc/apt/sources.list.d/caddy-stable.list
sudo apt update
sudo apt install -y caddy
Create the Caddy configuration. If Dify publishes HTTP on another local port, replace 127.0.0.1:8080 with the actual address.
dify.example.com {
    reverse_proxy 127.0.0.1:8080

    header {
        X-Content-Type-Options "nosniff"
        Referrer-Policy "strict-origin-when-cross-origin"
        X-Frame-Options "SAMEORIGIN"
    }

    log {
        output file /var/log/caddy/dify-access.log
        format json
    }
}
Save the file, check it, and restart Caddy:
sudo caddy fmt --overwrite /etc/caddy/Caddyfile
sudo caddy validate --config /etc/caddy/Caddyfile
sudo systemctl enable --now caddy
sudo systemctl reload caddy
sudo journalctl -u caddy -n 50 --no-pager
Caddy will automatically request a Let’s Encrypt certificate if DNS already points to the server and ports 80/443 are accessible from the internet. For a private domain without a public DNS record, an automatic public certificate will not work; use a corporate CA or VPN in that case.
Checking the Domain and HTTPS
dig +short dify.example.com
curl -I https://dify.example.com
curl -sS -o /dev/null -w '%{http_code}\n' https://dify.example.com
Check the certificate validity period:
echo | openssl s_client -connect dify.example.com:443 -servername dify.example.com 2>/dev/null | openssl x509 -noout -subject -issuer -datesChecking Containers and Resources
cd /opt/dify/docker
docker compose ps
docker stats --no-stream
df -h
free -h
sudo journalctl -u docker --since "30 minutes ago" --no-pager
Keep at least 15–20 percent of disk space free. Docker images, logs, and uploaded documents gradually increase consumption. When the disk fills up, PostgreSQL and Redis may fail even if CPU and RAM are available.
Creating the First Application
- Open the Dify URL and complete the initial administrator setup.
- Add a model in the Model Provider section.
- Create a Chatflow or Workflow.
- Set a system instruction and limit the response scope.
- Publish the application and test the web interface.
- For integration, copy the application's API key rather than the administrator password.
Treat API keys as passwords: issue a separate key for each service, store it in a secret store, and revoke it after the experiment is complete. Do not place the key in JavaScript code sent to the user's browser.
8. Backups and Maintenance
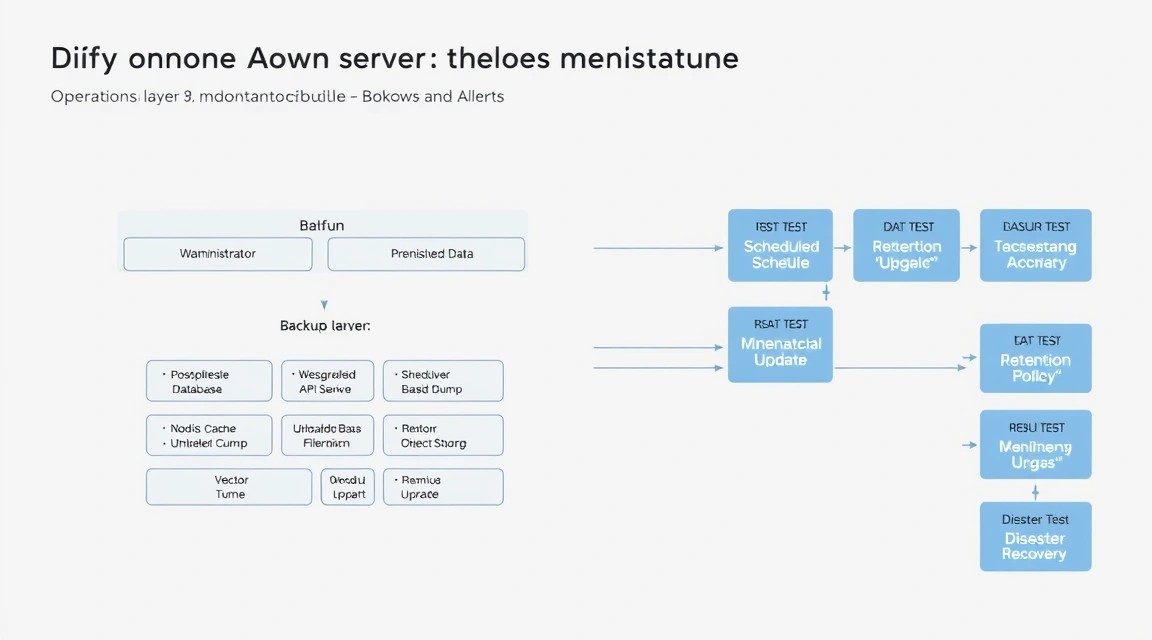
What Needs to Be Saved
- PostgreSQL: users, applications, settings, and metadata.
- Dify files: uploaded documents, images, and processing results.
- Vector storage: Dataset indexes or source documents for recovery.
.envand selected compose files.- Caddy and firewall configuration.
- A list of Docker image versions and the Dify Git tag.
The .env file contains secrets, so the backup must be encrypted. Do not store it in a public Git repository or send it to regular object storage without encryption.
Local PostgreSQL Dump
The exact command depends on the container and database names in the selected release. You can get the name as follows:
cd /opt/dify/docker
docker compose ps --services
docker compose ps | grep -E 'postgres|db'
If the database service is called db, an example dump looks as follows:
mkdir -p /opt/backups/dify
docker compose exec -T db pg_dump -U postgres dify | gzip > "/opt/backups/dify/postgres-$(date +%F-%H%M).sql.gz"
find /opt/backups/dify -type f -name '.sql.gz' -mtime +14 -delete
Verify the database and user names against the DB_DATABASE and DB_USERNAME variables in the current .env. Do not include the password in the command line: it may end up in shell history or the process list.
Backup Script with restic
For production, it is better to use external S3-compatible storage or a dedicated backup server. Install restic:
sudo apt install -y restic
sudo install -d -m 700 /etc/restic
sudo nano /etc/restic/dify.env
Example environment file:
AWS_ACCESS_KEY_ID=replace-me
AWS_SECRET_ACCESS_KEY=replace-me
RESTIC_REPOSITORY=s3:https://s3.example.net/dify-backups
RESTIC_PASSWORD=replace-with-long-random-password
Restrict access to it:
sudo chmod 600 /etc/restic/dify.env
sudo restic --env-file /etc/restic/dify.env init
Create the script. It pauses background operations briefly, creates a database dump, copies the configuration, and sends the data to restic.
sudo tee /usr/local/sbin/backup-dify >/dev/null <<'EOF'
#!/usr/bin/env bash
set -Eeuo pipefail

BASE=/opt/dify/docker
WORK=/var/backups/dify
STAMP=$(date +%F-%H%M)
mkdir -p "$WORK"

cd "$BASE"
docker compose exec -T db pg_dump -U postgres dify | gzip > "$WORK/postgres-$STAMP.sql.gz"

tar --exclude='.log' -czf "$WORK/config-$STAMP.tar.gz" \
  "$BASE/.env" "$BASE/docker-compose.yaml" /etc/caddy/Caddyfile

restic --env-file /etc/restic/dify.env backup "$WORK" /opt/dify
restic --env-file /etc/restic/dify.env forget --keep-daily 7 --keep-weekly 4 --keep-monthly 6 --prune

find "$WORK" -type f -mtime +2 -delete
EOF

sudo chmod 700 /usr/local/sbin/backup-dify
sudo /usr/local/sbin/backup-dify
Check for snapshots:
sudo restic --env-file /etc/restic/dify.env snapshots
sudo restic --env-file /etc/restic/dify.env check
Scheduled Execution
Create a cron job as root. Choose the time according to the time zone and load.
sudo crontab -e30 3 * /usr/local/sbin/backup-dify >> /var/log/backup-dify.log 2>&1At least once a month, perform a test recovery on a separate machine or temporary VPS. A backup that has never been restored is merely an assumption that the data exists.
Updating Dify
Before updating, save the current Git tag, configuration, PostgreSQL dump, and image list.
cd /opt/dify
git rev-parse --short HEAD
cd docker
docker compose images
sudo /usr/local/sbin/backup-dify
Then obtain the new release and review its release notes. Do not update production directly from the main branch. First test the new version on a database copy or staging server.
cd /opt/dify
git fetch --tags
git checkout 1.9.1
cd docker
docker compose pull
docker compose config --quiet
docker compose up -d
docker compose ps
After the update, check console login, test application creation, Dataset search, and the API. For a small installation, a 10–30 minute maintenance window is usually sufficient. A rolling update requires multiple API and worker instances, shared storage, and a separate migration scheme, so it is not needed for the first VPS.
Monitoring
Start with simple checks: free space, RAM, container status, Docker errors, and TLS certificate expiration. For ongoing operation, add Uptime Kuma, Prometheus, or other monitoring, but do not host the only monitoring instance on the same VPS.
df -h /
free -m
docker compose -f /opt/dify/docker/docker-compose.yaml ps
docker system df
sudo journalctl -p warning..alert --since today --no-pager
9. Troubleshooting and FAQ
After startup, containers keep restarting. What should I check?
First, run docker compose ps and view the logs of the specific service: docker compose logs --tail=200 api, worker, db, or redis. Common causes include incorrect secrets in .env, insufficient RAM, an occupied port, or an incompatible compose file. Check free -h, df -h, and docker compose config. After fixing the issue, restart only the affected stack with docker compose up -d.
What is the minimum suitable VPS configuration?
To get acquainted with Dify, you can start with 2 vCPU, 4 GB RAM, and an SSD of at least 50 GB, but this is the lower limit for one user and small tests. For a real team, it is better to choose 4 vCPU, 8 GB RAM, and NVMe storage of 80–100 GB or more. If local LLMs are planned, these requirements are no longer suitable: you will need a separate GPU server or a powerful dedicated server with a large amount of RAM.
What should I choose for this task: VPS or dedicated?
A VPS is suitable for most Dify projects using external model APIs: it is cheaper, easier to scale, and sufficient for a small or medium-sized team. Dedicated makes sense with sustained high load, local inference, a large vector index, GPU, or strict resource isolation. You can start with a VPS and migrate Docker Compose to dedicated later if metrics show insufficient CPU, RAM, disk, or I/O.
I get a 502 Bad Gateway through the domain. Where should I look for the cause?
Check whether the backend responds locally: curl -I http://127.0.0.1:8080 or the actual port from the compose configuration. Then check sudo journalctl -u caddy -n 100 and docker compose logs --tail=100. Often, Caddy is configured for the wrong port, the Dify container is not running, or the port is already occupied by the built-in proxy. Also verify that Caddy and Docker use the same loopback address.
The Let’s Encrypt certificate is not being issued. What should I do?
Make sure the domain's A record returns the public VPS address: dig +short dify.example.com. Ports 80 and 443 must be allowed both in UFW and in the provider's firewall. Check whether an AAAA record points to a non-working IPv6 address: the certificate authority may choose IPv6 and receive an error. Caddy logs will show the exact cause, such as DNS failure, timeout, or rate limit.
Dify does not see the added language model. Why?
Check the API key, endpoint, and selected model type. If the provider uses an OpenAI-compatible API, the URL must point to the correct base path, not just the domain. Run a connection test from the container or host using curl, keeping in mind that the container may lack DNS access or be blocked by the outbound firewall. Check the provider account limits and the server time using timedatectl.
Document indexing is stuck at a certain percentage.
Check the worker and vector storage logs: docker compose logs --tail=200 worker and those of the relevant vector service. Check free space, RAM, and Redis availability. A large PDF, a scan without a text layer, or a corrupted archive may block processing. For diagnostics, upload a small text file. If the small file is indexed, the issue is likely with the source document's format or size.
How do I restrict access to the administration panel?
The simplest option is to close ports 80/443 to the entire internet and allow users through WireGuard or a corporate VPN. If public access is required, use long unique passwords, MFA, separate API keys, fail2ban, and an external WAF. Do not expose Docker ports for PostgreSQL, Redis, and vector storage externally. Only SSH, HTTP, and HTTPS should be open in the firewall, and SSH should preferably be restricted to trusted IPs.
Can I run Dify with a local model on the same VPS?
Technically, you can connect a compatible inference service, but a typical VPS without a GPU will be slow. A small quantized model will require a lot of RAM, and generation speed may be unacceptable. It is more practical to keep Dify on a CPU VPS and move inference to a GPU server. Restrict communication between them with a private network, VPN, or firewall allowlist, and enable TLS for the model API.
10. Conclusions and Next Steps
As a result, you have a self-hosted Dify deployment on Ubuntu with Docker Compose, a language model connection, an HTTPS domain, and a basic backup scheme. This setup is suitable for prototypes, internal AI tools, RAG knowledge bases, and small production teams.
The next practical step is to move staging into a separate project, add resource monitoring, and regularly test backup recovery. As load grows, measure CPU, RAM, I/O, PostgreSQL size, and workflow processing time instead of blindly upgrading your plan. For local models and sustained high load, plan ahead for a separate GPU or dedicated server.