
Deploying Caddy as a Reverse Proxy for Docker Containers on a VPS with Automatic HTTPS
TL;DR
In this detailed guide, we will configure Caddy as a highly efficient reverse proxy server for your Docker containers on a Virtual Private Server (VPS), ensuring automatic acquisition and renewal of SSL/TLS certificates via Let's Encrypt. You will learn how to deploy and link Docker, Docker Compose, and Caddy to provide secure and scalable access to your web applications running in containers, with minimal configuration effort.
- Installation and basic configuration of the operating system (Ubuntu 24.04/26.04 LTS).
- Deployment of Docker and Docker Compose for container management.
- Installation and configuration of Caddy as a reverse proxy.
- Caddy configuration for automatic HTTPS certificate issuance.
- Example of deploying an application in Docker and proxying it through Caddy.
- Recommendations for security, backups, and system maintenance.
What We Are Configuring and Why

In this guide, we will focus on creating a reliable and secure infrastructure for hosting web applications on your own VPS. The main task is to provide external access to applications running inside Docker containers via a domain name, while automatically securing the connection with HTTPS. To achieve this, we will use a combination of three key components:
- Docker: A platform for application containerization. Docker allows packaging applications with all their dependencies into isolated "containers," ensuring their portability and predictable operation in any environment. We will use Docker Compose to orchestrate multiple containers that make up a single application or service.
- Caddy: A modern web server and reverse proxy. Caddy stands out for its configuration simplicity and, most importantly, built-in support for automatic issuance and renewal of SSL/TLS certificates via Let's Encrypt. This eliminates the need to manually configure Certbot or other HTTPS tools, significantly simplifying the process.
- VPS (Virtual Private Server): A Virtual Private Server that will provide us with the necessary computing power and network resources to host our infrastructure.
Ultimately, the reader will have a fully configured system capable of securely and efficiently hosting one or more web applications (e.g., GitLab, Mattermost, WordPress, or custom SaaS applications) in Docker containers, accessible via domain names with automatic HTTPS. This is an ideal solution for developers, startups, and enthusiasts who want full control over their infrastructure without the high costs of cloud-managed services.
Alternatives: Cloud-managed vs. Self-hosted on VPS
There are two main approaches to deploying web applications:
-
Cloud-managed services: Platforms such as Heroku, Netlify, AWS Elastic Beanstalk, Google App Engine offer high automation, scalability, and minimal administration effort. You simply upload your code, and the platform takes care of servers, scaling, databases, and HTTPS.
Advantages: Simplicity, high availability, automatic scaling.
Disadvantages: High cost with growth, less control over infrastructure, vendor lock-in, sometimes limited customization options. -
Self-hosted on VPS/Dedicated server: This approach involves renting a "bare metal" server (virtual or physical) and independently configuring the entire stack — operating system, web server, database, containerization, etc.
Advantages: Full control over every aspect of the system, significantly lower cost in the long term (especially under moderate loads), flexibility in technology and configuration choices, data privacy.
Disadvantages: Requires technical knowledge and time for setup and maintenance; responsibility for security and backups rests with you.
Choosing self-hosted on a VPS with Caddy and Docker is a golden mean for those seeking a balance between control, cost, and ease of use. Caddy significantly lowers the entry barrier for self-configuring HTTPS, and Docker simplifies application management.
What VPS Configuration is Needed for This Task
Choosing the right VPS configuration is critical for the stable operation of your applications. Requirements will depend on the number and resource intensity of the Docker containers you plan to run.
Minimum Requirements for a Basic Setup (Caddy + 1-2 Light Containers)
- CPU: 1-2 cores (e.g., Intel Xeon E3/E5 or AMD EPYC). For most web applications, one core is sufficient, but two will provide a performance buffer and better responsiveness.
- RAM: 2 GB. Docker and Caddy themselves consume little, but each application in a container requires its own memory. 2 GB is a comfortable minimum for the OS, Docker daemon, and a couple of undemanding services (e.g., a small WordPress blog without a heavy DBMS or a simple API service).
- Disk: 40-60 GB NVMe SSD. SSD significantly speeds up I/O operations, which is important for databases and fast container startup. NVMe offers even greater speed. 40-60 GB is sufficient for the OS, Docker images, containers, and a small amount of data. If large volumes of data are planned (e.g., file storage, logs, backups), more space will be required.
- Network: 100-200 Mbps. For most tasks, this is more than enough. Channel stability and low latency are more important.
Specific VPS Plan for the Task
For deploying Caddy with 3-5 Docker containers (e.g., GitLab, Mattermost, or several microservices), the following configuration plan is recommended:
- CPU: 2-4 cores (e.g., Intel Xeon E5-2690v4 or AMD EPYC 7002 series). This will provide sufficient performance for handling requests and background container tasks.
- RAM: 4-8 GB. For more demanding applications such as GitLab, Mattermost, or a Minecraft server, 4 GB is the minimum; 8 GB will provide significantly more flexibility and stability.
- Disk: 80-160 GB NVMe SSD. GitLab, Minecraft, and other similar applications can occupy significant disk space. NVMe SSD will ensure high-speed data operations.
- Network: 500 Mbps - 1 Gbps. High bandwidth will be beneficial for applications with a large number of users or intensive traffic.
You can consider a VPS with the specified characteristics to get an optimal price-to-performance ratio for this task. Ensure that the chosen plan includes a public IPv4 address, which is necessary for accessing your services from the internet and for Let's Encrypt to function.
When a Dedicated Server is Needed, Not a VPS
A dedicated server becomes the preferred choice when:
- High performance and stability: Maximum and predictable performance is required without "noisy neighbors" on a single physical server.
- Large data volumes: Hundreds of gigabytes or terabytes of data are planned for storage.
- Complex computations: Specialized processors (e.g., GPUs for machine learning) or a very large number of cores are needed.
- Strict security/compliance requirements: Full physical control over the hardware is required.
- Massive traffic: Very high network traffic is expected (tens of TB per month).
For most tasks described in this guide (GitLab for a team, Mattermost, Minecraft for friends), a powerful VPS will suffice. However, if you are launching a large SaaS project with thousands of users or a high-load crypto node, consider a suitable dedicated server.
Location: What it Affects
The choice of VPS location has several key aspects:
- Latency: The closer the server is to your primary audience, the lower the latency will be, and the faster pages will load for end-users. For a European audience, choose a server in Europe; for an American audience, choose one in North America.
- Regulatory requirements: In some jurisdictions, there are strict data storage laws (e.g., GDPR in the EU). The choice of server location can affect compliance with these requirements.
- Cost: VPS prices may vary slightly depending on the region.
For most tasks, if your audience is distributed, choose a location that is geographically close to you or your primary user group.
Server Preparation
After gaining access to your new VPS, you need to perform a series of initial configurations to ensure security and ease of use. We will be using Ubuntu Server 24.04/26.04 LTS as the operating system.
It is assumed that you have accessed the server via SSH as the root user or another user with sudo privileges.
1. System Update
First, let's update all packages to their latest versions.
sudo apt update          # Updates the list of available packages
sudo apt upgrade -y      # Upgrades all installed packages
sudo apt autoremove -y   # Removes unnecessary packages
2. Creating a New User with Sudo Privileges (if you are working as root)
Working as the root user is insecure. Let's create a new user and grant them sudo privileges.
sudo adduser username    # Replace 'username' with your desired username. Follow the prompts to create a password.
sudo usermod -aG sudo username # Adds the user to the sudo group to grant administrator privileges.
Now, exit the current SSH session (exit) and log in as the new user:
ssh username@your_vps_ip # Replace 'username' and 'your_vps_ip'
3. Configuring SSH Keys for Secure Access
Using SSH keys is much more secure than passwords. If you don't already have an SSH key, generate one on your local machine:
ssh-keygen -t ed25519 -C "[email protected]" # Creates a new SSH key (ed25519 is more secure)
Then, copy the public key to your VPS:
ssh-copy-id username@your_vps_ip # Copies the public key to the server
Now you can log in to the server without a password. After verifying that SSH keys work, it is recommended to disable password login for root and your new user, and also to disallow root login.
sudo nano /etc/ssh/sshd_config # Opens the SSH server configuration file
Find and change the following lines:
PermitRootLogin no
PasswordAuthentication no
Save changes (Ctrl+X, Y, Enter) and restart the SSH server:
sudo systemctl restart sshd # Restarts the SSH service
Important: Make sure you can log in with an SSH key before disabling password login! Otherwise, you might lose access to the server.
4. Installing and Configuring a Firewall (UFW)
UFW (Uncomplicated Firewall) is an easy-to-use interface for configuring iptables. It is necessary to restrict access to the server only to the required ports.
sudo apt install ufw -y # Installs UFW
sudo ufw allow OpenSSH  # Allows SSH (port 22)
sudo ufw allow http     # Allows HTTP (port 80)
sudo ufw allow https    # Allows HTTPS (port 443)
sudo ufw enable         # Enables UFW. Confirm with 'y'.
sudo ufw status verbose # Checks UFW status
5. Installing Fail2ban for Brute-Force Protection
Fail2ban scans service logs (SSH, web servers, etc.) for suspicious activity (e.g., multiple failed login attempts) and temporarily or permanently blocks attackers' IP addresses using firewall rules.
sudo apt install fail2ban -y # Installs Fail2ban
sudo systemctl enable fail2ban # Enables Fail2ban to start automatically on boot
sudo systemctl start fail2ban  # Starts the Fail2ban service
sudo cp /etc/fail2ban/jail.conf /etc/fail2ban/jail.local # Creates a local copy of the config for modifications
sudo nano /etc/fail2ban/jail.local # Edits the configuration
In the jail.local file, you can configure parameters such as bantime (block time), findtime (period during which failed attempts are counted), and maxretry (maximum number of attempts). Make sure the [sshd] section is enabled (enabled = true). You can increase bantime, for example, to 1h or even 1d.
[DEFAULT]
bantime = 1h
findtime = 10m
maxretry = 5

[sshd]
enabled = true
port = ssh
logpath = %(sshd_log)s
backend = %(sshd_backend)s
Save changes and restart Fail2ban:
sudo systemctl restart fail2ban # Restarts Fail2ban to apply changes
sudo fail2ban-client status sshd # Checks SSH protection status
Software Installation — Step-by-Step
Now that the server is prepared, let's proceed with installing the main software: Docker, Docker Compose, and Caddy.
1. Installing Docker Engine (relevant for 2026)
We will install Docker from the official Docker repository to always have the latest versions. Current Docker Engine versions for 2026 will likely be in the 25.x-26.x range.
# Updates packages and installs dependencies
sudo apt update && sudo apt install -y ca-certificates curl gnupg lsb-release

# Adds Docker's official GPG key
sudo install -m 0755 -d /etc/apt/keyrings
curl -fsSL https://download.docker.com/linux/ubuntu/gpg | sudo gpg --dearmor -o /etc/apt/keyrings/docker.gpg
sudo chmod a+r /etc/apt/keyrings/docker.gpg

# Adds the Docker repository to APT sources
echo \
  "deb [arch="$(dpkg --print-architecture)" signed-by=/etc/apt/keyrings/docker.gpg] https://download.docker.com/linux/ubuntu \
  "$(. /etc/os-release && echo "$VERSION_CODENAME")" stable" | \
  sudo tee /etc/apt/sources.list.d/docker.list > /dev/null

# Updates package lists with the new repository
sudo apt update

# Installs Docker Engine, Docker CLI, and containerd
sudo apt install -y docker-ce docker-ce-cli containerd.io

# Adds the current user to the docker group to work without sudo
sudo usermod -aG docker "$USER"

# Applies changes for the Docker group (requires re-login or reboot)
# But it's better to just re-login or run 'newgrp docker'
newgrp docker

# Verifies Docker installation
docker run hello-world
The docker run hello-world command should successfully download and run a test container, confirming the correct Docker installation.
2. Installing Docker Compose
Docker Compose is a tool for defining and running multi-container Docker applications. It comes as part of Docker Engine since version 2.x.
# Checks Docker Compose version (Docker Compose v2.x is shipped as a Docker CLI plugin)
docker compose version
If the docker compose version command returns an error or a very old version, you might need to install it separately. However, for Ubuntu 24.04/26.04 and Docker Engine 25.x+, it should be available by default.
3. Installing Caddy (relevant for 2026)
Caddy can be installed from the official Caddy repository, which ensures you get the latest stable versions (Caddy 2.x).
# Installs dependencies for adding the HTTPS repository
sudo apt install -y debian-keyring debian-archive-keyring apt-transport-https

# Adds Caddy's GPG key
curl -1sLf 'https://dl.cloudsmith.io/public/caddy/stable/gpg.key' | sudo gpg --dearmor -o /usr/share/keyrings/caddy-stable-archive-keyring.gpg

# Adds the Caddy repository to APT sources
curl -1sLf 'https://dl.cloudsmith.io/public/caddy/stable/debian.deb.txt' | sudo tee /etc/apt/sources.list.d/caddy-stable.list

# Updates package lists with the new repository
sudo apt update

# Installs Caddy
sudo apt install -y caddy

# Checks Caddy service status
sudo systemctl status caddy
The Caddy service should be installed and running. If it's not running, start it: sudo systemctl start caddy.
Configuration
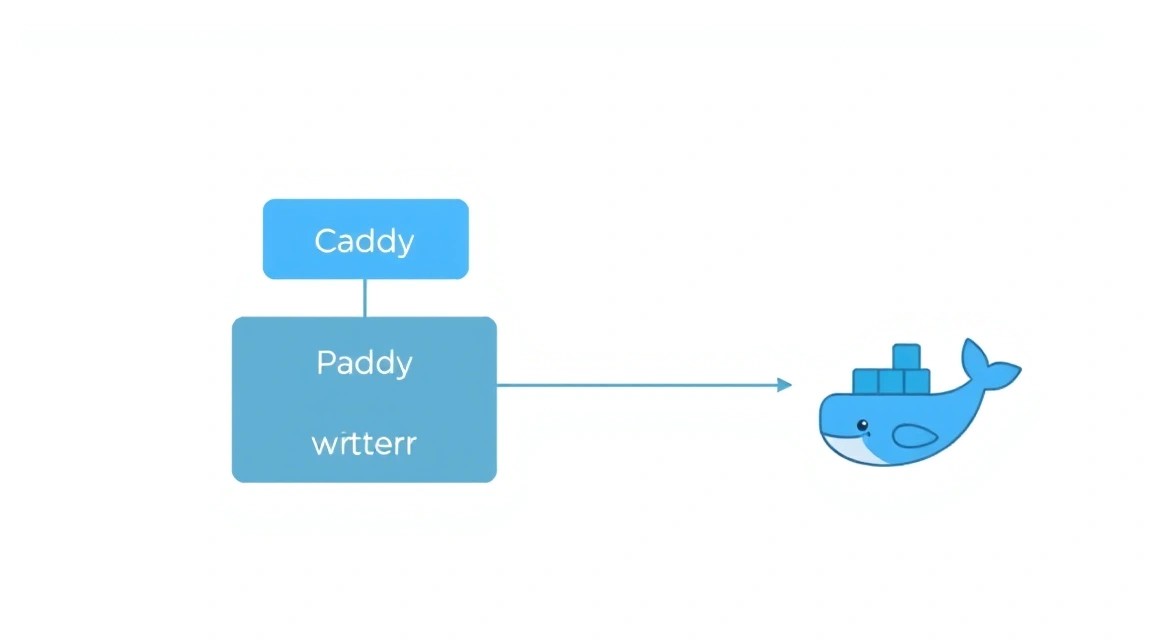
Now that all components are installed, it's time to configure their interaction. We will set up Caddy as a reverse proxy for Docker containers, using Docker Compose to define our applications.
1. Preparing Docker Network Infrastructure
For Caddy to interact with your Docker containers using their internal names, they need to be placed in a single custom Docker network.
# Create a custom Docker network for Caddy and applications
docker network create caddy_network
We will specify this network in the docker-compose.yml files for our applications and for Caddy itself.
2. Caddyfile Configuration
Caddy uses the file Caddyfile for its configuration. We will set it up to proxy traffic to our Docker containers.
sudo nano /etc/caddy/Caddyfile # Open the main Caddy configuration file
Remove the existing content and paste the following. Replace your-app.example.com and another-app.example.com with your actual domain names, and app_container_name and another_app_container_name with the names of your Docker containers.
# Global Caddy settings
{
    # Specifies that Caddy should use Google DNS servers for Let's Encrypt
    # This can be useful if your VPS has issues resolving DNS
    # acme_dns google # Uncomment if you are using a DNS provider that supports ACME DNS challenge
    # email [email protected] # Specify your email for Let's Encrypt notifications
}

# Configuration for the first application
your-app.example.com {
    # Proxy all traffic to the Docker container
    reverse_proxy app_container_name:80

    # Additional headers for better compatibility and security
    header {
        Strict-Transport-Security "max-age=31536000; includeSubDomains"
        X-Frame-Options DENY
        X-Content-Type-Options nosniff
        X-XSS-Protection "1; mode=block"
    }

    # Request logging
    log {
        output file /var/log/caddy/your-app.log
        format json
    }

    # Gzip compression (optional, but recommended)
    encode gzip
}

# Configuration for the second application (example)
another-app.example.com {
    reverse_proxy another_app_container_name:8080 # Specify the port your second application is listening on

    header {
        Strict-Transport-Security "max-age=31536000; includeSubDomains"
        X-Frame-Options DENY
        X-Content-Type-Options nosniff
        X-XSS-Protection "1; mode=block"
    }

    log {
        output file /var/log/caddy/another-app.log
        format json
    }

    encode gzip
}

# You can also add a directive for static files if Caddy will serve them
# example.com {
#     root  /var/www/html
#     file_server
# }
Caddyfile Explanations:
your-app.example.com: This is the domain name through which your application will be accessible. Caddy will automatically obtain an HTTPS certificate for it. Ensure that the DNS record (A-record) for this domain points to your VPS's IP address.reverse_proxy app_container_name:80: Caddy will redirect all incoming requests to the internal IP address of the Docker container namedapp_container_nameon port80(or another port your application is listening on inside the container). It is important thatapp_container_nameis the service name in yourdocker-compose.ymlfile.header: Adds HTTP headers to enhance security.log: Configures request logging. Ensure that the directory/var/log/caddy/exists and Caddy has permissions to it.encode gzip: Enables Gzip compression for transmitted data.
Let's create a directory for Caddy logs:
sudo mkdir -p /var/log/caddy
sudo chown caddy:caddy /var/log/caddy # Grant permissions to the caddy user
sudo systemctl restart caddy # Restart Caddy to apply the new Caddyfile
sudo systemctl status caddy  # Check that Caddy started successfully
3. Example Application Deployment with Docker Compose
Let's create an example of a simple web application (e.g., Nginx with a test page) that will be accessible via Caddy.
mkdir ~/my_web_app
cd ~/my_web_app
nano docker-compose.yml
Contents of docker-compose.yml:
version: '3.8'

services:
  # Service name that Caddy will use for proxying
  # Ensure it matches the name in the Caddyfile (e.g., 'app_container_name')
  mywebapp:
    image: nginx:latest # Use the latest Nginx image
    container_name: mywebapp_container # Explicit container name
    restart: unless-stopped
    ports:
      - "80" # Nginx listens on port 80 inside the container
    networks:
      - caddy_network # Connect the container to the Caddy network

networks:
  caddy_network:
    external: true # Specify that the network already exists and was created manually
Save the file (Ctrl+X, Y, Enter) and start the application:
docker compose up -d # Start the container in detached mode
Now, edit your Caddyfile to proxy to mywebapp:
sudo nano /etc/caddy/Caddyfile
Add or modify the section for your domain:
# ... other settings ...

# Configuration for your new application
my-nginx-app.example.com { # Replace with your actual domain
    reverse_proxy mywebapp:80 # Service name from docker-compose.yml and internal port
    log {
        output file /var/log/caddy/my-nginx-app.log
        format json
    }
    encode gzip
}

# ... remaining settings ...
Restart Caddy:
sudo systemctl reload caddy # Reload Caddy configuration without stopping the service
Ensure that the DNS record for my-nginx-app.example.com points to your VPS's IP address. Within a few seconds (or minutes, while Caddy obtains the certificate), your application should be accessible via HTTPS.
4. Configuring Environment Variables (.env) for Secrets
Never store sensitive data (passwords, API keys) directly in docker-compose.yml. Use environment variables via a .env file.
Create a .env file in the same directory as docker-compose.yml:
nano ~/my_web_app/.env
Example .env content:
DB_PASSWORD=MyStrongPassword123
API_KEY=supersecretkeyabc123
Then, in docker-compose.yml, you can reference these variables:
version: '3.8'

services:
  mywebapp:
    image: mycustomapp:latest
    container_name: mywebapp_container
    restart: unless-stopped
    environment:
      - DB_PASSWORD=${DB_PASSWORD} # Pass variable from .env
      - API_KEY=${API_KEY}
    networks:
      - caddy_network

networks:
  caddy_network:
    external: true
When running docker compose up -d, Docker Compose will automatically substitute values from .env.
5. Verifying Functionality
After all configurations, it is necessary to ensure that everything is working correctly.
-
Caddy Check:
sudo systemctl status caddy # Ensure Caddy is running sudo journalctl -u caddy --since "10 minutes ago" # Check Caddy logs for errors -
Docker Container Check:
docker ps # Ensure your containers are running docker logs mywebapp_container # Check logs of a specific container -
Domain Accessibility Check:
On your local machine, use
curlto check the HTTPS connection:curl -vI https://my-nginx-app.example.com # Check HTTP headers and SSL certificate statusYou should see an
HTTP/2 200status and information about the SSL certificate issued by Let's Encrypt. If there are issues, ensure that the DNS record is correct and ports 80/443 are open in UFW.
Backups and Maintenance
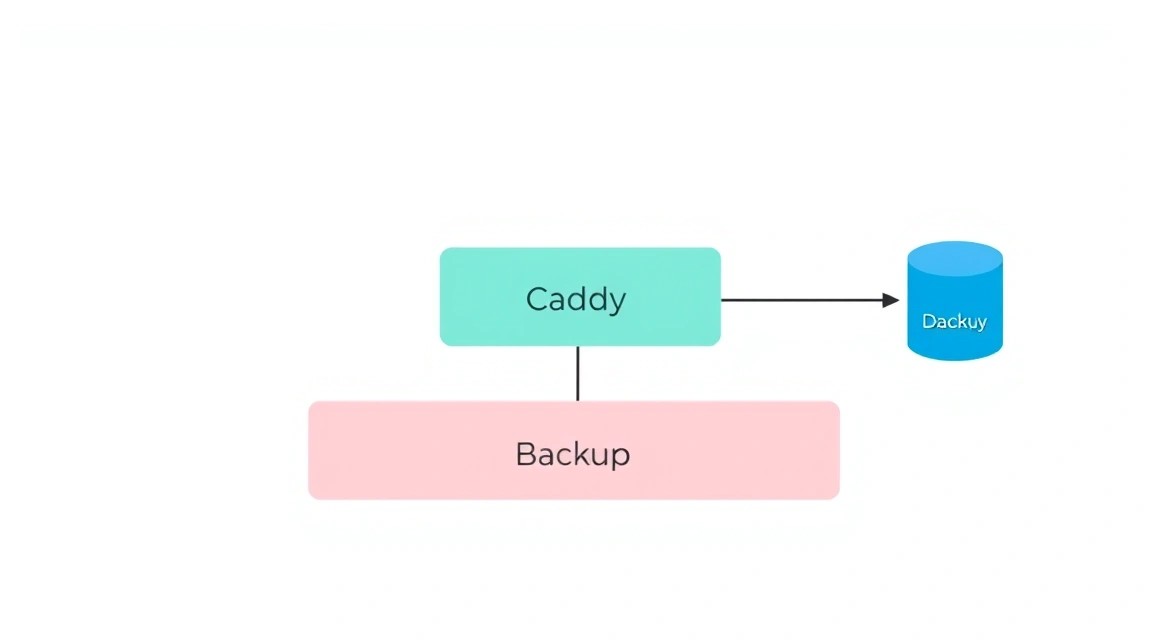
Regular backups and timely server maintenance are critically important for the stability and security of your infrastructure.
1. What to Back Up
For Docker containers and Caddy, the following data needs to be backed up:
- Docker Volumes: This is the most crucial part. All persistent data for your applications (databases, uploaded files, user data) should be stored in Docker Volumes. Make sure you correctly map them from containers to the host system.
-
Caddy Configuration Files: The
/etc/caddy/Caddyfilefile and any other files it references. -
Docker Compose Configuration Files: The
docker-compose.ymlfiles for all your applications. -
Caddy SSL Certificates: Caddy stores its certificates in
/var/lib/caddy/.local/share/caddy/. Although Caddy will automatically restore them, a backup can speed up recovery. - System Configurations: SSH configuration, UFW rules, Fail2ban settings.
2. Simple Auto-Backup Script
We will create a simple script that will archive important data and send it to a secure location. For example, we will use tar for archiving and rsync for copying to a remote server. For more reliable and incremental backups, consider restic or borgbackup.
Create a directory for scripts and the script itself:
mkdir -p ~/scripts
nano ~/scripts/backup_script.sh
Contents of backup_script.sh (replace /path/to/your/docker_volumes and user@remote_backup_server:/path/to/backups with your values):
#!/bin/bash

# Settings
BACKUP_DIR="/var/backups/my_vps"
DATA_TO_BACKUP="/path/to/your/docker_volumes /etc/caddy /etc/ssh /etc/ufw /etc/fail2ban /home/username/my_web_app"
REMOTE_BACKUP_TARGET="user@remote_backup_server:/path/to/backups" # S3-compatible storage or another VPS

# Create backup directory if it doesn't exist
mkdir -p "$BACKUP_DIR"

# Backup file name
TIMESTAMP=$(date +%Y%m%d_%H%M%S)
BACKUP_FILENAME="vps_backup_${TIMESTAMP}.tar.gz"
FULL_BACKUP_PATH="${BACKUP_DIR}/${BACKUP_FILENAME}"

echo "Starting backup at ${TIMESTAMP}..."

# Create archive
sudo tar -czf "$FULL_BACKUP_PATH" $DATA_TO_BACKUP

if [ $? -eq 0 ]; then
    echo "Backup archive created: $FULL_BACKUP_PATH"
    # Copy archive to remote server
    rsync -avz --remove-source-files "$FULL_BACKUP_PATH" "$REMOTE_BACKUP_TARGET"

    if [ $? -eq 0 ]; then
        echo "Backup successfully transferred to remote: $REMOTE_BACKUP_TARGET"
        # Clean up old backups (e.g., keep the last 7)
        find "$BACKUP_DIR" -type f -name "*.tar.gz" -mtime +7 -delete
        echo "Old local backups cleaned up."
    else
        echo "ERROR: Failed to transfer backup to remote."
    fi
else
    echo "ERROR: Failed to create backup archive."
fi

echo "Backup process finished."
Make the script executable:
chmod +x ~/scripts/backup_script.sh
Configure cron to automatically run the script (e.g., daily at 3:00 AM):
crontab -e # Open crontab for the current user
Add the following line to the end of the file:
0 3 * * * /home/username/scripts/backup_script.sh >> /var/log/backup.log 2>&1
This will run the script every day at 3:00 AM and log the output to /var/log/backup.log.
3. Where to Store Backups
Never store backups on the same server as the original data. This is critically important. Options:
-
External S3-compatible storage: Cloud storage services like Amazon S3, DigitalOcean Spaces, Backblaze B2, Yandex Object Storage offer reliable and cost-effective storage. Tools like
rcloneorresticcan work directly with S3. - Separate VPS: An inexpensive VPS with a large disk, used exclusively for storing backups. Access via SSH/SCP/RSync.
- Local Storage: If it's a home server, you can use network-attached storage (NAS).
4. Updates: Rolling vs. Maintenance Window
Keeping software up-to-date is important for security and performance.
- Rolling Updates: Suitable for high-availability systems with multiple application instances. Updates occur sequentially, without stopping the entire service. This is usually not applicable for a single VPS.
-
Maintenance Window: The standard approach for single servers. A time is chosen (usually at night or on weekends) when the load is minimal, and updates are performed.
-
OS Updates: Monthly or every few months:
sudo apt update && sudo apt upgrade -y sudo reboot # Reboot after updating the kernel or important system components -
Docker Image Updates: Every few weeks or as new versions of your applications are released:
cd ~/my_web_app # Navigate to the directory containing docker-compose.yml docker compose pull # Download new image versions docker compose up -d # Recreate containers with new images -
Caddy Updates: Caddy is updated along with system packages (
sudo apt upgrade). After updating Caddy, always check its status and logs.
-
OS Updates: Monthly or every few months:
Always perform a backup before major updates or configuration changes.
Troubleshooting + FAQ
This section collects typical problems and frequently asked questions that may arise when deploying Caddy and Docker.
What to do if Caddy doesn't start or fails to obtain a certificate?
Problem: Caddy doesn't start, or you receive a "TLS handshake error" / "certificate provisioning failed" error.
What to check:
-
Caddy Logs: This is the first thing to check.
Look for errors related to Caddyfile syntax or Let's Encrypt issues.sudo journalctl -u caddy --since "5 minutes ago" -
DNS Records: Ensure that your domain's A-record (e.g.,
my-nginx-app.example.com) points to your VPS's public IP address. You can check this usingdigornslookup:dig +short my-nginx-app.example.com -
Open Ports: Ensure that ports 80 (HTTP) and 443 (HTTPS) are open in your firewall (UFW) on the VPS. Let's Encrypt uses port 80 for the HTTP-01 challenge.
sudo ufw status verbose -
Caddyfile Syntax: Use the command to check Caddyfile syntax:
sudo caddy validate --config /etc/caddy/Caddyfile -
Occupied Ports: Ensure that no other process is listening on ports 80 or 443.
sudo lsof -i :80
sudo lsof -i :443
How to fix: Correct the DNS record, open ports in UFW, and fix the Caddyfile syntax according to the logs. If Let's Encrypt reports a rate limit error, wait for some time (usually an hour) and try again.
Docker container doesn't start or is inaccessible via Caddy.
Problem: The container doesn't start, or Caddy cannot reach it (502 Bad Gateway error).
What to check:
-
Container Status:
If the container is not running, check its logs:docker ps -a # Shows all containers (running and stopped)
Look for errors that might indicate issues with the application inside the container.docker logs mywebapp_container -
Docker Network: Ensure that the container and Caddy are in the same Docker network (
caddy_network).
Look for your container and the Caddy container in thedocker network inspect caddy_networkContainerslist. -
Service Name and Port: Ensure that the service name in
Caddyfile(e.g.,mywebapp) exactly matches the service name indocker-compose.yml, and that the specified port (e.g.,:80) corresponds to the port on which the application is listening inside the container.
How to fix: Correct errors in docker-compose.yml, restart the container. Verify that the service name and port in Caddyfile are correct and reload Caddy.
What is the minimum suitable VPS configuration?
For Caddy and one or two lightweight Docker containers (e.g., a personal blog, a small API), a VPS with 1 CPU core, 2 GB RAM, and 40-60 GB NVMe SSD disk will be minimally suitable. This is sufficient for stable operation of basic services, but with increased load or the addition of more resource-intensive applications (e.g., databases, game servers), an upgrade will be required.
What to choose — VPS or dedicated for this task?
For most tasks related to deploying Caddy and Docker containers (personal projects, small teams, test environments), a VPS is the optimal choice due to its flexibility, scalability, and low cost. A dedicated server becomes justified if you require maximum and predictable performance, very large amounts of disk space, specific hardware (e.g., GPU), or strict isolation and compliance requirements. Start with a VPS and consider upgrading to a dedicated server if requirements significantly increase.
How to update Docker or Caddy?
To update Docker and Caddy installed from official repositories, use the standard package manager commands:
sudo apt update          # Update package lists
sudo apt upgrade -y      # Upgrade all installed packages, including Docker and Caddy
sudo systemctl restart docker # Restart Docker after update
sudo systemctl restart caddy  # Restart Caddy after update
It is recommended to perform these actions during a "maintenance window" and create backups beforehand.
Can I use Caddy for multiple domains?
Yes, Caddy is excellent for hosting multiple domains on a single VPS. Simply add new configuration blocks to your Caddyfile for each domain, specifying which Docker container to proxy traffic to. Caddy will automatically handle issuing HTTPS certificates for all specified domains. Don't forget to update DNS records for each new domain to point to your VPS.
# ...
your-first-app.example.com {
    reverse_proxy first_app_container:80
}

your-second-app.example.com {
    reverse_proxy second_app_container:8080
}
# ...
How to add basic authentication (username/password) via Caddy?
Caddy supports basic HTTP authentication. You can add it to your domain's block in the Caddyfile:
my-protected-app.example.com {
    reverse_proxy protected_app_container:80
    basicauth / {
        username JDUyJDEwJEQ1R015VjR2bVluYmF1Wk9kSjF4dC5tT1I0L2d6LzZqRTlRSDh3c3B0ZlJ1c05xV0o0NEdwYQ== # Password 'SecurePassword123'
    }
}
Replace username and the password hash with your own. The hash can be generated using the command caddy hash-password --plaintext "Your_Secure_Password". This is useful for protecting internal tools or admin panels.
Conclusions and Next Steps
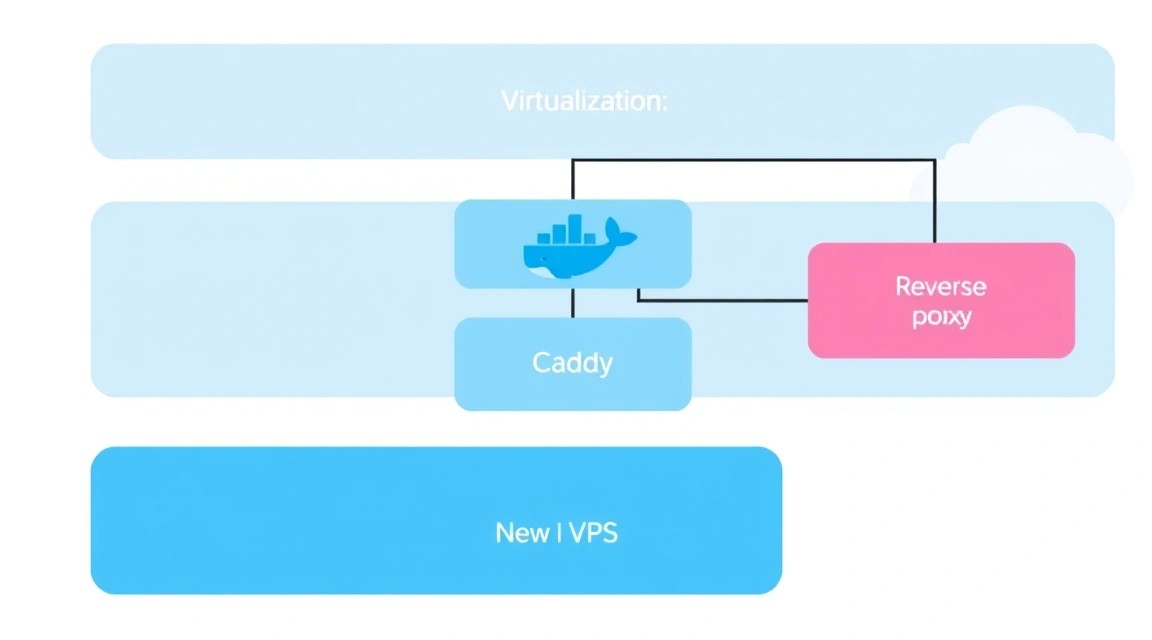
We have successfully deployed Caddy as a reverse proxy for Docker containers on a VPS, ensuring automatic HTTPS certificate acquisition. This setup provides a powerful, flexible, and secure foundation for hosting your web applications, combining Caddy's simplicity with Docker's isolation and portability.
You now have full control over your infrastructure and can easily add new applications, update existing ones, and ensure their security. This is an excellent starting point for anyone who wants to manage their online services independently.
Next steps for developing your infrastructure:
- Monitoring and Logging: Integrate monitoring systems (e.g., Prometheus + Grafana) to track server and container status. Set up centralized logging (e.g., ELK Stack or Loki + Grafana) for effective analysis of all your application logs.
- CI/CD Pipelines: Automate the deployment of your applications using CI/CD systems (e.g., GitLab CI, GitHub Actions, Jenkins). This will allow you to deliver new code to production faster and more reliably.
- Increased Fault Tolerance and Scaling: For high-load projects, consider using Docker Swarm or Kubernetes for container orchestration across multiple VPS, ensuring high availability and horizontal scaling.