
Installing and Configuring Ghost CMS on a VPS: A Step-by-Step Guide to Deploying a Professional Blog
1. TL;DR
This guide describes the process of deploying Ghost CMS — the fastest and most modern platform for professional blogging and media business — on your own virtual private server (VPS) running Ubuntu 26.04 LTS. We will cover everything from hardware selection and basic server security to fine-tuning Node.js, MySQL 8.4, and backup automation, allowing you to gain full control over your content and data without monthly SaaS subscription fees.
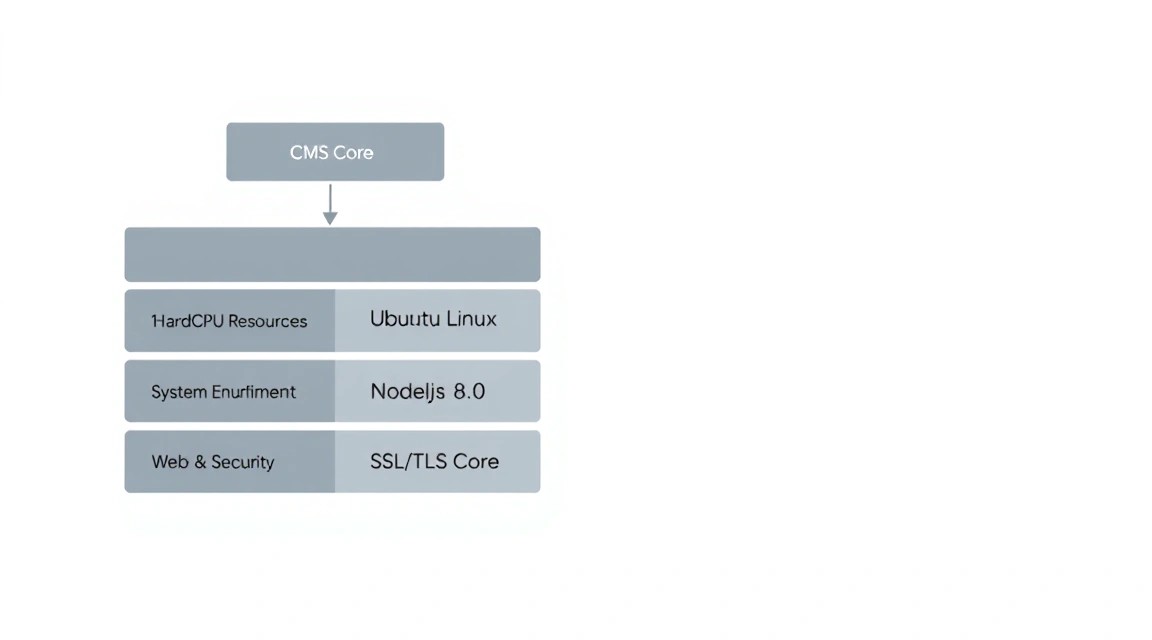
- Technology Stack: Ubuntu 26.04, Node.js 24/26 (LTS), MySQL 8.4 LTS, Nginx, Systemd.
- Complexity: Intermediate (basic terminal skills required).
- Execution Time: 30–45 minutes.
- Result: A fully operational blog with SSL (HTTPS) support, newsletters, and high performance.
- Main Advantage: Complete privacy and scalability with minimal hosting costs.
Need a dedicated server?
Compare prices from top providers. Configure and order in minutes.
3. What We Are Setting Up and Why: Ghost CMS vs. Competitors
Ghost CMS is not just "another site engine." It is a highly specialized publishing platform written in Node.js that differs radically from heavyweight WordPress or builders like Wix. Ghost was created by former WordPress developers who were tired of code bloat and decided to focus exclusively on professional journalism and content marketing.
Why choose a self-hosted VPS installation over the Ghost Pro cloud version?
- Savings: Official Ghost Pro hosting starts at $9-25 per month with strict limits on views and subscribers. On your own VPS, you only pay for server resources and can serve hundreds of thousands of visitors for the same money.
- Data Control: All your media files, subscriber database, and settings are stored with you. This is critical in an era of digital censorship and platform rule changes.
- Flexibility: You can install any custom themes, integrate your own analytics scripts, and configure the server cache exactly as your project needs.
In this tutorial, we will deploy Ghost in its native environment. Although Docker images exist, the official installation method via ghost-cli is considered the gold standard for production solutions, as it provides better performance and simplifies the system core update process.
4. What VPS Configuration is Needed for Ghost CMS
Ghost CMS is a fairly efficient system, but it is demanding on RAM due to the use of Node.js. In 2026, resource requirements have increased, as modern versions of MySQL and Node.js consume more RAM for caching and fast request processing.
| Specification | Minimum | Recommended (for traffic) |
|---|---|---|
| Processor (CPU) | 1 Core (Shared) | 2 Cores (Dedicated) |
| RAM | 1 GB (with SWAP enabled) | 2 GB or 4 GB |
| Storage | 20 GB SSD | 50 GB+ NVMe SSD |
| OS | Ubuntu 24.04 LTS | Ubuntu 26.04 LTS |
For the stable operation of a small personal blog or corporate site, the initial configuration is quite sufficient. However, if you plan to actively use Ghost's built-in newsletter system (which can generate load during mass mailings), it is better to aim for 2 GB of RAM. For high-traffic projects (from 500,000 unique visitors per month), you should consider moving to dedicated servers for the database.
If you are just starting out, it is best to get a VPS with 2 GB of RAM and an NVMe drive. This will ensure instant page loads and fast admin panel performance even when uploading heavy images.
Server Location: Choose a data center as close as possible to your target audience. For Ghost, this is especially important as response time (TTFB) directly affects Core Web Vitals SEO metrics.
5. Server Preparation: Security and Basic Utilities
After you have gained access to a clean server via SSH, the first step is to ensure its security. Using root for daily tasks and CMS operations is bad practice.
System Update
First, let's update the package index and the packages themselves to the current 2026 versions:
sudo apt update && sudo apt upgrade -y
Creating a System User
Ghost requires a regular user with sudo privileges. Let's call it ghostadmin:
# Create user
adduser ghostadmin

# Add to sudo group
usermod -aG sudo ghostadmin

# Switch to the new user
su - ghostadmin
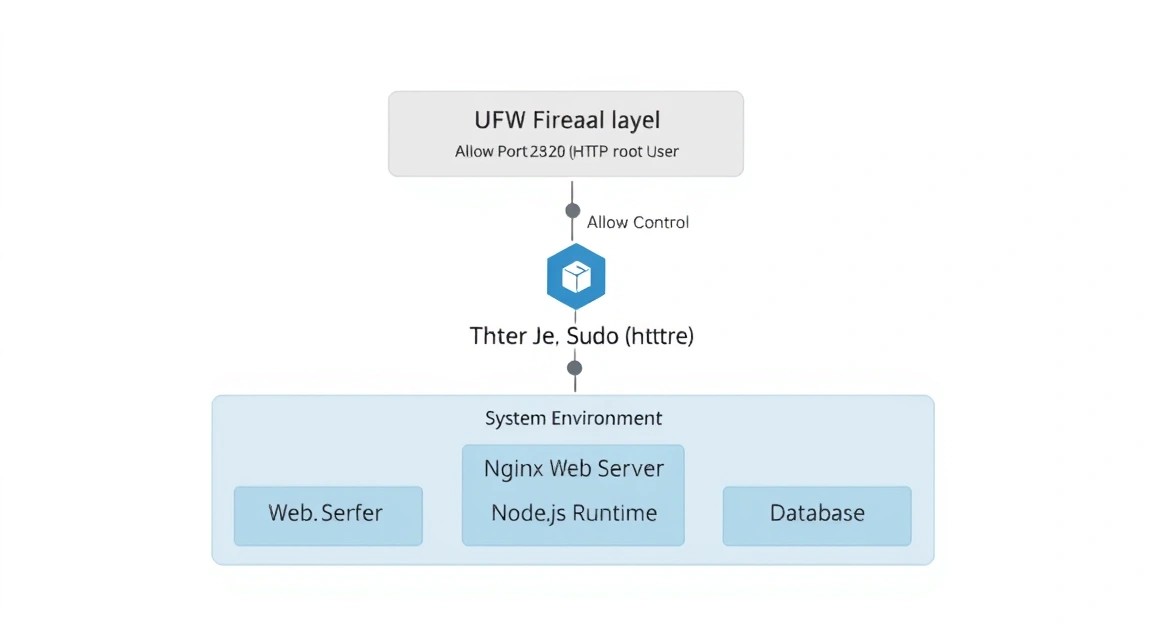
Firewall Configuration (UFW)
We need to open ports for SSH, HTTP, and HTTPS:
sudo ufw allow OpenSSH
sudo ufw allow 'Nginx Full'
sudo ufw enable
Installing Fail2Ban
To protect against brute-force attacks on SSH, let's install the Fail2Ban utility:
sudo apt install fail2ban -y
sudo systemctl enable fail2ban
sudo systemctl start fail2ban
Need a dedicated server?
Compare prices from top providers. Configure and order in minutes.
6. Installing the Software Stack: Node.js, MySQL and Nginx
Ghost officially supports only specific software versions. In 2026, we are aiming for Node.js 24 or 26 LTS and MySQL 8.4.
Installing Nginx
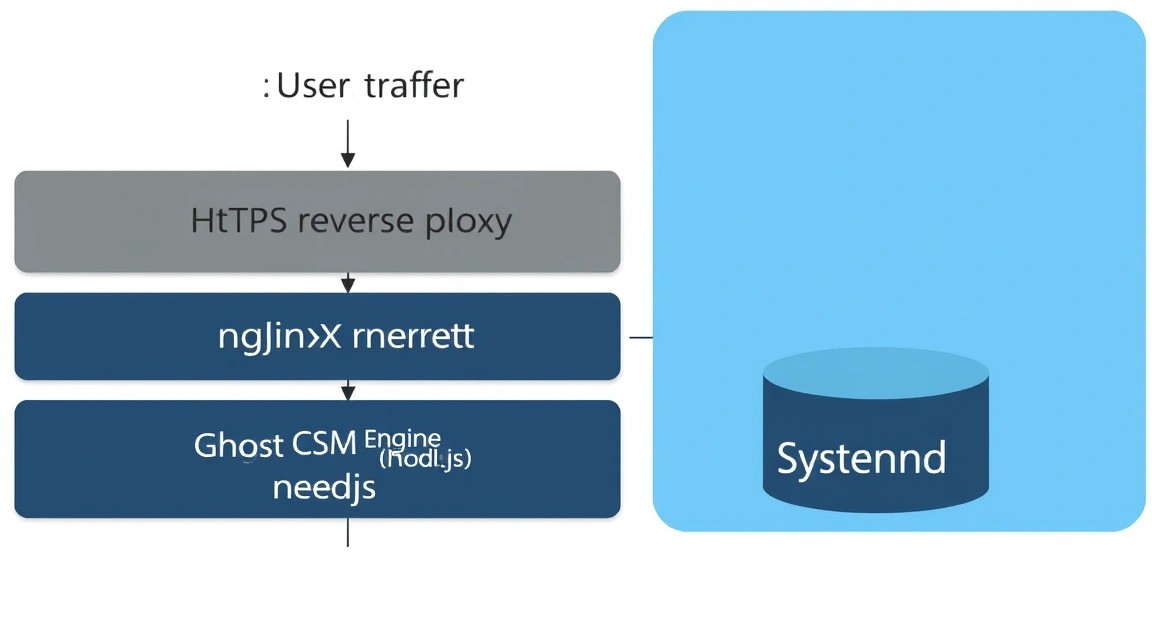
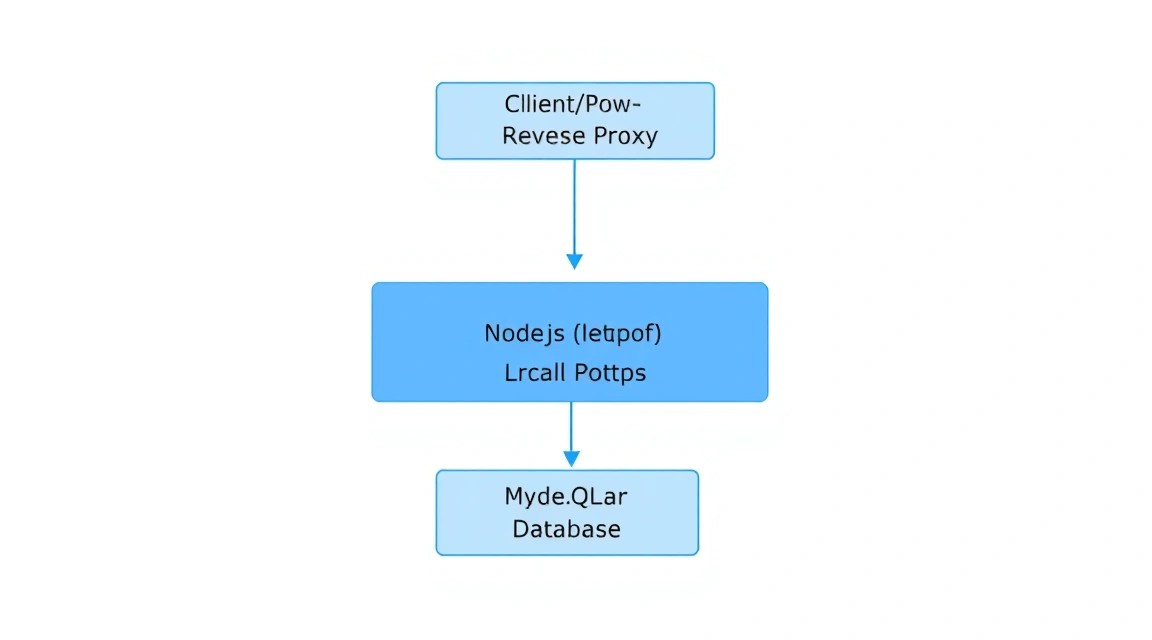
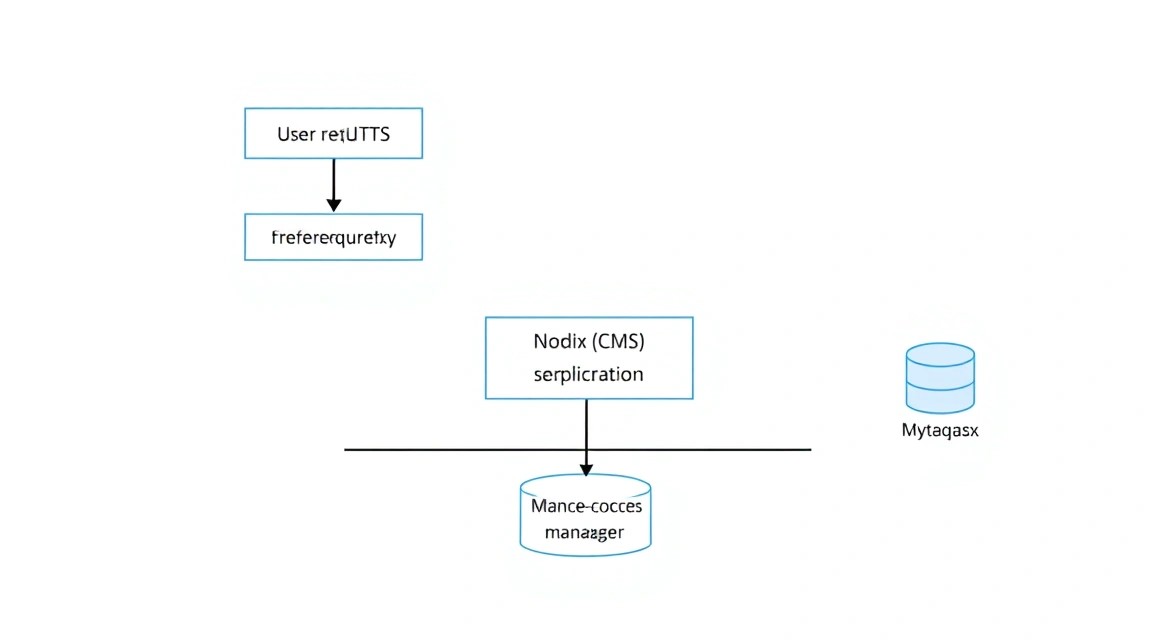
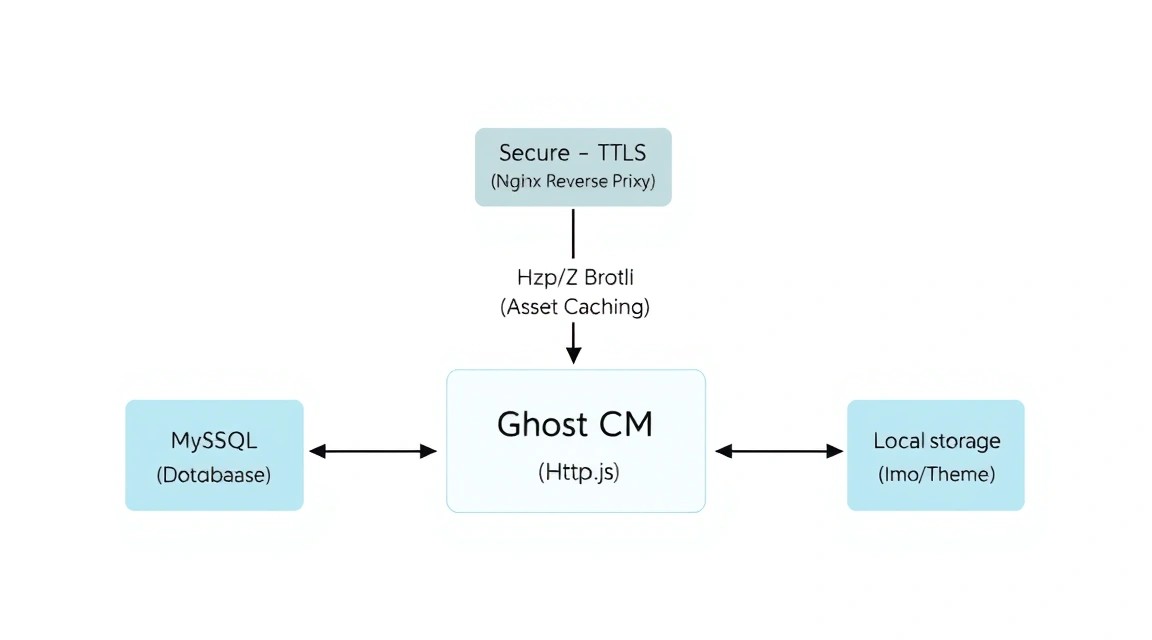
Nginx will act as a reverse proxy, accepting requests from the internet and passing them to the locally running Ghost application.
sudo apt install nginx -y
sudo systemctl enable nginx
Installing MySQL 8.4 LTS
Ghost uses MySQL to store content and user data. We will install the current LTS version:
sudo apt install mysql-server -y

# Run security script
sudo mysql_secure_installation
During the execution of mysql_secure_installation, it is recommended to enable the password validation plugin and remove anonymous users.
Installing Node.js
To install Node.js, it is best to use the official NodeSource repository to get a specific LTS version:
curl -fsSL https://deb.nodesource.com/setup_24.x | sudo -E bash -
sudo apt install -y nodejs
Verify the installation:
node -v # Should be v24.x.x or higher
npm -v
7. Installing and Configuring Ghost via Ghost-CLI
Ghost-CLI is the primary tool for installing and managing Ghost. It automates Nginx config creation, Systemd setup, and obtaining SSL certificates.
Installing Ghost-CLI
sudo npm install -g ghost-cli@latest
Directory Preparation
According to Linux conventions, it is better to place third-party web applications in /var/www/:
# Create folder (replace my-blog with your name)
sudo mkdir -p /var/www/ghost

# Assign our user as the owner
sudo chown ghostadmin:ghostadmin /var/www/ghost
sudo chmod 775 /var/www/ghost

# Enter the folder
cd /var/www/ghost
Starting the Installation Process
Now start the installation wizard. Make sure your domain is already pointed (A-record) to your VPS IP.
ghost install
During the installation process, Ghost-CLI will ask several important questions:
- Blog URL: Enter your domain (e.g.,
https://example.com). Must include https. - MySQL hostname: Leave as
localhost. - MySQL username / password: Enter root user credentials or a pre-created database user.
- Ghost database name: You can leave the default.
- Set up a ghost MySQL user? Recommended to answer "Yes".
- Set up Nginx? Definitely "Yes".
- Set up SSL? Definitely "Yes" (email required for Let's Encrypt).
- Set up systemd? Yes, this will allow Ghost to start automatically on server boot.
- Start Ghost? Yes.
Once complete, you will see a link to the admin panel: https://example.com/ghost/. Go there immediately to create an admin account, otherwise someone else might.
8. Performance and HTTPS Fine-Tuning
A standard installation is good, but a professional blog requires additional optimization.
Configuring Caching in Nginx
Ghost serves content quickly, but it's better to cache static files (images, JS, CSS) on the Nginx side. Edit your site's config in /etc/nginx/sites-available/ by adding Cache-Control headers for static assets.
Image Optimization
Ghost can automatically resize images. Ensure that media file processing is enabled in the config.production.json file:
"imageOptimization": {
    "resize": true
}
Email Setup (Mailgun)
Ghost requires an SMTP provider for newsletters and password resets. Mailgun is officially recommended because Ghost has deep integration with it via API for bulk mailings. The data is entered into the same config.production.json:
"mail": {
  "transport": "SMTP",
  "options": {
    "service": "Mailgun",
    "host": "smtp.eu.mailgun.org",
    "port": 587,
    "auth": {
      "user": "[email protected]",
      "pass": "your_password"
    }
  }
}
Always run ghost restart after changing the config.
Need a dedicated server?
Compare prices from top providers. Configure and order in minutes.
9. Backups and Maintenance: Data Survival Strategy
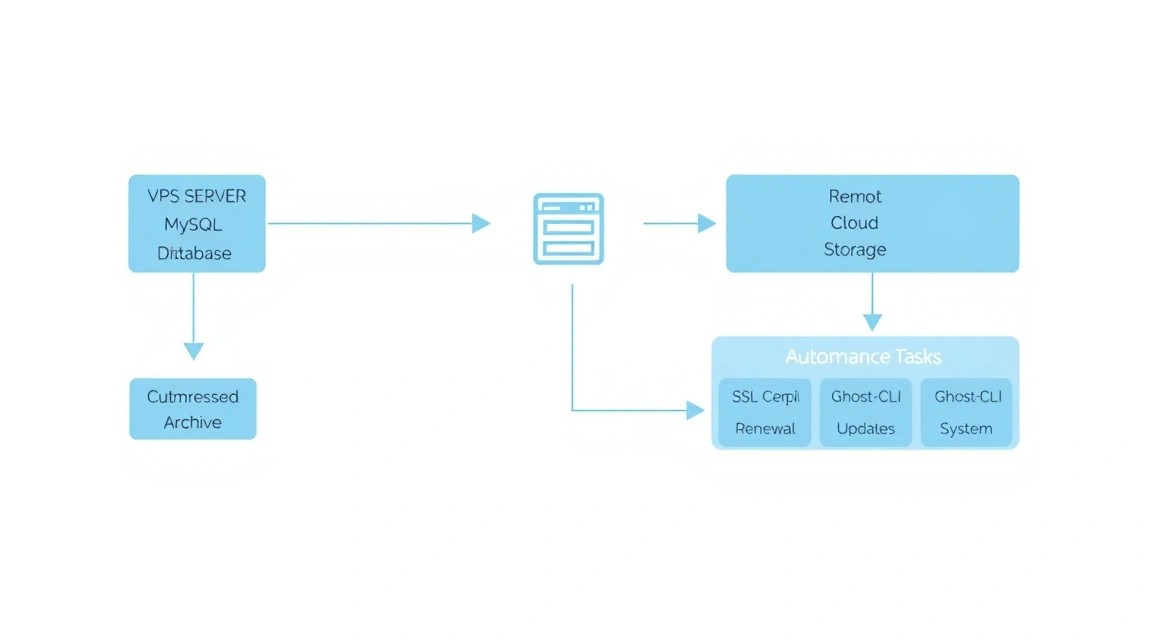
Working with a self-hosted solution places responsibility for data safety on you. In Ghost, you need to back up three things: the database, the content folder (images and themes), and the configuration file.
Simple Backup Script
Let's create a backup.sh script that will archive data and send it to remote storage:
#!/bin/bash
BACKUP_PATH="/home/ghostadmin/backups"
GHOST_ROOT="/var/www/ghost"
DATE=$(date +%Y-%m-%d)

# Create backup folder
mkdir -p $BACKUP_PATH

# Export database
sudo mysqldump ghost_production > $BACKUP_PATH/db_$DATE.sql

# Archive content
tar -czf $BACKUP_PATH/content_$DATE.tar.gz $GHOST_ROOT/content/

# Delete old backups (older than 30 days)
find $BACKUP_PATH -type f -mtime +30 -delete
Using Restic for S3
For more reliable storage, it is recommended to use restic or rclone to sync backups with S3-compatible storage (e.g., external object storage). This ensures that even in the event of a total VPS failure, your content remains safe.
Updating Ghost
Ghost is updated very frequently. The process is as simple as possible:
cd /var/www/ghost
ghost update
Before updating, Ghost-CLI always checks Node.js version compatibility and the presence of a backup.
10. Troubleshooting + FAQ: Solving Common Issues
Error: "Ghost-CLI needs to be updated"
If you haven't logged into the server for a while, update the CLI itself first: sudo npm install -g ghost-cli@latest, and then run the blog update.
Error 502 Bad Gateway
This means that Nginx is running, but the Ghost Node.js process is not. Check the status: ghost ls or ghost run to view logs in real-time. Often the cause lies in a lack of RAM (OOM Killer killed the process).
How to add SWAP if RAM is low?
If your VPS has only 1 GB of RAM, be sure to add a swap file:
sudo fallocate -l 2G /swapfile
sudo chmod 600 /swapfile
sudo mkswap /swapfile
sudo swapon /swapfile
echo '/swapfile none swap sw 0 0' | sudo tee -a /etc/fstab
What is the minimum suitable VPS configuration?
To run Ghost, 1 core and 1 GB of RAM are sufficient. However, for a smooth experience with the control panel and fast theme building during updates, we strongly recommend 2 GB of RAM. This will prevent MySQL from freezing during peak loads.
What to choose — VPS or dedicated for this task?
In 99% of cases, a VPS is sufficient for Ghost CMS. A dedicated server may only be required in two cases: if you have a huge media database (terabytes of images) or if your blog has turned into a media giant with millions of subscribers and you want to move the database to separate physical hardware for maximum security.
Emails are not being sent (newsletter)
Check your port settings. Many VPS providers block port 25 by default. Use port 587 (TLS) and ensure that all DNS records (SPF, DKIM, CNAME) are verified in Mailgun.
How to change the file upload limit in Nginx?
By default, Nginx limits file uploads to 1 MB. To upload larger images, add client_max_body_size 50M; to the http or server block of your Nginx config.
11. Conclusion and Next Steps
Congratulations! You have deployed your own professional publishing platform based on Ghost CMS. Now you have a fast, secure, and fully controlled tool for content creation that outperforms most commercial solutions in speed and ease of use.
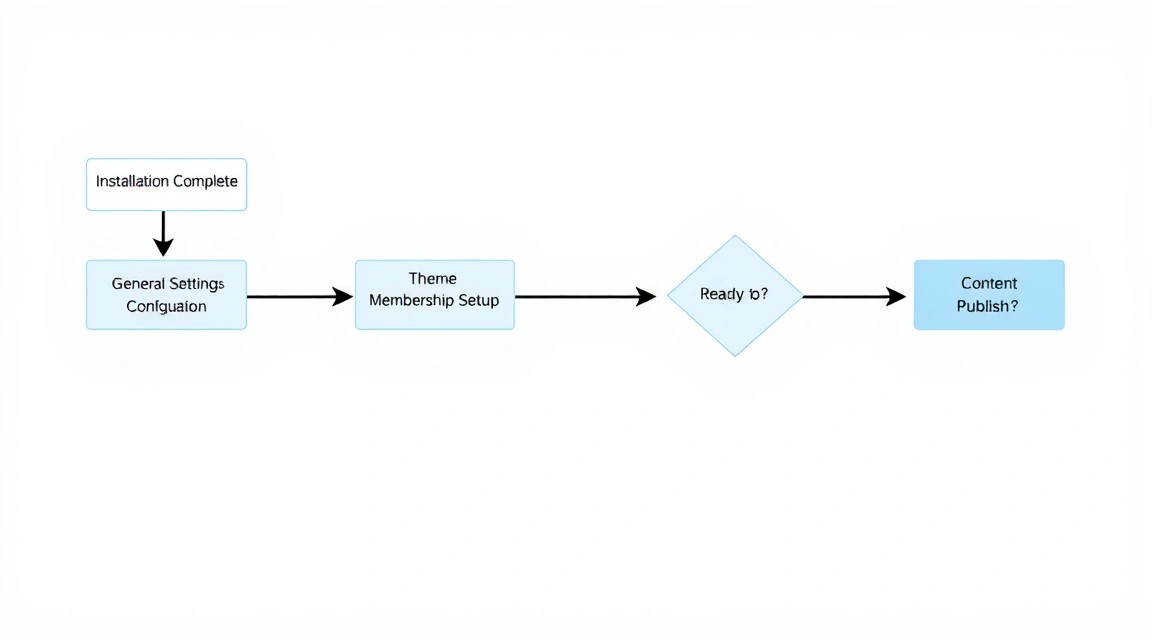
Your next steps for project development:
- Choosing a Theme: Visit the Ghost marketplace or create your own theme using the Handlebars engine. Ghost is very developer-friendly.
- Setting up Analytics: Instead of heavy Google Analytics, try lightweight and private alternatives like Plausible or Umami.
- Monetization: Set up Stripe integration directly in the Ghost panel to start selling paid subscriptions for your content.
- SEO: Ghost is already search engine optimized "out of the box" (automatic sitemaps, meta tags, JSON-LD), but don't forget to set up redirects if you are migrating from another platform.
Regularly check for updates and monitor server logs. Having your own server is not just about freedom, but also about responsibility for the technical state of your digital home.