

Встановлення та налаштування Jellyfin на VPS: створення особистого медіасервера з підтримкою апаратного транскодування
TL;DR
У цьому посібнику ми розберемо процес розгортання Jellyfin — повністю відкритого та безкоштовного медіасервера — на віртуальному (VPS) або виділеному сервері. Ми сфокусуємося на забезпеченні максимальної продуктивності через апаратне прискорення (Intel QuickSync, NVENC), налаштуванні безпечного доступу через HTTPS та автоматизації обслуговування системи в реаліях 2026 року.
- Результат: Особистий аналог Netflix/Кінопошуку без підписок та обмежень.
- Технологічний стек: Docker, Ubuntu 24.04/26.04 LTS, Caddy (Reverse Proxy), Intel/Nvidia Drivers.
- Ключова особливість: Налаштування Hardware Transcoding для плавного відтворення 4K на будь-яких пристроях.
- Безпека: Автоматичні SSL-сертифікати та ізоляція в контейнерах.
- Час налаштування: 40–60 хвилин за наявності базових навичок роботи з терміналом.
1. Що ми налаштовуємо і навіщо
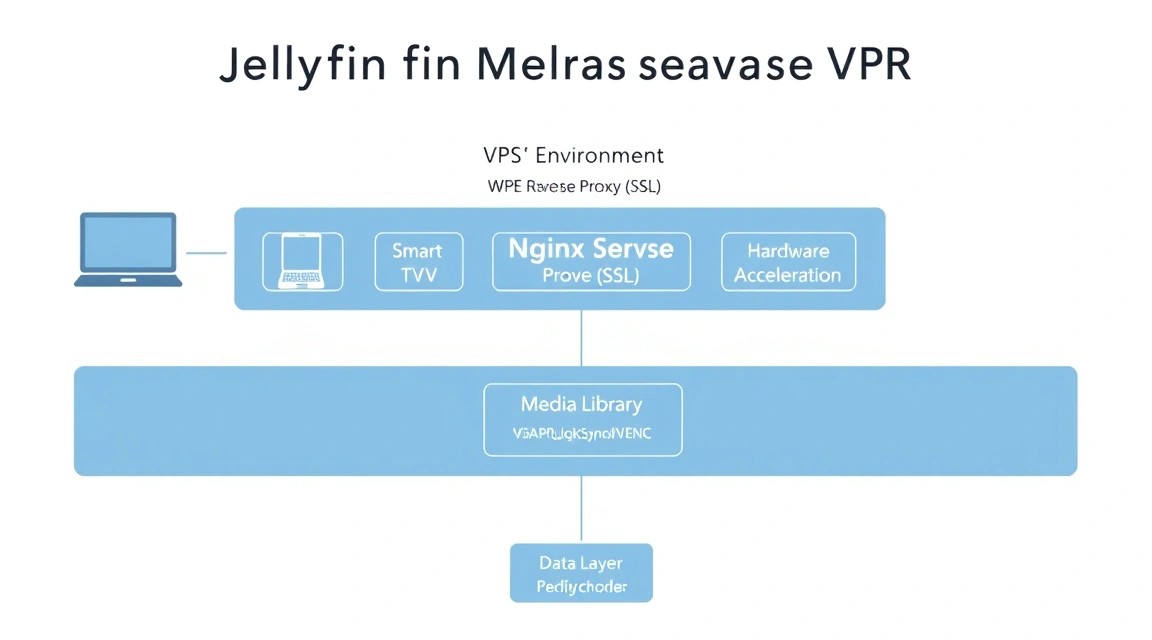
Медіаспоживання у 2026 році стало складним: фрагментація стрімінгових сервісів, регіональні обмеження та постійне зростання вартості підписок змушують користувачів повертатися до концепції self-hosting. Jellyfin — це форк Emby, який залишився повністю вірним принципам Open Source. На відміну від Plex, тут немає платних функцій на кшталт "Plex Pass" для доступу до апаратного декодування або мобільних додатків.
Навіщо це потрібно на VPS?
- Доступність 24/7: Ваша бібліотека доступна з будь-якої точки світу без необхідності тримати домашній ПК увімкненим.
- Швидкість віддачі: Дата-центри мають гігабітні канали, що критично для стрімінгу важкого контенту (Remux, 4K HDR).
- Приватність: Лише ви володієте даними про те, що і коли ви дивитеся. Жодної телеметрії корпораціям.
- Транскодування: Потужні серверні процесори та GPU дозволяють "на льоту" змінювати формат відео під пропускну здатність вашого інтернету або можливості клієнтського пристрою (наприклад, старого планшета або смартфона).
У цьому гайді ми створимо відмовостійку систему, яка буде автоматично оновлюватися, захищати себе від атак та забезпечувати кінематографічний досвід на будь-якому екрані.
2. Який VPS-конфіг потрібен для цього завдання
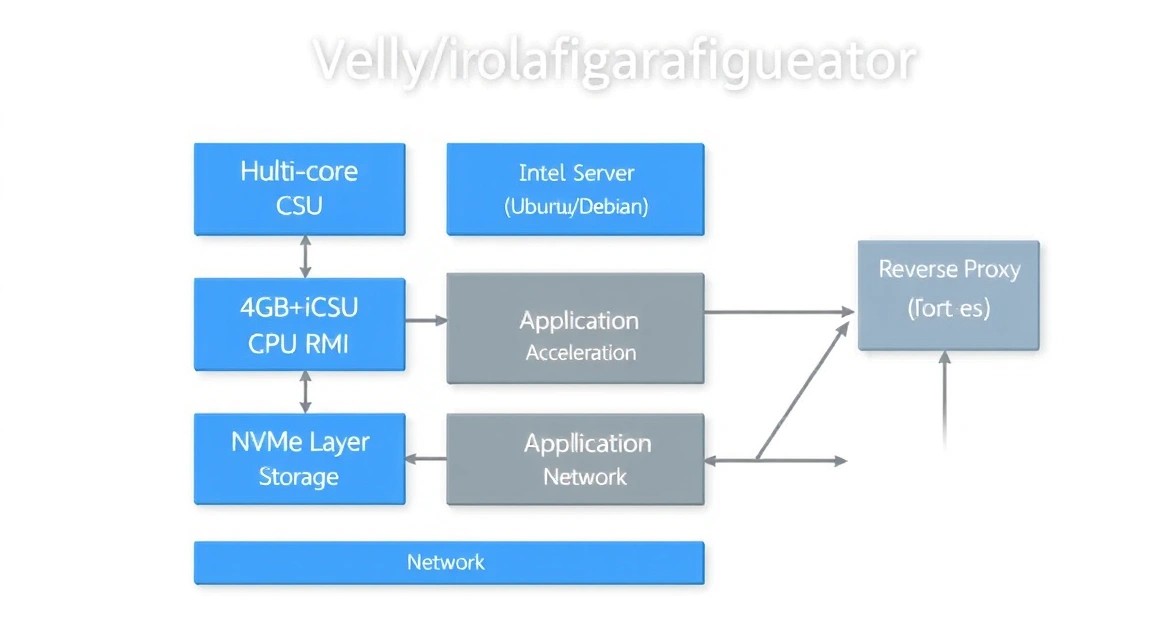
Вибір заліза — критичний етап. Jellyfin може працювати і на слабкому сервері, але комфорт використання безпосередньо залежить від типу контенту та кількості одночасних користувачів.
| Характеристика | Мінімум (1080p, без транскодування) | Рекомендовано (4K, 2-3 потоки транскодування) | Експертний рівень (10+ користувачів) |
|---|---|---|---|
| CPU | 2 vCPU (Intel/AMD) | 4 vCPU (з підтримкою AV1/HEVC) | 8+ vCPU або Dedicated Ryzen/Xeon |
| RAM | 2 GB | 4-8 GB | 16 GB+ |
| Disk | 20 GB SSD (тільки під ОС) | 100 GB+ NVMe (для метаданих та кешу) | 2 TB+ (Block Storage або HDD) |
| GPU | Ні | Intel QuickSync (iGPU) | Nvidia Tesla/Quadro/RTX |
Для більшості завдань ідеально підійде відповідний VPS із сучасним процесором Intel, оскільки технологія QuickSync (QSV) вбудована в багато віртуалізованих середовищ і дозволяє транскодувати відео практично без навантаження на основні ядра CPU.
Важливе примітка щодо дисків: Відеофайли займають багато місця. Якщо ваш проєкт передбачає зберігання терабайтів фільмів, розгляньте можливість підключення зовнішнього об'єктного сховища (S3) через rclone або оренду dedicated сервера з великими HDD-накопичувачами.
3. Підготовка сервера: безпека та база
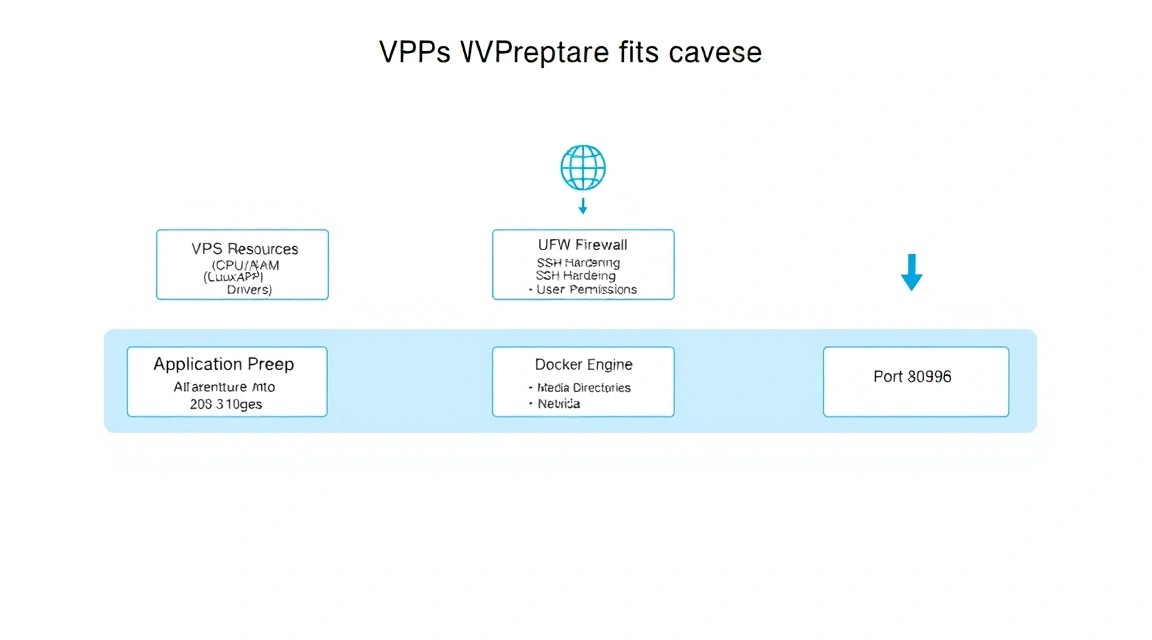
Ми будемо використовувати Ubuntu 24.04 LTS як найбільш стабільну та сучасну базу. Насамперед необхідно убезпечити сервер, оскільки медіасервери часто стають ціллю ботнетів.
# Обновляем список пакетов и систему до актуального состояния
sudo apt update && sudo apt upgrade -y

# Устанавливаем необходимые базовые утилиты
sudo apt install -y curl wget git vim software-properties-common apt-transport-https ca-certificates lsb-release

# Создаем пользователя с ограниченными правами (не работайте под root!)
sudo adduser jellyadmin
sudo usermod -aG sudo jellyadmin

# Настраиваем базовый фаервол (UFW)
sudo ufw allow 22/tcp
sudo ufw allow 80/tcp
sudo ufw allow 443/tcp
sudo ufw allow 8096/tcp
sudo ufw enable
Рекомендується також змінити стандартний порт SSH та налаштувати автентифікацію за ключами, щоб мінімізувати ризик брутфорс-атак. Після цього встановимо Fail2Ban для автоматичного блокування підозрілих IP.
sudo apt install -y fail2ban
# Базовая конфигурация защитит SSH "из коробки"
sudo systemctl enable fail2ban
sudo systemctl start fail2ban
4. Встановлення драйверів для апаратного транскодування
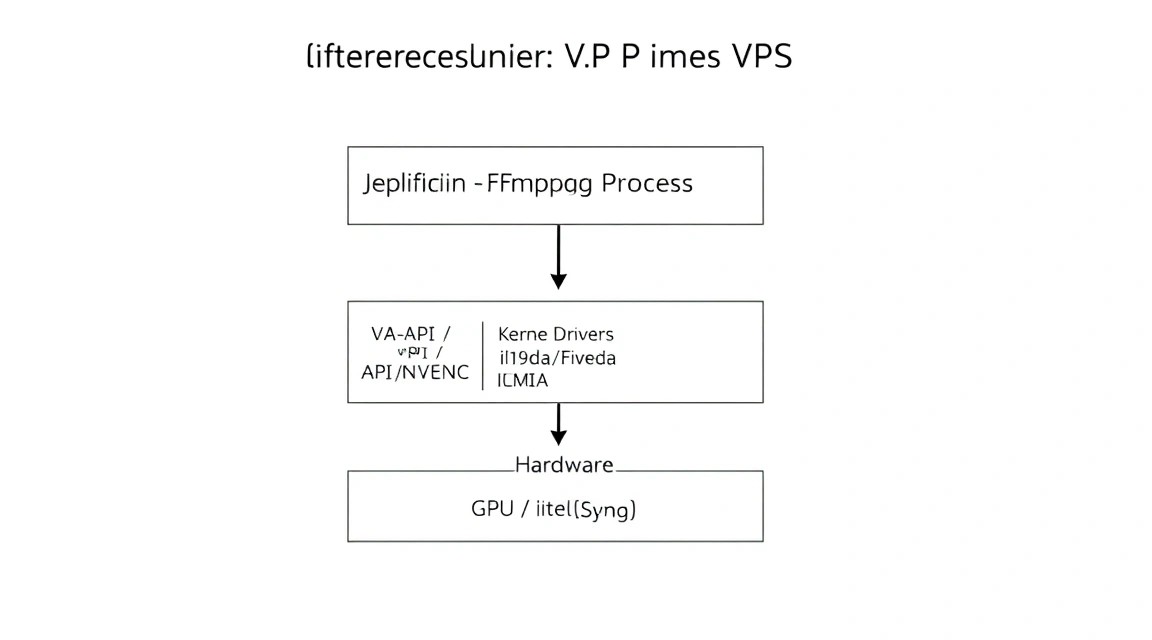
Апаратне транскодування (HWA) — це те, що відрізняє професійне налаштування від аматорського. Без нього процесор буде завантажений на 100% при спробі подивитися 4K фільм на смартфоні в дорозі.
Для процесорів Intel (QuickSync)
QuickSync — фаворит для VPS. Встановимо необхідні драйвери та бібліотеки OpenCL:
# Устанавливаем драйверы Intel для декодирования видео
sudo apt install -y intel-media-va-driver-non-free libva-drm2 libva-x11-2 vainfo intel-opencl-icd

# Проверяем доступность драйвера
vainfo
Ви повинні побачити список підтримуваних профілів (Entrypoint: VAEntrypointVLD). Якщо команда видає помилку, переконайтеся, що в налаштуваннях вашої віртуалізації прокинуто графічне ядро.
Для відеокарт Nvidia (NVENC)
Якщо у вас потужний Dedicated сервер з GPU Nvidia, використовуйте пропрієтарні драйвери:
# Добавляем репозиторий драйверов
sudo add-apt-repository ppa:graphics-drivers/ppa -y
sudo apt update

# Устанавливаем актуальный драйвер (версия может быть выше в 2026 году)
sudo apt install -y nvidia-driver-550 nvidia-utils-550 nvidia-container-toolkit

# Проверяем работу GPU
nvidia-smi
5. Встановлення Docker та Docker Compose
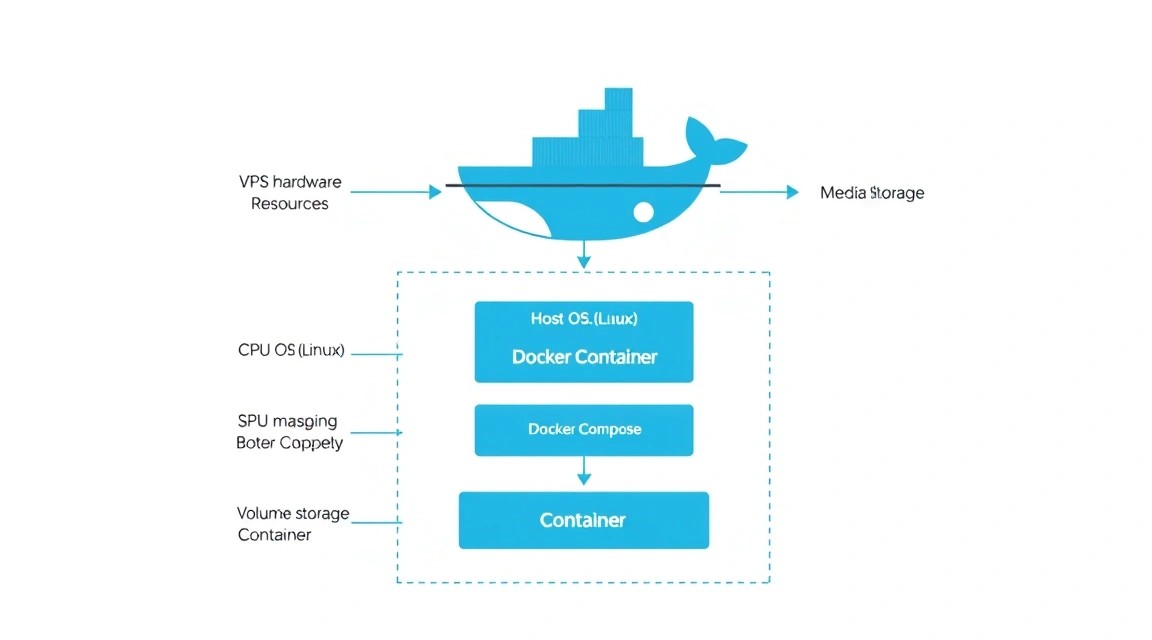
Використання Docker дозволяє ізолювати Jellyfin від основної системи, спрощує оновлення та перенесення сервера на інше обладнання.
# Добавляем официальный GPG ключ Docker
sudo install -m 0755 -d /etc/apt/keyrings
curl -fsSL https://download.docker.com/linux/ubuntu/gpg | sudo gpg --dearmor -o /etc/apt/keyrings/docker.gpg
sudo chmod a+r /etc/apt/keyrings/docker.gpg

# Настраиваем репозиторий
echo \
  "deb [arch=$(dpkg --print-architecture) signed-by=/etc/apt/keyrings/docker.gpg] https://download.docker.com/linux/ubuntu \
  $(. /etc/os-release && echo "$VERSION_CODENAME") stable" | \
  sudo tee /etc/apt/sources.list.d/docker.list > /dev/null

sudo apt update
sudo apt install -y docker-ce docker-ce-cli containerd.io docker-buildx-plugin docker-compose-plugin

# Добавляем текущего пользователя в группу docker
sudo usermod -aG docker $USER
Після виконання команд перезапустіть термінал, щоб права застосувалися.
6. Розгортання Jellyfin через Docker
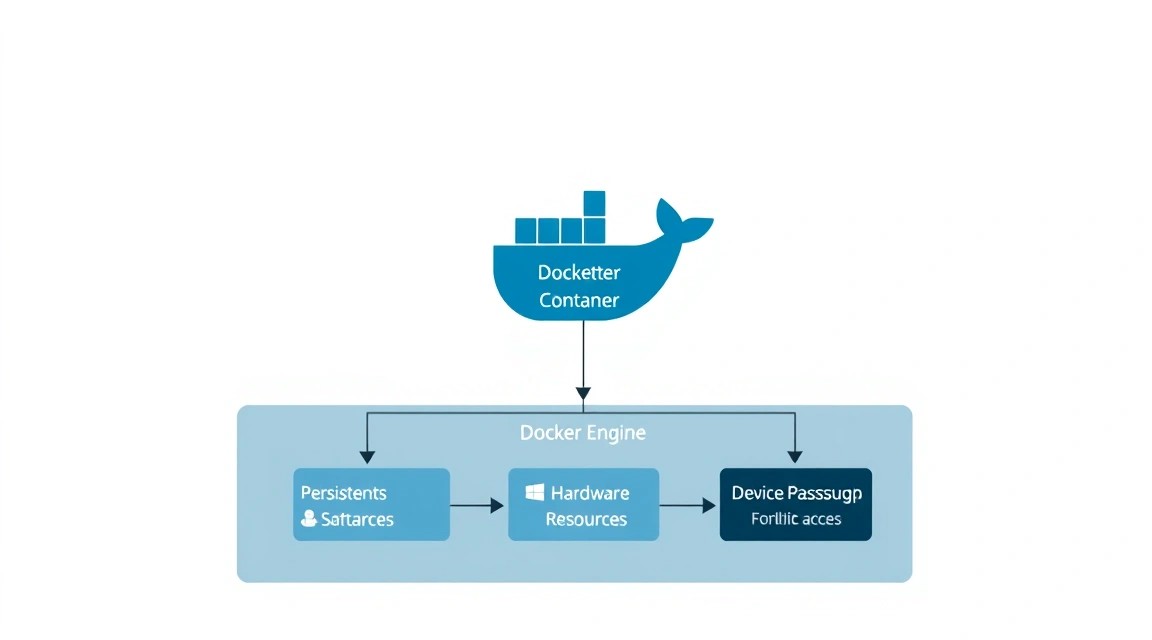
Ми створимо структуру каталогів для зберігання конфігурації та медіафайлів, а потім опишемо сервіс у файлі docker-compose.yml.
# Создаем рабочие директории
mkdir -p ~/jellyfin/{config,cache,media}
cd ~/jellyfin

# Создаем файл конфигурации
nano docker-compose.yml
Вставте наступний вміст у файл (приклад для Intel QuickSync):
services:
  jellyfin:
    image: jellyfin/jellyfin:latest
    container_name: jellyfin
    user: 1000:1000 # ID вашего пользователя (узнать через id -u)
    network_mode: bridge
    ports:
      - 8096:8096
    volumes:
      - ./config:/config
      - ./cache:/cache
      - ./media:/media
    devices:
      # Проброс GPU для Intel QuickSync
      - /dev/dri/renderD128:/dev/dri/renderD128
      - /dev/dri/card0:/dev/card0
    restart: unless-stopped
    environment:
      - JELLYFIN_PublishedServerUrl=https://media.yourdomain.com
Порада: Якщо ви використовуєте Nvidia, замініть секціюdevicesна підтримку GPU черезdeploy.resources.reservationsта вкажітьNVIDIA_VISIBLE_DEVICES=all.
Запускаємо контейнер:
docker compose up -d
7. Налаштування мережі та HTTPS через Caddy
7. Налаштування мережі та HTTPS через Caddy
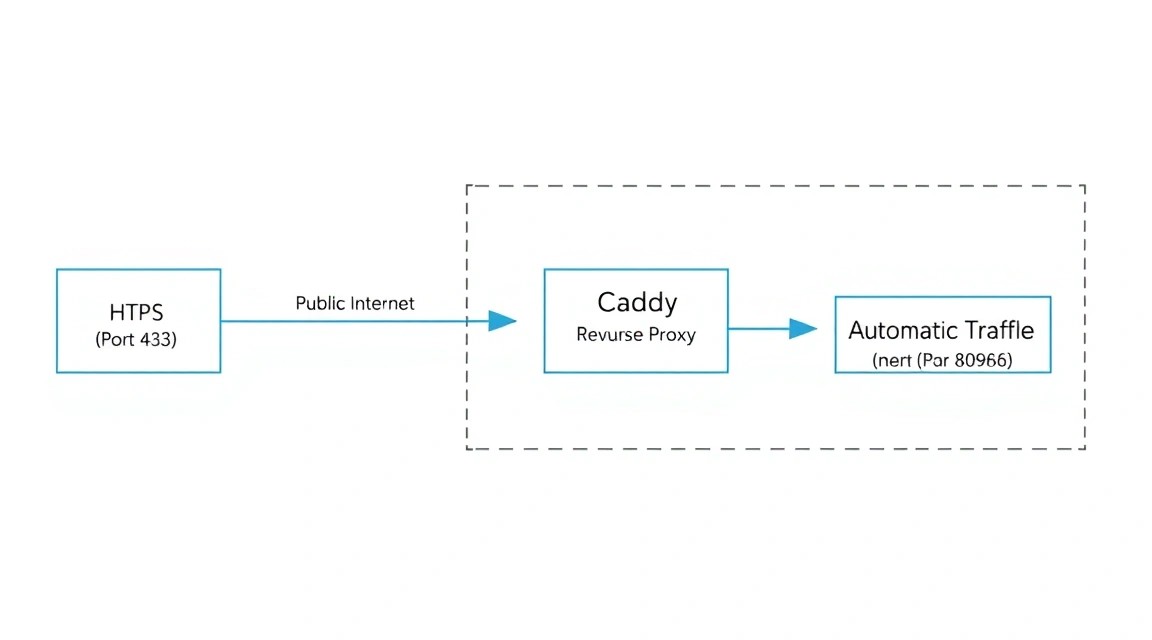
Відкривати порт 8096 безпосередньо в інтернет небезпечно. Ми налаштуємо Caddy — сучасний веб-сервер, який автоматично отримає та продовжуватиме SSL-сертифікати від Let's Encrypt.
# Установка Caddy для Ubuntu
sudo apt install -y debian-keyring debian-archive-keyring apt-transport-https
curl -1G 'https://dl.cloudsmith.io/public/caddy/stable/gpg.key' | sudo gpg --dearmor -o /usr/share/keyrings/caddy-stable-archive-keyring.gpg
curl -1G 'https://dl.cloudsmith.io/public/caddy/stable/debian.deb.txt' | sudo tee /etc/apt/sources.list.d/caddy-stable.list
sudo apt update
sudo apt install caddy

# Настройка Caddyfile
sudo nano /etc/caddy/Caddyfile
У файлі конфігурації вкажіть ваш домен:
media.yourdomain.com {
    reverse_proxy localhost:8096

    header {
        # Настройки безопасности
        Strict-Transport-Security "max-age=31536000;"
        X-XSS-Protection "1; mode=block"
        X-Frame-Options "DENY"
    }
}
Перезапустіть Caddy:
sudo systemctl restart caddy
8. Оптимізація та налаштування бібліотеки
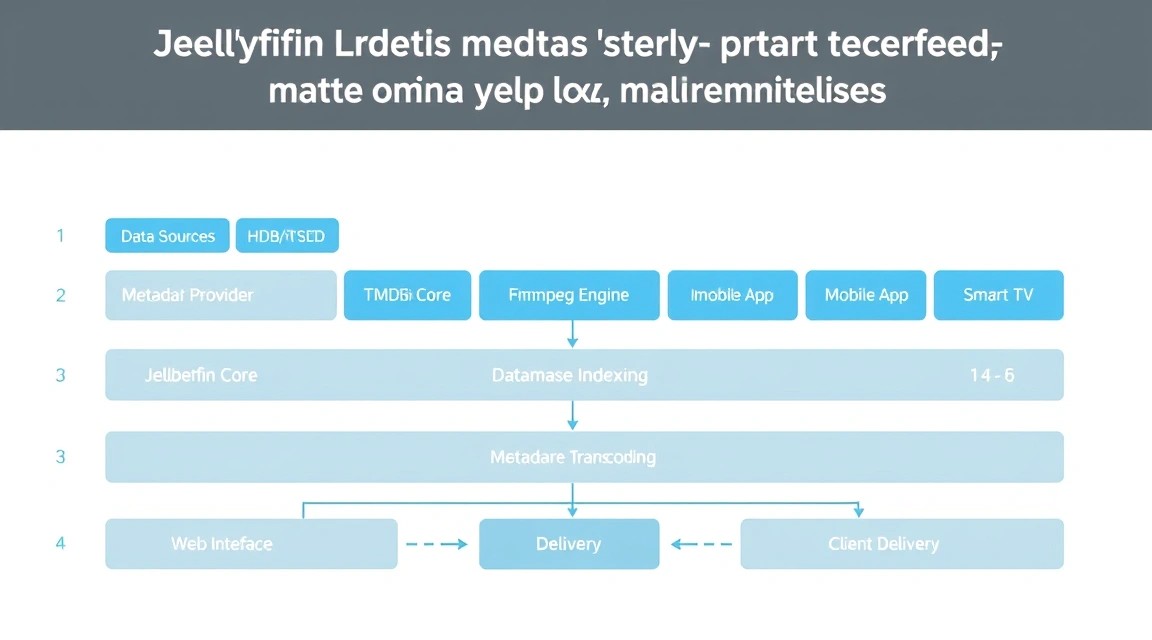
Тепер, коли сервер доступний по HTTPS, перейдіть у веб-інтерфейс. Після первинного налаштування (вибір мови та створення користувача) необхідно активувати апаратне прискорення.
- Зайдіть у Панель керування (Dashboard).
- Перейдіть до розділу Відтворення (Playback).
- У випадаючому списку Апаратне прискорення виберіть Intel QuickSync (або Video Acceleration API / NVENC).
- Позначте галочками формати, які підтримує ваш CPU (зазвичай це H264, HEVC, MPEG2, VC1, VP9, AV1).
- Увімкніть "Дозволити кодування у форматі HEVC" для економії трафіку.
- Збережіть зміни.
Оптимізація метаданих: Для швидкої роботи інтерфейсу рекомендується увімкнути опцію "Зберігати метадані в папку з медіафайлами". Це дозволить швидше відновити бібліотеку при перевстановленні системи.
9. Резервні копії та обслуговування системи
Медіасервер — це не тільки файли фільмів, а й величезна база даних (прогрес перегляду, кастомні постери, колекції). Втрата цих даних болюча.
Автоматизація резервного копіювання за допомогою Restic
Restic — це швидкий і безпечний інструмент для інкрементальних резервних копій. Ми зберігатимемо папку config у зовнішнє S3-сховище.
sudo apt install restic

# Инициализация репозитория (пример для S3)
export AWS_ACCESS_KEY_ID=your_key
export AWS_SECRET_ACCESS_KEY=your_secret
restic -r s3:s3.amazonaws.com/your-bucket init

# Скрипт бэкапа
nano ~/backup_jellyfin.sh
#!/bin/bash
# Останавливаем контейнер для целостности БД
docker stop jellyfin
restic -r s3:s3.amazonaws.com/your-bucket backup ~/jellyfin/config
docker start jellyfin
# Удаляем старые бэкапы (храним последние 7 дней)
restic -r s3:s3.amazonaws.com/your-bucket forget --keep-daily 7 --prune
Додайте скрипт до crontab, щоб він запускався щоночі о 03:00.
10. Усунення несправностей + FAQ
Чому відео гальмує при відтворенні 4K?
Перевірте вкладку "Dashboard" під час відтворення. Якщо там написано "(Transcoding)", це означає, що клієнтський пристрій не підтримує формат файлу і сервер його перекодовує. Переконайтеся, що Hardware Acceleration увімкнено. Якщо процесор не справляється, обмежте максимальний бітрейт у налаштуваннях користувача.
Який VPS-конфіг мінімально підійде?
Для комфортної роботи без транскодування (Direct Play) достатньо 2 vCPU та 2 ГБ ОЗУ. Однак для 4K-бібліотеки з транскодуванням ми рекомендуємо мінімум 4 vCPU та наявність апаратного прискорення Intel QuickSync.
Що вибрати — VPS чи dedicated для цього завдання?
Якщо ваша бібліотека до 500 ГБ — VPS вигідніше. Якщо ви плануєте зберігати 10–20 ТБ контенту, оренда виділеного сервера (Dedicated) з кількома HDD вийде значно дешевше в перерахунку на вартість гігабайта.
Помилка "Playback Error" у браузері Firefox?
Firefox має обмежену підтримку кодеків HEVC/H.265. Використовуйте браузери на базі Chromium або нативний додаток Jellyfin Media Player для ПК — він підтримує всі формати без транскодування.
Як додати зовнішні субтитри?
Просто покладіть файл .srt у ту саму папку, де лежить відео, з точно такою ж назвою. Jellyfin підхопить його автоматично. Також можна використовувати плагін OpenSubtitles.
Не завантажуються обкладинки до фільмів?
Перевірте права доступу до папки config. Користувач всередині контейнера повинен мати права на запис. Також переконайтеся, що сервер має доступ до api.themoviedb.org.
11. Висновки та наступні кроки
Ми успішно розгорнули професійний медіасервер Jellyfin на VPS, забезпечили його безпеку за допомогою HTTPS та налаштували апаратне прискорення для плавного стрімінгу. Тепер ваша медіатека повністю під вашим контролем.
Що робити далі?
- Автоматизація контенту: Вивчіть зв'язку "Arr-стека" (Sonarr, Radarr, Prowlarr) для автоматичного пошуку та завантаження нових серій ваших улюблених серіалів.
- Моніторинг: Встановіть Grafana та Prometheus для відстеження навантаження на сервер та мережевого трафіку.
- Розширення сховища: Якщо місце на диску закінчиться, підключіть хмарне сховище через
rclone mountз використанням кешування на SSD.
Self-hosting — це шлях до цифрової незалежності. Jellyfin є фундаментом цього процесу, надаючи зручність рівня комерційних сервісів за повної прозорості коду.