
Installation of Self-hosted Sentry on VPS: Docker, PostgreSQL, and Redis for Error Tracking
TL;DR
In this detailed guide, we will set up our own Sentry installation on a Virtual Private Server (VPS) using Docker and Docker Compose. Sentry is a powerful real-time error and performance monitoring platform that allows developers to quickly identify, resolve, and prevent failures in their applications. We will deploy Sentry with its key components — PostgreSQL for the database and Redis for caching and queues, ensuring full control over data and infrastructure.
- You will learn how to choose the right VPS configuration for your Sentry installation.
- We will prepare the server step-by-step: configure security, install Docker and Docker Compose.
- A complete Sentry platform with PostgreSQL and Redis, managed by Docker Compose, will be deployed.
- You will master basic Sentry configuration, including domain and HTTPS setup using Caddy.
- We will cover backup and maintenance strategies to ensure stable Sentry operation.
- Finally, you will find answers to frequently asked questions and troubleshooting tips.
What We Are Setting Up and Why
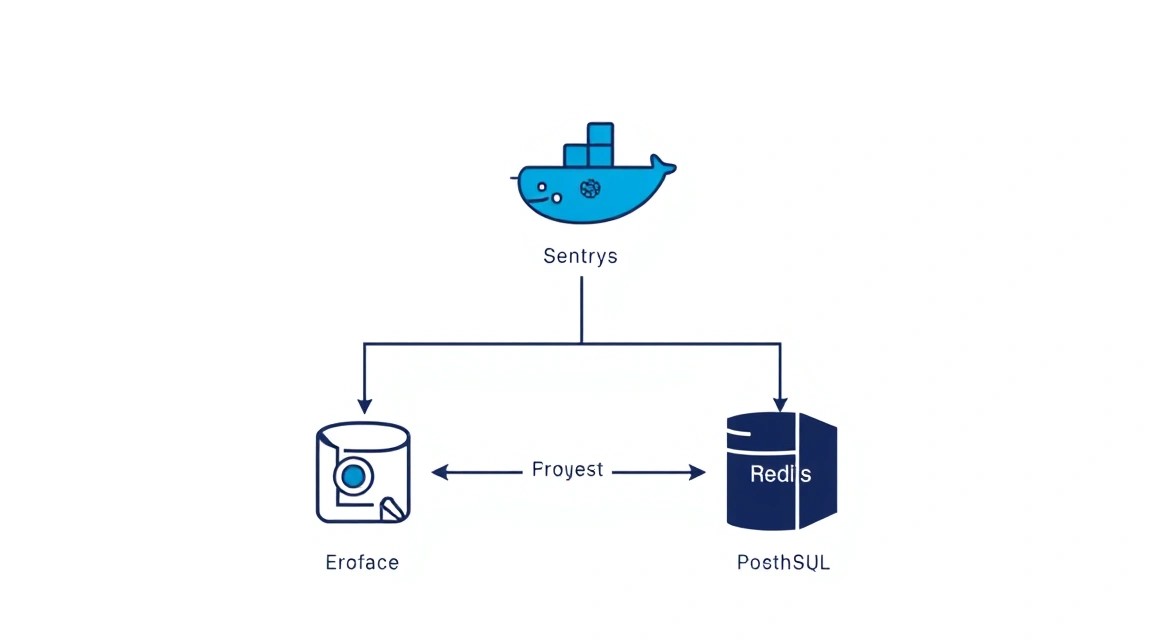
In the modern world of software development, application stability and performance play a key role. Errors are inevitable, but the speed of their detection and resolution directly impacts user experience and product reputation. This is where Sentry comes in – a real-time error and performance monitoring platform. Sentry automatically collects information about crashes, exceptions, and performance issues from your applications, providing developers with detailed stack traces, environment context, user data, and much more.
What the reader will gain: Upon completing this guide, you will have a fully functional, self-hosted Sentry installation on your VPS. This will allow you to centrally track errors and performance issues for all your projects, whether they are web applications, mobile applications, backend services, or even desktop programs. You will gain full control over your data and be able to adapt Sentry to your specific needs, without being tied to third-party cloud solutions.
What alternatives exist (cloud-managed vs self-hosted): There are several error monitoring solutions on the market, including cloud services like Rollbar, Bugsnag, Datadog, and, of course, the cloud version of Sentry itself. These services offer "turnkey" convenience: you don't have to worry about infrastructure, scaling, or maintenance. However, self-hosted Sentry on a VPS has its undeniable advantages:
- Full Data Control: All your error data is stored on your server, which is critically important for projects with high confidentiality or regulatory requirements (GDPR, HIPAA, etc.).
- Long-term Cost Savings: For projects with a large volume of events, cloud services can become very expensive. Self-hosted Sentry often proves to be a more economical choice, especially if you already have a VPS.
- Customization: You can modify Sentry's configuration, integrate it with internal systems, and adapt it to your team's unique requirements.
- Independence from Third-Party Providers: You are not dependent on the availability or pricing policies of a third-party service.
Choosing self-hosted Sentry on a VPS is ideal for developers, startups, and teams who value control, privacy, and want to optimize infrastructure costs, while possessing sufficient technical knowledge to manage their own server.
What VPS Configuration is Needed for This Task
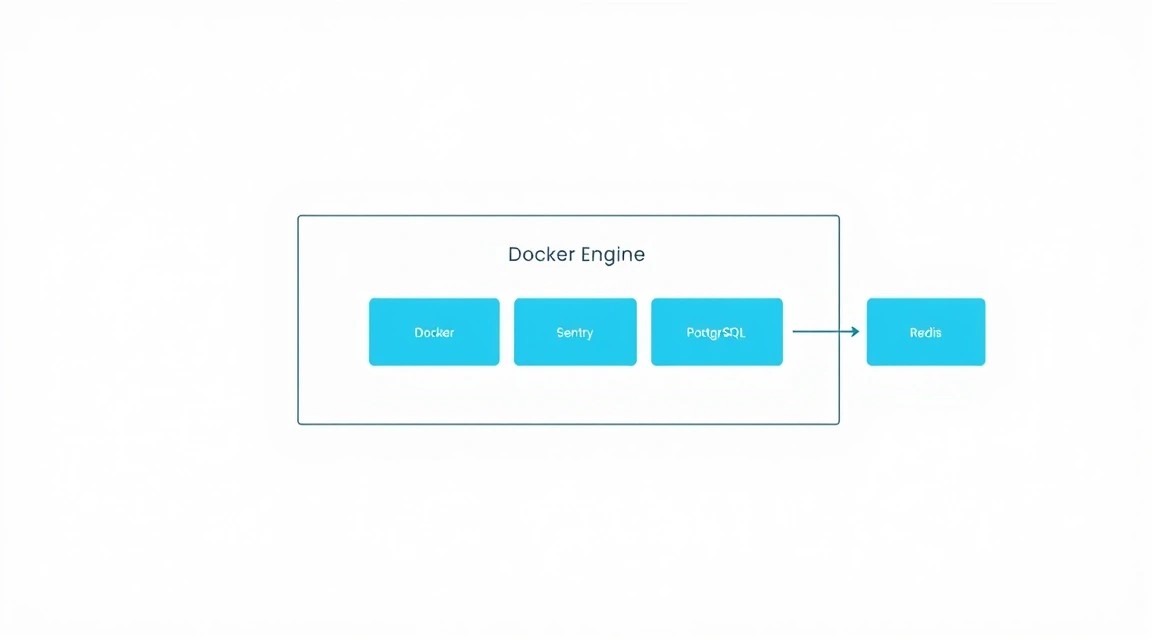
Sentry, especially in a self-hosted configuration, is a rather resource-intensive application, as it includes many components: PostgreSQL database, Redis message broker, as well as ClickHouse, Kafka, and Zookeeper for processing and storing large volumes of events. Choosing the right VPS configuration is critical for stable and fast operation.
Minimum Requirements (for small projects, up to 1000 events per minute)
- CPU: 4 cores. Sentry actively uses the processor for event processing and background tasks.
- RAM: 8 GB. This is the absolute minimum; 16 GB is recommended for stable operation. PostgreSQL, Redis, and other Sentry components consume a significant amount of RAM.
- Disk: 100-200 GB SSD. SSDs are mandatory due to high I/O intensity, especially for the database and ClickHouse. Disk size depends on the expected volume of error data and its retention period.
- Network: 100 Mbps or 1 Gbps. For data transfer between Sentry components and for external access.
Recommended VPS Plan (for medium projects, up to 5000 events per minute)
For more serious tasks, development teams, or applications with moderate Sentry load, the optimal configuration will be:
- CPU: 6-8 cores.
- RAM: 16-32 GB.
- Disk: 300-500 GB NVMe SSD (for maximum performance).
- Network: 1 Gbps.
For such characteristics, you can consider a VPS with the specified characteristics, which offers an optimal price/performance ratio for stable Sentry deployment.
When a Dedicated Server is Needed, Not a VPS
If you plan to use Sentry for very large projects, processing tens of thousands of events per minute or even per second, with many teams and users, or if you have very strict performance and isolation requirements, then you should consider renting a dedicated server. A dedicated server will provide you with exclusive access to all hardware resources, ensuring maximum performance and stability without the influence of "neighbors" on a VPS. For example, for high-load systems with a peak load of 10,000+ events per minute, a dedicated server with 16+ CPU cores, 64+ GB RAM, and several TB of NVMe SSD will be justified. You can also consider a suitable dedicated server for such tasks.
Location: What It Affects
The choice of the physical location of your VPS or dedicated server also matters:
- Latency: Place the Sentry server as close as possible to your main application servers. This will reduce latency when sending events to Sentry, which is important for quick response.
- Data Legislation: Some jurisdictions have strict rules about where data must be stored. Choosing a server location in compliance with these requirements will help avoid legal issues.
- Availability: Choose a provider with a good reputation and data centers in regions with high network and power stability.
Considering these factors, you will be able to choose the most suitable configuration and location for your self-hosted Sentry installation.
Server Preparation
Before proceeding with the Sentry installation, it is necessary to perform basic setup and security hardening of your VPS. In this guide, we will use Ubuntu Server 24.04 LTS, as it is a current and widely used operating system that will be supported until 2029.
Minimum Configuration After Provisioning
After the first login to your newly installed VPS (usually via SSH as the root user), follow these steps:
1. System Update
Always start by updating the package list and installing them to ensure all components are up to date.
sudo apt update && sudo apt upgrade -y
Updates the package list and installs all available updates.
2. Creating a New User with Sudo Privileges
Working as the root user is unsafe. Create a new user and add them to the sudo group.
sudo adduser sentryuser
sudo usermod -aG sudo sentryuser
Creates a new user sentryuser and adds them to the sudo group. You will be prompted to set a password.
3. Configuring SSH Key Authentication
For enhanced security, it is recommended to disable password authentication and use only SSH keys. If you don't have an SSH key pair yet, generate them on your local computer.
Copy your public key to the server for sentryuser:
# On your local computer:
ssh-copy-id sentryuser@YOUR_SERVER_IP
Copies your public SSH key to the server for the user sentryuser.
Then, on the server, edit the SSH daemon configuration file:
sudo nano /etc/ssh/sshd_config
Opens the SSH configuration file.
Find and change the following lines (or add them if they are missing):
# /etc/ssh/sshd_config
# ...
PermitRootLogin no
PasswordAuthentication no
ChallengeResponseAuthentication no
# ...
Disables root login and password authentication.
Save the changes and restart the SSH service:
sudo systemctl restart ssh
Restarts the SSH service to apply the new settings.
Important: Exit the root session and log in as sentryuser to ensure SSH keys are working before closing the root session.
4. Firewall Configuration (UFW)
Uncomplicated Firewall (UFW) is a simple tool for managing iptables. Configure it to allow only necessary connections: SSH, HTTP, and HTTPS.
sudo apt install ufw -y
sudo ufw allow OpenSSH
sudo ufw allow http
sudo ufw allow https
sudo ufw enable
sudo ufw status
sudo apt install ufw -y: Installs UFW.sudo ufw allow OpenSSH: Allows incoming SSH connections (port 22).sudo ufw allow http: Allows incoming HTTP connections (port 80).sudo ufw allow https: Allows incoming HTTPS connections (port 443).sudo ufw enable: Enables the firewall. Confirm the action with 'y'.sudo ufw status: Checks the current status and rules of UFW.
5. Installing Fail2Ban
Fail2Ban scans server logs for brute-force attempts and blocks IP addresses from which these attempts originate.
sudo apt install fail2ban -y
sudo systemctl enable fail2ban
sudo systemctl start fail2ban
sudo apt install fail2ban -y: Installs Fail2Ban.sudo systemctl enable fail2ban: Enables Fail2Ban to start automatically on system boot.sudo systemctl start fail2ban: Starts the Fail2Ban service.
The basic Fail2Ban configuration is already quite effective, but you can customize it by copying /etc/fail2ban/jail.conf to /etc/fail2ban/jail.local and making changes there.
Your server is now ready for the installation of the necessary software for Sentry.
Software Installation — Step-by-Step
Sentry self-hosted uses Docker and Docker Compose to orchestrate its numerous components, including PostgreSQL, Redis, ClickHouse, Kafka, and others. We will install Docker Engine and Docker Compose, and then use the official Sentry installer to deploy the entire infrastructure.
All commands are executed as a user with sudo privileges (in our case, sentryuser).
1. Installing Docker Engine (current as of 2026)
We will install Docker from the official Docker repository, which ensures that you get the latest and most stable versions. As of 2026, Docker Engine versions 25.x or 26.x will be current.
# Step 1: Remove old Docker versions (if any)
sudo apt remove docker docker-engine docker.io containerd runc -y

# Step 2: Install necessary packages for HTTPS installation
sudo apt install ca-certificates curl gnupg lsb-release -y

# Step 3: Add Docker's official GPG key
sudo install -m 0755 -d /etc/apt/keyrings
curl -fsSL https://download.docker.com/linux/ubuntu/gpg | sudo gpg --dearmor -o /etc/apt/keyrings/docker.gpg

# Step 4: Add the Docker repository to APT sources
echo \
  "deb [arch="$(dpkg --print-architecture)" signed-by=/etc/apt/keyrings/docker.gpg] https://download.docker.com/linux/ubuntu \
  "$(. /etc/os-release && echo "$VERSION_CODENAME")" stable" | \
  sudo tee /etc/apt/sources.list.d/docker.list > /dev/null

# Step 5: Update the package list after adding the repository
sudo apt update

# Step 6: Install Docker Engine, containerd, and Docker Compose (cli)
sudo apt install docker-ce docker-ce-cli containerd.io docker-buildx-plugin docker-compose-plugin -y
- Removes previous Docker installations.
- Installs packages required for working with HTTPS repositories.
- Adds the Docker GPG key to verify package authenticity.
- Adds the official Docker repository for Ubuntu.
- Updates the package cache.
- Installs Docker Engine (
docker-ce), Docker client (docker-ce-cli), container runtime (containerd.io), and plugins for build and compose (docker-buildx-plugin,docker-compose-plugin).
2. Adding a User to the Docker Group
To avoid using sudo every time you work with Docker, add your user to the docker group.
sudo usermod -aG docker sentryuser
newgrp docker
- Adds
sentryuserto thedockergroup. - Applies group changes without logging out and back in.
3. Verifying Docker Installation
Ensure that Docker is installed and running correctly.
docker run hello-world
Runs the hello-world test container. If you see a welcome message, Docker is installed correctly.
4. Installing Sentry (current as of 2026)
Sentry provides a convenient script for deploying the self-hosted version. It automatically generates all necessary Docker Compose files, configurations, and installs PostgreSQL and Redis as part of its infrastructure.
# Step 1: Create a directory for Sentry
mkdir ~/sentry && cd ~/sentry

# Step 2: Download the Sentry installation script (version 24.x/25.x will be current as of 2026)
# Always check the current version on Sentry self-hosted GitHub
curl -sL https://install.sentry.io/ | bash
- Creates a
sentrydirectory in the user's home folder and navigates into it. - Downloads and runs the official Sentry installation script. The script will guide you through the process, ask questions about the domain name, and generate all files.
During the script execution, you will be prompted to enter a domain name for Sentry (e.g., sentry.yourdomain.com) and agree to the installation. The script will download the necessary Docker images (including PostgreSQL, Redis, ClickHouse, Kafka, Zookeeper) and generate the docker-compose.yml and .env files.
5. Starting Sentry
After successfully running the Sentry installation script, you can start all its components using Docker Compose.
# Start all Sentry services in the background
docker compose up -d
Starts all containers defined in docker-compose.yml in detached mode. This may take some time on the first run, as Docker will download all necessary images.
6. Creating a Sentry Administrator
Once all Sentry containers are running, you need to create the first administrative user to access the web interface.
docker compose run --rm web createuser
Runs the createuser command inside the Sentry web container, which allows you to create a new Sentry user. You will be prompted to enter an email, password, and confirm that this is a superuser.
7. Checking Container Status
Ensure that all Sentry containers are running.
docker compose ps
Displays a list of all services managed by Docker Compose and their current status. All services should be in the running state.
At this stage, the main Sentry components are installed and running. Next, we will proceed to configuration.
Configuration
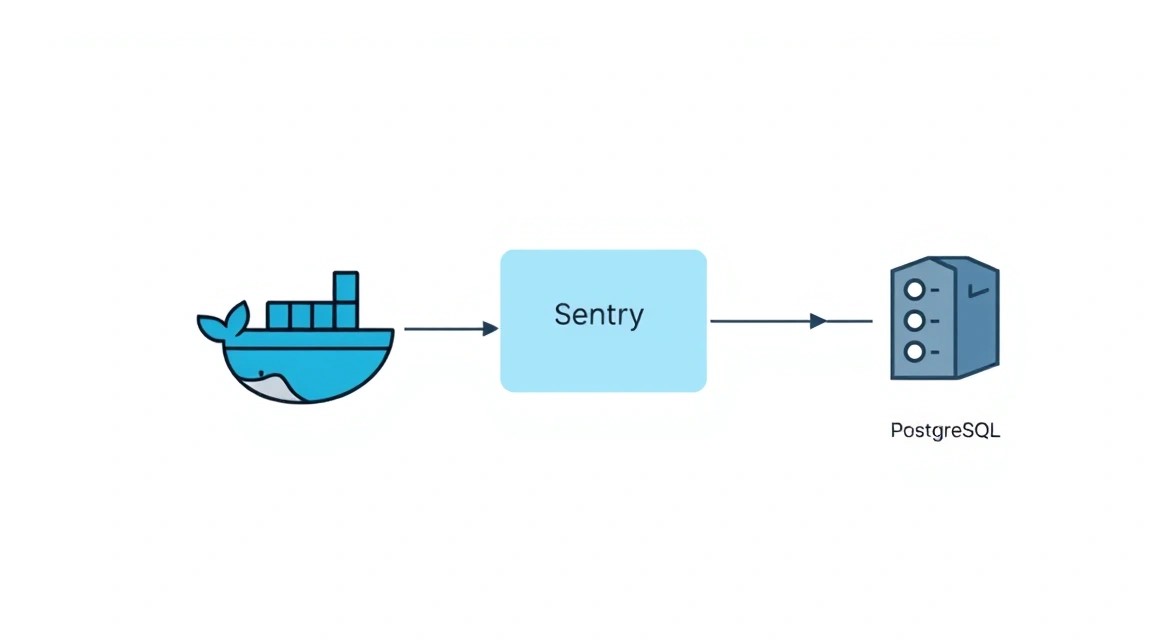
After installing Sentry, additional configuration is required to make it externally accessible, set up HTTPS, and ensure all components are working correctly. The main Sentry settings are stored in the .env and config.yml files, which were generated by the installation script.
1. Core Settings in .env and config.yml
Navigate to the Sentry directory where these files are located (~/sentry).
cd ~/sentry
Navigating to the Sentry installation directory.
File .env
This file contains environment variables for Docker Compose and Sentry settings. Key parameters that may require attention:
SENTRY_SECRET_KEY: Must be unique and very complex. The installation script generates it automatically. Never share it or store it publicly.SENTRY_WEB_HOST: The domain name through which Sentry will be accessible (e.g.,sentry.yourdomain.com). Ensure it matches what you specified during installation.SENTRY_EMAIL_HOST,SENTRY_EMAIL_PORT,SENTRY_EMAIL_USERNAME,SENTRY_EMAIL_PASSWORD: Settings for sending email notifications (e.g., for new errors, password resets). It is highly recommended to configure this. Example for an SMTP server:
# .env
# ...
SENTRY_EMAIL_HOST=smtp.your-email-provider.com
SENTRY_EMAIL_PORT=587
[email protected]
SENTRY_EMAIL_PASSWORD=YOUR_EMAIL_PASSWORD
SENTRY_EMAIL_USE_TLS=True
SENTRY_EMAIL_USE_SSL=False
[email protected]
[email protected]
# ...
Example Sentry email notification settings. Replace placeholders with your actual data.
File config.yml
This file contains additional Sentry settings, such as data retention limits, plugin configurations, etc. In most cases, the default settings are sufficient to start.
After modifying .env, you need to restart Sentry:
docker compose restart
Restarts all Sentry services to apply new environment variables.
2. Domain Name and DNS Configuration
For Sentry to be accessible via a domain name (e.g., sentry.yourdomain.com), you need to create an A-record in your domain's DNS settings, pointing to your VPS's IP address.
- Go to your domain's DNS control panel.
- Create a new A-record.
- Host/Name:
sentry(or the subdomain you chose) - Value/IP Address: Your VPS's IP address
- TTL: Leave as default (usually 3600 seconds).
DNS record propagation can take from a few minutes to several hours.
3. TLS/HTTPS via Caddy
It is crucial to ensure access to Sentry via the secure HTTPS protocol. Caddy is a powerful, easy-to-use web server that automatically manages Let's Encrypt certificates for HTTPS. We can add Caddy to our docker-compose.yml to act as a reverse proxy in front of Sentry.
Step 1: Creating Caddyfile
Create a file named Caddyfile in the ~/sentry directory:
nano Caddyfile
Creates or opens the Caddyfile for Caddy configuration.
Add the following configuration, replacing sentry.yourdomain.com with your domain:
# Caddyfile
sentry.yourdomain.com {
    # Automatic HTTPS with Let's Encrypt
    tls {
        email [email protected]
    }

    # Reverse proxy for Sentry
    reverse_proxy web:9000 {
        header_up Host {host}
        header_up X-Real-IP {remote_ip}
        header_up X-Forwarded-For {remote_ip}
        header_up X-Forwarded-Proto {scheme}
    }

    # Logging
    log {
        output file /var/log/caddy/access.log
    }

    # Gzip compression (optional)
    # encode gzip
}
Caddy configuration for handling HTTPS traffic and proxying requests to Sentry (web service on port 9000). Replace [email protected] with your actual email.
Step 2: Adding Caddy to docker-compose.yml
Open the docker-compose.yml file:
nano docker-compose.yml
Opens the main Docker Compose configuration file.
Add a new caddy service to the end of the file, and also modify the port for the web service so it is not directly accessible from outside. Find the services: section and modify it as follows:
# docker-compose.yml
# ...
services:
  # ... existing services (web, worker, cron, postgres, redis, clickhouse, kafka, zookeeper, snuba-api, snuba-worker, etc.)

  web:
    # ...
    # Remove or comment out the ports section for web so it is not directly accessible from outside
    # ports:
    #   - '9000:9000'
    expose:
      - "9000" # Sentry will only be accessible within the Docker network via port 9000

  caddy:
    image: caddy:2.7.6-alpine # Using the current Caddy version for 2026
    restart: unless-stopped
    ports:
      - "80:80"
      - "443:443"
    volumes:
      - ./Caddyfile:/etc/caddy/Caddyfile
      - caddy_data:/data
      - caddy_config:/config
      - ./caddy_logs:/var/log/caddy # Create a directory for Caddy logs
    networks:
      - sentry-network # Ensure Caddy is in the same network as the Sentry web service

# ...
volumes:
  # ... existing volumes
  caddy_data:
  caddy_config:

# ...
networks:
  sentry-network: # Define a common network if it doesn't exist, or use an existing one
    external: false
Adds the Caddy service, which proxies requests to the Sentry web service. It is important that Caddy and web are in the same Docker network (this is usually the default network created by Docker Compose, but it's better to explicitly specify or verify). Volumes for Caddy data and configuration are also created.
Create a directory for Caddy logs:
mkdir -p caddy_logs
Creates a directory for Caddy logs.
Step 3: Restarting Sentry with Caddy
Apply the changes in docker-compose.yml:
docker compose down
docker compose up -d
docker compose down: Stops and removes all containers defined indocker-compose.yml(but preserves data volumes).docker compose up -d: Restarts all services, including Caddy, in detached mode. Caddy will automatically request and install an SSL certificate.
4. Verifying Functionality
After all configurations and restarts, ensure Sentry is running and accessible via HTTPS.
- DNS Check:
dig +short sentry.yourdomain.comShould return your VPS's IP address.
- HTTPS Accessibility Check:
curl -v https://sentry.yourdomain.comIf you see the Sentry page's HTML code and SSL certificate information, everything is working correctly.
- Web Interface Access: Open
https://sentry.yourdomain.comin your web browser. You should see the Sentry login page. - Container Status Check:
docker compose psEnsure all containers, including
caddy, are inrunningstatus.
Your self-hosted Sentry installation is now fully configured and secured with HTTPS. You can log in, create projects, and start integrating Sentry with your applications.
Backups and Maintenance
Reliable backup and regular maintenance are crucial for any production system, and Sentry is no exception. Loss of error data can be critical for debugging and monitoring.
What to Back Up
For a complete Sentry recovery, you need to back up the following data:
- PostgreSQL Database: The primary storage for all Sentry data (projects, events, users, configurations).
- Redis Data: Although Redis is primarily used for caching and queues, it can also store some temporary but important information.
- ClickHouse Data: Stores raw event data for Snuba, which is important for analytics and search.
- Sentry Configuration Files: The
.env,config.yml, anddocker-compose.ymlfiles. - Docker Volumes: All volumes used by Sentry (
sentry-postgres,sentry-redis,sentry-data,sentry-attachments,sentry-clickhouse,sentry-kafka, etc.).
The easiest way is to back up all Docker volumes associated with Sentry, as they contain PostgreSQL, Redis, ClickHouse data, and other important files.
Simple Auto-Backup Script (cron + restic / borg / rsync)
We will create a simple script that will archive all necessary Docker volumes and configuration files, then send them to a secure location. For example, we'll use rsync to copy to another server or S3-compatible storage. For more advanced backup, consider restic or borgbackup.
It is assumed that you have a separate server or S3-compatible storage (e.g., MinIO, Wasabi, Backblaze B2) for storing backups. If you are using another server, configure passwordless SSH key access for the user who will perform the backups.
Create the backup_sentry.sh file in the ~/sentry/scripts directory:
mkdir -p ~/sentry/scripts
nano ~/sentry/scripts/backup_sentry.sh
Creates a directory for scripts and opens the file for editing.
#!/bin/bash

# Variables
BACKUP_DIR="/var/backups/sentry"
SENTRY_ROOT_DIR="/home/sentryuser/sentry" # Path to your Sentry directory
TIMESTAMP=$(date +%Y%m%d%H%M%S)
BACKUP_FILE="$BACKUP_DIR/sentry_backup_$TIMESTAMP.tar.gz"
RETENTION_DAYS=7 # How many days to keep backups

# Remote storage settings (example for rsync over SSH)
REMOTE_USER="backupuser"
REMOTE_HOST="your_backup_server_ip"
REMOTE_PATH="/mnt/backups/sentry_backups"

# --- Start of backup process ---
echo "Starting Sentry backup at $TIMESTAMP..."

# 1. Stop Sentry for data consistency (optional, but recommended for DB)
# If Sentry is heavily loaded, consider backing up without stopping, using pg_dump and redis-cli BGSAVE
# docker compose stop # You can stop only postgres and redis if you want to minimize downtime
# docker compose stop postgres redis

# 2. Create backup directory if it doesn't exist
sudo mkdir -p "$BACKUP_DIR"
sudo chown sentryuser:sentryuser "$BACKUP_DIR"

# 3. Docker Volume Backup
# For PostgreSQL: dump the database
echo "Dumping PostgreSQL database..."
docker compose exec -T postgres pg_dumpall -U postgres > "$BACKUP_DIR/sentry_postgres_dump_$TIMESTAMP.sql"
if [ $? -ne 0 ]; then
    echo "ERROR: PostgreSQL dump failed. Exiting."
    # docker compose start postgres redis # Start back up if stopped
    exit 1
fi

# For Redis: save the RDB file
echo "Saving Redis RDB file..."
docker compose exec -T redis redis-cli BGSAVE
# Wait for BGSAVE to complete (a few seconds)
sleep 5
docker cp sentry-redis-1:/data/dump.rdb "$BACKUP_DIR/sentry_redis_dump_$TIMESTAMP.rdb"
if [ $? -ne 0 ]; then
    echo "ERROR: Redis dump failed. Exiting."
    # docker compose start postgres redis # Start back up if stopped
    exit 1
fi

# Backup all other Sentry Docker volumes
# You can use 'docker volume ls -q' and 'docker run --rm -v VOLUME_NAME:/volume -v /path/to/backup:/backup alpine tar czf /backup/volume.tar.gz /volume'
# But it's easier to back up the entire SENTRY_ROOT_DIR directory, which contains docker-compose.yml and .env,
# as well as all local volumes (if they are created as bind mounts or in this directory)

echo "Archiving Sentry configuration and data volumes..."
# Create a temporary directory for archiving Docker volumes
TEMP_VOLUMES_DIR="$BACKUP_DIR/volumes_$TIMESTAMP"
mkdir -p "$TEMP_VOLUMES_DIR"

# Copy .env, docker-compose.yml and other important files
cp "$SENTRY_ROOT_DIR/.env" "$TEMP_VOLUMES_DIR/"
cp "$SENTRY_ROOT_DIR/config.yml" "$TEMP_VOLUMES_DIR/"
cp "$SENTRY_ROOT_DIR/docker-compose.yml" "$TEMP_VOLUMES_DIR/"
cp -R "$SENTRY_ROOT_DIR/caddy_logs" "$TEMP_VOLUMES_DIR/" # If Caddy logs are not in a volume

# Copy Sentry persistent volume data (paths may vary, check via 'docker volume inspect ')
# This is a more complex step, as volumes can be outside SENTRY_ROOT_DIR.
# The easiest way is to use tar for specific volumes or simply back up the entire SENTRY_ROOT_DIR directory
# If you are using named volumes (as by default in Sentry), they need to be backed up separately
# For example, for sentry-data:
# docker run --rm -v sentry-data:/data -v "$TEMP_VOLUMES_DIR":/backup ubuntu tar czf /backup/sentry-data.tar.gz -C /data .
# Similarly for sentry-attachments, sentry-clickhouse-data, etc.

# For simplicity, and if volumes are not bind-mounts but Docker-managed volumes, you can simply back up the entire Sentry directory
# with configs, and the DB and Redis data have already been dumped.
# For full Docker-managed volumes, the script will be more complex, using 'docker run --rm -v :/vol ... tar'
# For this example, we will focus on configs and DB/Redis dumps, which is sufficient for recovery.

# Archiving all backup files
echo "Creating final archive..."
cd "$BACKUP_DIR"
tar -czf "$BACKUP_FILE" sentry_postgres_dump_"$TIMESTAMP".sql sentry_redis_dump_"$TIMESTAMP".rdb volumes_"$TIMESTAMP"/
cd "$SENTRY_ROOT_DIR" # Return to the original directory

# 4. Upload backup to remote server (rsync)
echo "Uploading backup to remote server..."
rsync -avz "$BACKUP_FILE" "$REMOTE_USER@$REMOTE_HOST:$REMOTE_PATH"
if [ $? -ne 0 ]; then
    echo "ERROR: Failed to upload backup to remote server."
fi

# 5. Deleting old backups
echo "Removing old backups..."
find "$BACKUP_DIR" -type f -name "sentry_backup_*.tar.gz" -mtime +$RETENTION_DAYS -delete
find "$BACKUP_DIR" -type f -name "sentry_postgres_dump_*.sql" -mtime +$RETENTION_DAYS -delete
find "$BACKUP_DIR" -type f -name "sentry_redis_dump_*.rdb" -mtime +$RETENTION_DAYS -delete
find "$BACKUP_DIR" -type d -name "volumes_*" -mtime +$RETENTION_DAYS -exec rm -rf {} + # Remove temporary directories

# 6. Start Sentry back up (if stopped)
# docker compose start # Or just postgres redis
echo "Sentry backup finished."
The script performs a PostgreSQL and Redis dump, archives configuration files, and uploads the backup to a remote server. It also deletes old backups. Replace your_backup_server_ip, backupuser, and [email protected] with your own data.
Make the script executable:
chmod +x ~/sentry/scripts/backup_sentry.sh
Makes the script executable.
Where to Store
- External S3-compatible service: Cloud storage (AWS S3, Google Cloud Storage, Backblaze B2, DigitalOcean Spaces, Linode Object Storage) is a reliable and scalable option. For this, you will need a tool like
s3cmdorrclone. - Separate VPS: You can use another, less powerful VPS to store backups, copying them via SSH using
rsync, as shown in the example above. - Local Disk (with caution): Storing backups on the same server as Sentry is not recommended, as a disk failure would result in losing both Sentry and your backups. This should only be a temporary solution before transferring to external storage.
Updates: rolling vs maintenance window
Updating self-hosted Sentry is an important procedure. Sentry frequently releases new versions, and updating them typically involves updating Docker images and migrating the database.
- Maintenance window: This is the most common and safest approach for self-hosted Sentry. During a maintenance window, you stop all Sentry services, perform the update, database migrations, and then restart everything. This ensures that all components are updated synchronously and migrations proceed without conflicts.
# In the ~/sentry directory
docker compose down # Stops all services
docker compose pull # Downloads new Docker images
docker compose run --rm web upgrade # Performs database migrations
docker compose up -d # Starts all Sentry services
Standard Sentry update procedure. It is recommended to perform it regularly to utilize the latest features and security fixes.
- Rolling updates: For Sentry, this is more challenging to implement due to the tight coupling between its components and potential changes in the database schema. Typically, rolling updates require a more complex architecture (e.g., a Kubernetes cluster) and are not always applicable to a standard Docker Compose installation without downtime. For most self-hosted users, the maintenance window approach is preferable.
Always read the official Sentry documentation before updating, as there may be specific instructions for particular versions.
Troubleshooting + FAQ
Even with careful configuration, problems can arise. This section will help you diagnose and resolve the most common issues when working with self-hosted Sentry.
1. What is the minimum VPS configuration suitable for Sentry?
For small projects (up to 1000 events per minute), a VPS with 4 CPU cores, 8 GB RAM, and 100-200 GB SSD is minimally recommended. However, Sentry is quite resource-intensive. If you expect a higher load or want to ensure comfortable operation without slowdowns, it's better to consider 6-8 CPU cores, 16-32 GB RAM, and 300-500 GB NVMe SSD. An SSD drive is a mandatory condition for good performance due to intensive I/O operations with the database and ClickHouse.
2. What to choose – VPS or dedicated for this task?
For most medium-sized projects and teams, a VPS will be sufficient and is a more economical solution. A VPS provides good isolation and scalability. A dedicated server should be considered if you have a very high load (tens of thousands of events per minute), strict requirements for performance, resource isolation, or specific regulatory requirements. It provides full control over the hardware but requires a higher level of administration.
3. Sentry UI is unavailable or returns a 502/503 error. What to do?
Check the status of Docker containers: docker compose ps. Make sure all containers (especially web, postgres, redis, caddy) are in the running status. Check service logs: docker compose logs web, docker compose logs caddy, docker compose logs postgres. Common causes: insufficient memory (Sentry can consume a lot of RAM), incorrect Caddy configuration, database issues.
4. I cannot log in to Sentry after creating a user.
Make sure you have created a superuser using the command docker compose run --rm web createuser. Check the correctness of the entered credentials. If you forgot your password, you can reset it using the same createuser command and specifying an existing email; Sentry will offer to reset the password.
5. Events are not arriving in Sentry, even though I have configured the SDK.
Check the following points: 1. Is the DSN correctly specified in your application? The DSN can be found in the project settings in the Sentry UI. 2. Is your Sentry server accessible externally (DNS, firewall)? Try curl -v https://sentry.yourdomain.com from the server where the application is running. 3. Check Sentry logs (especially web and worker services) for errors during event reception: docker compose logs web. 4. Make sure all Sentry components are running: docker compose ps.
6. Sentry is running slowly or "lagging".
Slow Sentry performance is often related to resource scarcity. Check CPU, RAM, and disk I/O usage on your VPS. Use commands like htop, free -h, iostat -x 1. If any resource is close to 100%, consider increasing VPS resources. Also, check Sentry logs for errors that might be slowing down performance (e.g., PostgreSQL or ClickHouse issues).
7. How to update Sentry to a new version?
The Sentry update process involves stopping all services, downloading new Docker images, performing database migrations, and restarting. Always follow the official Sentry documentation for the specific version, but the general sequence of commands is: docker compose down, docker compose pull, docker compose run --rm web upgrade, docker compose up -d. Make sure you have a current backup before starting the update.
8. How to clean up old Sentry data?
Sentry provides a command to clean up old data. You can run it manually or configure it as a regular cron job. Example command to delete data older than 90 days:
docker compose run --rm web cleanup --days 90
This command deletes events and related data older than 90 days. It is recommended to run it regularly to maintain performance and save disk space.
Conclusions and Next Steps
Congratulations! You have successfully deployed and configured your own Sentry instance on your VPS using Docker, PostgreSQL, and Redis. You now have a powerful tool for error and performance monitoring, providing full control over your data and infrastructure. This will significantly increase the reliability of your applications and the efficiency of your team.
Where to go next:
- Project Integration: Add all your projects to Sentry and integrate the SDK into your applications to start collecting error data.
- Alert Configuration: Configure alerts via email, Slack, PagerDuty, or other channels so your team is promptly notified of new issues.
- Sentry Monitoring: Set up performance and health monitoring for Sentry itself (VPS resource usage, Docker container status) using tools like Prometheus/Grafana or Zabbix.
- Scaling: As your project grows and event volume increases, consider scaling Sentry by increasing VPS resources or migrating to a dedicated server.