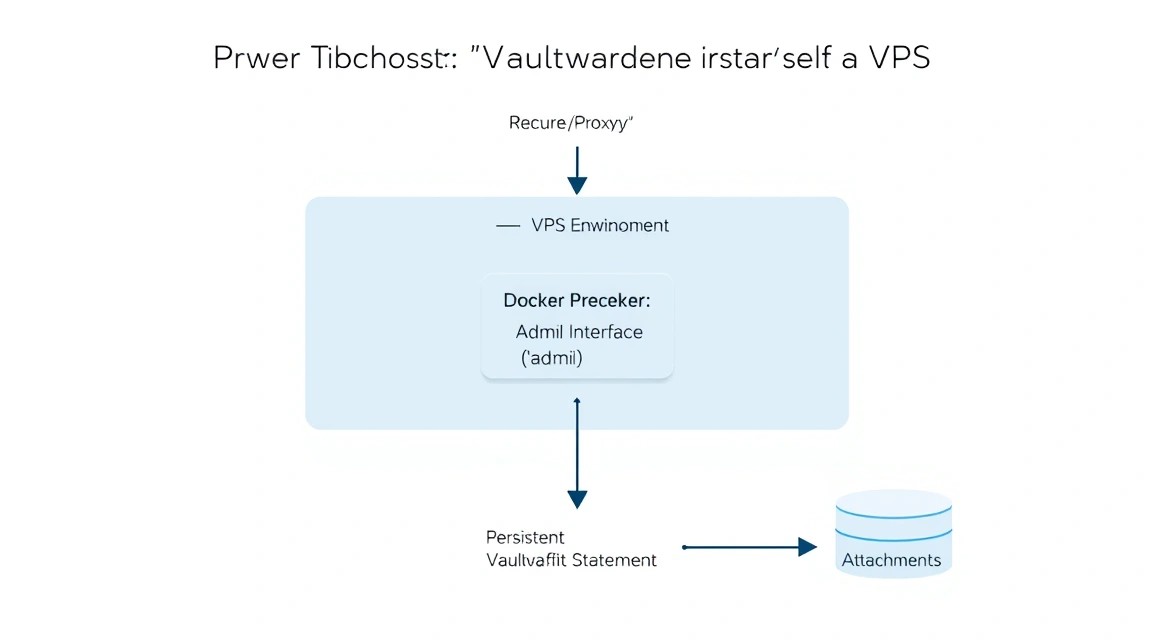
Installing and Configuring Vaultwarden on a VPS: Self-Hosting a Password Manager with Docker and SSL
TL;DR
This guide covers the process of deploying Vaultwarden (a lightweight implementation of Bitwarden in Rust) on a virtual server running Ubuntu 24.04/26.04. We will set up Docker containers, ensure automatic SSL certificate acquisition via Caddy, and organize a regular backup system. The result will be a fully private, secure password manager available on all your devices without subscription fees or cloud provider limitations.
- Stack: Docker, Docker Compose, Caddy (Reverse Proxy), Vaultwarden.
- Security: Automatic HTTPS (Let's Encrypt), Fail2ban, container isolation.
- Complexity: Medium (basic Linux terminal skills required).
- Execution time: 30–45 minutes.
- Result: Own password server with 2FA support, attachments, and group organization.
Need a dedicated server?
Compare prices from top providers. Configure and order in minutes.
1. What we are setting up and why
In 2026, the issue of personal data security is more acute than ever. Popular cloud password managers (LastPass, 1Password, Bitwarden Cloud) remain targets for large-scale hacker attacks. Self-hosting is a way to regain control over your secrets. We will be installing Vaultwarden.
Vaultwarden is an alternative implementation of the Bitwarden API, written in Rust. It is fully compatible with all official Bitwarden applications (iOS, Android, browser extensions, desktop), while consuming dozens of times less RAM than the original .NET server. This makes it an ideal candidate for running on an inexpensive VPS.
What you will get in the end:
- Full control over the password database.
- No limits on the number of devices and users.
- Support for Bitwarden Premium features (2FA via YubiKey, TOTP generator, security reports) absolutely free.
- Synchronization between all devices via your own domain.
The alternative is using official Bitwarden Unified or cloud versions, but Vaultwarden wins due to performance and ease of maintenance for small to medium installations.
2. What VPS configuration is needed for this task

Vaultwarden is extremely undemanding of resources. The main load is created not by the application itself, but by accompanying services: the Docker daemon and Reverse Proxy. For comfortable system operation for 5-10 users, minimal specifications are sufficient.
| Resource | Minimum requirements | Recommended requirements |
|---|---|---|
| Processor (CPU) | 1 core (Shared) | 1-2 cores (Dedicated thread) |
| RAM | 512 MB | 1-2 GB (for stable Docker operation and caching) |
| Disk (SSD/NVMe) | 10 GB | 20 GB+ (considering backups and logs) |
| OS | Ubuntu 22.04 LTS | Ubuntu 24.04 / 26.04 LTS or Debian 12 |
If you plan to use Vaultwarden only for yourself and your family, you can get an entry-level VPS. This will be more than enough for an instant interface response. If you expect to store a large number of attachments (document scans, keys), you should pay attention to the disk space or the possibility of connecting external object storage (S3).
Server location: Since latency is critical for mobile app synchronization, choose a data center closer to your primary residence. However, given the small amount of data transferred, even a server on another continent will work acceptably.
Dedicated vs VPS: For a password manager, a dedicated server is overkill unless you are deploying infrastructure for hundreds of employees with strict resource isolation requirements. For 99% of tasks, KVM virtualization on a VPS is sufficient.
3. Server preparation
Before proceeding with the installation, it is necessary to basically secure the server. We assume you have a fresh installation of Ubuntu 24.04/26.04.
First, let's update the package indices and the system itself:
sudo apt update && sudo apt upgrade -y
Create a new user with sudo privileges so as not to work under root (replace user with your name):
adduser user
usermod -aG sudo user
Configure the basic firewall (UFW). We need to open ports for SSH, HTTP, and HTTPS:
sudo ufw allow OpenSSH
sudo ufw allow 80/tcp
sudo ufw allow 443/tcp
sudo ufw enable
Install Fail2ban to protect against brute-force attacks on SSH:
sudo apt install fail2ban -y
The default configuration already protects SSH by blocking IPs after several failed login attempts. This is critically important for a server where your passwords are stored.
Need a dedicated server?
Compare prices from top providers. Configure and order in minutes.
4. Installing Docker and necessary utilities
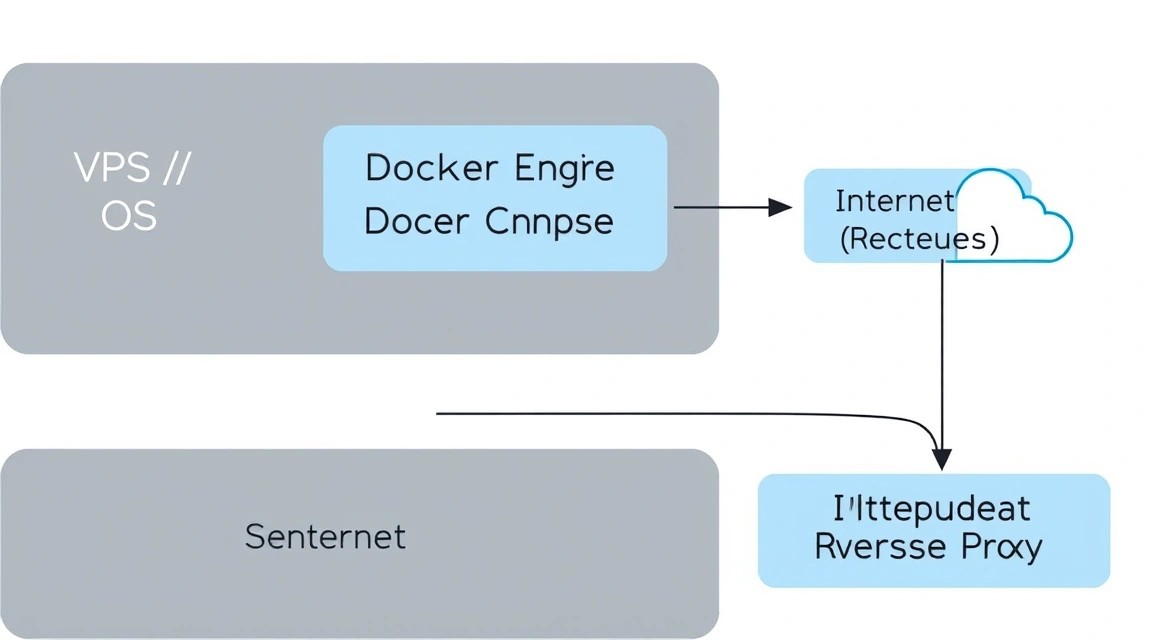
Vaultwarden is officially distributed as a Docker image, which significantly simplifies its deployment and updates. We will use the modern installation method via the official Docker repository.
Remove old versions if they existed:
for pkg in docker.io docker-doc docker-compose docker-compose-v2 podman-docker containerd runc; do sudo apt-get remove $pkg; done
Install dependencies and add the Docker GPG key:
sudo apt update
sudo apt install ca-certificates curl gnupg -y
sudo install -m 0755 -d /etc/apt/keyrings
curl -fsSL https://download.docker.com/linux/ubuntu/gpg | sudo gpg --dearmor -o /etc/apt/keyrings/docker.gpg
sudo chmod a+r /etc/apt/keyrings/docker.gpg
Add the repository to apt sources:
echo \
  "deb [arch=$(dpkg --print-architecture) signed-by=/etc/apt/keyrings/docker.gpg] https://download.docker.com/linux/ubuntu \
  $(. /etc/os-release && echo "$VERSION_CODENAME") stable" | \
  sudo tee /etc/apt/sources.list.d/docker.list > /dev/null
sudo apt update
Now install Docker itself and the Docker Compose plugin:
sudo apt install docker-ce docker-ce-cli containerd.io docker-buildx-plugin docker-compose-plugin -y
Add our user to the docker group to run containers without sudo (requires a session re-login):
sudo usermod -aG docker $USER
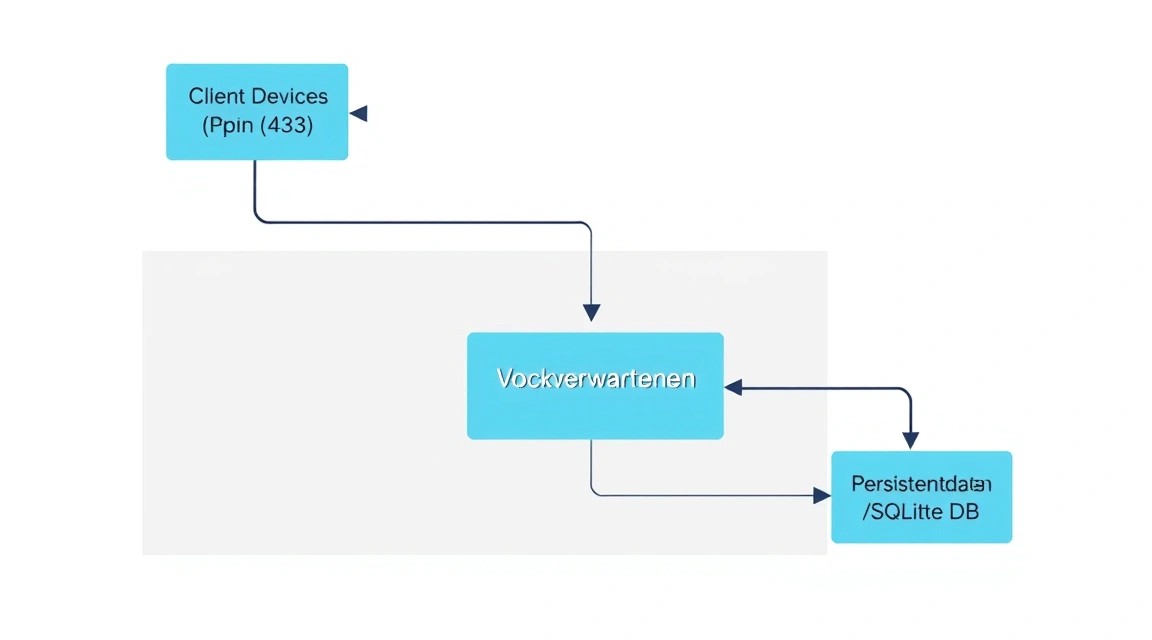
5. Deploying Vaultwarden via Docker Compose
Create a working directory for our project. This will help keep all configs and data in one place, simplifying backups.
mkdir ~/vaultwarden && cd ~/vaultwarden
Create a docker-compose.yml file. In this file, we will describe two services: Vaultwarden itself and Caddy, which will act as the web server and SSL certificate manager.
nano docker-compose.yml
Insert the following content (study the comments carefully):
services:
  vaultwarden:
    image: vaultwarden/server:latest
    container_name: vaultwarden
    restart: always
    environment:
      - SIGNUPS_ALLOWED=true # Allow registration (disable after account creation)
      - ADMIN_TOKEN=your_strong_random_token # Token for admin panel access
      - DOMAIN=https://pass.yourdomain.com # Your domain
    volumes:
      - ./vw-data:/data

  caddy:
    image: caddy:2-alpine
    container_name: caddy
    restart: always
    ports:
      - 80:80
      - 443:443
    volumes:
      - ./Caddyfile:/etc/caddy/Caddyfile
      - ./caddy-data:/data
      - ./caddy-config:/config
    depends_on:
      - vaultwarden
Important: Replaceyour_strong_random_tokenwith a long random string. You can generate it with the commandopenssl rand -base64 32. This token will allow you to access the server's control panel.
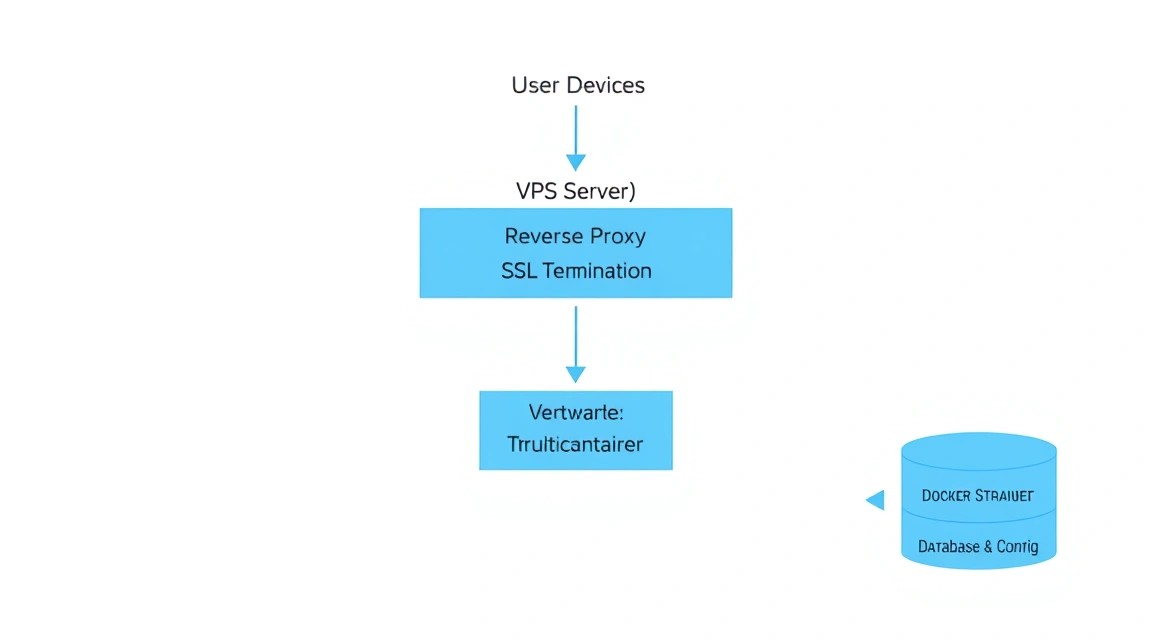
6. Configuring Reverse Proxy and SSL via Caddy
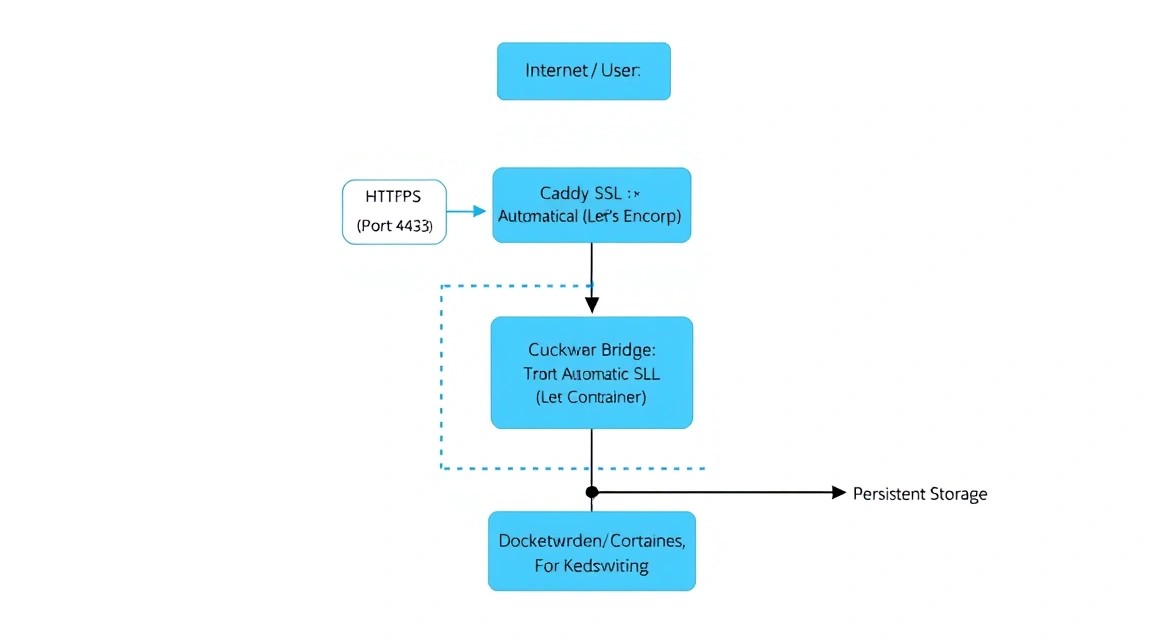
Caddy is a modern web server that automatically obtains and renews SSL certificates from Let's Encrypt or ZeroSSL. This eliminates the need to manually configure certbot and cron jobs.
Create a Caddyfile configuration file in the same directory:
nano Caddyfile
Add the following lines to it (replace pass.yourdomain.com with your real domain):
pass.yourdomain.com {
# Logging (optional)
log {
output file /data/access.log
}
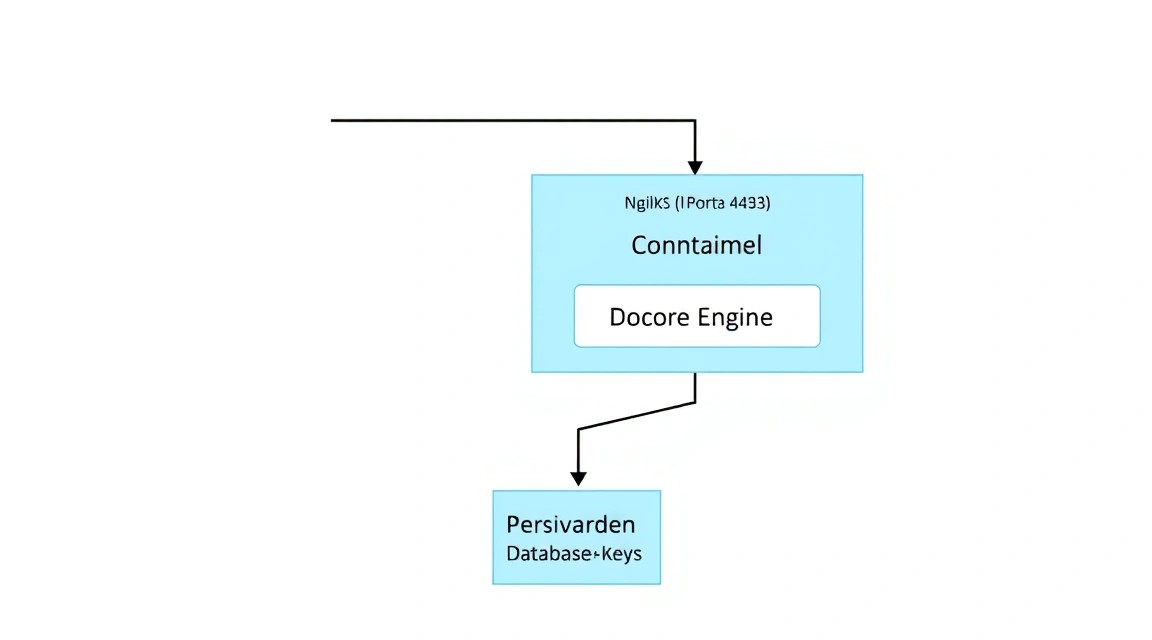
# Proxying requests to the Vaultwarden container
reverse_proxy vaultwarden:80 {
# Header configuration for correct WebSocket operation (needed for instant synchronization)
header_up X-Real-IP {remote_host}
}
}
Before starting, make sure your domain's A-record in the DNS control panel points to your VPS IP address. Now start the whole stack:
docker compose up -d
Docker will download the images and start the containers. Caddy will automatically contact Let's Encrypt and issue a certificate. In 1-2 minutes, your password manager will be available at https://pass.yourdomain.com.
Need a dedicated server?
Compare prices from top providers. Configure and order in minutes.
7. Fine-tuning and Admin Panel
After the first login and registration of your account, it is highly recommended to restrict new user registrations so that unauthorized users cannot use your server.
Go to the admin panel at: https://pass.yourdomain.com/admin. Use the ADMIN_TOKEN that you specified in docker-compose.yml to log in.
Recommended settings in the admin panel:
- General settings: Disable "Allow new signups" if you have already created all the necessary accounts.
- SMTP Settings: Configure email sending (e.g., via SendGrid, Mailgun, or a personal mailbox). This is necessary for email verification and receiving notifications about new logins.
- Security settings: Enable "Duo" or "YubiKey" if you plan to use hardware keys.
To apply the changes (if you change them via a file rather than the admin panel), you need to restart the container:
docker compose up -d --force-recreate
8. Backups and Maintenance
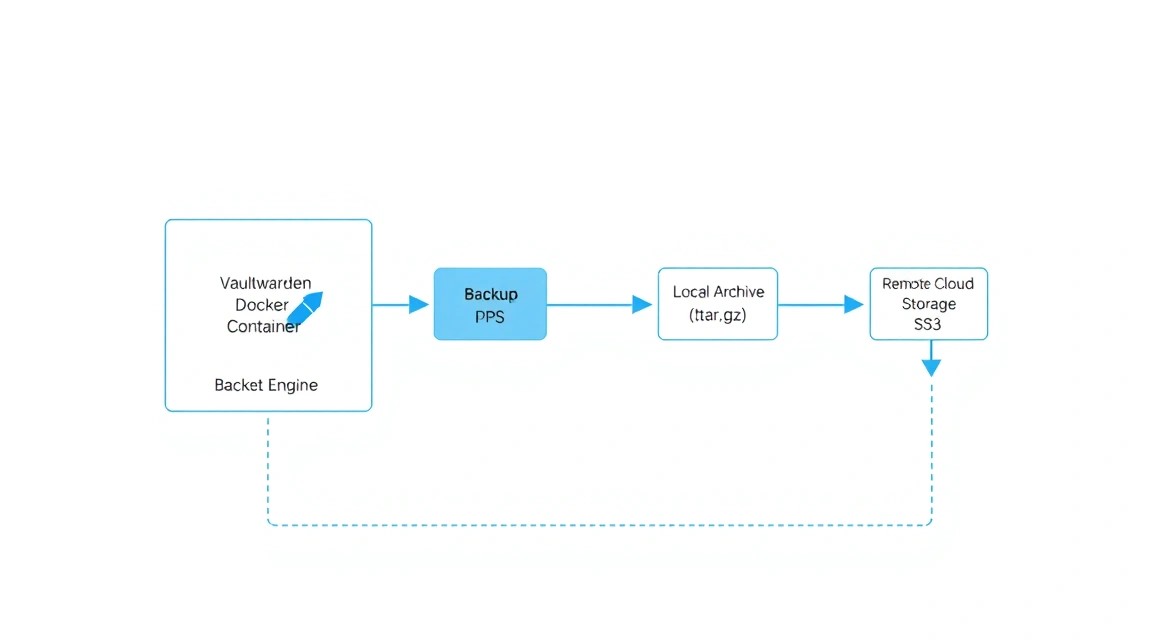
The Vaultwarden database is stored in SQLite by default (the db.sqlite3 file in the vw-data folder). This is convenient because copying a single file is sufficient for a backup. However, this must be done correctly to avoid getting a "corrupt" snapshot while writing to the database.
Simple backup script:
Let's create a backup.sh script:
#!/bin/bash
BACKUP_DIR="/home/user/backups"
TIMESTAMP=$(date +"%Y%m%d_%H%M%S")
SOURCE_DIR="/home/user/vaultwarden/vw-data"

mkdir -p $BACKUP_DIR

# Используем sqlite3 .backup для безопасного копирования запущенной базы
sqlite3 $SOURCE_DIR/db.sqlite3 ".backup '$BACKUP_DIR/db_$TIMESTAMP.sqlite3'"

# Архивируем вложения и конфиги
tar -czf $BACKUP_DIR/attachments_$TIMESTAMP.tar.gz $SOURCE_DIR/attachments

# Удаляем старые бэкапы (старше 30 дней)
find $BACKUP_DIR -type f -mtime +30 -delete
Don't forget to install sqlite3 (sudo apt install sqlite3) and grant execution permissions to the script (chmod +x backup.sh). Configure scheduled execution via crontab -e:
0 3 * /home/user/vaultwarden/backup.sh
This cron job will perform a backup every night at 3:00 AM. Ideally, configure these files to be sent to another storage (S3, Google Drive, or another VPS) using rclone.
9. Troubleshooting + FAQ
SSL Error: Caddy cannot obtain a certificate
Check if ports 80 and 443 are open in UFW (sudo ufw status). Also, make sure the domain is correctly delegated and DNS records have updated. You can see the exact reason in the Caddy logs: docker logs caddy.
Vaultwarden consumes too much memory
Typically, Vaultwarden consumes about 50-100 MB of RAM. If you see values above 500 MB, check the number of active WebSocket connections or logs for cyclic reboot errors. For small VPS, make sure you have a Swap file enabled.
How to update Vaultwarden to the latest version?
The update is performed with three commands:
docker compose pull
docker compose up -d
docker image prune -f
What VPS configuration is the minimum requirement?
1 CPU core and 512 MB RAM are the bare minimum. However, for the smooth operation of Ubuntu OS and Docker in 2026, it is recommended to have at least 1 GB of RAM. This will prevent the OOM Killer (Out of Memory) from triggering during package updates or heavy database operations.
What to choose — VPS or dedicated for this task?
For self-hosting a password manager, a VPS is the optimal choice. You get flexibility, easy scaling, and the ability to take snapshots of the entire system. A dedicated server is only necessary if you are paranoid about sharing a hypervisor with other virtual machines or if the number of users exceeds 500.
Forgot the admin password (Admin Token), what to do?
You can change it in docker-compose.yml in the environment section, then run docker compose up -d. If you have lost the main master password for your account, it is impossible to recover it, as the server does not store it in plain text (zero-knowledge encryption). Only importing from a backup into a new account is possible.
Can Vaultwarden be run without a domain?
Technically, yes, via an IP address. But modern browsers and Bitwarden applications block cryptographic APIs (Web Crypto API) on insecure connections (without HTTPS). Therefore, having a domain and an SSL certificate is a mandatory requirement.
Need a dedicated server?
Compare prices from top providers. Configure and order in minutes.
10. Conclusions and Next Steps
We have successfully deployed a secure, private password manager on our own server. Now you have a tool that does not depend on the policies of third-party companies and is accessible only to you. Using Docker and Caddy makes this installation modern and easy to maintain.
Your next steps:
- Install the Bitwarden extension in your browser and the mobile app on your smartphone. In the app settings, specify your server address (Self-hosted URL).
- Enable two-factor authentication (2FA) for your main account.
- Import passwords from your old manager (Vaultwarden supports importing from CSV/JSON of almost all popular services).
- Set up backup exports to cloud storage for maximum data safety.
Remember that you are now responsible for data security: regularly update the system (apt update && apt upgrade) and keep Docker images up to date.