
Installing and Configuring Appwrite on a VPS: Deploying an Open-Source Firebase Alternative for Your Applications
TL;DR
In this guide, we will walk through the full-cycle deployment process of Appwrite — a powerful open-source Backend-as-a-Service (BaaS) platform — on your own virtual private server (VPS). We will go from choosing the architecture and preparing the OS to configuring SSL certificates, SMTP, and automated backup systems, allowing you to fully control your application data and significantly reduce costs compared to proprietary cloud solutions.
- Full Data Control: All user data and files are stored on your server, not with a third-party provider.
- Cost Savings: No limits on the number of requests, users, or database volume typical of Firebase.
- Scalability: Using Docker containers makes it easy to migrate the system and expand resources.
- Security: Configuring your own firewall, service isolation, and encryption key management.
- Ready for 2026: Using up-to-date versions of Docker Compose V2 and Ubuntu 24.04/26.04 LTS.
1. What We Are Setting Up and Why: The Appwrite Ecosystem
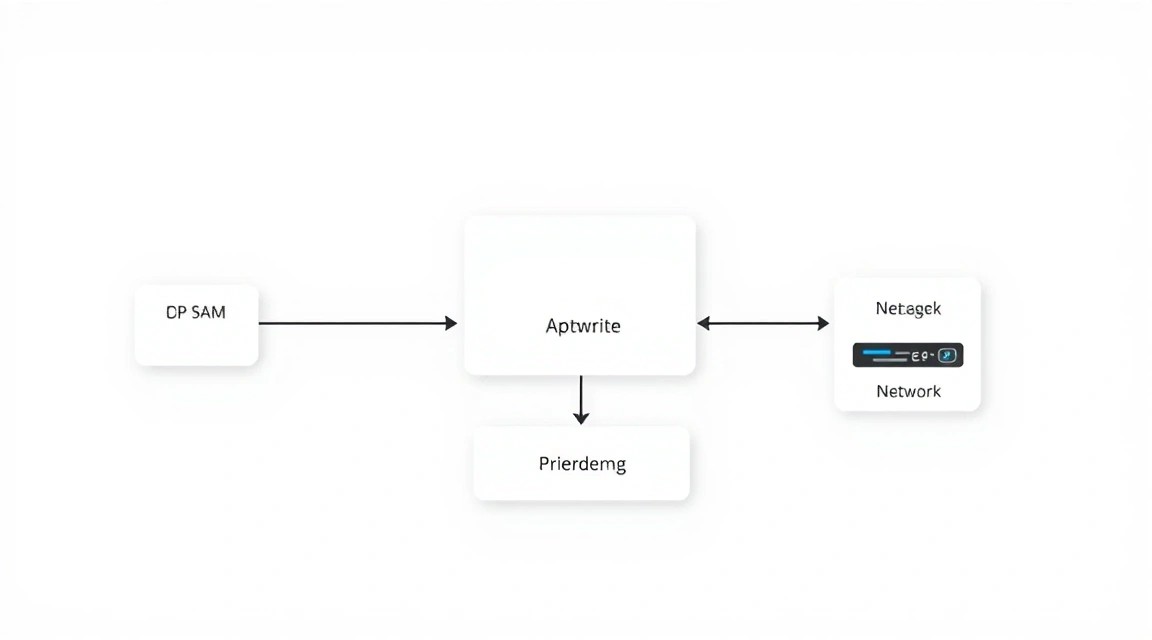
Modern mobile and web application development requires a reliable backend. Historically, developers chose between writing their own API from scratch or using cloud platforms like Google Firebase. However, Firebase imposes serious limitations: you are tied to the Google ecosystem (Vendor Lock-in), costs grow exponentially as you scale, and your data is physically under the control of a corporation.
Appwrite is a revolutionary answer to these challenges. It is a full-fledged Backend-as-a-Service platform delivered as a set of Docker containers. It provides all the necessary tools "out of the box":
- Authentication: Support for Email/Password, Magic Link, OAuth2 (Google, GitHub, Apple, and 30+ other providers), phone numbers.
- Database: Flexible NoSQL-like structure on top of MariaDB with support for collections, documents, and complex access rights.
- Storage: File management with automatic compression, image resizing, and virus scanning.
- Cloud Functions: Ability to run server-side code in various languages (Node.js, Python, PHP, Dart, Go) in response to events.
- Realtime: Instant data synchronization via WebSockets for chats, notifications, and collaboration.
Deploying Appwrite on your own VPS gives you sovereignty. You pay only for server resources, not for the number of monthly active users (MAU) or function calls. In 2026, as data privacy and server localization issues have become critical, self-hosting is no longer just a whim, but a production necessity for businesses of any scale.
2. What VPS Configuration is Needed for This Task
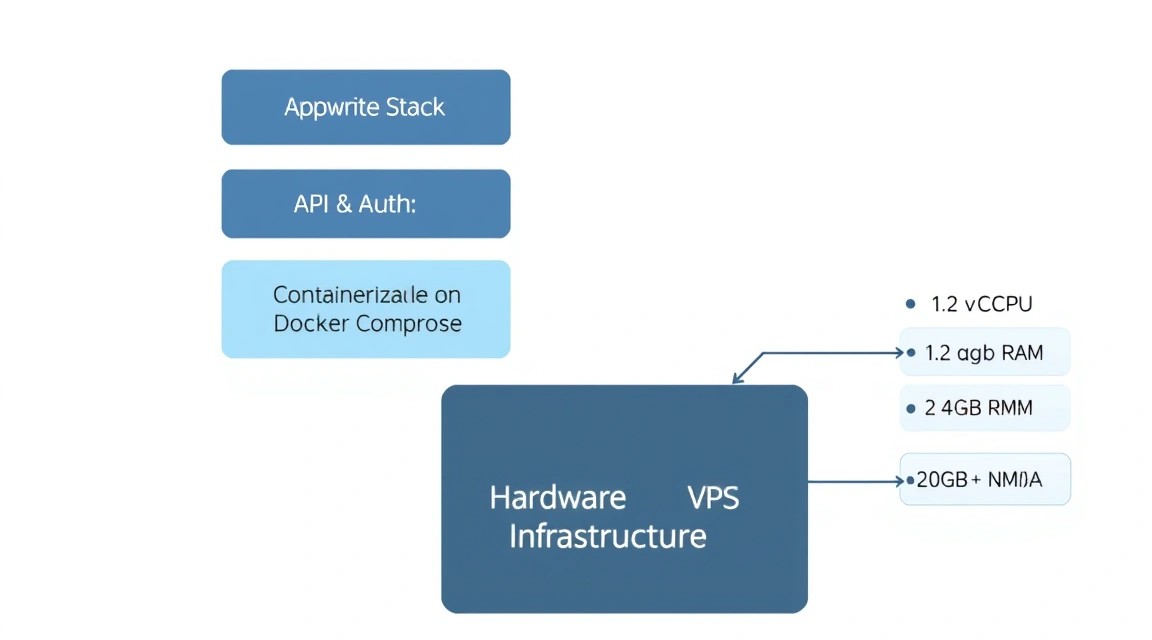
Appwrite is a microservices architecture. Upon startup, about 15-20 containers are deployed (MariaDB, Redis, InfluxDB, Telegraf, Traefik, and Appwrite's own microservices). This requires certain resources for stable operation, especially regarding RAM.
| Feature | Minimum (Dev) | Recommended (Prod) | Enterprise / High Load |
|---|---|---|---|
| Processor (vCPU) | 1 core | 2-4 cores | 8+ cores |
| RAM | 2 GB | 4-8 GB | 16 GB+ |
| Disk (NVMe SSD) | 20 GB | 50-100 GB | 500 GB+ |
| OS | Ubuntu 22.04 LTS | Ubuntu 24.04 LTS | Ubuntu 24.04/26.04 LTS |
For a small project or development stage, a VPS with the specified characteristics (2 vCPU, 4GB RAM) is quite sufficient, as Docker efficiently distributes resources. However, if you plan to actively use Cloud Functions or expect more than 100 simultaneous WebSocket connections, you should consider options with more RAM.
Why a VPS and not shared hosting? Appwrite requires Docker and superuser (root) privileges to manage network interfaces and data volumes. Shared hosting is fundamentally unsuitable for such tasks. In cases where the database load becomes extreme (millions of records), it is recommended to move to a dedicated server to eliminate the influence of "neighbors" on the hypervisor on the I/O disk subsystem performance.
Server Location: Choose a data center as close as possible to your target audience. For users in Europe, locations in the Netherlands or Germany are optimal; for the US, Ashburn or Hillsboro. This minimizes latency (RTT) for Realtime services.
3. Server Preparation: Security and Dependencies
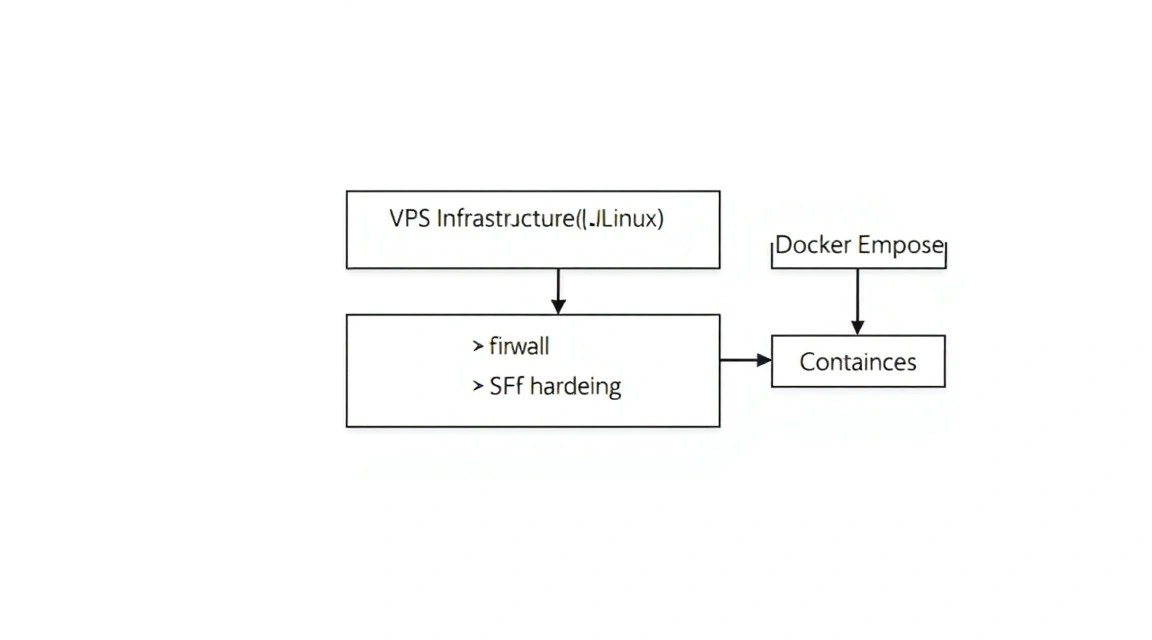
Before installing Docker, it is necessary to prepare the system's "foundation." We will use Ubuntu 24.04 LTS as the most stable and modern base.
First, let's update the packages and install basic utilities:
sudo apt update && sudo apt upgrade -y
sudo apt install -y curl wget git software-properties-common apt-transport-https ca-certificates lsb-release
Security configuration is a critical step. We will create a separate user with sudo privileges and configure a firewall (UFW) to close all unnecessary ports.
# Creating a user (replace 'deploy' with your name)
adduser deploy
usermod -aG sudo deploy

# Firewall configuration
ufw allow OpenSSH
ufw allow 80/tcp
ufw allow 443/tcp
ufw --force enable
It is also recommended to configure Fail2Ban to protect against brute-force attacks on SSH. This is the de facto standard for any server facing the open internet.
sudo apt install -y fail2ban
sudo systemctl enable fail2ban
sudo systemctl start fail2ban
Important nuance: Appwrite uses ports 80 and 443 by default. Make sure that Apache or Nginx are not running on the server, as they might occupy these ports. You can check this with the command sudo lsof -i :80.
4. Software Installation — Step-by-Step Docker Deployment
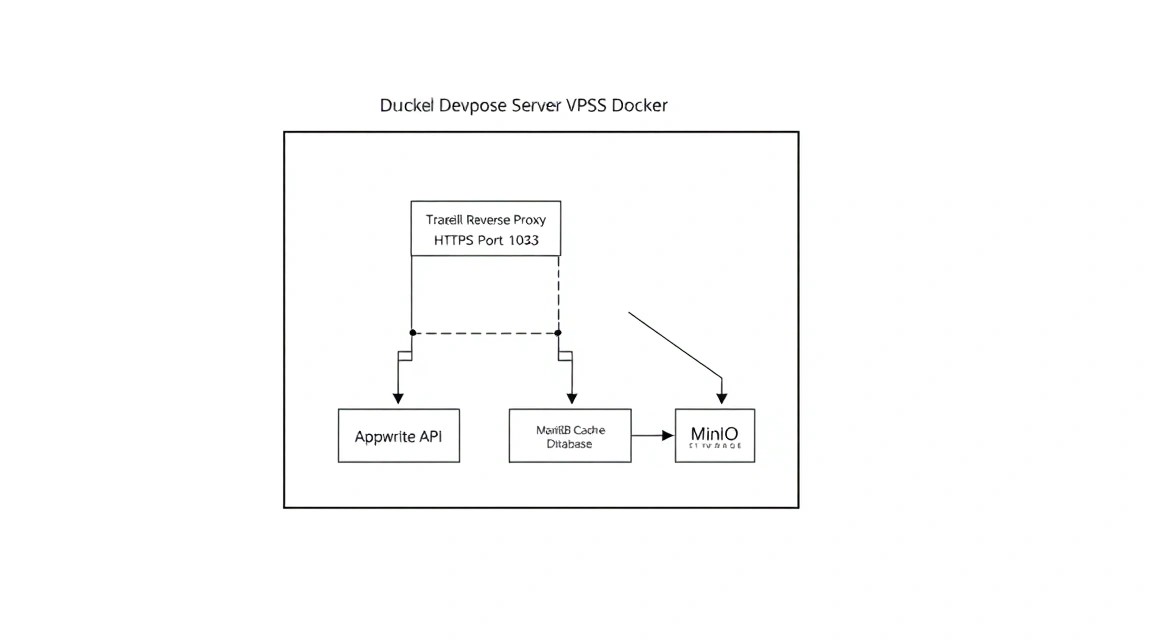
Appwrite relies entirely on Docker. In 2026, we use Docker Engine and Docker Compose V2 (which is now a plugin rather than a separate binary).
Let's install Docker from the official repository:
# Adding Docker GPG key
sudo install -m 0755 -d /etc/apt/keyrings
curl -fsSL https://download.docker.com/linux/ubuntu/gpg | sudo gpg --dearmor -o /etc/apt/keyrings/docker.gpg
sudo chmod a+r /etc/apt/keyrings/docker.gpg

# Adding repository
echo "deb [arch=$(dpkg --print-architecture) signed-by=/etc/apt/keyrings/docker.gpg] https://download.docker.com/linux/ubuntu $(lsb_release -cs) stable" | sudo tee /etc/apt/sources.list.d/docker.list > /dev/null

# Installing components
sudo apt update
sudo apt install -y docker-ce docker-ce-cli containerd.io docker-buildx-plugin docker-compose-plugin
Let's check the functionality and add our user to the docker group so as not to use sudo for every command:
sudo systemctl enable docker
sudo usermod -aG docker $USER
# Apply group changes (or log back into SSH)
newgrp docker
docker --version
5. Appwrite Installation Process: Parameter Breakdown
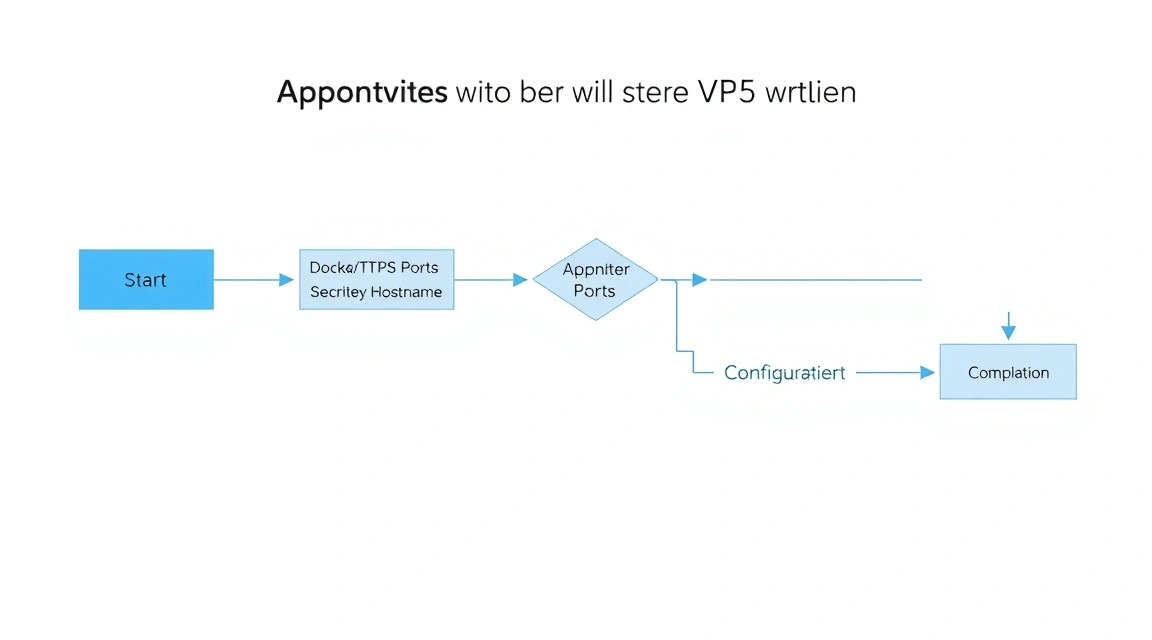
Appwrite provides an interactive installation script that downloads the necessary images and generates the docker-compose.yml and .env files. This is the most reliable deployment method.
# Running the installer
docker run -it --rm \
    --volume /var/run/docker.sock:/var/run/docker.sock \
    --volume "$(pwd)"/appwrite:/usr/src/code/appwrite:rw \
    --entrypoint="install" \
    appwrite/appwrite:latest
During the installation process, the script will ask several important questions:
- Choose your server HTTP port: Leave it as 80 if this is the main service on the server.
- Choose your server HTTPS port: Leave it as 443.
- Choose a unique secret API key: Press Enter to generate a random key. Be sure to save it later from the .env file!
- Choose your server hostname: Specify your domain (e.g.,
api.myapp.com). This is important for generating SSL via Let's Encrypt. - Choose a DNS A record hostname: Specify your domain again.
After the script finishes, an appwrite directory will be created. Navigate to it and start the containers:
cd appwrite
docker compose up -d
The first run may take up to 5-10 minutes, as Docker needs to download about 1.5 GB of images. You can monitor the process with the command docker compose logs -f.
6. Fine-Tuning: SSL, SMTP, and Environment Variables
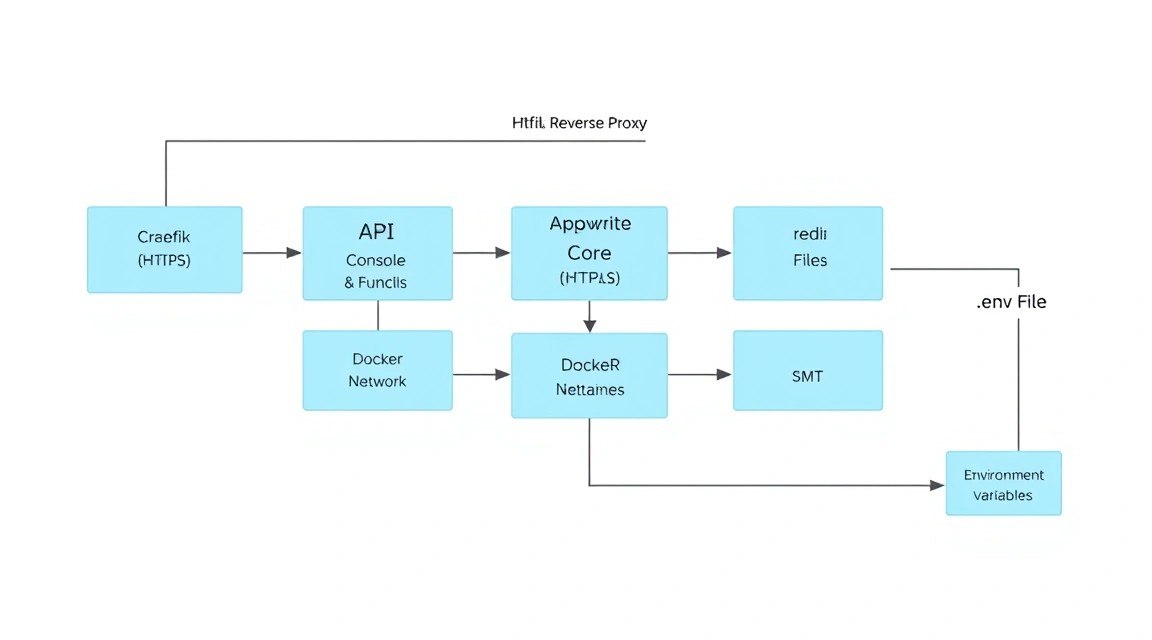
Once the containers are up, Appwrite is accessible via the server's IP address. However, for full functionality (especially for Auth and Cookies), a domain and HTTPS are required.
HTTPS Setup
Appwrite uses the built-in Traefik proxy server. It automatically requests Let's Encrypt certificates if you have specified a valid domain in the settings. Ensure that your domain's A-record in the DNS panel points to your VPS IP.
Mail Setup (SMTP)
Without SMTP, you won't be able to verify user registrations or reset passwords. Open the .env file in the appwrite directory:
nano .env
Find and edit the following parameters (example for Mailgun or SendGrid):
_APP_SMTP_HOST=smtp.mailtrap.io
_APP_SMTP_PORT=587
_APP_SMTP_USER=your_username
_APP_SMTP_PASS=your_password
_APP_SMTP_ENCRYPTION=tls
[email protected]
File Upload Limits
By default, Appwrite may limit the size of uploaded files. If your application works with video or heavy content, change:
_APP_STORAGE_LIMIT=52428800 # Size in bytes (50MB here)
After any changes to .env, you must restart the containers:
docker compose up -d
7. Security Hardening and Performance Optimization
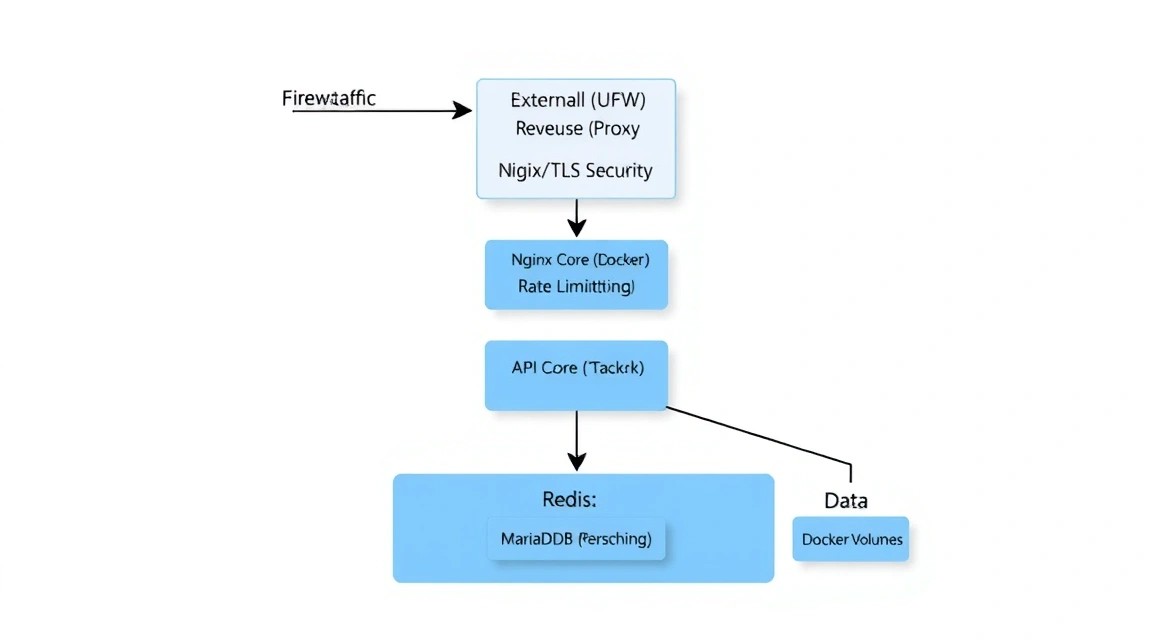
Running "out of the box" is fine for testing, but for production in 2026, additional security steps must be taken.
1. Restricting Dashboard Access: By default, the Appwrite console is accessible to everyone. It is recommended to restrict access to the admin panel by IP at the Traefik level or use a VPN (e.g., WireGuard) to access the server.
2. Database Isolation: Ensure that the MariaDB (3306) and Redis (6379) ports are not open externally in UFW. They should only be accessible within the Docker network.
3. Swap File: If you have a VPS with 2GB or 4GB of RAM, Docker might crash due to memory shortage (OOM Killer). Create a 2-4 GB swap file:
sudo fallocate -l 4G /swapfile
sudo chmod 600 /swapfile
sudo mkswap /swapfile
sudo swapon /swapfile
echo '/swapfile none swap sw 0 0' | sudo tee -a /etc/fstab
4. Log Cleaning: Docker containers can generate gigabytes of logs. Configure rotation in /etc/docker/daemon.json:
{
  "log-driver": "json-file",
  "log-opts": {
    "max-size": "10m",
    "max-file": "3"
  }
}
8. Backups and Maintenance: Data Survival Strategy
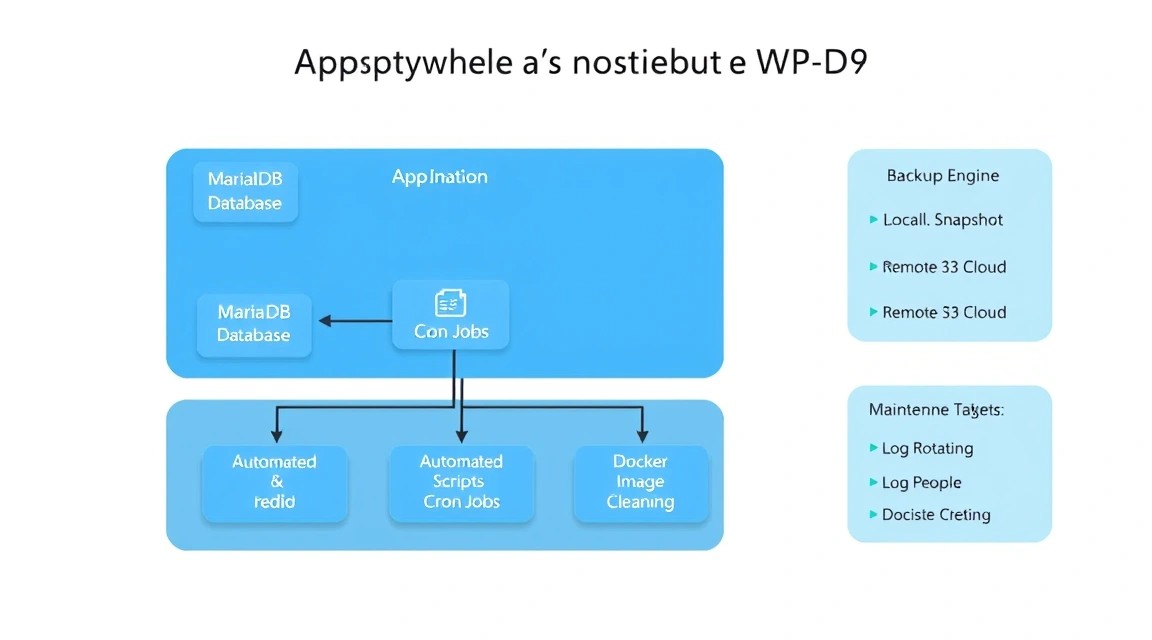
There is nothing worse than losing your user database. In Appwrite, you need to back up three main things:
- The
.envfile (it stores encryption keys — without them, the database data will become useless). - MariaDB database dump.
- The contents of the
storagefolder (uploaded files).
Example of a simple database backup script:
#!/bin/bash
BACKUP_DIR="/home/deploy/backups"
TIMESTAMP=$(date +"%Y%m%d_%H%M%S")
mkdir -p $BACKUP_DIR

# Database dump directly from the container
docker compose exec -T mariadb mysqldump -u user -p'password' appwrite > $BACKUP_DIR/db_backup_$TIMESTAMP.sql

# Compression
tar -czvf $BACKUP_DIR/appwrite_files_$TIMESTAMP.tar.gz ./appwrite/storage
It is recommended to use tools like Restic or BorgBackup to send encrypted backups to remote object storage (S3). This will protect you in case of physical server failure.
Updating Appwrite: The update process is as simple as possible. Change the version in docker-compose.yml (or just leave it as latest) and run:
docker compose pull
docker compose up -d
docker image prune -f # Removing old images to clear space
9. Troubleshooting + FAQ: Solving Common Issues
What is the minimum suitable VPS configuration?
At a minimum, Appwrite will run on 2 GB of RAM and 1 CPU core. However, it will be slow: the console will lag, and functions will execute with delays. For comfortable operation and the ability to run at least a few Cloud Functions, we strongly recommend 4 GB of RAM. This will ensure the stability of the MariaDB database, which is sensitive to cache size.
What to choose — VPS or dedicated for this task?
For 90% of projects, a VPS is sufficient. Modern NVMe drives on VPS provide excellent speed. Switching to a dedicated server is only worth it if you have a huge volume of media files and thousands of simultaneous database requests per second, where guaranteed disk subsystem performance without the influence of other provider clients is important.
'Connection Refused' error when accessing the API?
Check the status of the containers: docker compose ps. Most often, the appwrite-worker-usage or traefik container crashes due to lack of memory. Also, ensure that ports 80/443 are open in the server firewall.
Email confirmation letters are not arriving?
Check the SMTP settings in .env. Remember that many VPS providers block port 25 by default. Use port 587 or 465. You can check the connection with the command: docker compose exec appwrite sh -c "nc -zv smtp.yourserver.com 587".
How to reset the administrator password?
In Appwrite, there is no direct "reset password" command via CLI for the first user. If you have lost access, the easiest way is to create a new user via the UI (if registration is open) and manually grant them administrator rights in the users table via the database, but this requires a deep understanding of the DB structure. It's better to set up SMTP right away.
Appwrite is taking up too much disk space, what should I do?
The main space consumers are InfluxDB containers (metrics) and Docker logs. You can disable metrics collection in .env by setting _APP_USAGE_STATS=disabled if you don't need charts in the admin panel. Also, regularly run docker system prune.
10. Conclusions and Next Steps
We have successfully deployed a full-fledged Appwrite infrastructure on a VPS. Now you have a powerful backend that supports authentication, databases, file storage, and server functions, while maintaining full control over your data and costs.
Your next steps for project development:
- SDK Integration: Connect the Appwrite SDK to your application (Flutter, React, Vue, Swift, or Android).
- CI/CD Setup: Automate the deployment of your Cloud Functions via GitHub Actions so that the code is updated on the server with every push.
- Monitoring: Install Grafana and Prometheus to track server load so you can notice the need for a resource upgrade in time.
Self-hosting is the path to independence. With Appwrite, this path becomes accessible even for small teams, providing enterprise-level tools on a standard virtual server.