Installing Keycloak on a VPS: A Complete Guide to SSO and IAM Setup
TL;DR
In this detailed guide, we will set up Keycloak on your VPS step-by-step, transforming it into a powerful Identity and Access Management (IAM) hub with Single Sign-On (SSO) functionality. You will learn how to install all necessary components, configure Keycloak to work with PostgreSQL and HTTPS via Caddy, and ensure its security and fault tolerance. This will allow you to centralize authentication for your applications, enhance security, and simplify user management.
- Installation and configuration of Keycloak 25.0.0 with PostgreSQL 17.
- Using Docker Compose for easy deployment.
- Automatic acquisition and renewal of TLS certificates with Caddy.
- Basic server protection (SSH, Firewall, Fail2ban).
- Setting up automatic database and configuration backups.
- Recommendations for VPS configuration selection and scaling.
What we are setting up and why
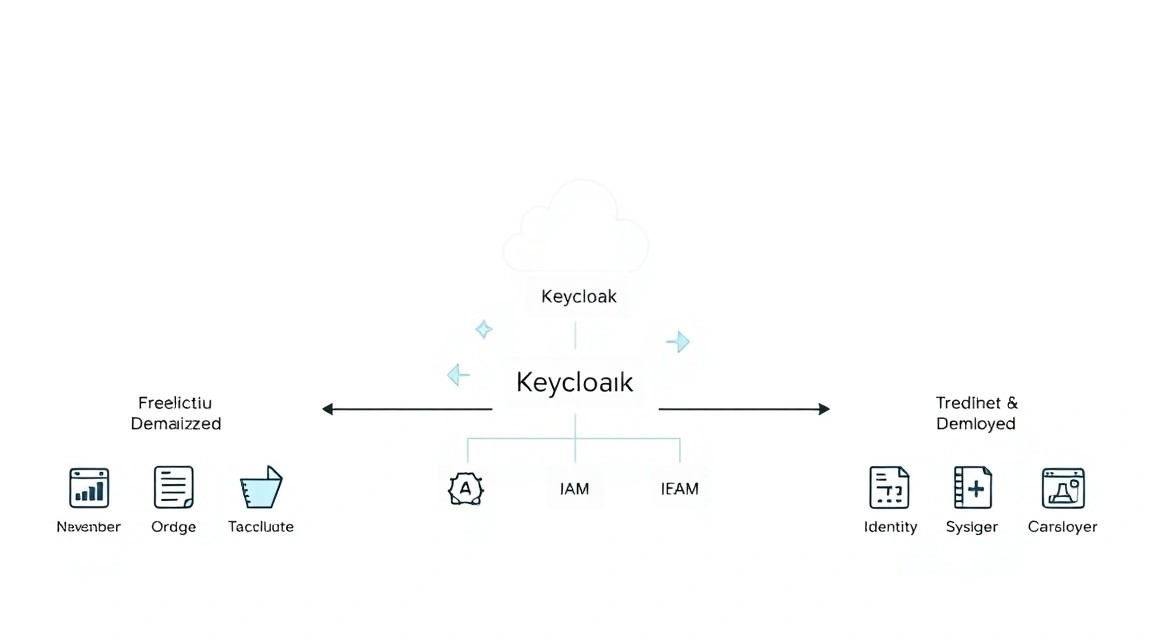
In today's world, where every application requires authentication, managing user accounts can become a real headache. Keycloak solves this problem by providing a powerful Identity and Access Management (IAM) platform with Single Sign-On (SSO) support.
Keycloak is an open-source solution that allows you to centrally manage users, roles, groups, and grant them access to your applications. It supports standard protocols such as OpenID Connect, OAuth 2.0, and SAML 2.0, making it compatible with virtually any modern web application or service. With Keycloak, you can:
- Implement Single Sign-On (SSO): Users only need to authenticate once to access all connected applications without re-entering credentials.
- Manage users and roles: Centralized creation, editing, and deletion of users, assigning them roles and groups.
- Use social login: Easily integrate login via Google, GitHub, Facebook, and other popular providers.
- Apply Multi-Factor Authentication (MFA): Enhance account security.
- Configure identity federation: Connect external providers such as LDAP or Active Directory.
Ultimately, the reader will get a fully configured and ready-to-use Keycloak server that will serve as a central authentication point for their projects. This will significantly simplify the development of new applications, enhance security, and improve the user experience.
Alternatives: Cloud-managed vs Self-hosted
There are commercial cloud IAM/SSO services such as Auth0, Okta, Amazon Cognito, Google Identity Platform. They offer "turnkey" convenience, relieving the burden of maintenance and scaling. However, they have their drawbacks:
- Cost: As the number of users or features grows, costs can quickly become significant.
- Data control: Your authentication data is stored with a third-party provider, which may be unacceptable for security, privacy, or regulatory reasons.
- Flexibility: While cloud services are flexible, they still have limitations in customization and integration that an open-source solution might not.
Self-hosted Keycloak on a VPS offers complete control over your authentication system. It is an ideal choice for developers, solo SaaS founders, companies requiring a high degree of customization, or those looking to minimize operational costs in the long run. You manage all aspects of security, performance, and data, providing maximum freedom and independence.
What VPS configuration is needed for this task
Keycloak, being a Java application, requires sufficient resources, especially RAM. The choice of optimal VPS configuration depends on the anticipated load: the number of users, frequency of authentications, and the number of connected applications.
Minimum requirements for a small installation (up to 500 active users)
- CPU: 2 vCPU (virtual cores). This will be sufficient to handle most requests.
- RAM: 4 GB. Keycloak itself can consume 1.5-2 GB RAM, plus PostgreSQL and the operating system.
- Disk: 50 GB SSD. SSD is critical for database performance and fast Keycloak loading. 50 GB is enough for the OS, Keycloak, and a moderate amount of DB data.
- Network: 100 Mbps. For most tasks, this is more than enough.
Recommended VPS plan for a medium project (up to 5000 active users)
For more serious loads or if you plan to actively use Keycloak with multiple applications and a large number of users, it is recommended to consider the following configuration:
- CPU: 4 vCPU. Will provide better responsiveness during peak loads.
- RAM: 8 GB. Will allow Keycloak and PostgreSQL to cache data more efficiently and process more concurrent requests.
- Disk: 100-200 GB SSD. A larger disk volume will provide space for logs, backups, and database growth.
- Network: 1 Gbps. For high-load applications.
For renting a VPS with the specified characteristics, you can choose a VPS with 4 vCPU, 8 GB RAM, and 100 GB SSD.
When a dedicated server is needed, not a VPS
A dedicated server becomes necessary when:
- Very high load: Thousands of simultaneous requests, tens of thousands of active users.
- Performance requirements: Guaranteed performance is needed without "neighboring" other users on the same physical server.
- Specific hardware requirements: For example, hardware security modules (HSM) or a very large amount of RAM/disk.
- Strict compliance standards: Some regulatory requirements may mandate the use of physically isolated hardware.
For such cases, when maximum performance and isolation are required, you can consider a suitable dedicated server.
Location: what it affects
Choosing a VPS location is important for several reasons:
- Latency: The closer the server is to your users and applications, the lower the latency. This is critical for interactive services.
- Data legislation: Depending on where your users are located and where you conduct business, various laws on personal data storage and processing may apply (e.g., GDPR in Europe). Choosing a server location that complies with these laws is mandatory.
- Availability: Placing servers in different geographical locations can increase the fault tolerance of your infrastructure.
Always choose a location that is as close as possible to the primary audience of your applications.
Server preparation
Before installing Keycloak, you need to perform basic setup of the new VPS to ensure security and stability. We will use Ubuntu Server 24.04 LTS as the operating system.
1. System update
First, update all packages to their current versions.
sudo apt update && sudo apt upgrade -y
This command updates the list of available packages and then upgrades installed packages to the latest versions.
2. Creating a new user and configuring SSH access
For increased security, it is not recommended to work as the root user. Let's create a new user and grant them sudo privileges.
# Create a new user (replace 'youruser' with your desired name)
sudo adduser youruser
# Add the user to the sudo group
sudo usermod -aG sudo youruser
Now, copy your public SSH key for the new user. From your local machine:
ssh-copy-id youruser@your_vps_ip
After this, exit the root session and log in as the new user.
exit
ssh youruser@your_vps_ip
3. Configuring SSH server
Disable password login and root user login, leaving only key authentication.
sudo nano /etc/ssh/sshd_config
Find and change the following lines:
# Forbid root user login
PermitRootLogin no
# Forbid password login
PasswordAuthentication no
# Allow only key authentication
PubkeyAuthentication yes
Save changes (Ctrl+O, Enter) and exit (Ctrl+X). Restart the SSH server:
sudo systemctl restart sshd
Important: Make sure you can log in as the new user with an SSH key before closing the current session!
4. Configuring firewall (UFW)
Uncomplicated Firewall (UFW) is an easy-to-use interface for iptables. Let's configure it to allow only necessary ports.
# Allow SSH (port 22, if you haven't changed it)
sudo ufw allow OpenSSH
# Allow HTTP (port 80)
sudo ufw allow http
# Allow HTTPS (port 443)
sudo ufw allow https
# Enable the firewall
sudo ufw enable
# Check firewall status
sudo ufw status
The output of sudo ufw status should show that SSH, HTTP, and HTTPS are allowed.
5. Installing Fail2ban
Fail2ban scans logs and blocks IP addresses showing signs of malicious activity (e.g., multiple failed SSH login attempts).
# Install Fail2ban
sudo apt install fail2ban -y
# Copy the default configuration file
sudo cp /etc/fail2ban/jail.conf /etc/fail2ban/jail.local
# Start and enable Fail2ban
sudo systemctl enable fail2ban
sudo systemctl start fail2ban
# Check status
sudo systemctl status fail2ban
Fail2ban protects SSH by default. You can configure it to protect other services by editing /etc/fail2ban/jail.local.
6. Installing basic utilities
Let's install some useful utilities that will come in handy during setup and monitoring.
sudo apt install curl wget git htop net-tools -y
Now your server is ready for the main software installation.
Software Installation — Step-by-Step
For ease of deployment and management, we will use Docker and Docker Compose. This will allow Keycloak and PostgreSQL to be isolated, simplifying their updates and configuration. All versions are current for 2026.
1. Docker Installation
Let's install Docker Engine on Ubuntu.
# Remove old Docker versions, if any
for pkg in docker.io docker-doc docker-compose docker-ce docker-ce-cli containerd.io docker-buildx-plugin docker-compose-plugin; do sudo apt remove $pkg; done

# Install necessary packages
sudo apt install ca-certificates curl gnupg lsb-release -y

# Add Docker's official GPG key
sudo install -m 0755 -d /etc/apt/keyrings
curl -fsSL https://download.docker.com/linux/ubuntu/gpg | sudo gpg --dearmor -o /etc/apt/keyrings/docker.gpg
sudo chmod a+r /etc/apt/keyrings/docker.gpg

# Add Docker repository to APT
echo \
  "deb [arch="$(dpkg --print-architecture)" signed-by=/etc/apt/keyrings/docker.gpg] https://download.docker.com/linux/ubuntu \
  "$(. /etc/os-release && echo "$VERSION_CODENAME")" stable" | \
  sudo tee /etc/apt/sources.list.d/docker.list > /dev/null

# Update package list and install Docker Engine
sudo apt update
sudo apt install docker-ce docker-ce-cli containerd.io docker-buildx-plugin docker-compose-plugin -y

# Add current user to the docker group to work without sudo
sudo usermod -aG docker youruser
Log out of your current SSH session and log back in for group changes to take effect. Verify Docker installation:
docker run hello-world
If you see a welcome message from Docker, the installation was successful.
2. Caddy Installation (Reverse Proxy and TLS)
Caddy is a powerful, easy-to-configure web server that automatically obtains and renews TLS certificates from Let's Encrypt. This significantly simplifies HTTPS setup.
# Install necessary packages
sudo apt install -y debian-keyring debian-archive-keyring apt-transport-https

# Add Caddy's official GPG key
curl -1sLf 'https://dl.cloudsmith.io/public/caddy/stable/gpg.key' | sudo gpg --dearmor -o /usr/share/keyrings/caddy-stable-archive-keyring.gpg

# Add Caddy repository to APT
curl -1sLf 'https://dl.cloudsmith.io/public/caddy/stable/debian.deb.txt' | sudo tee /etc/apt/sources.list.d/caddy-stable.list

# Update package list and install Caddy
sudo apt update
sudo apt install caddy -y

# Check Caddy status
sudo systemctl status caddy
Caddy will be installed as a system service, but we will not configure it yet; this will be done later.
3. Creating a Docker Compose File for Keycloak and PostgreSQL
Let's create a directory for the Keycloak project and the file docker-compose.yml.
mkdir keycloak-sso
cd keycloak-sso
nano docker-compose.yml
Paste the following content. We are using Keycloak 25.0.0 and PostgreSQL 17.
version: '3.8'

services:
  keycloak:
    image: quay.io/keycloak/keycloak:25.0.0 # Current Keycloak version
    container_name: keycloak
    environment:
      KEYCLOAK_ADMIN: admin # Keycloak administrator name
      KEYCLOAK_ADMIN_PASSWORD: ${KEYCLOAK_ADMIN_PASSWORD} # Administrator password (will be taken from .env)
      KC_DB: postgres # Use PostgreSQL
      KC_DB_URL: jdbc:postgresql://db:5432/keycloak # Database URL
      KC_DB_USERNAME: keycloak # DB user
      KC_DB_PASSWORD: ${KEYCLOAK_DB_PASSWORD} # DB password (will be taken from .env)
      KC_HOSTNAME: ${KEYCLOAK_HOSTNAME} # Keycloak domain name (will be taken from .env)
      KC_PROXY: edge # Important for working with a reverse proxy
      KC_HTTP_ENABLED: 'true' # Keycloak will listen on HTTP for the proxy
      KC_HTTP_PORT: 8080 # Port on which Keycloak listens for HTTP
      KC_HEALTH_ENABLED: 'true' # Enable Health Check
      KC_METRICS_ENABLED: 'true' # Enable metrics
      JAVA_OPTS_APPEND: -Dquarkus.log.level=INFO -Dquarkus.log.category."org.keycloak".level=INFO # Logging settings
    ports:
      - "8080:8080" # Keycloak's internal port, proxied by Caddy
    volumes:
      - ./keycloak-data:/opt/keycloak/data # Persistent storage for Keycloak data
    command: start --optimized --hostname-strict=false # Start Keycloak in optimized mode
    depends_on:
      db:
        condition: service_healthy
    restart: always

  db:
    image: postgres:17-alpine # Current PostgreSQL version
    container_name: keycloak-db
    environment:
      POSTGRES_DB: keycloak # Database name
      POSTGRES_USER: keycloak # Database user
      POSTGRES_PASSWORD: ${KEYCLOAK_DB_PASSWORD} # Database password (will be taken from .env)
    volumes:
      - ./postgres-data:/var/lib/postgresql/data # Persistent storage for DB data
    healthcheck: # DB health check
      test: ["CMD-SHELL", "pg_isready -U keycloak"]
      interval: 5s
      timeout: 5s
      retries: 5
    restart: always
Save the file (Ctrl+O, Enter) and exit (Ctrl+X).
4. Creating the .env file
To store sensitive data and the domain name, let's create a .env file.
nano .env
Paste the following content, replacing the placeholders with your actual values:
KEYCLOAK_ADMIN_PASSWORD=YourStrongAdminPassword123! # Change to a strong password
KEYCLOAK_DB_PASSWORD=YourStrongDBPassword456! # Change to a strong password for the DB
KEYCLOAK_HOSTNAME=auth.yourdomain.com # Replace with your domain for Keycloak (e.g., keycloak.example.com)
Important: Make sure you use very strong passwords and that the domain name auth.yourdomain.com (or any other you choose) already points to your VPS's IP address in your DNS records.
5. Starting Keycloak and PostgreSQL
Now you can start the containers using Docker Compose.
docker compose up -d
This command will start Keycloak and PostgreSQL in the background. Docker Compose will first create networks and volumes, then start the PostgreSQL container, wait for it to be ready (healthcheck), and then start Keycloak.
Check the container status:
docker compose ps
Both containers should be in the "running" state.