bolt Valebyte VPS from $4/mo — NVMe, 60s deploy.

Get a VPS arrow_forward
eco Beginner Tutorial/How-to

Deploying FreeIPA on a VPS for

calendar_month Sep 04, 2026 schedule 19 min read visibility 24 views
Развёртывание FreeIPA на VPS для централизованного управления идентификацией
info

Need a server for this guide? We offer dedicated servers and VPS in 50+ countries with instant setup.

Need a server for this guide?

Deploy a VPS or dedicated server in minutes.

Deploying FreeIPA on a VPS for Centralized Identity Management

TL;DR

In this guide, we will step-by-step configure FreeIPA on a Virtual Private Server (VPS) to create a centralized identity and access management system. FreeIPA combines Kerberos, LDAP, DNS, and Certificate Authority, providing a single point for authenticating users and machines, managing access, and issuing certificates in your Linux-based infrastructure.

  • You will deploy FreeIPA 4.10 on Ubuntu Server 24.04 LTS.
  • You will configure a basic identity infrastructure, including DNS and Kerberos.
  • You will learn to manage users, groups, and hosts via the web interface and command line.
  • You will secure the server using UFW and Fail2ban.
  • You will receive recommendations for FreeIPA backup and maintenance.

What we are configuring and why
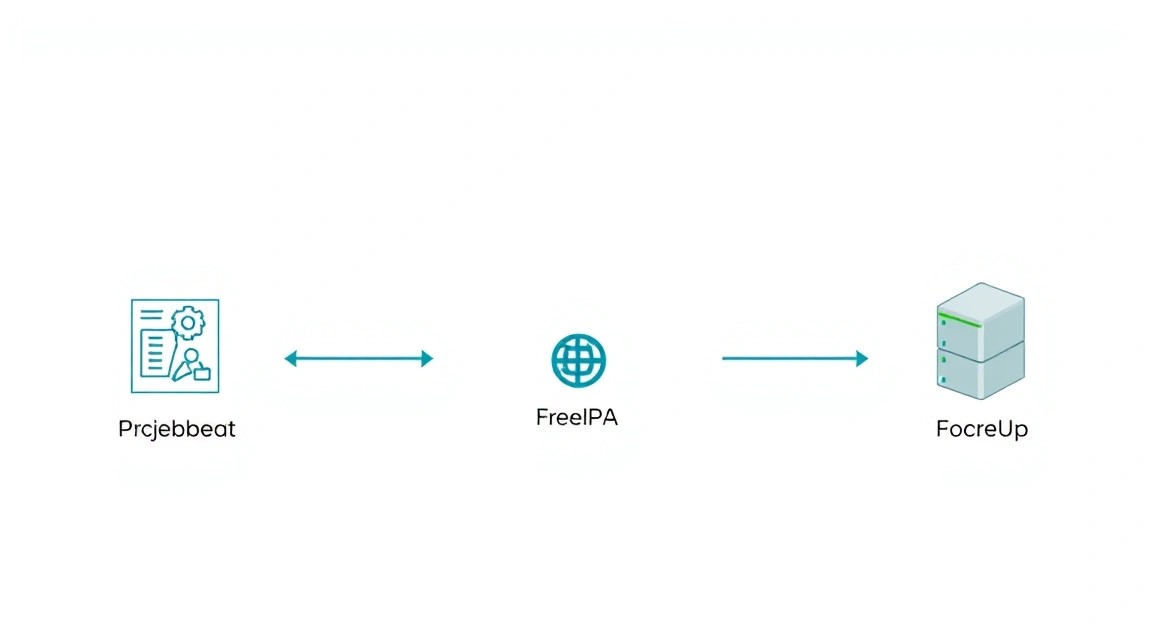
Diagram: What we are configuring and why

FreeIPA (Identity, Policy and Audit) is an integrated open-source solution for centralized identity, policy, and audit management in predominantly Linux/Unix environments. Essentially, it is a powerful toolkit that combines several key components: Kerberos for authentication, LDAP (389 Directory Server) for storing identity information, DNS for name resolution, and Certificate Authority (Dogtag) for certificate management.

By deploying FreeIPA on a VPS, you create a single point of management for all your servers, workstations, and applications. This means that users can log in to various machines using the same credentials (Single Sign-On, SSO), and administrators gain centralized control over access, groups, and security policies. Instead of creating local users on each machine or manually synchronizing passwords, FreeIPA automates this process, significantly simplifying administration and enhancing security.

Ultimately, the reader will have a fully functional FreeIPA system capable of managing identity for dozens and hundreds of systems. You will be able to create users, groups, assign them access rights (e.g., via HBAC — Host-Based Access Control), manage DNS records for your infrastructure, and even issue TLS certificates for internal services. This is an ideal solution for small and medium-sized teams that need a powerful yet manageable IDM system without the cost of proprietary solutions or the complexity of configuring individual components.

There are alternatives to FreeIPA. The most well-known include: OpenLDAP (as a standalone component), Microsoft Active Directory (for Windows environments, but with Linux integration capabilities), as well as cloud solutions like Okta, Auth0, or Azure AD. The choice of a self-hosted solution on a VPS, such as FreeIPA, is driven by several factors:

  • Full Control: You have complete control over the data, configuration, and security of your identity system, which is critical for some organizations.
  • Cost Savings: The absence of monthly fees for cloud services can significantly reduce operational costs, especially if you already have a paid VPS.
  • Flexibility: The ability to fine-tune settings for specific needs, integrate with local services that may not have direct connectors to cloud IDMs.
  • Privacy: Data remains on your server, which is important for complying with regulatory requirements and privacy policies.

Deploying FreeIPA on a VPS strikes a balance between enterprise-level functionality and accessibility for individual developers, startups, or enthusiasts.

What VPS configuration is needed for this task
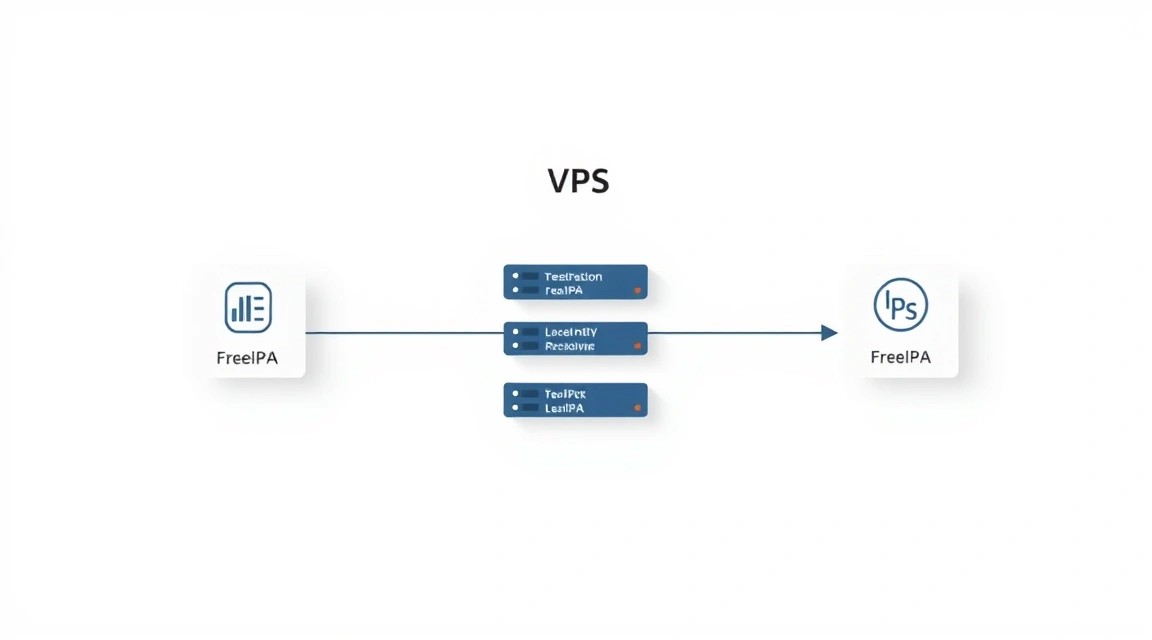
Diagram: What VPS configuration is needed for this task

For deploying FreeIPA, especially in a test or small production environment, resource requirements are relatively moderate. However, as with any critical infrastructure service, it is recommended to have some headroom.

Minimum Requirements:

  • CPU: 2 cores. FreeIPA actively uses the processor for Kerberos and LDAP requests, as well as for certificate operations.
  • RAM: 4 GB. This is a critical parameter. The LDAP server and Kerberos KDC can consume a significant amount of memory, especially under high load or with a large number of users.
  • Disk: 50 GB SSD. SSD significantly speeds up the operation of the LDAP database and other components. 50 GB is sufficient for the operating system, FreeIPA, and a small volume of logs. Larger deployments or long-term log storage will require more.
  • Network: 100 Mbps. For most tasks, this is sufficient, as FreeIPA traffic is usually not very intensive, unless you are replicating it between geographically distant nodes.

Recommended VPS plan for medium usage (up to 1000 users/hosts):

  • CPU: 4 cores.
  • RAM: 8 GB.
  • Disk: 100-150 GB SSD.
  • Network: 1 Gbps.

For these characteristics, you can consider a VPS with the specified characteristics. It is important that the provider offers the ability to configure reverse DNS records (PTR), as this is critical for the correct operation of Kerberos.

When a dedicated server is needed, not a VPS:

A dedicated server becomes preferable for FreeIPA in the following cases:

  • Very large number of users/hosts: More than 5000-10000 objects in the directory.
  • High request intensity: If FreeIPA is used for authenticating many high-load applications or services.
  • I/O performance requirements: For very active read/write operations to the LDAP directory, where VPS SSD performance might become a bottleneck.
  • Specific security or compliance requirements: Some regulatory requirements may dictate the use of physically isolated hardware.
  • Need for hardware security modules: For example, for using Hardware Security Modules (HSM) to protect CA keys.

In such scenarios, a suitable dedicated server will provide the necessary performance and isolation.

Location: what it affects

  • Latency: Choose a VPS location that is geographically close to most of your FreeIPA users and clients. This minimizes latency during authentication and directory access.
  • Geopolitics and Legislation: Depending on the sensitivity of the data and storage requirements, the jurisdiction in which your VPS is located can be critical. Consider data protection laws (e.g., GDPR).
  • Network Connectivity: Some locations have better connectivity to certain regions of the world, which can be important for globally distributed teams.

Server Preparation
Diagram: Server Preparation

Before installing FreeIPA, you need to perform basic operating system configuration. In this guide, we will use Ubuntu Server 24.04 LTS, which will be current and supported in 2026. Make sure you have SSH access to the server with root privileges or a user with sudo.

1. System Update

First, update all packages to the latest versions to ensure stability and security.


sudo apt update && sudo apt upgrade -y

This command updates the list of available packages and then installs all available updates without prompting for confirmation.

2. Hostname and DNS Configuration

FreeIPA is extremely sensitive to correct DNS and hostname configuration. Use a Fully Qualified Domain Name (FQDN) for your FreeIPA server. For example, ipa.example.com.


sudo hostnamectl set-hostname ipa.example.com

Set the server's hostname. Replace ipa.example.com with your actual FQDN.


echo "127.0.0.1   ipa.example.com ipa localhost" | sudo tee -a /etc/hosts
echo "::1         ipa.example.com ipa localhost" | sudo tee -a /etc/hosts

Add the FQDN entry to the /etc/hosts file. This ensures that the server can resolve its own name.

Ensure that your FQDN resolves to the public IP address of your VPS. This needs to be configured with your DNS provider (e.g., Cloudflare, Namecheap, GoDaddy). Create an A-record for ipa.example.com pointing to your VPS's IP address.

3. Create a sudo user (if not root)

For better security, it is recommended to work as a regular user with sudo privileges rather than as root.


sudo adduser username
sudo usermod -aG sudo username

Create a new user (replace username) and add them to the sudo group.

After this, exit the root session and log in as the new user.

4. SSH Key Configuration

To enhance SSH access security, it is recommended to use key-based authentication instead of passwords.


# On your local machine
ssh-keygen -t rsa -b 4096 -C "[email protected]"
ssh-copy-id username@your_vps_ip

On your local machine, generate an SSH key (if you don't have one) and copy the public key to the VPS. Then, on the VPS, disable password authentication.


sudo nano /etc/ssh/sshd_config

Find the lines:


#PasswordAuthentication yes
#PermitRootLogin yes

Change them to:


PasswordAuthentication no
PermitRootLogin no

Restart the SSH service:


sudo systemctl restart sshd

5. Firewall Configuration (UFW)

UFW (Uncomplicated Firewall) is an easy-to-use interface for iptables. FreeIPA requires several ports to be open.


sudo apt install ufw -y
sudo ufw allow OpenSSH
sudo ufw allow http
sudo ufw allow https
sudo ufw allow 80/tcp
sudo ufw allow 443/tcp
sudo ufw allow 389/tcp   # LDAP
sudo ufw allow 636/tcp   # LDAPS
sudo ufw allow 88/tcp    # Kerberos (TCP)
sudo ufw allow 88/udp    # Kerberos (UDP)
sudo ufw allow 464/tcp   # Kerberos (TCP)
sudo ufw allow 464/udp   # Kerberos (UDP)
sudo ufw allow 123/udp   # NTP
sudo ufw allow 53/tcp    # DNS (TCP)
sudo ufw allow 53/udp    # DNS (UDP)
sudo ufw enable
sudo ufw status verbose

Install UFW, allow the necessary ports for SSH, HTTP/HTTPS, LDAP, Kerberos, NTP, and DNS, then enable the firewall and check its status.

6. Install Fail2ban

Fail2ban protects the server from brute-force attacks by blocking IP addresses that generate multiple failed login attempts.


sudo apt install fail2ban -y
sudo systemctl enable fail2ban
sudo systemctl start fail2ban

Install Fail2ban and ensure it is running and will start on every system boot.

Your server is now ready for FreeIPA installation.

Software Installation — Step-by-step

Software Installation — Step-by-Step
Diagram: Software Installation — Step-by-Step

In this section, we will install FreeIPA 4.10 on Ubuntu Server 24.04 LTS step-by-step. The process includes package installation, server initialization, and basic DNS configuration.

1. Installing FreeIPA Packages

FreeIPA is available in the standard Ubuntu repositories. Install the main ipa-server package and its dependencies.


sudo apt update
sudo apt install ipa-server -y

This command will update the package list and install the FreeIPA server with all necessary components, such as 389 Directory Server, BIND, Kerberos KDC, and Dogtag CA.

2. Running the FreeIPA Installation Script

After installing the packages, you need to run the ipa-server-install script, which will initialize all FreeIPA components. This script is interactive and will ask you several questions.


sudo ipa-server-install

Below are typical answers to the script's questions:

  • Do you want to configure integrated DNS? [no]: Enter yes. Integrated DNS simplifies management and is the recommended approach for most FreeIPA deployments.
  • Server host name [ipa.example.com]: Confirm your server's FQDN. Press Enter if it is correct.
  • Please enter the name of the domain for which you want to configure FreeIPA. [example.com]: Enter the FreeIPA domain. This is the domain that will be used for Kerberos and LDAP. For example, example.com.
  • Please enter the name of the realm for which you want to configure FreeIPA. [EXAMPLE.COM]: Confirm the Kerberos Realm (usually your domain in uppercase). Press Enter.
  • The IPA server will be configured with: Check the proposed settings.
  • Continue to configure the system with these values? [no]: Enter yes.
  • Directory Manager password: Enter and confirm the password for the Directory Manager user. This is a very important password; use a strong one.
  • IPA admin password: Enter and confirm the password for the FreeIPA admin user. This is the primary administrative user for managing FreeIPA. Also use a strong password.

The installation process will take some time (5-15 minutes), as FreeIPA configures the LDAP server, Kerberos Key Distribution Center (KDC), Certificate Authority (CA), and DNS server.

3. Checking FreeIPA Service Status

After the installation is complete, ensure that all FreeIPA services are running correctly.


sudo ipactl status

This command will show the status of all FreeIPA components (Directory Server, KDC, NTP, DNS, Web UI, CA). All of them should be in a running state.

4. Configuring the Client Environment on the FreeIPA Server

To use FreeIPA commands and the web interface, you need to configure Kerberos authentication for the admin user on the server itself.


kinit admin

Enter the FreeIPA administrator password you set during installation. This command will obtain a Kerberos ticket for the admin user, allowing them to interact with FreeIPA.


ipa user-find admin

Verify that the ipa user-find admin command successfully returns information about the admin user. This indicates that Kerberos authentication is working.

5. Configuring the DNS Client on the Server (Optional, but Recommended)

Although FreeIPA has configured its own DNS server, ensure that your VPS uses it for name resolution. This is especially important for FreeIPA clients.


# Temporarily set the FreeIPA DNS server as primary
echo "nameserver 127.0.0.1" | sudo tee /etc/resolv.conf

This command will set the local DNS server (which now serves FreeIPA) as the primary one. In more complex configurations, you can use systemd-resolved or other methods for permanent setup.

Check DNS resolution:


dig ipa.example.com
dig example.com

Both commands should correctly resolve your domains using the local FreeIPA DNS server.

6. Accessing the Web Interface

You can now access the FreeIPA web interface by navigating to https://ipa.example.com/ipa/ui/ in your browser. Upon first access, you will encounter a self-signed certificate warning. This is normal, as FreeIPA has deployed its own Certificate Authority. You can add this certificate to your browser's exceptions or import the FreeIPA CA certificate into your operating system's trusted stores.

Log in as the admin user with the password you set earlier.
Configuration

Diagram: Configuration

After successfully installing FreeIPA, it's time for basic configuration. We will create the first user, add a host, and configure a client machine to work with FreeIPA.

1. Creating a New User

For security reasons and daily operations, it is not recommended to use the admin account. We will create a new regular user.


kinit admin # If your Kerberos ticket has expired
ipa user-add user01 --first=User --last=One --password

You will be prompted to enter and confirm the password for user01. After creation, you can reset the password expiration so it doesn't expire immediately (for testing).


ipa user-mod user01 --setattr=krbPasswordExpiration=20300101000000Z

This command will set the password expiration date to January 1, 2030. In a real environment, it's better to use password policies.

2. Adding a Host to FreeIPA

For other Linux servers to authenticate via FreeIPA, they must be registered in the FreeIPA directory.


ipa host-add client01.example.com

Replace client01.example.com with the FQDN of your client machine. Ensure that this machine has an A-record in DNS pointing to its IP address.

3. Configuring the Client Machine (Ubuntu Server 24.04)

To integrate a client machine with FreeIPA, install the freeipa-client package and run the configuration script.

On the client machine, perform the following steps:


sudo apt update && sudo apt upgrade -y
sudo hostnamectl set-hostname client01.example.com
echo "192.168.1.100 ipa.example.com" | sudo tee -a /etc/hosts # Replace the IP address with the IP of your FreeIPA server
echo "nameserver 192.168.1.100" | sudo tee /etc/resolv.conf # Replace the IP address with the IP of your FreeIPA server
sudo apt install freeipa-client -y

Set the hostname, add an entry for the FreeIPA server to /etc/hosts, and configure the DNS server to the IP address of your FreeIPA server. Then install the FreeIPA client package.

Now run the client configuration script:


sudo ipa-client-install --domain=example.com --server=ipa.example.com --realm=EXAMPLE.COM --force-join --mkhomedir -p admin --password  --unattended

Replace example.com, ipa.example.com, EXAMPLE.COM, and <ADMIN_PASSWORD> with your values. The --mkhomedir option creates a home directory for FreeIPA users upon first login. --unattended and -p admin --password allow automating the process if you are confident in the parameters. In interactive mode, the script will prompt for the FreeIPA administrator password.

After completing the client installation on the client machine:


kinit user01

Enter the user01 password. If the Kerberos ticket is successfully obtained, it means the client machine is successfully integrated.


ssh user01@localhost

Attempt to log in to the client machine as user user01. If the login is successful and a home directory was created, the integration was successful.

4. Configuring TLS/HTTPS (FreeIPA CA)

FreeIPA by default uses its built-in Certificate Authority (CA) to issue TLS certificates for its services (web interface, LDAP-S). This means that when accessing the web interface, you will see a self-signed certificate warning until you import the FreeIPA CA root certificate into your OS or browser's trusted stores.

To import the CA certificate (on the client machine or your workstation):


# On your workstation or client machine
# Download the CA certificate from the FreeIPA server
curl -o /tmp/ipa.crt http://ipa.example.com/ipa/config/ca.crt

# Import it into trusted stores (example for Ubuntu/Debian)
sudo cp /tmp/ipa.crt /usr/local/share/ca-certificates/ipa.crt
sudo update-ca-certificates

After this, browsers and other applications on this machine will trust certificates issued by your FreeIPA CA.

Using Caddy/Certbot for other services:

If you want to use FreeIPA for authentication in other web services, and obtain Let's Encrypt certificates for them, you can configure Caddy or Certbot. These tools will work independently of FreeIPA but can use FreeIPA for user authentication.


# Example of Caddy installation on a separate server or proxy
sudo apt install -y debian-keyring debian-archive-keyring apt-transport-https
curl -1sLf 'https://dl.cloudsmith.io/public/caddy/stable/gpg.key' | sudo gpg --dearmor -o /usr/share/keyrings/caddy-stable-archive-keyring.gpg
curl -1sLf 'https://dl.cloudsmith.io/public/caddy/stable/debian.deb.txt' | sudo tee /etc/apt/sources.list.d/caddy-stable.list
sudo apt update
sudo apt install caddy -y

Then configure the Caddyfile for your domain, and Caddy will automatically obtain and renew Let's Encrypt certificates.


# Example Caddyfile for proxy_service.example.com
proxy_service.example.com {
    reverse_proxy localhost:8080 # Your service running on port 8080
}

For authentication integration with FreeIPA, your web service must be configured to use LDAP or Kerberos for authentication, pointing to your FreeIPA server.

5. Verifying Functionality

A few commands to check:


# On the FreeIPA server
ipa ping

Should return Ping successful.


curl -v https://ipa.example.com/ipa/ui/

Check the availability of the web interface. Pay attention to the TLS certificate status.


# On the client machine
id user01

Should show information about user user01, including their UID, GID, and groups obtained from FreeIPA.


klist

On the client machine, after kinit user01, it should show an active Kerberos ticket.

Backups and Maintenance

Diagram: Backups and Maintenance

Backup and regular maintenance of FreeIPA are critically important for ensuring the continuity of operations and security of your identity infrastructure.

1. What to Back Up

For FreeIPA, the following components need to be backed up:

  • 389 Directory Server Database (LDAP): Contains all information about users, groups, hosts, policies, etc.
  • FreeIPA Configuration Files: Kerberos, DNS, CA settings.
  • CA Certificates: Keys and certificates issued by your FreeIPA CA.
  • BIND (DNS) Configuration: If integrated DNS is used.

Fortunately, FreeIPA provides a built-in backup utility that covers most of these components.

2. Simple Auto-Backup Script

FreeIPA has a built-in command ipa-server-backup that creates a full dump of all necessary data.


#!/bin/bash

BACKUP_DIR="/var/lib/ipa/backup"
DATE=$(date +%Y%m%d%H%M%S)
BACKUP_FILE="${BACKUP_DIR}/ipa_backup_${DATE}.tar.gz"
RETENTION_DAYS=7 # How many days to keep backups

echo "Starting FreeIPA backup to ${BACKUP_FILE}..."

# Create backup directory if it doesn't exist
sudo mkdir -p ${BACKUP_DIR}

# Perform FreeIPA backup
# Use --dir to specify the directory where FreeIPA will save its files
# Then archive this directory
sudo ipa-server-backup --dir /tmp/ipa_backup_temp_dir

if [ $? -eq 0 ]; then
    echo "FreeIPA backup successfully created in temporary directory. Archiving..."
    sudo tar -czf ${BACKUP_FILE} -C /tmp ipa_backup_temp_dir
    if [ $? -eq 0 ]; then
        echo "Backup archive successfully created: ${BACKUP_FILE}"
        sudo rm -rf /tmp/ipa_backup_temp_dir # Remove temporary directory

        # Deleting old backups
        echo "Deleting old backups (older than ${RETENTION_DAYS} days)..."
        sudo find ${BACKUP_DIR} -name "ipa_backup_*.tar.gz" -type f -mtime +${RETENTION_DAYS} -delete
        echo "Old backups deleted."
    else
        echo "Error archiving backup."
        sudo rm -rf /tmp/ipa_backup_temp_dir
        exit 1
    fi
else
    echo "Error executing ipa-server-backup."
    exit 1
fi

echo "Backup completed."

Save this script, for example, as /usr/local/bin/ipa_backup.sh, and make it executable:


sudo chmod +x /usr/local/bin/ipa_backup.sh

Then add it to cron for daily execution (e.g., at 3:00 AM):


sudo crontab -e

Add the following line:


0 3 * * * /usr/local/bin/ipa_backup.sh > /var/log/ipa_backup.log 2>&1

3. Where to Store Backups

Storing backups on the same server as the original data is not reliable. It is recommended to use external storage:

  • Cloud S3-compatible storage: Amazon S3, DigitalOcean Spaces, Backblaze B2. Use s3cmd, rclone, or aws cli to upload archives.
  • Separate VPS: Allocate a small VPS exclusively for backup storage. Use rsync or scp to transfer files via SSH.
  • Local NAS/server: If you have your own hardware.

Example of adding S3 upload to the script (requires aws cli installation and configuration):


# ... (start of script) ...
# After successful archive creation:
if [ $? -eq 0 ]; then
    echo "Backup archive successfully created: ${BACKUP_FILE}"
    sudo rm -rf /tmp/ipa_backup_temp_dir

    echo "Uploading backup to S3..."
    # Make sure AWS CLI is installed and configured (aws configure)
    /usr/local/bin/aws s3 cp ${BACKUP_FILE} s3://your-s3-bucket-name/ipa-backups/

    if [ $? -eq 0 ]; then
        echo "Backup successfully uploaded to S3."
    else
        echo "Error uploading backup to S3."
        # You can add an error notification
    fi

    # ... (deletion of old backups) ...

Always encrypt backups before sending them to external storage, using GPG or other tools.

4. Restoring from Backup

To restore FreeIPA from a backup, the ipa-server-restore command is used. This is typically done on a freshly installed Ubuntu system with the ipa-server package, but without running ipa-server-install.


sudo systemctl stop ipa.service
sudo ipa-server-restore --restore-dir /path/to/your/backup/directory

5. Updates: rolling vs maintenance window

Updating FreeIPA and the underlying OS is an important part of maintenance.

  • OS Update: Regularly apply security updates for Ubuntu. Use sudo apt update && sudo apt upgrade -y. For critical systems, it is recommended to test updates on a test server before applying them to production.
  • FreeIPA Update: Updates to the ipa-server package usually include FreeIPA updates. After updating FreeIPA packages, it may be necessary to run ipa-server-upgrade.
    
    sudo apt update && sudo apt upgrade -y
    sudo ipa-server-upgrade
                

    This command performs necessary LDAP schema migrations and other FreeIPA component updates.

  • Update Strategy:
    • Rolling updates (for replicated environments): If you have multiple FreeIPA servers in replication mode, you can update them one by one, minimizing downtime.
    • Maintenance window (for standalone servers): For a standalone FreeIPA server, plan updates during periods of lowest activity to minimize potential disruptions. Always have a fresh backup before major updates.

Troubleshooting + FAQ

What to do if FreeIPA does not start after a reboot?

First, check the status of core FreeIPA services using sudo ipactl status. If any service is stopped or in a failed state, check the logs: sudo journalctl -xeu [email protected] for LDAP, sudo journalctl -xeu krb5kdc.service for Kerberos, sudo journalctl -xeu named-ipa.service for DNS. Common causes include: issues with DNS resolution of the server's own name, insufficient memory, corrupted LDAP database, or configuration errors.

What is the minimum VPS configuration suitable for FreeIPA?

The minimum recommended configuration for FreeIPA in a test or small environment is 2 CPU cores, 4 GB RAM, and a 50 GB SSD. However, for stable operation and scaling to several hundred users/hosts, it is better to aim for 4 CPU cores, 8 GB RAM, and a 100 GB SSD. This will provide sufficient performance for Kerberos, LDAP, and other FreeIPA services.

What to choose — VPS or dedicated for this task?

The choice between a VPS and a dedicated server depends on the scale and performance requirements. For most small to medium deployments (up to several thousand users/hosts), a VPS with adequate resources will be sufficient and cost-effective. Dedicated servers become necessary for very high loads (tens of thousands of users), specific hardware requirements (e.g., HSM), strict SLAs, or if complete resource isolation and maximum I/O performance are required.

Cannot log in to the FreeIPA web interface. What to check?

Ensure that the HTTPD service is running (sudo systemctl status httpd.service or sudo systemctl status [email protected]). Check that ports 80 and 443 are open in the firewall (sudo ufw status). Clear your browser cache or try a different browser. Make sure you are using the correct server FQDN and that it resolves to the server's IP address. Check web server logs (e.g., /var/log/httpd/error_log).

FreeIPA client cannot connect to the server.

Check DNS resolution on the client: dig ipa.example.com should point to your FreeIPA server's IP address. Ensure that FreeIPA ports are open on the server (53, 80, 443, 389, 636, 88, 464, 123). Check time synchronization between the client and server (Kerberos is very sensitive to this): sudo timedatectl status. Try running ipa-client-install with the --debug option for detailed logs.

How to reset the admin user password in FreeIPA?

If you forgot the admin password, it can be reset via the Directory Manager user. First, obtain a Kerberos ticket for Directory Manager: kinit admin/admin (Directory Manager password). Then reset the admin user's password: ipa user-mod admin --password. You will be prompted to enter a new password. If you also forgot the Directory Manager password, this is more complex and may require direct intervention in the LDAP directory (which is beyond the scope of this guide).

Certificate or TLS issues when accessing FreeIPA.

FreeIPA uses its own CA. Ensure that you have imported the FreeIPA CA root certificate into your operating system's or browser's trusted stores. If this does not help, check the validity of FreeIPA certificates: ipa-getcert list. If certificates have expired, they need to be renewed via ipa-server-certinstall or ipa-certupdate.

Conclusions and Next Steps

Diagram: Conclusions and Next Steps

Congratulations! You have successfully deployed and configured FreeIPA on your VPS, creating a centralized identity management system. You now have a powerful tool for authenticating users and machines, managing access, and issuing certificates, which significantly simplifies the administration of your Linux infrastructure.

Further steps may include:

  • Integration of additional services: Connect your other servers, workstations, and applications to FreeIPA for centralized authentication.
  • Access policy configuration: Explore Host-Based Access Control (HBAC) capabilities for fine-tuning who can log in where.
  • Deployment of replicas: To enhance fault tolerance and distribute load, consider deploying additional FreeIPA servers in replication mode.
  • Monitoring: Set up FreeIPA monitoring using tools like Prometheus/Grafana to track service status and performance.

Was this guide helpful?

Your feedback helps us improve our guides.

Share this post:

Send this guide to someone who may find it useful.

Telegram VKVK WhatsApp Facebook LinkedIn XX

FreeIPA deployment on VPS for centralized identity management
support_agent
Valebyte Support
Usually replies within minutes
Hi there!
Send us a message and we'll reply as soon as possible.