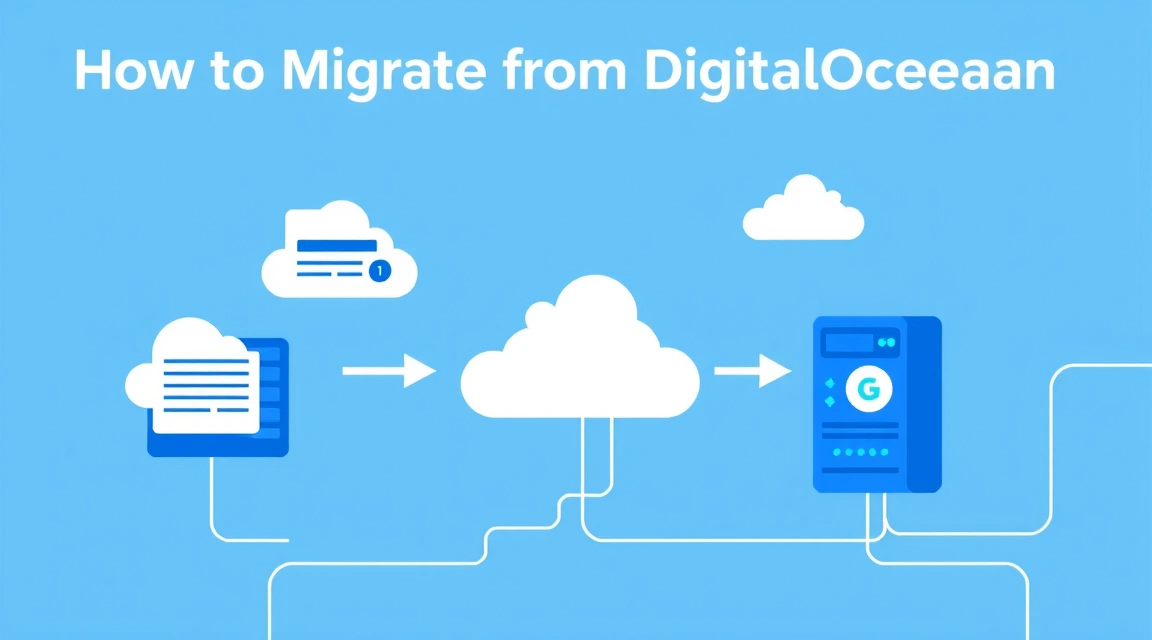
Economic and Technical Reasons for Migrating from DigitalOcean
The process, known as leaving digitalocean, is often initiated due to changes in the provider's pricing policy. In recent years, DigitalOcean (DO) has revised the cost of its basic plans, introducing a separate fee for IPv4 addresses, which significantly increased the final bill for small projects and individual developers.Comparison of Resource Costs and Performance
When analyzing costs, it is important to consider not only the nominal price of a Droplet but also hidden charges for traffic and additional IPs. When looking for a DigitalOcean alternative, you can notice a significant difference in the volume of resources for the same price.| Feature | DigitalOcean (Basic) | Valebyte (Cloud VPS) | Difference |
|---|---|---|---|
| CPU (Cores) | 1 vCPU | 1 vCPU (High Frequency) | Similar |
| RAM (GB) | 1 GB | 2 GB | 2x more at Valebyte |
| Disk (NVMe) | 25 GB | 30 GB | +20% volume |
| IPv4 Address | Paid (from $4/mo) | Included in price | $4/mo savings |
| Total Price | ~$6.00 + IPv4 = $10.00 | $7.59 (all inclusive) | 24% cheaper |
The Problem of Paid IPv4 and Snapshot Limitations
Many users begin a digitalocean migration after noticing that the cost of a single public IP address on DO starts to account for 40-50% of the cost of the cheapest server. Furthermore, DO's internal ecosystem strictly limits data export: you cannot simply click a "Download snapshot" button in the control panel. This forces the use of workarounds via Custom Images or direct copying of disk partitions.Preparing Infrastructure for DigitalOcean Migration
A successful move starts not with copying files, but with managing the time-to-live (TTL) of records across the global network. If you ignore this step, after changing the IP address, some of your users will continue trying to reach the old server at DigitalOcean for several days.Lowering TTL and Dependency Audit
24 hours before starting the active phase of migration, you must log into your DNS control panel (this could be Cloudflare, DigitalOcean DNS, or your registrar) and change the TTL (Time To Live) value for all A and AAAA records to 300 seconds (5 minutes). This ensures that when you change the IP, the world will find out almost instantly. During preparation, it is useful to explore Hetzner alternatives and other platform options to ensure the chosen data center meets your requirements for latency and legal stability.Service Inventory and Backups
Before starting the do snapshots export, compile a list of critical services.- Check paths to configuration files (nginx, apache, docker-compose).
- Make separate database dumps (MySQL/PostgreSQL), even if you plan to transfer the entire disk image.
- Record current firewall settings (UFW or iptables).
- Ensure you have SSH key access to the new server.
Looking for a reliable server for your projects?
VPS from $10/mo and dedicated servers from $9/mo with NVMe, DDoS protection, and 24/7 support.
View Offers →Technical Process of do snapshots export
Since DigitalOcean does not provide a direct link to download a snapshot, developers have to use a workaround via the Custom Images functionality.Method via Custom Images and S3
This method is considered the most "civilized" but requires free space and time. 1. Create a Snapshot of your Droplet in the DO panel. 2. Go to the "Images" -> "Snapshots" section. 3. Next to the desired snapshot, select "More" -> "Export to Custom Images". 4. Once the export is complete, the image will be available in the Custom Images section, where it can be downloaded via a direct link that will be active for a limited time. The image is usually saved in `.qcow2` format. This is the standard for KVM virtualization, but importing to other platforms may require conversion.Direct Disk Copying via dd and ssh
If you don't want to deal with the control panel, you can perform a do to vps real-time data transfer. To do this, you need to boot the Droplet in Recovery ISO mode.# Example command to copy the entire disk from the old server to the new one
# Executed from the new server
ssh root@old-server-ip "dd if=/dev/vda bs=1M status=progress | gzip -c" | gunzip -c | dd if=/dev/vda
rocket_launch
Quick pick
Need a dedicated server?
Compare prices from top providers. Configure and order in minutes.
Converting and Deploying the Image (do to vps)
After you have obtained the image file (e.g., `backup.qcow2`), it must be prepared for operation on the new infrastructure. Most modern cloud providers support image imports, but formats may vary.Using qemu-img to Change Format
If your new hosting provider requires the RAW format (which is the most universal), use the `qemu-img` utility:# Installing the utility on Ubuntu/Debian
apt-get install qemu-utils
# Converting from qcow2 to raw
qemu-img convert -f qcow2 -O raw snapshot_export.qcow2 disk_image.raw
First Launch and Fixing Network Interfaces
The most common problem during migration is network loss. In DigitalOcean, the interface is usually named `eth0`, but on the new VPS, it might be named `ens3` or `enp0s3`. If you are using a modern version of Ubuntu, check the Netplan settings:# Open the network config
nano /etc/netplan/01-netcfg.yaml
# Replace the interface name and specify the new IP/Gateway
network:
version: 2
renderer: networkd
ethernets:
ens3:
addresses:
- 192.168.1.10/24
gateway4: 192.168.1.1
nameservers:
addresses: [8.8.8.8, 1.1.1.1]
Smooth Cutover and DNS Switching
Once the new server is running and you have verified that SSH is accessible, the "smooth cutover" stage begins. This is the moment when traffic switches from the old platform to the new one.Data Integrity Check and Synchronization
If several hours have passed between creating the snapshot and launching the new server, data (especially in the DB) might be outdated. To avoid losing the latest transactions: 1. Put the applications on the old server into "Maintenance" mode (read-only). 2. Perform a final file synchronization via rsync:rsync -avz --exclude='/etc/fstab' --exclude='/etc/netplan/*' root@old-ip:/var/www/ /var/www/Final Traffic Switch
Now, change the IP addresses in your DNS panel. Because we reduced the TTL to 300 seconds in advance, the switch will happen quickly. Monitor the Nginx logs on the new server to see the first incoming requests from real users. Do not turn off the old server in DigitalOcean for at least another 24-48 hours — you might need it to retrieve forgotten configs.Optimizing the New Server After Migration
After completing the digitalocean migration, the server requires fine-tuning for the new hardware. CPU cores and the disk subsystem may perform differently, requiring adjustments to Linux kernel parameters.Security and Firewall Setup
In DigitalOcean, many rely on external Cloud Firewalls. When moving to a regular VPS, you need to set up a local firewall.# Basic UFW setup
ufw allow 22/tcp
ufw allow 80/tcp
ufw allow 443/tcp
ufw enable
Benchmarks and Performance Check
Check what you are paying for. The `fio` utility will help measure disk speed, and `sysbench` will measure CPU performance.# Disk read speed test
fio --name=loadtest --filename=testfile --size=1G --rw=read --direct=1 --ioengine=libaio --bs=4k --iodepth=64 --runtime=60 --numjobs=1 --time_based --group_reporting
rocket_launch
Quick pick
Need a dedicated server?
Compare prices from top providers. Configure and order in minutes.
Migration of Specialized Services (VPN and Bots)
If your server was used for infrastructure tasks rather than a website, the migration process has its own nuances.Transferring VPN Nodes and Proxies
For those who used WireGuard on VPS, the main task is to preserve client keys and update the IP address in the configurations on the user side. If there are many clients, it is easiest to use a domain name instead of an IP in the WireGuard/VLESS configs; then the migration is limited to updating a single DNS record. When transferring proxy servers (Squid, 3proxy), ensure that the new IP addresses are not blacklisted by major services, which sometimes happens with cheap providers.Peculiarities of Trading Bots
For fintech projects and crypto bots, ping to exchanges (Binance, Bybit) is critical. After migration, be sure to measure the latency:# Checking ping to Binance API
ping api.binance.com -c 10
Conclusions
Migrating from DigitalOcean is an effective way to reduce infrastructure costs by 30-50% and get twice as much RAM for the same money. For a successful move, it is enough to correctly prepare DNS, export the disk via Custom Images, and conduct a final data synchronization via rsync, which guarantees the project's operation without data loss.Ready to choose a server?
VPS and dedicated servers in 72+ countries with instant activation and full root access.
Start Now →