Expanding Disk Space on a VPS Server
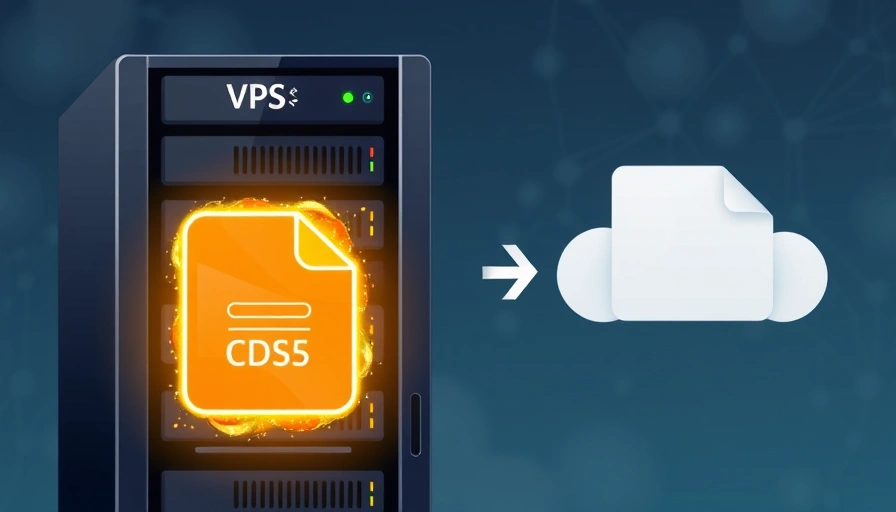 Sometimes your VPS hosting server might run out of disk space. This can happen due to a large amount of data, installed programs, or simply due to miscalculations during server planning. But don't worry, we have a solution! In this article, we'll show you how to expand disk space on your VPS server.
Before you start expanding disk space, you need to perform a few preparatory steps. First, make sure you have full administrator privileges on the server. Second, back up all important data so that you can restore the system if necessary. Only after completing these steps can you proceed to expand the disk space.
Step 1: Increasing the Disk Size
The first step to expanding disk space on a VPS server is to increase the disk size. To do this, go to your hosting provider's control panel and increase the disk size according to your needs. This is usually done with a few mouse clicks and takes only a few minutes.
After increasing the disk size, you need to reboot the server for the changes to take effect. To do this, simply execute the command sudo reboot in the terminal. After rebooting, check that the disk size has actually increased by entering the command df -h to view disk space information.
Need More Disk Space for Your VPS?
Is your project growing and demanding more room? Choose the perfect VPS plan to scale your server effortlessly. — from €4.49/mo.
Explore VPS Plans →Step 2: Expanding the Partition
After increasing the disk size, you need to expand the partition so that the operating system can use the new space. You can use the resize2fs utility for ext2, ext3, and ext4 filesystems, or xfs_growfs for the XFS filesystem.
To expand the partition, execute the appropriate command in the terminal. For example, for an ext4 filesystem, it might look like this: sudo resize2fs /dev/sda1. Make sure you specify the correct disk and partition name, otherwise you may encounter unexpected problems.

Conclusion
Now you have all the necessary knowledge to successfully expand disk space on your VPS server. By following our instructions, you can accomplish this task easily and quickly, without any hassle. We hope this article was helpful to you!
Bare metal in 70+ locations: modern hardware, NVMe, fast provisioning, card or crypto payments.
Browse servers


