How to Configure Veeam for Data Backup on a Dedicated Server
This article will guide you through configuring Veeam to back up data to a dedicated servers. Veeam is one of the best backup solutions available, offering extensive features.First, install Veeam on your dedicated server. After installation, launch the program and follow the setup wizard.
Step 1: Creating a New Backup Job
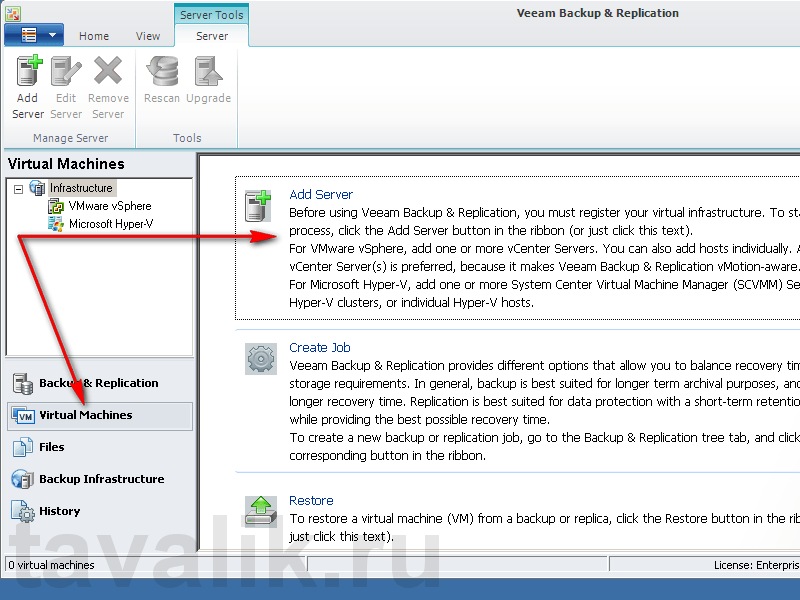
Once Veeam is installed and running, open the program and navigate to the «Backup Jobs» section. Click the «Create New Job» button and select the job type — «Create a new backup job».
Then, specify the data source you want to protect and choose the destination where the backup will be stored.
Step 2: Configuring the Backup Schedule
After selecting the source and destination, configure the backup schedule. Specify the days of the week, start time, and backup frequency.
You can also set up notifications about the backup job status to stay informed about the data protection process.
Step 3: Advanced Settings and Options
In addition to the basic settings, Veeam offers many advanced options to enhance the data backup process. You can configure data compression, encryption, and retention and deletion policies.
Remember to save all your settings and run a test backup job to verify the correct configuration of your Veeam setup.
We hope this article helped you configure Veeam for data backup on your dedicated server. Follow these instructions, and your data will always be safe!


