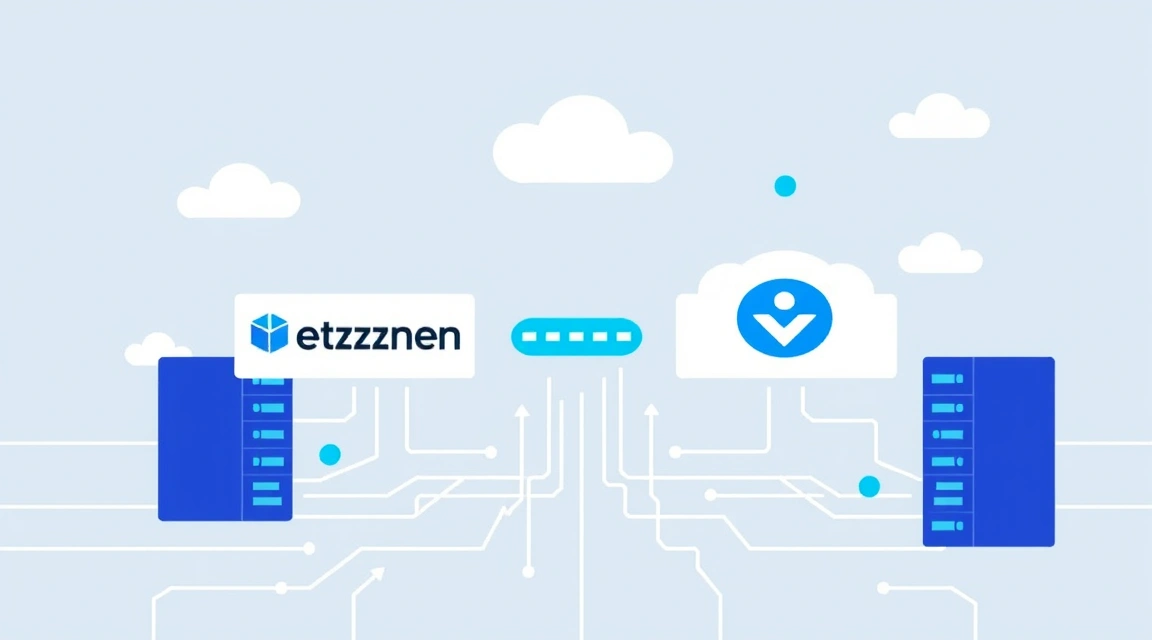
To migrate from Hetzner to Valebyte without data loss and with minimal downtime, it is recommended to use file synchronization via rsync or create a block device image using dd. This allows for a complete transfer of the operating system, configurations, and databases within 1–3 hours. The process includes resource inventory, preparing the target server on Valebyte, data transfer, and the final DNS record switch with a low TTL.
Why is migrating from Hetzner necessary right now?
Migration from Hetzner often becomes a forced measure due to the provider's tightening security policies and mass account blocks without explanation. Situations where a user receives a hetzner banned status immediately after registration or when attempting payment have become commonplace for developers from the CIS and Eastern Europe. Valebyte offers a more loyal verification policy and stable infrastructure operation without the risk of sudden server shutdowns.
Main reasons to leave Hetzner
- Account Banned: Hetzner's automated fraud monitoring system often blocks new and even old accounts, demanding passport data or simply closing access without the right to appeal.
- Scraping Ban: If your project involves data scraping, you will quickly face abuse complaints. Hetzner reacts extremely harshly to network activity it deems suspicious. In such cases, residential proxies via your own VPS are the only way out, but it is better to switch the hosting itself to the more flexible Valebyte.
- Geopolitical risks: Changes in EU legislation force German providers to introduce additional restrictions, making moving from Hetzner a matter of business survival.
Technical limitations and KYC
The KYC (Know Your Customer) procedure at Hetzner can take several days, while on Valebyte, server deployment happens instantly after payment. For many, the ability to pay with cryptocurrency or through local payment systems is critical, which is practically impossible with Hetzner. If you are looking for a reliable Hetzner alternative, Valebyte provides NVMe VPS with similar power but with a more human approach to support.
Preparing infrastructure for the move from Hetzner
A successful move from Hetzner begins with a detailed audit of the current system to avoid situations where a forgotten config or cron job breaks production at the new location. Before clicking the "Order" button on Valebyte, it is necessary to collect data on disk space, used ports, and Linux kernel versions.
Inventory and backups
Create a complete list of all services running on the server. Pay special attention to database versions (MySQL, PostgreSQL, Redis). Differences in minor versions can lead to errors during simple binary data copying. Make a fresh dump of all databases:
mysqldump --all-databases -u root -p > alldbs_backup.sql
pg_dumpall -U postgres > full_pg_backup.sql
Network and TTL setup
24 hours before starting the hetzner migration, you must lower the TTL (Time To Live) value for your domains in the DNS panel to 300 or 600 seconds. This will allow IP address changes to propagate globally in minutes rather than hours. If you use Cloudflare, this step is simplified but still requires monitoring.
Looking for a reliable server for your projects?
VPS from $10/mo and dedicated servers from $9/mo with NVMe, DDoS protection, and 24/7 support.
View offers →Technical implementation: hetzner migration via rsync and dd
There are two main paths for hetzner migration: data transfer at the file level (rsync) and transfer at the block level (dd). The first option is suitable for most web projects; the second is if you need to clone the entire system while preserving all specific kernel settings and partitions.
Method 1: Synchronization via rsync
Rsync is the most reliable way to transfer files while preserving access rights and symbolic links. Run the command from the target Valebyte server to "pull" data from Hetzner:
rsync -avzP --exclude=/dev/* --exclude=/proc/* --exclude=/sys/* --exclude=/tmp/* --exclude=/run/* --exclude=/mnt/* --exclude=/media/* --exclude=/lost+found root@hetzner_ip:/ /Important: after synchronization is complete, you must update the GRUB bootloader configuration and the /etc/fstab file, as disk UUIDs on Valebyte will differ from Hetzner. Use the blkid command to obtain the new identifiers.
Method 2: Block copying via dd
If you want to transfer the system "as is," use dd over SSH. This requires booting both servers into Rescue Mode. On the target Valebyte server, start listening:
nc -l -p 1234 | dd of=/dev/vdaOn the source Hetzner server, send the data:
dd if=/dev/sda | nc vale_byte_ip 1234This method guarantees 100% system identity but requires the disk size on Valebyte to be equal to or larger than the disk on Hetzner. If you are moving from a large HDD to a fast NVMe, it is better to use rsync or an OS reinstallation followed by data transfer.
Need a dedicated server?
Compare prices from top providers. Configure and order in minutes.
Migrating Docker containers and Volumes
When changing hosting from Hetzner to Valebyte's modern stack, most projects are already containerized in Docker. This significantly simplifies the task, as you don't need to worry about OS dependencies; just transfer the images and, more importantly, the Volumes (data volumes).
Docker Volumes migration
The easiest way to transfer Docker data is to stop the containers and copy the contents of the /var/lib/docker/volumes folder. However, it is more correct to use export:
docker run --rm -v my_volume:/volume -v $(pwd):/backup alpine tar cvf /backup/my_volume.tar /volumeAfter transferring the archive to Valebyte, deploy it with a similar command:
docker run --rm -v my_volume:/volume -v $(pwd):/backup alpine sh -c "cd /volume && tar xvf /backup/my_volume.tar --strip 1"Docker-compose optimization
Ensure that your docker-compose.yml files do not have hardcoded Hetzner IP addresses. Use internal Docker network names. When moving to Valebyte, you will get high disk subsystem speeds, which may require adjusting resource limits (CPU/RAM) in container configurations to achieve maximum performance.
Comparing Valebyte and Hetzner: performance and pricing
When planning a migration from Hetzner, it is important to understand what you are getting for your money. Valebyte focuses on high-performance processors and enterprise-class NVMe drives, which is particularly noticeable in database read/write operations. Comparisons with Vultr or other global players often show that Valebyte wins in terms of price/performance ratio.
| Feature | Hetzner Cloud (CX22) | Valebyte NVMe VPS (Standard) | Advantage |
|---|---|---|---|
| Processor (vCPU) | 2 Cores (Shared) | 2 Cores (High Perf) | Valebyte (Higher frequency) |
| RAM | 4 GB RAM | 4 GB RAM | Parity |
| Disk Type | SSD / NVMe | Pure NVMe Gen4 | Valebyte (Higher IOPS) |
| Disk Space | 40 GB | 50 GB | Valebyte (+25% volume) |
| Traffic | 20 TB | Unmetered / High Limit | Valebyte (Transparency) |
| Monthly Price | ~€5.50 + VAT | ~$6.00 | Valebyte (No hidden taxes) |
| DDoS Protection | Basic | Advanced Anti-DDoS | Valebyte (L3/L4/L7) |
Data shows that at a similar price point, Valebyte offers more modern hardware. If your project has outgrown standard hosting, it is worth considering moving from local platforms or Hetzner to Valebyte to obtain a stable 99.99% uptime.
Changing Hetzner hosting: DNS cutover and minimizing downtime
The final stage of changing Hetzner hosting is traffic switching. If you have done everything correctly, your data is already synchronized, and applications are running on the new IP. Now you need to ensure that users do not notice the transition.
Blue-Green migration strategy
Do not turn off the old server immediately. Set up traffic proxying from the old IP to the new one. This can be done using nginx (stream module) or iptables. If a user accesses the old Hetzner IP, their request is transparently forwarded to Valebyte:
iptables -t nat -A PREROUTING -p tcp --dport 80 -j DNAT --to-destination NEW_VALEBYTE_IP:80
iptables -t nat -A POSTROUTING -j MASQUERADE
This ensures the site works even for users whose provider's DNS cache has not yet updated. After 24–48 hours, when traffic on the old server drops to zero, the Hetzner server can be permanently deleted.
Need a dedicated server?
Compare prices from top providers. Configure and order in minutes.
12-step checklist for a successful migration
To ensure your migration from Hetzner goes without surprises, follow this proven list of actions. Each point is critical for maintaining data integrity.
- Lower TTL: Set TTL to 300 for all DNS records 24 hours before starting.
- Software Audit: List all versions of PHP, Python, Node.js installed on Hetzner.
- Order Server: Choose a plan on Valebyte that matches or exceeds the current one.
- SSH Setup: Add your keys to the new server and verify access.
- Primary Rsync: Copy the bulk of the data (files, images) while the project is running.
- Database Dump: Stop DB writes or use replication mode.
- Secondary Rsync: Synchronize changed files and transfer DB dumps.
- Environment Configuration: Check
/etc/hosts,/etc/nginx/sites-enabled/, and paths in configs. - Testing: Verify site operation by mapping the new IP in your local
hostsfile. - DNS Switch: Change the IP in the domain management panel.
- Log Monitoring: Monitor
error.logon the new server during the first hour. - Decommissioning: Make a final Hetzner backup and delete the instance after 2-3 days.
Common pitfalls during migration and how to avoid them
Even experienced sysadmins make mistakes when moving from Hetzner. Most problems are related to network settings and virtualization specifics.
Problem: eth0 vs ens3 interfaces
In Hetzner, the network interface is often named eth0, while on Valebyte's KVM virtualization, it might be named ens3 or enp0s3. If you simply copy /etc/network/interfaces or Netplan configs, the server will be unreachable via network after a reboot. Always check the interface name with the ip a command before the final reboot.
Problem: File Permissions
When using scp instead of rsync, file ownership (chown) is often lost. As a result, the web server (www-data) cannot read the cache or write logs. Always use the -a (archive) flag in rsync, which preserves permissions, groups, and timestamps.
Problem: Forgotten Cron jobs
Files in /var/spool/cron/crontabs/ or /etc/cron.d/ are often forgotten during manual copying. This leads to backups not being made and cleanup scripts not running. Ensure you transfer tasks for all users, including root.
Conclusions
Migrating from Hetzner to Valebyte is a strategically sound decision to protect your project from sudden blocks and increase performance through modern NVMe hardware. For a successful move, it is enough to follow the 12-step checklist, use rsync for data synchronization, and prepare DNS records in advance, which guarantees no downtime for your services.
Ready to choose a server?
VPS and dedicated servers in 72+ countries with instant activation and full root access.
Start Now →