
Installing and Configuring Appwrite on a VPS: Deploying a Self-hosted Firebase Alternative
TL;DR
In this guide, we cover the full deployment cycle of Appwrite — a powerful open-source Backend-as-a-Service (BaaS) platform — on your own virtual server. We will go from choosing the architecture and preparing the OS to fine-tuning security, automating backups, and optimizing performance for 2026 operating conditions.
- Goal: Complete independence from proprietary cloud solutions (Firebase, AWS Amplify).
- Stack: Docker, Docker Compose, Ubuntu 24.04/26.04 LTS, Let's Encrypt.
- Result: A production-ready backend with a database, authentication, file storage, and Serverless functions.
- Setup Time: 30–45 minutes with a ready server.
- Complexity: Medium (basic Linux terminal skills required).
Need a dedicated server?
Compare prices from top providers. Configure and order in minutes.
1. What we are setting up and why
Appwrite is a comprehensive platform that abstracts the complexity of backend development by providing developers with a set of APIs for common tasks. In 2026, as cloud resource costs in the Google and AWS ecosystems continue to rise and data sovereignty requirements become stricter, self-hosted solutions are coming to the forefront.
The main problem with Firebase and similar SaaS solutions is "vendor lock-in". If your application suddenly becomes popular, NoSQL database bills can grow exponentially. Migrating data from Firebase is always a complex and painful process. Appwrite solves this problem by offering similar functionality, but on your own hardware.
Key Features of Appwrite:
- Database: Document-oriented database with support for complex queries, filtering, and document-level access control.
- Authentication: Support for over 30 OAuth providers (Google, GitHub, Apple, etc.), login via magic links, phone, and classic login/password pairs.
- Storage: File upload management with automatic compression, image resizing, and antivirus scanning.
- Functions: Ability to run custom code in various languages (Node.js, Python, PHP, Ruby, Go, Rust) in response to system events or on a schedule.
- Realtime: Instant data synchronization via WebSockets.
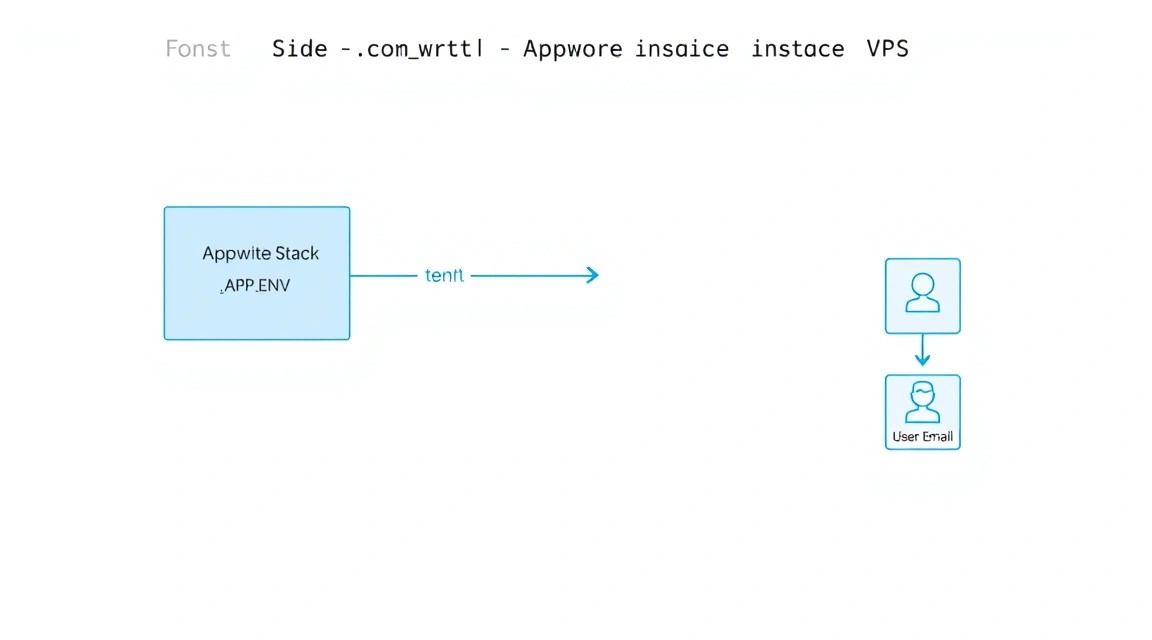
Deploying Appwrite on a VPS gives you full control over resources. You decide how much RAM to allocate to Redis for caching or how much disk space to give to user media files.
2. What VPS configuration is needed for this task
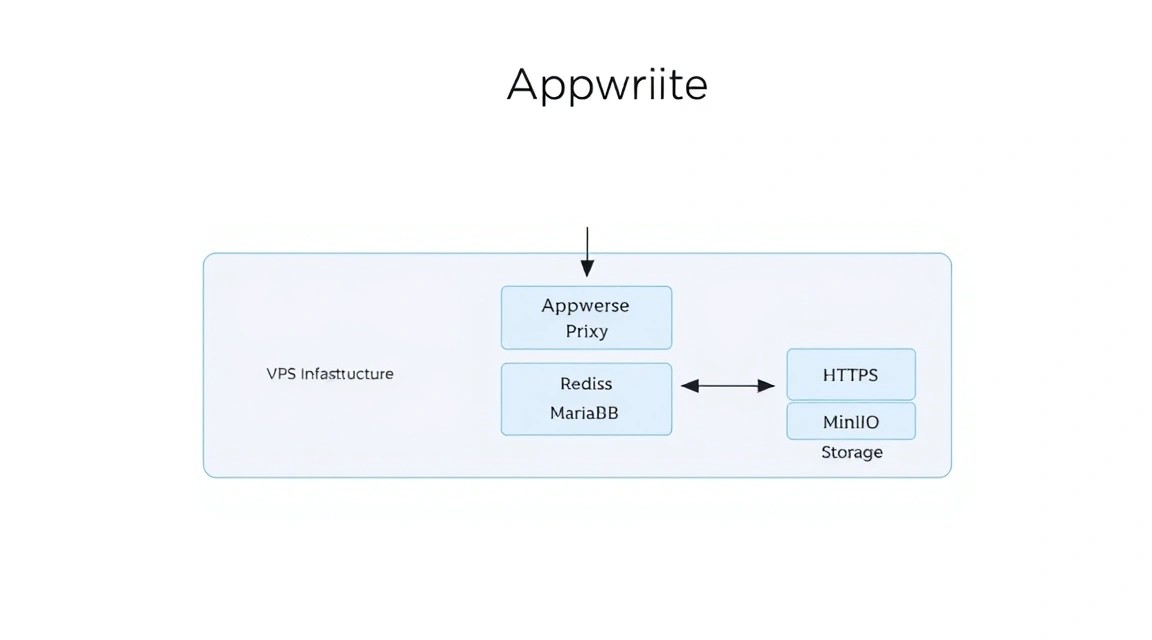
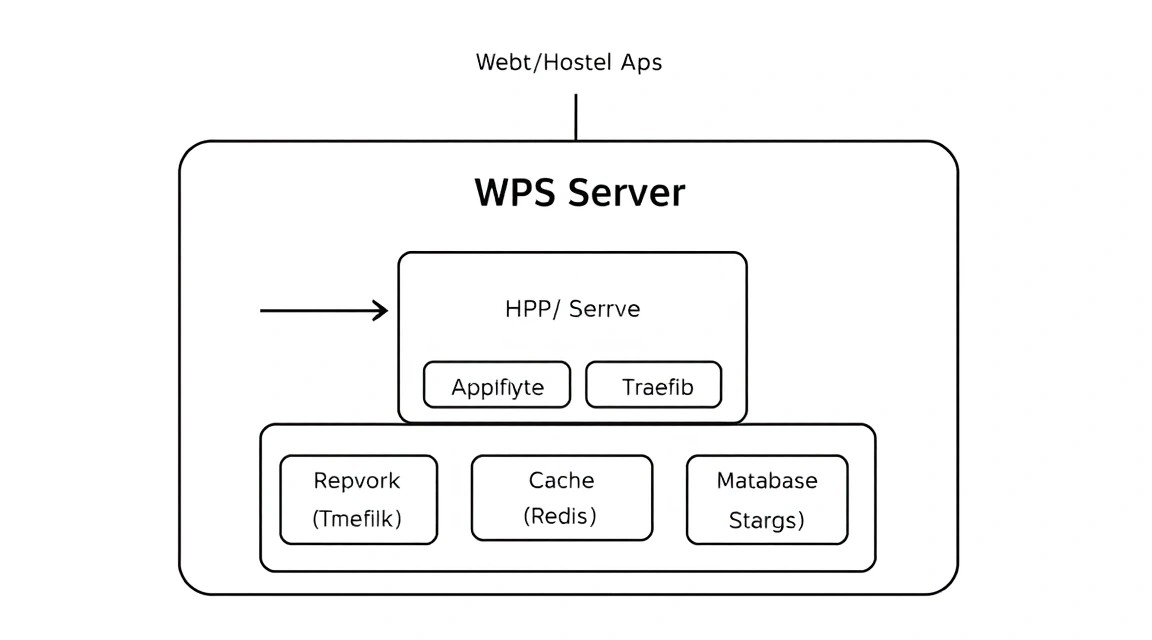
Appwrite is a microservice architecture packaged in Docker containers. In a standard installation, about 20–25 containers are launched (MariaDB, Redis, InfluxDB, Telegraf, Traefik, Workers, and the API itself). This requires certain resources for stable operation, especially if you plan to use Serverless functions.
| Characteristic | Minimum (Dev/Test) | Recommended (Production) | Enterprise / High Load |
|---|---|---|---|
| CPU | 1 Core (x86_64 / ARM) | 2-4 Cores (High frequency) | 8+ Cores |
| RAM | 2 GB | 4-8 GB | 16 GB+ |
| Disk | 20 GB SSD | 50-100 GB NVMe | 500 GB+ RAID 10 |
| OS | Ubuntu 22.04+ | Ubuntu 24.04 LTS | Debian 12 / RHEL 9 |
For small projects, MVP startups, or personal pet projects, a suitable VPS with 4 GB of RAM is ideal. Appwrite consumes about 1.5–2 GB of RAM at rest; the rest is needed for database caching and the Docker daemon.
When should you choose a Dedicated server? If your application involves intensive work with images (processing thousands of photos per hour) or if the database grows to hundreds of gigabytes. In other cases, a modern VPS on NVMe disks will provide sufficient performance due to high input-output speed (IOPS).
Server Location: Choose a location as close as possible to your target audience. For Appwrite, this is critical due to the use of the Realtime API (WebSockets) — the lower the latency (RTT), the more "responsive" your application's interface will be.
3. Server preparation
After purchasing a server and gaining SSH access, the first step is to ensure the security and relevance of the system. We will use Ubuntu 24.04 LTS as the most balanced distribution for Docker environments.
System update and user creation
It is not recommended to work as the root user. Let's create a separate user with sudo privileges.
# Update package indices and the system
apt update && apt upgrade -y

# Create a user (replace 'deploy' with your name)
adduser deploy

# Add user to the sudo group
usermod -aG sudo deploy

# Switch to the new user
su - deploy
Firewall configuration (UFW)
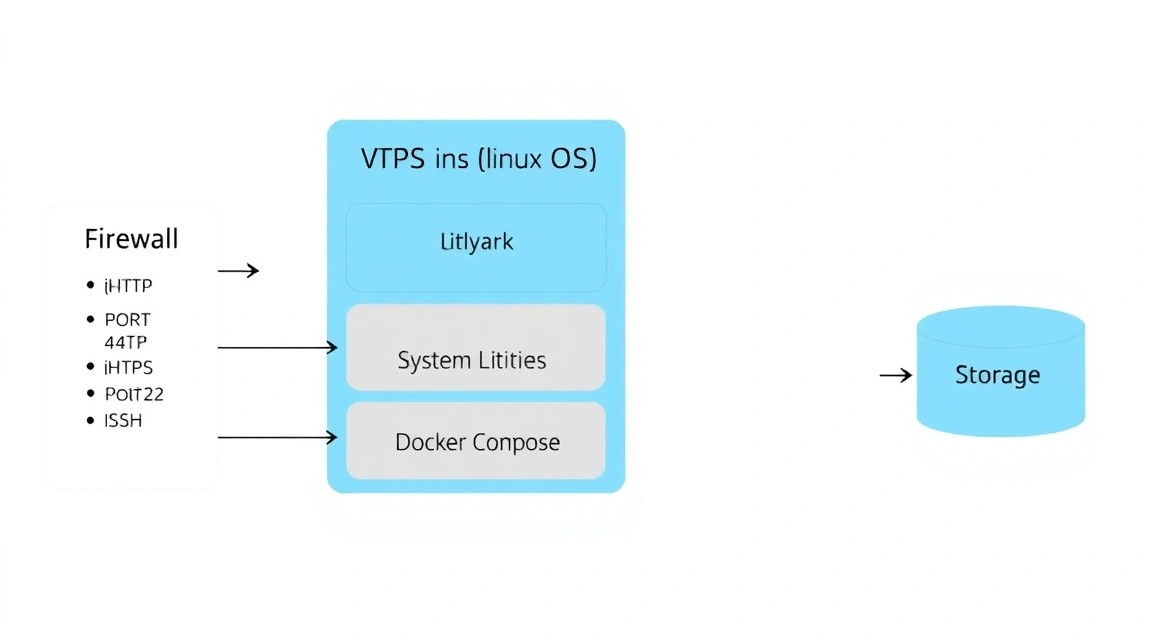
Appwrite requires open ports 80 (HTTP) and 443 (HTTPS) for the web interface and API, as well as port 22 for SSH.
# Allow SSH (important to do this first!)
sudo ufw allow ssh

# Allow web traffic
sudo ufw allow 80/tcp
sudo ufw allow 443/tcp

# Enable the firewall
sudo ufw enable
Installing basic utilities
We will need tools for diagnostics and networking.
sudo apt install -y curl git vim htop software-properties-common apt-transport-https ca-certificates
Need a dedicated server?
Compare prices from top providers. Configure and order in minutes.
4. Installing Docker and Docker Compose
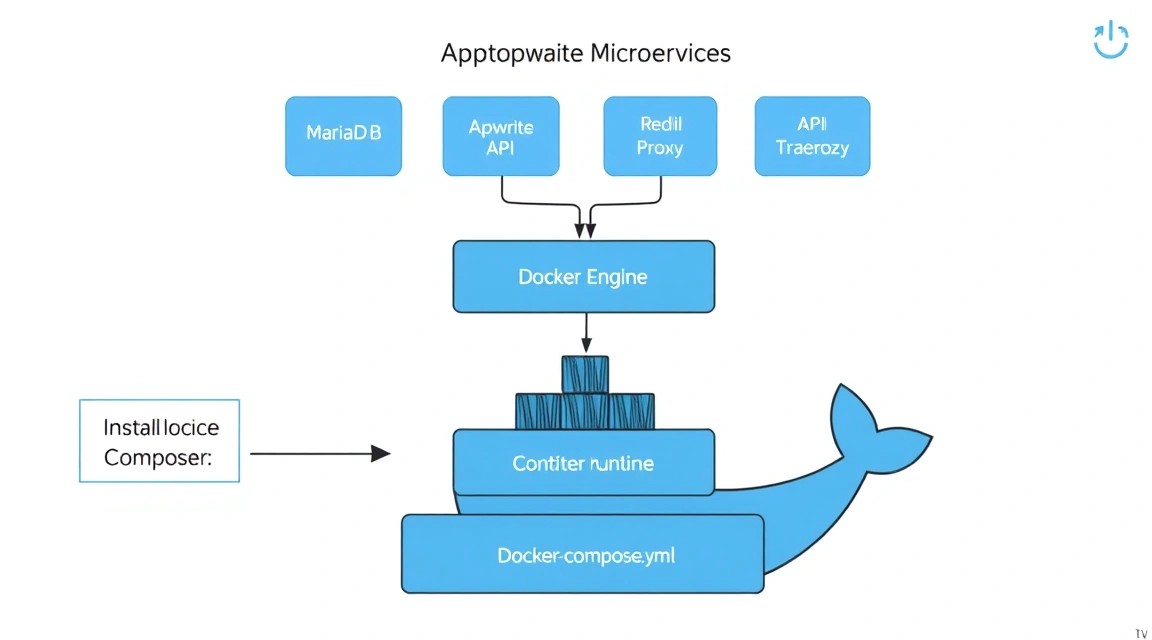
Appwrite relies entirely on Docker. In 2026, we use Docker Engine and the Docker Compose V2 plugin (the docker compose command without a hyphen).
Adding the official Docker repository
# Add Docker GPG key
sudo install -m 0755 -d /etc/apt/keyrings
curl -fsSL https://download.docker.com/linux/ubuntu/gpg | sudo gpg --dearmor -o /etc/apt/keyrings/docker.gpg
sudo chmod a+r /etc/apt/keyrings/docker.gpg

# Set up the repository
echo \
  "deb [arch=$(dpkg --print-architecture) signed-by=/etc/apt/keyrings/docker.gpg] https://download.docker.com/linux/ubuntu \
  $(. /etc/os-release && echo "$VERSION_CODENAME") stable" | \
  sudo tee /etc/apt/sources.list.d/docker.list > /dev/null

# Install Docker
sudo apt update
sudo apt install -y docker-ce docker-ce-cli containerd.io docker-buildx-plugin docker-compose-plugin
Verifying installation and configuring permissions
To run Docker without sudo, let's add our user to the appropriate group:
sudo usermod -aG docker ${USER}
# Apply group changes without rebooting
newgrp docker
# Check version
docker compose version
5. Installing Appwrite: step-by-step process
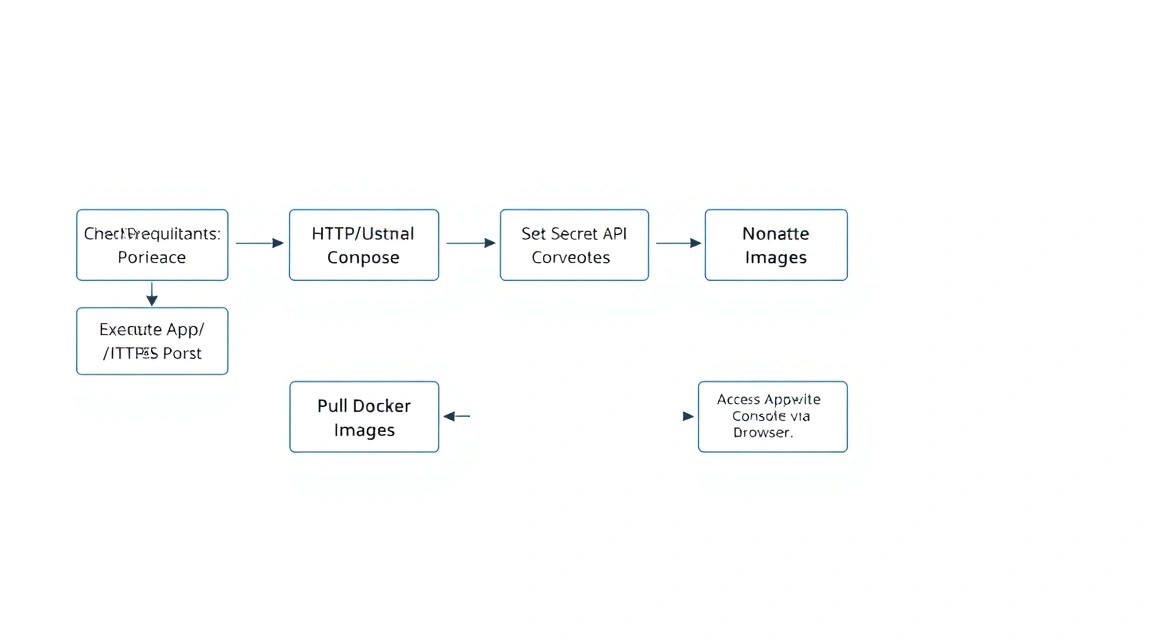
Appwrite developers provide a convenient installer script that interactively generates the docker-compose.yml file and .env variables.
Running the installer
docker run -it --rm \
    --volume /var/run/docker.sock:/var/run/docker.sock \
    --volume "$(pwd)"/appwrite:/usr/src/code/appwrite:rw \
    --entrypoint="install" \
    appwrite/appwrite:latest
Installer questions and answers:
- Choose your server hostname: Enter your domain (e.g.,
api.myapp.com) or the server's IP address. It's better to use a domain right away for automatic SSL generation. - Choose your HTTP port: Leave as
80. - Choose your HTTPS port: Leave as
443. - Choose your Secret API Key: Press Enter to generate a random key (be sure to save it later from the .env file).
- Choose your Appwrite Root Domain: Your domain again.
- Choose your DNS Records: You can leave the default value here.
After the script completes, an appwrite folder will appear in the current directory. Navigate into it and start the containers:
cd appwrite
docker compose up -d
The first startup process may take 2–5 minutes, as Docker needs to download all necessary images (total size about 1.5 GB).
Check the container status:
docker compose ps
All containers should have the status Up (healthy).
6. Fine-tuning: environment variables and SMTP
Need a dedicated server?
Compare prices from top providers. Configure and order in minutes.
6. Fine-tuning: Environment Variables and SMTP
By default, Appwrite works, but for full functionality (for example, sending registration confirmation emails), you need to edit the .env file.
SMTP Configuration (Email)
Without this, your users will not be able to reset passwords. Open the file: nano .env and find the email section. Example configuration for using an external service (e.g., SendGrid, Mailgun, or your own SMTP):
_APP_SMTP_HOST=smtp.sendgrid.net
_APP_SMTP_PORT=587
_APP_SMTP_SECURE=tls
_APP_SMTP_USERNAME=apikey
_APP_SMTP_PASSWORD=your_super_secret_key
[email protected]
_APP_EMAIL_NAME=My App Support
Upload Limit Configuration
If your application works with heavy content, increase the limits:
_APP_STORAGE_LIMIT=52428800 # Limit in bytes (50MB here)
_APP_STORAGE_PREVIEW_LIMIT=20971520 # Preview limit
Security
Ensure that the _APP_ENV variable is set to production. This will disable detailed error messages that could help attackers.
_APP_ENV=production
After making changes to .env, you need to restart the containers:
docker compose up -d
7. Domain and SSL/TLS Configuration
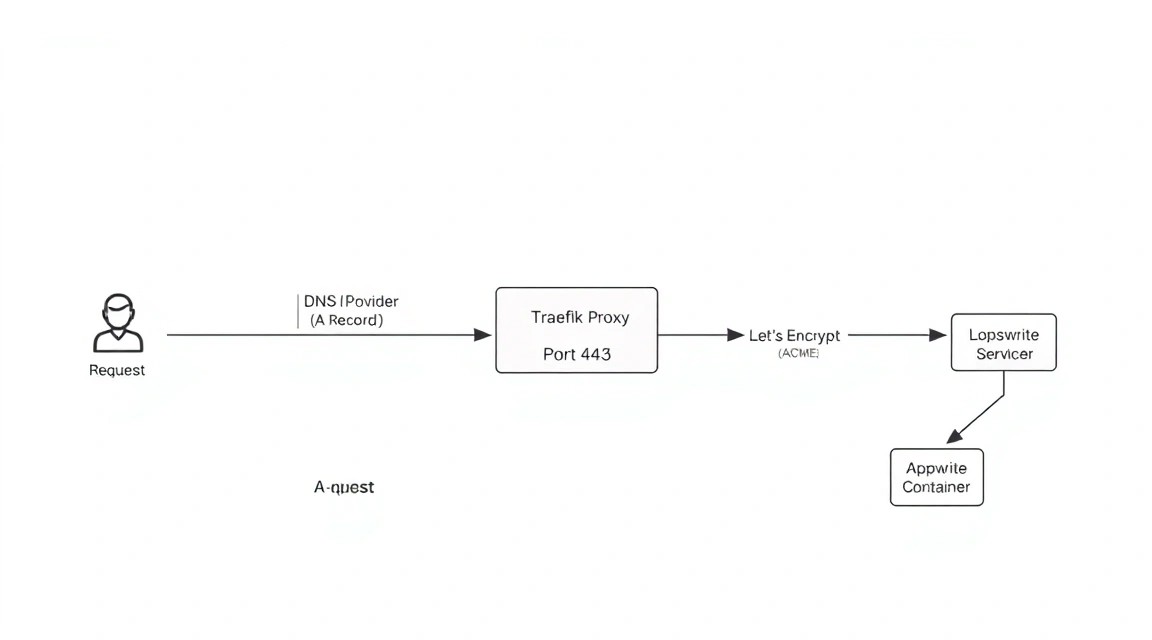
Appwrite comes with a built-in Traefik proxy server that can automatically obtain Let's Encrypt certificates. However, two conditions must be met for this:
- Your domain (A-record) must point to your VPS IP address.
- Ports 80 and 443 must be open and not occupied by other processes (e.g., Nginx or Apache).
If you want to use your own Nginx as a Reverse Proxy (for example, if other sites are already hosted on the server), you need to change the Appwrite ports in .env:
_APP_OPTIONS_FORCE_HTTPS=disabled # If SSL is terminated on an external Nginx
_APP_HTTP_PORT=8080
_APP_HTTPS_PORT=8443
Then, forward the traffic in the Nginx config:
server {
    listen 80;
    server_name api.myapp.com;
    return 301 https://$host$request_uri;
}

server {
    listen 443 ssl;
    server_name api.myapp.com;

    ssl_certificate /etc/letsencrypt/live/api.myapp.com/fullchain.pem;
    ssl_certificate_key /etc/letsencrypt/live/api.myapp.com/privkey.pem;

    location / {
        proxy_pass http://localhost:8080;
        proxy_set_header Host $host;
        proxy_set_header X-Real-IP $remote_addr;
        proxy_set_header X-Forwarded-For $proxy_add_x_forwarded_for;
        proxy_set_header X-Forwarded-Proto $scheme;
    }
}
8. Backups and System Maintenance
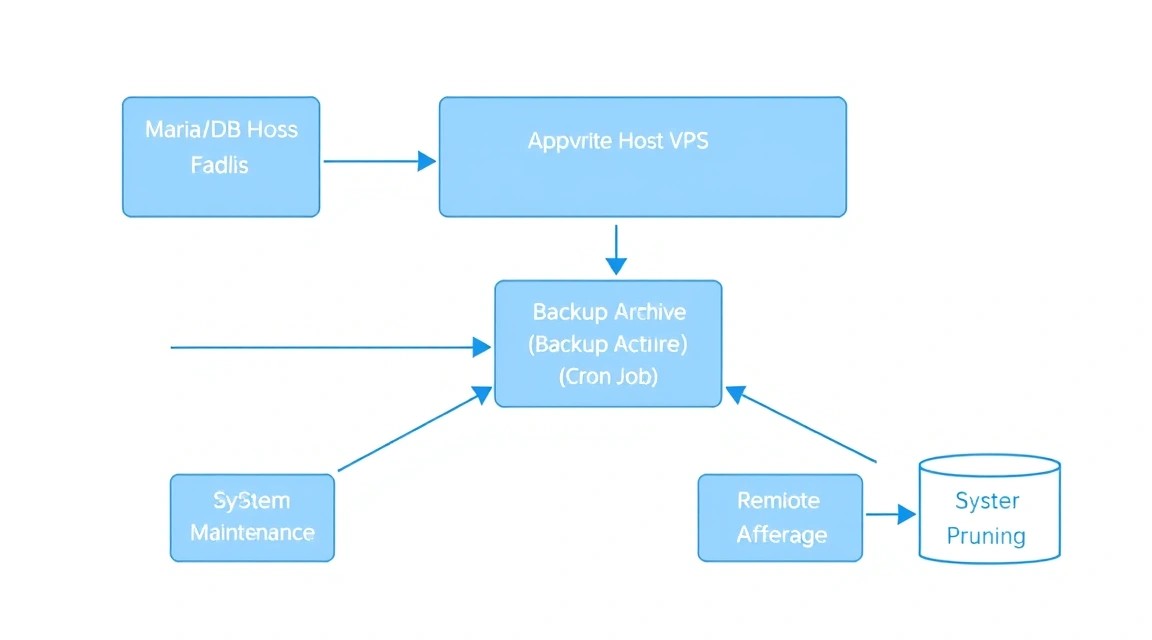
A self-hosted solution places the responsibility for data safety on you. In Appwrite, you need to back up three main things:
- The
.envfile (it contains encryption keys; without them, the database data will become useless). - MariaDB database dump.
- The contents of the
storagefolder (uploaded files).
Simple Backup Script
Create a backup.sh file:
#!/bin/bash
BACKUP_DIR="/home/deploy/backups/$(date +%Y-%m-%d)"
mkdir -p $BACKUP_DIR

# Config backup
cp /home/deploy/appwrite/.env $BACKUP_DIR/

# Database backup (via docker exec)
docker exec appwrite-mariadb mysqldump -u root --password=$(grep _APP_DB_ROOT_PASS /home/deploy/appwrite/.env | cut -d'=' -f2) appwrite > $BACKUP_DIR/db_dump.sql

# File backup (archiving)
tar -czf $BACKUP_DIR/storage.tar.gz /home/deploy/appwrite/storage

# Delete backups older than 7 days
find /home/deploy/backups/ -mtime +7 -exec rm -rf {} \;
Add the script to crontab to run daily at 3:00 AM:
0 3 /bin/bash /home/deploy/backup.sh
Updating Appwrite
Updates are released frequently. To update, run:
# Enter the folder
cd ~/appwrite

# Make a backup! (see above)

# Run the installer for the same version or latest
docker run -it --rm \
    --volume /var/run/docker.sock:/var/run/docker.sock \
    --volume "$(pwd)"/appwrite:/usr/src/code/appwrite:rw \
    --entrypoint="install" \
    appwrite/appwrite:latest
The script will detect the existing installation and offer to update the images while preserving your data.
Need a dedicated server?
Compare prices from top providers. Configure and order in minutes.
9. Troubleshooting + FAQ
Containers are constantly restarting (Restarting)
Most often, this happens due to a lack of RAM. Appwrite requires a minimum of 2 GB, but in practice, with 2 GB, MariaDB may crash due to OOM (Out of Memory). Ensure you have a Swap file configured if memory is tight.
# Creating a 2GB swap
sudo fallocate -l 2G /swapfile
sudo chmod 600 /swapfile
sudo mkswap /swapfile
sudo swapon /swapfile
echo '/swapfile none swap sw 0 0' | sudo tee -a /etc/fstab
Error "Invalid Custom Domain"
Check that the _APP_DOMAIN variable in .env matches what you enter in the browser. Also, ensure that DNS records have updated (it may take up to 24 hours; use dig yourdomain.com to check).
How to reset the administrator password?
In Appwrite, the first registered user automatically becomes the administrator. If you lose access, the easiest way is to create a new user via the API or console and manually change their role in the MariaDB database, but the official way is using the Appwrite CLI.
What is the minimum VPS configuration?
For development, 1 vCPU and 2 GB RAM are sufficient. However, for stable operation of the control panel and at least a few parallel API requests, we strongly recommend 2 vCPU and 4 GB RAM. This will ensure smooth operation of Docker containers and prevent write delays to the database.
What to choose — VPS or Dedicated for this task?
For 95% of applications in the growth stage, a VPS is sufficient. Virtualization allows you to easily scale resources (add RAM or CPU) without moving. A Dedicated server should only be chosen if you need to store terabytes of data locally or if you have very specific security requirements (hardware-level isolation).
Email confirmation letters are not arriving
Check the logs of the worker-mails container:
Was this guide helpful?