Installing Nextcloud on VPS: Personal Cloud with Docker Compose, Nginx, and Let's Encrypt
TL;DR
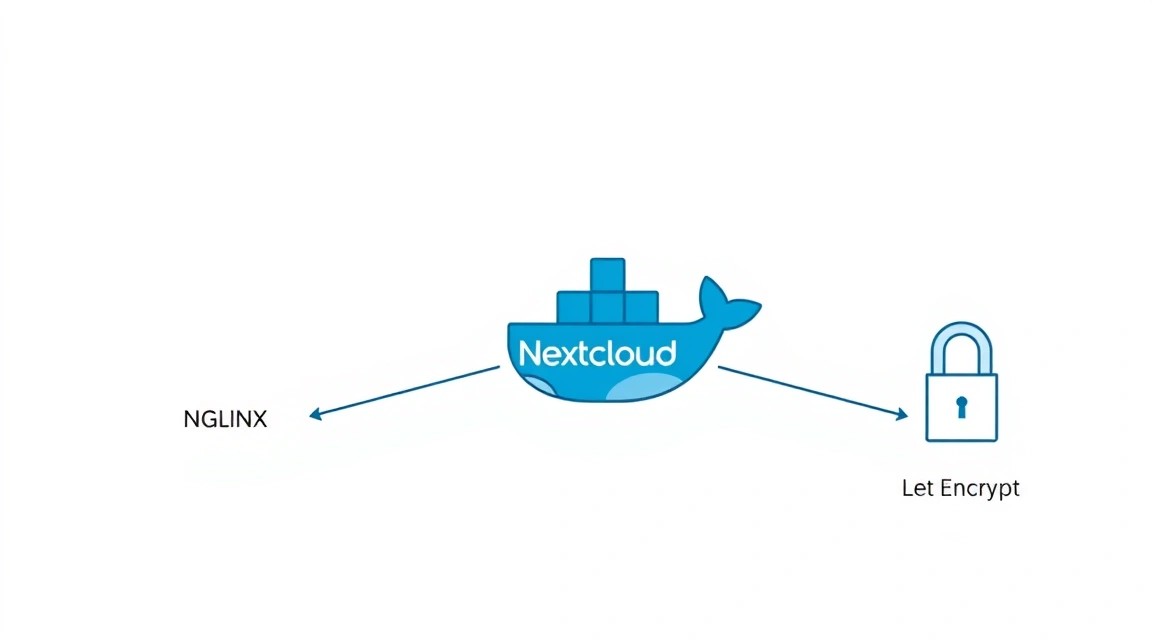
In this detailed guide, we will step-by-step set up your own secure Nextcloud cloud storage on a Virtual Private Server (VPS), using containerization with Docker Compose. We will deploy Nextcloud, a MariaDB database, and Redis for caching, configure Nginx as a reverse proxy, and ensure traffic encryption with free SSL certificates from Let's Encrypt, valid until 2026.
You will deploy a fully functional and secure personal Nextcloud cloud.
Docker Compose is used for easy management of all components.
Nginx will serve as a reverse proxy for Nextcloud, providing access via a domain name.
Let's Encrypt will provide free HTTPS certificates for data protection.
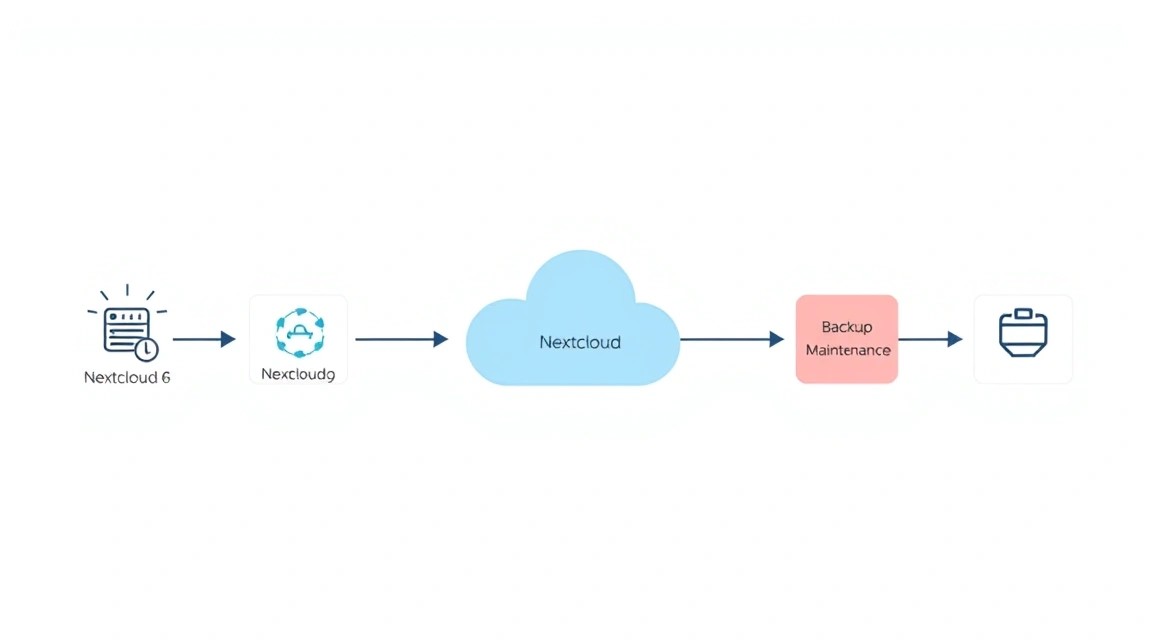
The guide includes backup configuration and basic system maintenance.
All commands and configurations are tested and ready for use.
What we configure and why
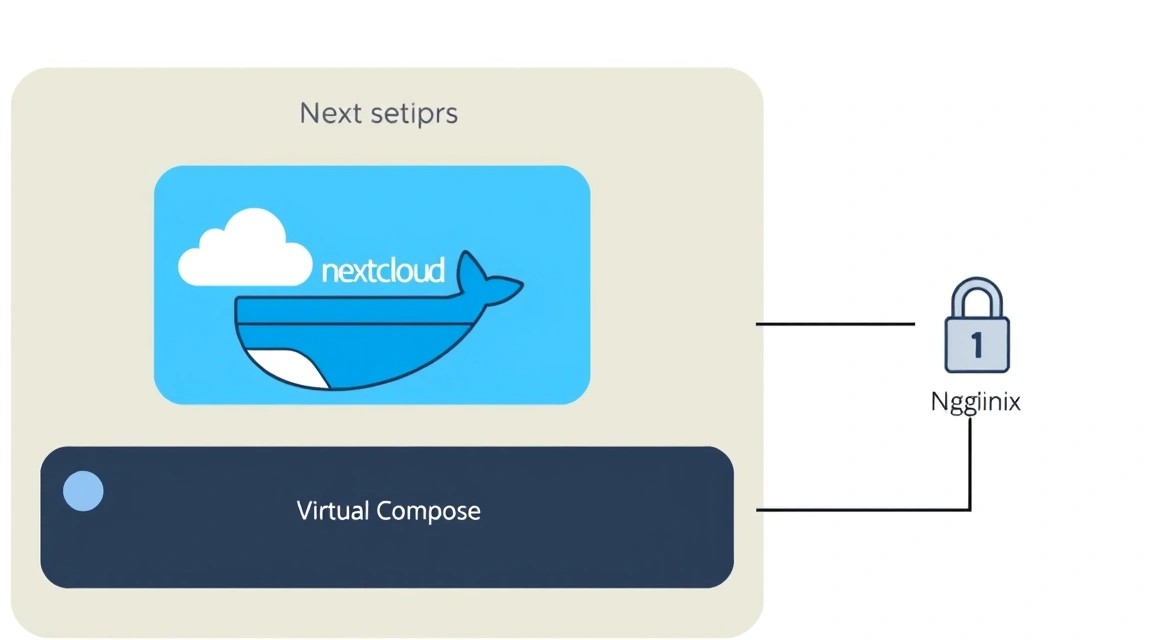
Diagram: What we configure and why
In today's world, where data privacy is becoming increasingly valuable, owning your own cloud storage is particularly relevant. We will be setting up Nextcloud — powerful, flexible, and open-source software that allows you to create a full-fledged alternative to commercial cloud services like Google Drive or Dropbox, but under your complete control.
Ultimately, you will get your own cloud, accessible via your domain name over HTTPS, where you can store files, share them with others, synchronize data between devices, view documents, photos, and videos, and use many additional applications for collaboration, calendars, contacts, and much more. This is an ideal solution for developers, solo founders, teams, and private users who value their privacy and independence from large corporations.
There are alternatives, such as cloud services (Google Drive, Dropbox, OneDrive) or other self-hosted solutions (ownCloud, Seafile). Commercial cloud services are convenient, but you entrust your data to a third party, which may be unacceptable in terms of privacy and control. Self-hosted solutions, such as Nextcloud, allow you to fully control the infrastructure, data, and security. By deploying Nextcloud on your own VPS, you get maximum flexibility, scalability, and long-term economic benefits, avoiding subscriptions and provider limitations.
What VPS config is needed for this task
Diagram: What VPS config is needed for this task
Choosing the right VPS is key for stable Nextcloud operation. Resource requirements depend on the number of users, data volume, and intensity of use.
Minimum requirements for Nextcloud (as of 2026):
Processor (CPU): 1-2 vCPU. For a single user or a small group (up to 5-10 people), 1 vCPU is sufficient. For a larger number of users or active use of Nextcloud applications, 2 vCPUs are recommended.
Random Access Memory (RAM): Minimum 2 GB. 4 GB is recommended for comfortable operation with Docker Compose, the database, and Redis. If active use of applications (e.g., Collabora Online) is planned, 6-8 GB of RAM will be required.
Disk: SSD storage of 100 GB or more. SSD is critical for database performance and file access speed. Disk size should be chosen with a margin, considering the planned volume of stored data and space for backups.
Network: Stable network connection with a speed of 100 Mbps or more. For large volumes of file uploads/downloads, a 1 Gbps channel is desirable.
Recommended VPS plan for Nextcloud (up to 20-30 users):
For optimal performance and stability, especially when using additional Nextcloud features and for a small team, a VPS with the following parameters is recommended:
CPU: 2 vCPU
RAM: 4-6 GB
Disk: 200-500 GB NVMe SSD (or fast SATA SSD)
Network: 1 Gbps port
For renting a VPS with the specified characteristics, you can consider providers offering balanced tariffs. Make sure the chosen plan meets your needs for storage volume and number of users.
When a dedicated server is needed, not a VPS:
A dedicated server becomes necessary if:
You plan to serve a large number of users (more than 50-100) with intensive load.
Maximum performance and stability are required, unattainable on virtualized resources.
Specific hardware configurations are needed (e.g., RAID arrays for data, GPU for AI tasks).
There are strict requirements for isolation and security at the physical level.
For most personal and small team tasks, a VPS is an optimal and cost-effective solution. If you plan to deploy Nextcloud for more than 100 users or with very high load, then you should consider a suitable dedicated server.
VPS location: what it affects
The choice of VPS location affects several key factors:
Latency: The closer the server is to your primary users, the lower the latency and faster the response.
Legislation: Different countries have different data storage laws. Choose a location that complies with your privacy and jurisdiction requirements.
Cost: VPS prices can vary depending on the region.
Bandwidth: Some locations may offer more favorable conditions for network traffic.
For Nextcloud, it is recommended to choose a location as close as possible to the majority of users to ensure the best user experience.
Server preparation
Diagram: Server preparation
Before installing Nextcloud, you need to perform basic setup of a fresh VPS. We will use Ubuntu Server 24.04 LTS, current for 2026, as a stable and widely used operating system.
1. Connecting to the server
First, connect to your VPS via SSH using the credentials provided by your hosting provider (usually the root user and password).
ssh root@YOUR_VPS_IP_ADDRESS
2. System update
Always start by updating the package list and installed packages to the latest versions.
sudo apt update && sudo apt upgrade -y
Updating the system ensures that all the latest security and stability fixes are in place.
3. Creating a new user with sudo privileges
Working as the root user is insecure. Create a new user and grant them sudo privileges.
sudo adduser nextcloudadmin             # Create a new user
sudo usermod -aG sudo nextcloudadmin    # Add the user to the sudo group
Now you can exit the root session and log in as nextcloudadmin.
exit                                    # Exit root session
ssh nextcloudadmin@YOUR_VPS_IP_ADDRESS     # Log in as the new user
4. Configuring SSH keys (recommended)
For increased security, it is recommended to use SSH keys instead of passwords. Generate a key on your local machine (if you don't have one already).
ssh-keygen -t rsa -b 4096 # On your local machine
Copy the public key to the server:
ssh-copy-id nextcloudadmin@YOUR_VPS_IP_ADDRESS
Then disable password authentication for root and/or for all users by editing the /etc/ssh/sshd_config file.
sudo nano /etc/ssh/sshd_config
Find and change the following lines:
#PermitRootLogin yes
PermitRootLogin no                     # Disable root login
PasswordAuthentication no              # Disable password authentication
ChallengeResponseAuthentication no     # Disable challenge-response authentication
UsePAM no                              # Disable PAM if PasswordAuthentication is disabled
Save changes (Ctrl+O, Enter) and exit (Ctrl+X). Restart the SSH service.
sudo systemctl restart sshd
IMPORTANT: Before disabling password authentication, make sure you can log in with an SSH key! Open a new SSH session with the key before closing the current one.
5. Configuring the firewall (UFW)
UFW (Uncomplicated Firewall) is an easy-to-use interface for iptables. Let's configure it to allow SSH, HTTP, and HTTPS.
The server is ready for the installation of the main software.
Software Installation — Step-by-step
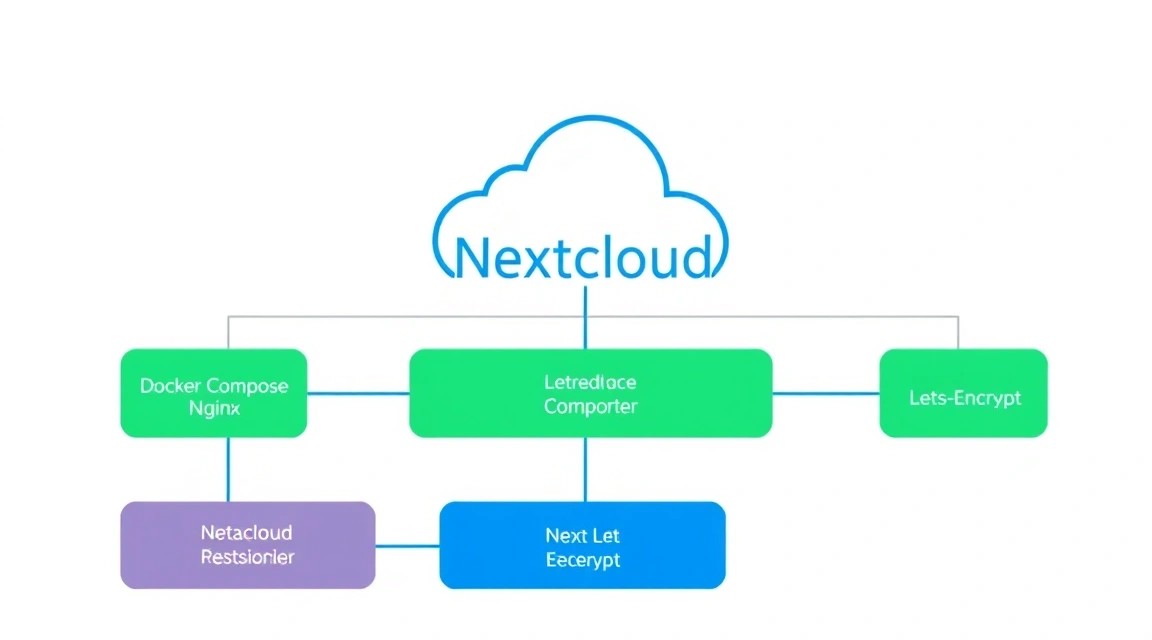
Diagram: Software Installation — Step-by-step
We will use Docker and Docker Compose to deploy Nextcloud, MariaDB, Redis, and Nginx. This approach provides isolation, simplifies management, and streamlines component updates.
Add the current user to the docker group to avoid using sudo when working with Docker:
sudo usermod -aG docker ${USER}
To apply the group changes, you need to log out and log back in:
exit
ssh nextcloudadmin@YOUR_VPS_IP_ADDRESS
Verify Docker installation:
docker run hello-world # Run a test container
2. Installing Docker Compose (current as of 2026)
Docker Compose is a tool for defining and running multi-container Docker applications. As of 2026, Docker Compose V2 is the current version, integrated into the Docker CLI.
# Docker Compose V2 is usually installed with Docker Desktop or as a Docker CLI plugin.
# If it's not installed, it can be installed separately:
sudo apt install docker-compose-plugin -y # Install Docker Compose V2 as a plugin
Verify Docker Compose installation:
docker compose version # Check Docker Compose version
3. Creating the Project Directory
We will create a directory where all Nextcloud and Docker Compose configuration files will be stored.
mkdir -p ~/nextcloud_data               # Create the main directory for the project
cd ~/nextcloud_data                     # Navigate to the project directory
In this directory, we will create the files docker-compose.yml and .env.
Configuration
Diagram: Configuration
Now that Docker and Docker Compose are installed, we can proceed with creating the configuration for Nextcloud. We will define services for Nextcloud, the database (MariaDB), caching (Redis), and a reverse proxy (Nginx) with Let's Encrypt.
1. Creating the Environment Variables File (.env)
Secrets and variables that may change are best stored in a separate file .env. This enhances security and simplifies management.
For optimization and enhanced security, you can make changes to the config/config.php file inside the Nextcloud container. For example, configure caching with Redis.
You should see an HTTP/2 200 status and headers indicating Nextcloud. Also, verify functionality by uploading a file through the web interface.
Backups and Maintenance
Diagram: Backups and Maintenance
Regular backups and timely maintenance are critically important for any production service. Nextcloud is no exception.
What to back up:
Nextcloud Data: User files stored in the nextcloud_data volume.
Nextcloud Database: The entire MariaDB database, storing information about users, files, settings, etc. (db_data volume).
Nextcloud Configuration Files: The config/config.php file and other settings (nextcloud_config volume).
Docker Compose Configuration: The docker-compose.yml and .env files.
Let's Encrypt Certificates: The /etc/letsencrypt directory (certbot_certs volume).
Simple Auto-Backup Script
Let's create a simple script that will perform backups of all necessary components. For storing backups, it is recommended to use external storage, such as S3-compatible cloud storage or another VPS.
#!/bin/bash

# --- Конфигурация ---
BACKUP_DIR="/mnt/backups/nextcloud" # Каталог для временного хранения бэкапов на VPS
NEXTCLOUD_PROJECT_DIR="/home/nextcloudadmin/nextcloud_data" # Путь к вашему docker-compose.yml
DATE=$(date +%Y%m%d%H%M%S)
DB_BACKUP_FILE="${BACKUP_DIR}/nextcloud_db_${DATE}.sql"
DATA_BACKUP_FILE="${BACKUP_DIR}/nextcloud_data_${DATE}.tar.gz"
CONFIG_BACKUP_FILE="${BACKUP_DIR}/nextcloud_config_${DATE}.tar.gz"
CERT_BACKUP_FILE="${BACKUP_DIR}/nextcloud_certs_${DATE}.tar.gz"
COMPOSE_BACKUP_FILE="${BACKUP_DIR}/nextcloud_compose_${DATE}.tar.gz"

# Переменные из .env
source "${NEXTCLOUD_PROJECT_DIR}/.env"

# --- Создание каталога бэкапов ---
mkdir -p "${BACKUP_DIR}" || { echo "Ошибка: Не удалось создать каталог бэкапов."; exit 1; }

echo "--- Начинаем резервное копирование Nextcloud ---"

# 1. Бэкап базы данных MariaDB
echo "Бэкапим базу данных..."
sudo docker compose -f "${NEXTCLOUD_PROJECT_DIR}/docker-compose.yml" exec db sh -c \
    "exec mariadb-dump -u${MYSQL_USER} -p${MYSQL_PASSWORD} ${MYSQL_DATABASE}" > "${DB_BACKUP_FILE}" || \
    { echo "Ошибка: Бэкап базы данных не удался."; exit 1; }
echo "Бэкап базы данных завершен: ${DB_BACKUP_FILE}"

# 2. Бэкап данных Nextcloud (файлов пользователей)
echo "Бэкапим данные Nextcloud..."
sudo docker compose -f "${NEXTCLOUD_PROJECT_DIR}/docker-compose.yml" exec app tar -czf - -C /var/www/html/data . > "${DATA_BACKUP_FILE}" || \
    { echo "Ошибка: Бэкап данных Nextcloud не удался."; exit 1; }
echo "Бэкап данных Nextcloud завершен: ${DATA_BACKUP_FILE}"

# 3. Бэкап конфигурации Nextcloud
echo "Бэкапим конфигурацию Nextcloud..."
sudo docker compose -f "${NEXTCLOUD_PROJECT_DIR}/docker-compose.yml" exec app tar -czf - -C /var/www/html config > "${CONFIG_BACKUP_FILE}" || \
    { echo "Ошибка: Бэкап конфигурации Nextcloud не удался."; exit 1; }
echo "Бэкап конфигурации Nextcloud завершен: ${CONFIG_BACKUP_FILE}"

# 4. Бэкап сертификатов Let's Encrypt
echo "Бэкапим сертификаты Let's Encrypt..."
sudo tar -czf "${CERT_BACKUP_FILE}" -C /var/lib/docker/volumes/nextcloud_data_certbot_certs/_data . || \
    { echo "Ошибка: Бэкап сертификатов не удался."; exit 1; }
echo "Бэкап сертификатов завершен: ${CERT_BACKUP_FILE}"

# 5. Бэкап Docker Compose файлов
echo "Бэкапим Docker Compose файлы..."
tar -czf "${COMPOSE_BACKUP_FILE}" -C "${NEXTCLOUD_PROJECT_DIR}" docker-compose.yml .env || \
    { echo "Ошибка: Бэкап Docker Compose файлов не удался."; exit 1; }
echo "Бэкап Docker Compose файлов завершен: ${COMPOSE_BACKUP_FILE}"

echo "--- Резервное копирование завершено ---"

# --- Очистка старых бэкапов (оставляем последние 7 дней) ---
echo "Очистка старых бэкапов..."
find "${BACKUP_DIR}" -type f -name "nextcloud_*.sql" -mtime +7 -delete
find "${BACKUP_DIR}" -type f -name "nextcloud_*.tar.gz" -mtime +7 -delete
echo "Очистка завершена."

# --- Загрузка бэкапов на внешнее хранилище (пример с rclone на S3) ---
# Установите rclone и настройте его для вашего S3-хранилища
# Например, rclone config
# rclone sync "${BACKUP_DIR}" "s3_remote:nextcloud-backups"
# echo "Бэкапы синхронизированы с S3."

exit 0
Make the script executable:
chmod +x ~/scripts/backup_nextcloud.sh
To run this script, you may need to mount an external drive or configure /mnt/backups. Also, ensure that the nextcloudadmin user has read/write permissions to /var/lib/docker/volumes/nextcloud_data_certbot_certs/_data or use sudo for the tar command for certificates.
Where to store backups:
External S3-compatible service: AWS S3, Backblaze B2, DigitalOcean Spaces. This is a reliable and relatively inexpensive option. Use utilities like rclone for automatic synchronization.
Separate VPS: Rent a small VPS exclusively for storing backups. Synchronize via SSH/rsync.
Local NAS/server: If you have your own hardware.
Never store backups on the same VPS as the main service! In case of server failure, you will lose both the service and the backups.
Automating Backups with Cron
Add the script to the Cron scheduler for daily execution (e.g., at 3 AM).
This will run the script every day at 03:00 and record the output to the log file /var/log/nextcloud_backup.log.
Updates: rolling vs maintenance window
OS Updates: Regularly run sudo apt update && sudo apt upgrade -y. It is recommended to do this once a month or when critical updates are released.
Docker Image Updates:
Rolling (continuous): For Nextcloud and the database, this is not always the best option, as updates may require database migration or API changes.
Maintenance window: It is recommended to schedule Nextcloud, MariaDB, and Redis Docker image updates during off-peak hours.
cd ~/nextcloud_data
sudo docker compose pull                  # Загрузить новые версии образов
sudo docker compose down                  # Остановить все сервисы
sudo docker compose up -d                 # Запустить сервисы с новыми образами
sudo docker exec -it app occ upgrade      # Выполнить обновление Nextcloud через его CLI
sudo docker exec -it app occ maintenance:mode --off # Выключить режим обслуживания
Certbot Updates: Let's Encrypt certificates are automatically renewed by the certbot container, which runs in docker-compose.yml.
Troubleshooting + FAQ
This section covers typical problems and frequently asked questions when installing and operating Nextcloud on a VPS.
Nginx returns 502 Bad Gateway
What to check: This means that Nginx cannot communicate with the backend application (in our case, the Nextcloud FPM container).
Ensure that the app container is running: sudo docker compose ps.
Check the logs of the app container: sudo docker compose logs app. Look for PHP-FPM errors.
Ensure that Nginx is correctly configured to proxy to app:9000.
Check that the containers are on the same Docker network.
How to fix: If app is not running, check the logs for startup errors. If it is running but not responding, PHP-FPM may be stuck or Nextcloud may not be initialized. Try restarting the app container: sudo docker compose restart app.
Cannot obtain an SSL certificate from Let's Encrypt
What to check:
Ensure that your domain correctly points to your VPS's IP address (A/AAAA records). Use dig your.domain.com.
Ensure that ports 80 and 443 are open in the firewall (sudo ufw status).
Check the logs of the certbot container: sudo docker compose logs certbot.
Ensure that Nginx is configured for .well-known/acme-challenge/.
How to fix: Correct DNS records, open ports in UFW, check Nginx configuration. If there is a problem with Certbot, request limits may have been reached (rare for new domains) or there may be a file system issue.
Nextcloud is running slowly
What to check:
VPS Resources: Insufficient CPU or RAM. Check resource usage: htop or docker stats.
Caching: Ensure that Redis is configured and running (see "Configuration" section and config/config.php).
Database: Slow database performance. Check MariaDB logs for errors or slow queries.
Disk: Slow disk I/O. SSD is mandatory for Nextcloud.
Internal Nextcloud settings: Go to "Settings" -> "Overview" in Nextcloud for performance recommendations.
How to fix: Increase VPS resources (RAM, CPU), ensure correct Redis caching setup, consider database optimization or migration to a faster SSD.
Cannot log in to Nextcloud after installation
What to check:
Correctness of the administrator username and password you specified during the initial setup.
Check the app container logs for authentication errors.
Ensure that the database is running and accessible to Nextcloud (db container).
How to fix: If you forgot the administrator password, you can reset it via the Nextcloud CLI: sudo docker exec -it app occ user:resetpassword admin_username. Ensure that the db container is running and there are no errors in its logs.
What is the minimum suitable VPS configuration?
For a single user or a very small family (up to 3-5 people) with basic usage (file storage, synchronization), a VPS with 1 vCPU, 2 GB RAM, and 100 GB SSD is minimally suitable. However, for more comfortable work and the possibility of expanding functions (e.g., video calls, document editing), 2 vCPU, 4 GB RAM, and 200 GB SSD are recommended. This will provide better performance and system stability.
What to choose — VPS or dedicated for this task?
For most Nextcloud use cases (personal cloud, small or medium team up to 50-100 users), a VPS is the optimal choice. It offers sufficient performance, flexibility, and is significantly lower in cost than a dedicated server. A dedicated server should only be chosen for very high loads, a significant number of users (more than 100), specific hardware requirements, or when complete physical isolation is required.
"Trusted domain" error in Nextcloud
What to check: This error means that Nextcloud does not trust the domain from which you are trying to access it.
Ensure that NEXTCLOUD_TRUSTED_DOMAINS in your .env file contains the correct domain.
Check that in config/config.php inside the Nextcloud container, your domain is also listed as trusted.
How to fix: Edit the .env file and/or config/config.php, adding your domain to the list of trusted domains. After changing .env, you need to recreate the container: sudo docker compose down && sudo docker compose up -d. After changing config.php inside the container, it is sufficient to restart the app container: sudo docker compose restart app.
Conclusions and Next Steps
Diagram: Conclusions and Next Steps
Congratulations! You have successfully deployed and configured your own personal Nextcloud cloud on your VPS, using Docker Compose, Nginx, and Let's Encrypt. You now have a fully controlled and secure platform for storing and sharing files, collaborating, and protecting your data from third-party services.
What steps can be taken next to expand the functionality and optimize your Nextcloud:
Installing additional applications: Explore the Nextcloud app store (e.g., Collabora Online for document editing, Talk for video calls, Calendar, Contacts).
Resource monitoring: Set up a monitoring system (e.g., Prometheus + Grafana) to track the status of your VPS and containers.
Performance optimization: Continue fine-tuning Nginx, PHP-FPM, and MariaDB for maximum performance, especially as the number of users grows.
Integration with external storage: Connect external storage (S3, SMB/CIFS) to expand Nextcloud's disk space.
Was this guide helpful?
Your feedback helps us improve our guides.
Share this post:
Send this guide to someone who may find it useful.