
Deploying n8n on a VPS: Installation via Docker, PostgreSQL Setup, and SSL for Process Automation
TL;DR
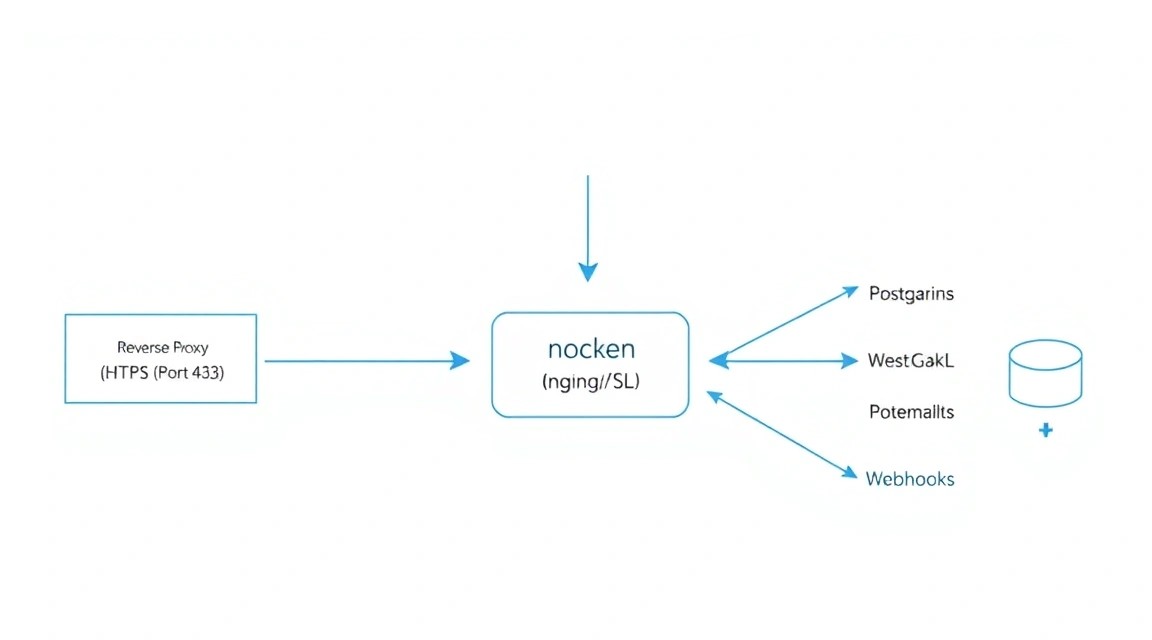
In this guide, we will walk through the process of creating your own independent business process automation platform based on n8n. We will move away from using the built-in SQLite database in favor of high-performance PostgreSQL, set up automatic SSL certificate acquisition via the Caddy reverse proxy, and package everything into Docker containers for easy management and updates. As a result, you will have a powerful tool capable of replacing expensive Zapier or Make subscriptions while maintaining full control over your data.
- Technology Stack: Docker, Docker Compose, PostgreSQL 17, Caddy 2.7+, n8n.
- Security: Automatic HTTPS (Let's Encrypt), container isolation, Firewall configuration.
- Performance: PostgreSQL optimization for n8n queue tasks.
- Reliability: Setting up automatic database and configuration file backups.
- Implementation Time: 30-40 minutes with a ready server.
Need a dedicated server?
Compare prices from top providers. Configure and order in minutes.
1. What We Are Setting Up and Why: n8n as an Automation Control Center
Process automation in 2026 has become a standard not only for large businesses but also for individual developers. n8n is an extensible workflow automation tool that uses a "fair-code" approach. Unlike closed cloud platforms, n8n allows you to visually design complex chains of actions (workflows), connecting hundreds of services via APIs.
Why a self-hosted solution on your own VPS beats cloud alternatives (Zapier, Make, Pipedream):
- No limits on the number of steps: You only pay for server resources, not for every scenario execution.
- Data Privacy: Your API keys, personal customer data, and corporate secrets never leave your server.
- Flexibility: The ability to write your own nodes in JavaScript and integrate with internal databases located on the same local network.
- Stability: You are not dependent on changes in pricing policies or sudden service shutdowns in your region.
In this tutorial, we will create a production-grade configuration. We will not use the standard installation via npm, as it is difficult to update and manage dependencies. Instead, we will use Docker—this will ensure component isolation and allow you to migrate the entire system to another server in minutes.
2. What VPS Configuration is Needed for This Task
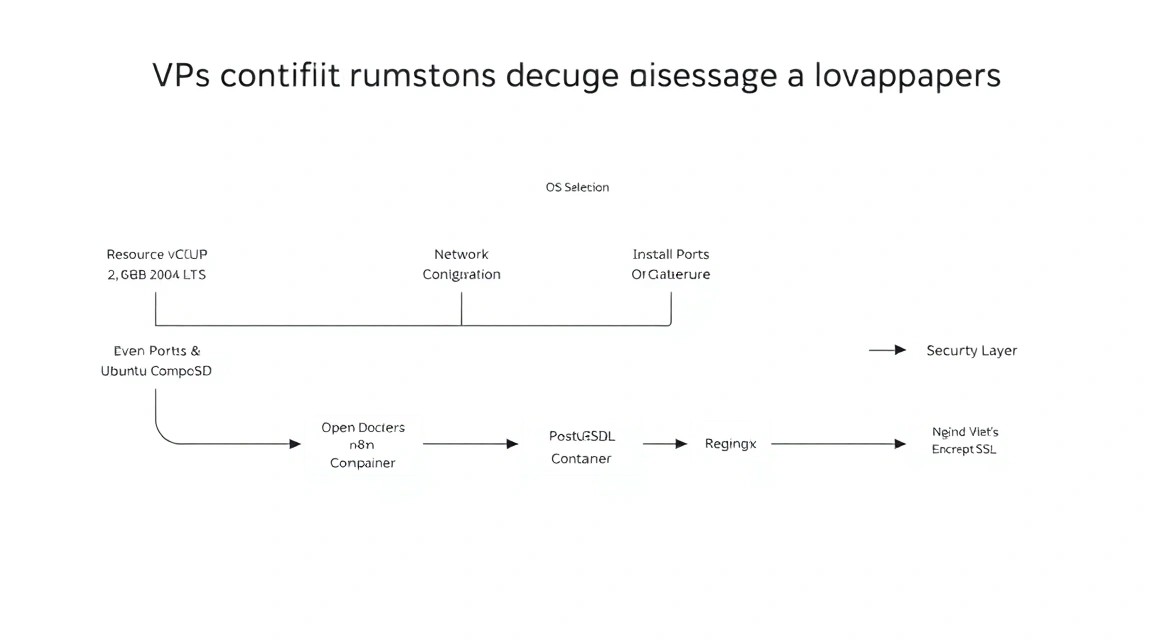
n8n is a Node.js application that can be quite memory-intensive, especially when processing large volumes of data (JSON with thousands of rows or working with binary files). PostgreSQL also requires dedicated resources for query caching.
| Feature | Minimum Requirements | Recommended (Production) |
|---|---|---|
| CPU | 1 Core (Shared) | 2 Cores (Dedicated) |
| RAM | 2 GB | 4 GB - 8 GB |
| Disk | 20 GB SSD | 50 GB+ NVMe |
| OS | Ubuntu 24.04 LTS | Ubuntu 24.04 / 26.04 LTS |
For stable system operation, especially if you plan to run more than 10 active workflows simultaneously, it is best to get a suitable VPS with 4 GB of RAM. This will provide a safety margin during peak loads when several heavy scenarios run at once.
Server Location: Choose a region as close as possible to the services you integrate with most often. If most of your requests go to European APIs, choose data centers in Amsterdam, Frankfurt, or Warsaw to minimize latency.
3. Server Preparation: Basic Security and System Utilities

Before installing n8n, you need to prepare the environment. We will use Ubuntu 24.04 or 26.04. First, we will update the packages and set up basic protection.
# Update the package list and install updates
sudo apt update && sudo apt upgrade -y

# Install necessary system utilities
sudo apt install -y curl wget git software-properties-common ufw fail2ban
Configuring the firewall (UFW) is critical. We need to open ports for SSH (default 22), HTTP (80), and HTTPS (443). All other ports should be closed to the external network.
# Allow standard ports
sudo ufw allow 22/tcp
sudo ufw allow 80/tcp
sudo ufw allow 443/tcp

# Enable the firewall
sudo ufw enable
It is also recommended to create a separate user with sudo privileges to avoid working as root. This reduces risks when accidentally executing destructive commands.
# Create a user (replace 'deploy' with your name)
adduser deploy
# Add to the sudo group
usermod -aG sudo deploy
Need a dedicated server?
Compare prices from top providers. Configure and order in minutes.
4. Installing Docker and Docker Compose (Current 2026 Versions)
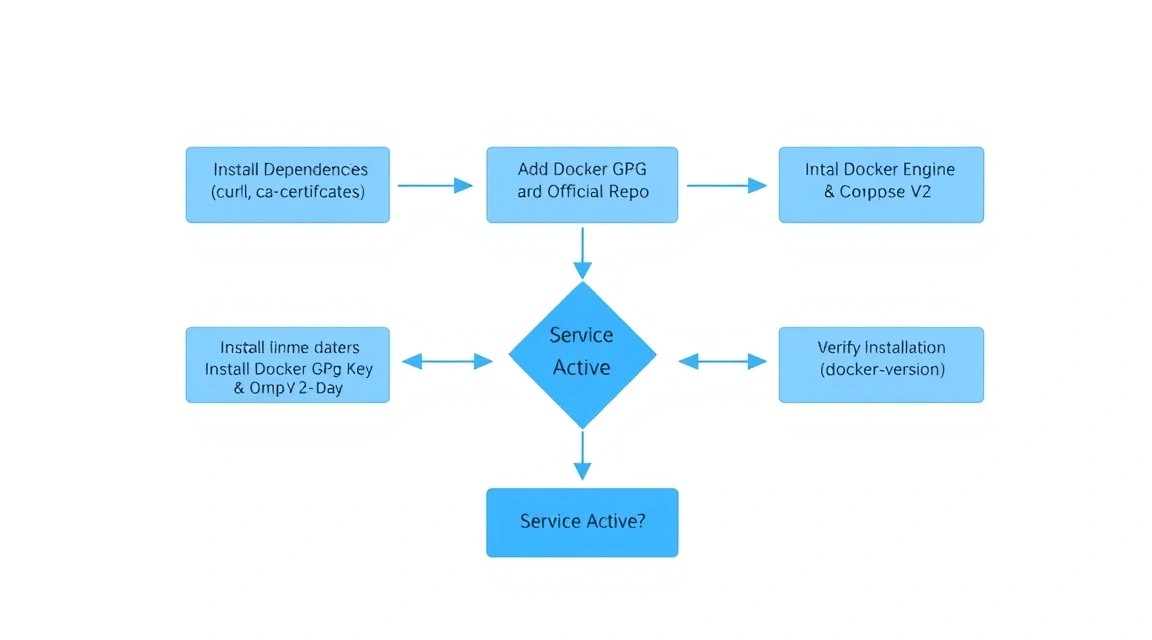
In 2026, Docker Compose is a built-in Docker plugin (the docker compose command without a hyphen). We will use the official Docker repository to get the latest software versions.
# Add official Docker GPG key
sudo install -m 0755 -d /etc/apt/keyrings
curl -fsSL https://download.docker.com/linux/ubuntu/gpg | sudo gpg --dearmor -o /etc/apt/keyrings/docker.gpg
sudo chmod a+r /etc/apt/keyrings/docker.gpg

# Add repository to apt sources list
echo \
  "deb [arch=$(dpkg --print-architecture) signed-by=/etc/apt/keyrings/docker.gpg] https://download.docker.com/linux/ubuntu \
  $(. /etc/os-release && echo "$VERSION_CODENAME") stable" | \
  sudo tee /etc/apt/sources.list.d/docker.list > /dev/null

# Install Docker Engine and the Compose plugin
sudo apt update
sudo apt install -y docker-ce docker-ce-cli containerd.io docker-buildx-plugin docker-compose-plugin

# Verify installation
docker --version
docker compose version
Let's add our user to the docker group to run containers without constantly using sudo:
sudo usermod -aG docker $USER
# To apply changes, log out and back in or run:
newgrp docker
5. Architecture Design: Docker Compose and Environment Variables
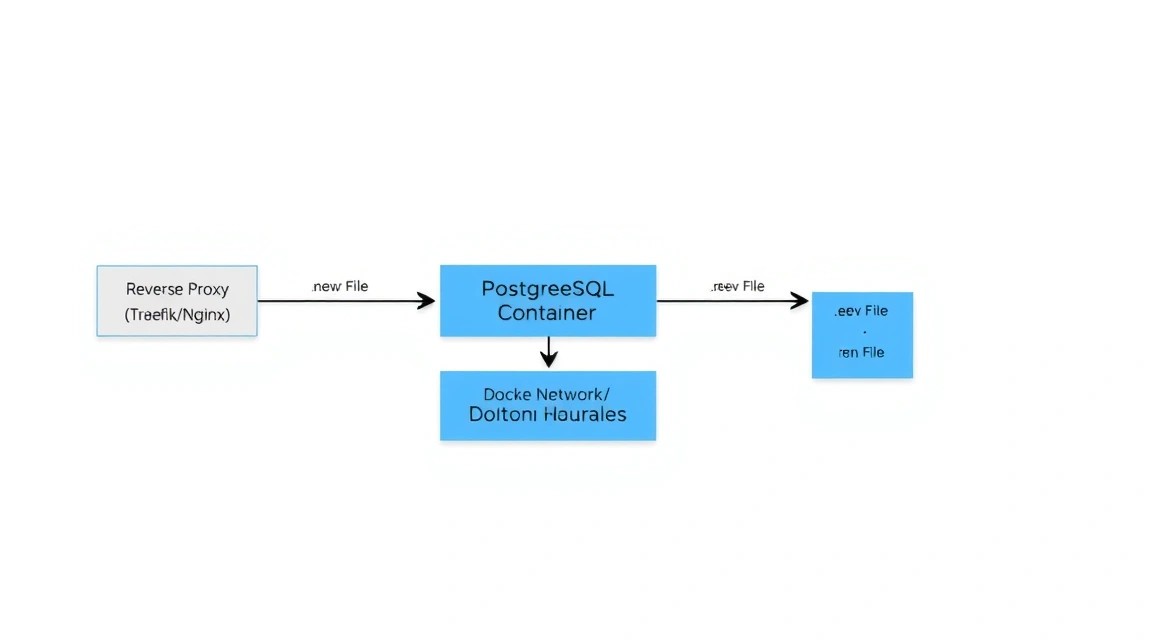
We will create a directory structure that allows for easy project management and backups. The main idea is to separate the configuration (environment variables) and the infrastructure description (YAML file).
# Create working directory
mkdir -p ~/n8n-stack && cd ~/n8n-stack

# Create folders for data volumes
mkdir -p n8n_data postgres_data caddy_data caddy_config
Now let's create the .env file. This is the "brain" of our setup. It stores passwords, domain names, and email settings. Never share this file with third parties.
# File ~/.env
DOMAIN_NAME=n8n.your-domain.com
SUBDOMAIN=n8n
GENERIC_TIMEZONE=Europe/Moscow

# PostgreSQL Settings
POSTGRES_USER=n8n_user
POSTGRES_PASSWORD=your_strong_password_here
POSTGRES_DB=n8n_db

# n8n Settings
N8N_ENCRYPTION_KEY=make_a_random_string_here
WEBHOOK_URL=https://n8n.your-domain.com/
Tip: To generate N8N_ENCRYPTION_KEY, use the command openssl rand -hex 24. This key is used to encrypt your credentials in the n8n database. If you lose it, you will not be able to recover access to saved API keys.
6. Configuring n8n and PostgreSQL: A Deep Dive into Configs
Now let's create the docker-compose.yaml file. We will use the official n8n image and PostgreSQL 17. We will also add automatic container restarts in case of failure or server reboot.
services:
  postgres:
    image: postgres:17-alpine
    restart: always
    environment:
      - POSTGRES_USER=${POSTGRES_USER}
      - POSTGRES_PASSWORD=${POSTGRES_PASSWORD}
      - POSTGRES_DB=${POSTGRES_DB}
    volumes:
      - ./postgres_data:/var/lib/postgresql/data
    healthcheck:
      test: ["CMD-SHELL", "pg_isready -U ${POSTGRES_USER} -d ${POSTGRES_DB}"]
      interval: 5s
      timeout: 5s
      retries: 5

  n8n:
    image: n8nio/n8n:latest
    restart: always
    ports:
      - "127.0.0.1:5678:5678"
    environment:
      - DB_TYPE=postgresdb
      - DB_POSTGRESDB_HOST=postgres
      - DB_POSTGRESDB_PORT=5432
      - DB_POSTGRESDB_DATABASE=${POSTGRES_DB}
      - DB_POSTGRESDB_USER=${POSTGRES_USER}
      - DB_POSTGRESDB_PASSWORD=${POSTGRES_PASSWORD}
      - N8N_ENCRYPTION_KEY=${N8N_ENCRYPTION_KEY}
      - WEBHOOK_URL=${WEBHOOK_URL}
      - GENERIC_TIMEZONE=${GENERIC_TIMEZONE}
    volumes:
      - ./n8n_data:/home/node/.n8n
    depends_on:
      postgres:
        condition: service_healthy

  caddy:
    image: caddy:2-alpine
    restart: always
    ports:
      - "80:80"
      - "443:443"
    volumes:
      - ./Caddyfile:/etc/caddy/Caddyfile
      - ./caddy_data:/data
      - ./caddy_config:/config
    depends_on:
      - n8n
In this configuration, we have mapped the n8n port only to 127.0.0.1. This means that n8n cannot be accessed directly from the internet — this increases security. All traffic will go through Caddy.
Need a dedicated server?
Compare prices from top providers. Configure and order in minutes.
7. Configuring SSL and Reverse Proxy via Caddy
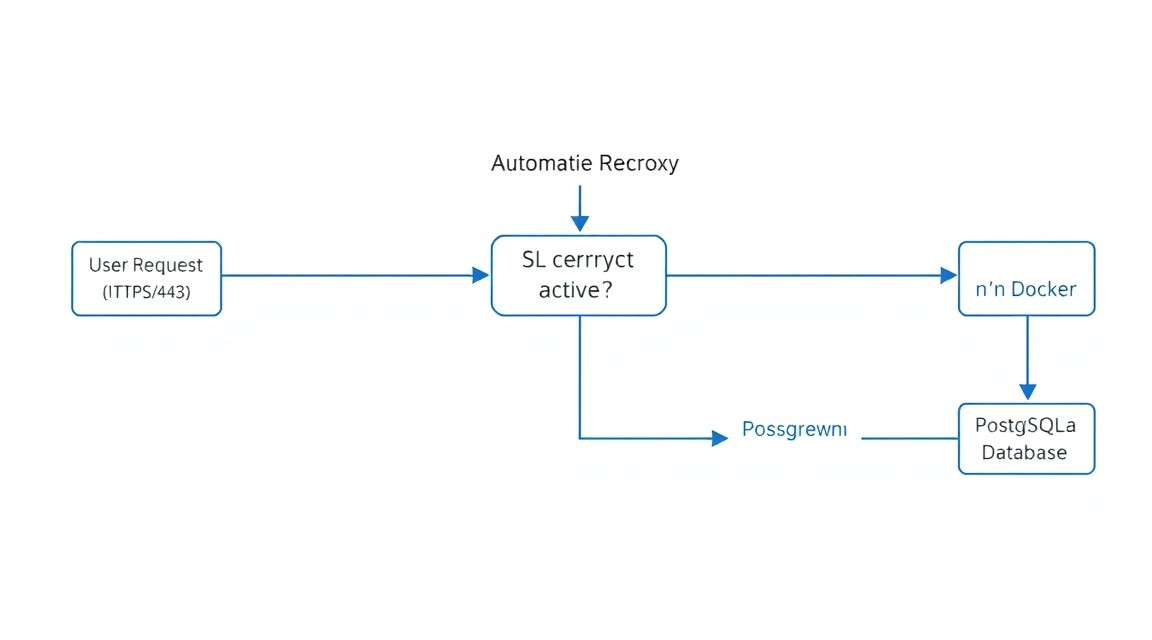
Caddy is a modern web server that automatically obtains and renews SSL certificates from Let's Encrypt or ZeroSSL. Its configuration (Caddyfile) is much simpler than Nginx's.
Create a Caddyfile in the same directory:
{
    email [email protected]
}

n8n.your-domain.com {
    reverse_proxy n8n:5678 {
        flush_interval -1
    }
}
The flush_interval -1 parameter is important for n8n because it uses Server-Sent Events (SSE) to transmit workflow status data in real time. Without this setting, the interface might lag or show disconnections.
Starting the stack:
# Start all services in the background
docker compose up -d

# Check logs if something went wrong
docker compose logs -f n8n
Now you can go to https://n8n.your-domain.com and see the initial n8n setup window. Create the first user (administrator) and be sure to save the password.
8. Backups and Maintenance: A Data Survival Strategy
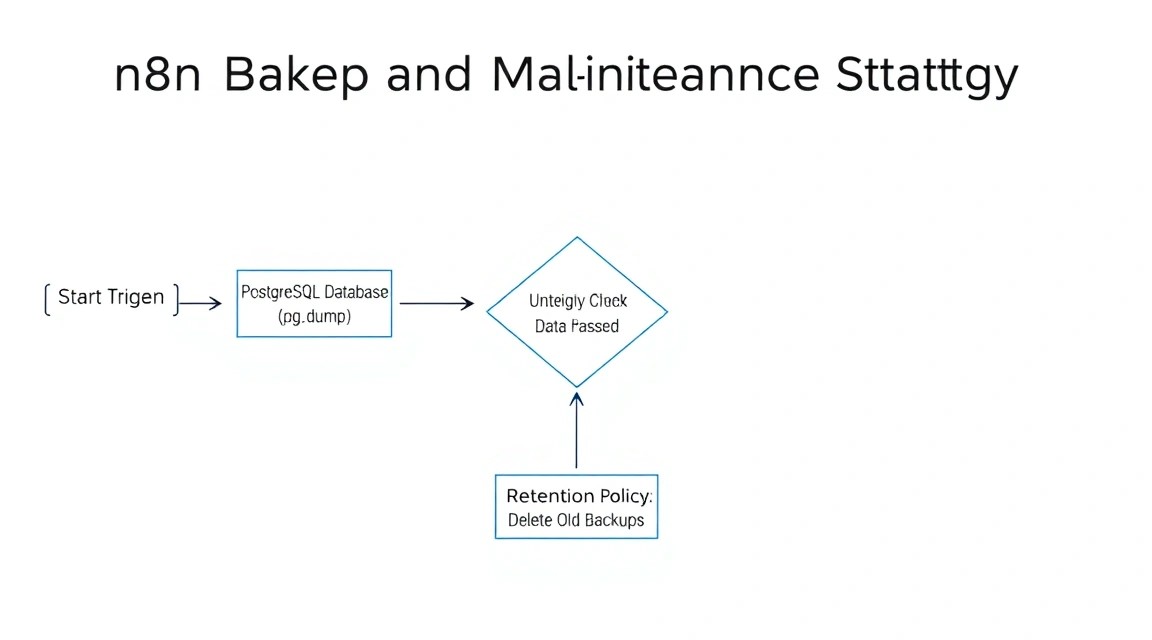
Self-hosting imposes responsibility for data safety. In n8n, you need to back up three things:
- PostgreSQL database (all your workflows, execution history, credentials).
- Files in
.n8n(encryption keys, if not set via env, and binary data). - Configuration files (
.env,docker-compose.yaml,Caddyfile).
Example of a simple database backup script (backup.sh):
#!/bin/bash
# Settings
BACKUP_DIR="/home/deploy/backups"
TIMESTAMP=$(date +"%Y%m%d_%H%M%S")
source /home/deploy/n8n-stack/.env

mkdir -p $BACKUP_DIR

# Database dump
docker compose -f /home/deploy/n8n-stack/docker-compose.yaml exec -t postgres pg_dump -U $POSTGRES_USER $POSTGRES_DB > $BACKUP_DIR/n8n_db_$TIMESTAMP.sql

# Deleting old backups (older than 7 days)
find $BACKUP_DIR -type f -name ".sql" -mtime +7 -delete
Add this script to cron so it runs every night:
# Open the cron editor
crontab -e
# Add a line (run at 3 AM)
0 3    /bin/bash /home/deploy/n8n-stack/backup.sh
Updating n8n: Thanks to Docker, updating boils down to three commands:
docker compose pull
docker compose up -d
docker image prune -f
9. Troubleshooting + FAQ: Solving Common Issues
Why does n8n consume too much RAM?
By default, Node.js may try to occupy all available memory. If you have a VPS with 2 GB RAM, add the NODE_OPTIONS: --max-old-space-size=1536 variable to environment. This will limit the memory usage of the Node.js process to 1.5 GB, leaving room for PostgreSQL and the system.
Error "Database is not migration-ready"
Usually occurs when trying to update n8n across several major versions at once. It is recommended to update sequentially or perform a full database dump before updating. Also, check the PostgreSQL logs — the database might have run out of disk space to perform migrations.
How to connect n8n to a local database on the same server?
If you have another database outside of Docker, use the Docker gateway IP address (usually 172.17.0.1) to connect. Don't forget to configure pg_hba.conf in PostgreSQL to allow connections from the Docker subnet.
What is the minimum VPS configuration required?
At a minimum, you can run n8n on 1 vCPU and 2 GB RAM. However, in such a configuration, it's worth disabling Execution History for successful runs to avoid bloating the database and overloading the disk. For comfortable work and complex scenarios, 4 GB RAM is the 2026 standard.
What to choose — VPS or dedicated for this task?
For 95% of automation tasks, a VPS is sufficient. A dedicated server makes sense only if you plan to use n8n as an ETL tool for transferring terabytes of data daily, where disk operation speed and the absence of 'noisy neighbors' on the CPU are critical.
Webhook Issues: n8n returns 404 or timeout
Ensure that the WEBHOOK_URL variable in .env exactly matches your domain and includes https://. If you are using test webhooks, remember that they only work when you have the tab with that workflow open in your browser.
Need a dedicated server?
Compare prices from top providers. Configure and order in minutes.
10. Conclusions and Next Steps for System Development
We have deployed a fault-tolerant and secure environment for automation. Now you have a powerful tool that belongs entirely to you. Using PostgreSQL instead of SQLite will allow the system to scale to hundreds of thousands of executions per month, and Caddy will provide reliable encryption without manual intervention.
Where to go next:
- Monitoring integration: Set up Prometheus and Grafana to track CPU and memory usage by your n8n stack.
- Task queues: For very high loads, consider switching n8n to Queue Mode using Redis and separate Worker containers.
- Security: Set up two-factor authentication (2FA) in the n8n panel and restrict access to the admin panel via IP filters in the Caddyfile.
Practical recommendation: start by automating simple routine tasks, such as collecting notifications from various services into a single Telegram channel, and gradually move to complex business chains with data processing.