How to Enable Full Disk Encryption on a Server?

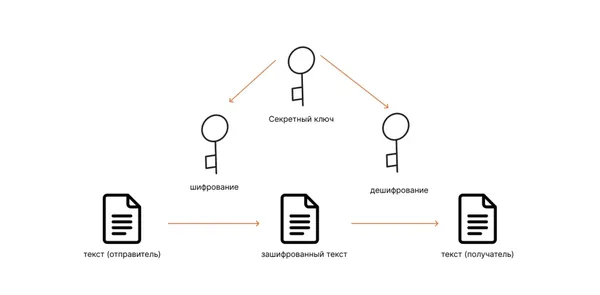
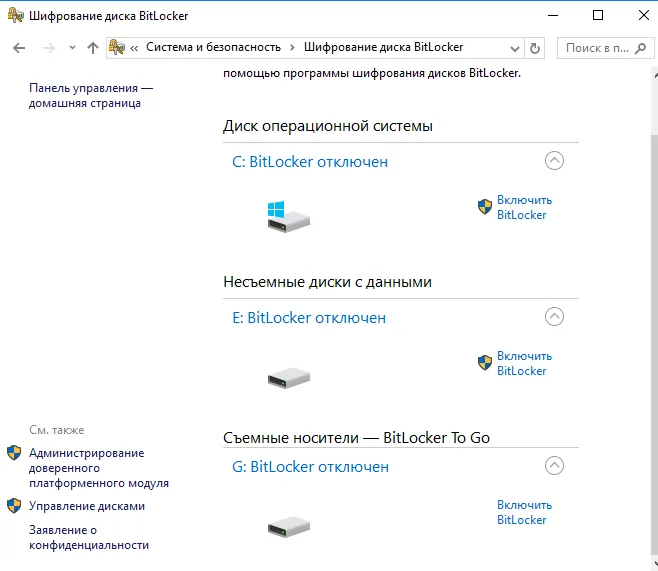
Disk encryption is an important procedure that helps protect data on the server from unauthorized access. Full disk encryption provides a high level of security and can prevent confidential information leaks. In this article, we will tell you how to enable full disk encryption on your server.
Before proceeding with the encryption process, make sure you have all the necessary data and backups to avoid data loss. It is also necessary to correctly configure all parameters before starting encryption.
Step 1: Installing the Necessary Tools
The first step to enabling full disk encryption on a server is to install the necessary tools. In most cases, the dm-crypt utility is used for this, which allows you to create encrypted volumes on the disk.
To install dm-crypt, run the following command:
sudo apt-get install cryptsetup
Step 2: Creating an Encrypted Volume
After installing the necessary tools, you can proceed to create an encrypted volume on the server. To do this, follow these steps:
- Create a new encrypted volume using the command:
sudo cryptsetup luksFormat /dev/sdX
- Open the encrypted volume using the command:
sudo cryptsetup luksOpen /dev/sdX encrypted_disk
- Create a file system on the encrypted volume using the command:
sudo mkfs.ext4 /dev/mapper/encrypted_disk
dnsA server for this guide
Matching plans from verified providers, prices updated daily.



Compare:Vultr vs DigitalOceanVultr vs ContaboAll VPS by price
Affiliate links: we may earn a commission, your price stays the same.
Step 3: Mounting the Encrypted Volume
After creating the encrypted volume, it needs to be mounted for use on the server. Follow these steps:
- Create a mount point for the encrypted volume:
sudo mkdir /mnt/encrypted_disk
- Mount the encrypted volume to the created mount point:
sudo mount /dev/mapper/encrypted_disk /mnt/encrypted_disk
Step 4: Configuring Automatic Mounting
To automatically mount the encrypted volume each time the server starts, you need to add the appropriate entry to the /etc/fstab file. Follow these steps:
Open the /etc/fstab file in a text editor:
sudo nano /etc/fstab
- Add the following line to the end of the file to automatically mount the encrypted volume:
/dev/mapper/encrypted_disk /mnt/encrypted_disk ext4 defaults 0 0
Step 5: Rebooting the Server
After completing the settings, you need to reboot the server for the changes to take effect. Run the following command to reboot:
sudo reboot
Now your server is fully protected with disk encryption. Full encryption provides reliable data protection and helps prevent information leaks. Follow our instructions and ensure the security of your server!