Updating the BIOS on a Dell EMC PowerEdge Server
The BIOS (Basic Input/Output System) is the program that controls the hardware functions of your Dell EMC PowerEdge server. Updating your server’s BIOS is a crucial step in ensuring stable operation and protecting against security vulnerabilities. This article will guide you through updating the BIOS on your Dell EMC PowerEdge server.
Step 1: Preparing for the BIOS Update
Before beginning the BIOS update process, ensure you have the latest BIOS update for your Dell EMC PowerEdge server. Visit the official Dell website and download the appropriate BIOS update image.
It’s also vital to create a backup of all data on the server to avoid data loss in case of problems during the BIOS update.
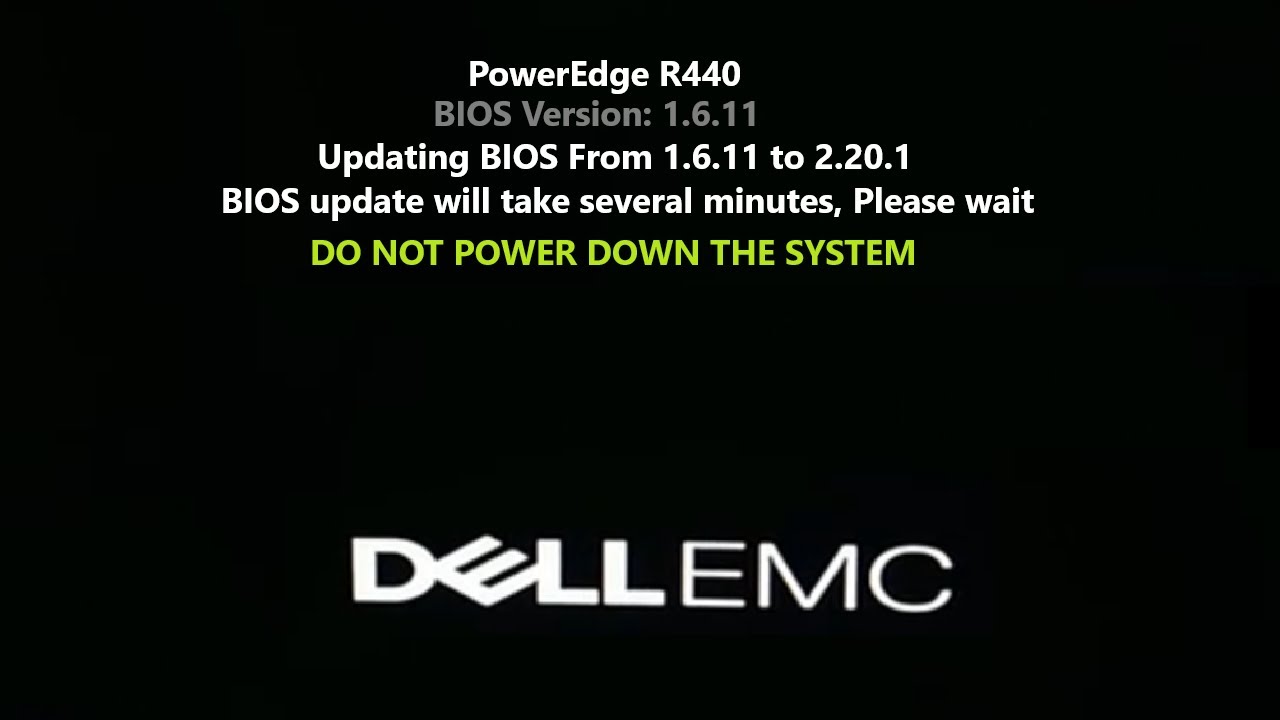
Step 2: Running the BIOS Update Process
After preparing for the BIOS update, proceed with the installation. Upload the BIOS update image to your Dell EMC PowerEdge server and initiate the update procedure. Follow the on-screen instructions and wait for the process to complete.
Do not turn off or disconnect the server from the power source during the BIOS update to avoid damaging the device.
Step 3: Verifying the BIOS Update Success
After the BIOS update process on your Dell EMC PowerEdge server is complete, verify the successful installation. Reboot the server and enter the BIOS to confirm that the new version is installed. Also, check the server’s functionality after the BIOS update.
Conclusion
Updating the BIOS on your Dell EMC PowerEdge server is a crucial step in ensuring stable operation and protection against security vulnerabilities. Follow the steps outlined above when updating your BIOS and remember to regularly check for BIOS updates for your server.
Pay close attention and follow the manufacturer’s instructions to avoid problems during the BIOS update on your Dell EMC PowerEdge server.


