Installing OpenVPN on an Ubuntu VPS
OpenVPN is a popular solution for creating a secure connection between devices over the internet. This article will guide you through installing OpenVPN on an Ubuntu Virtual Private Server (VPS hosting).Before starting the installation, ensure you have an Ubuntu VPS and full administrator privileges.
Step 1: Updating and Installing Necessary Packages
Open your terminal and execute the following commands:
sudo apt update
sudo apt upgrade
sudo apt install openvpn
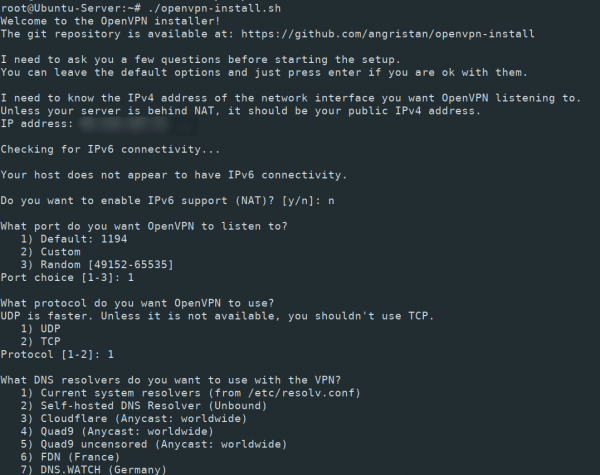
Step 2: Configuring OpenVPN
Copy the sample configuration file:
gunzip -c /usr/share/doc/openvpn/examples/sample-config-files/server.conf.gz > /etc/openvpn/server.conf
Edit the /etc/openvpn/server.conf file using any text editor and customize it to your needs.
Step 3: Starting the OpenVPN Service
Start the service and enable auto-start:
sudo systemctl start openvpn@server
sudo systemctl enable openvpn@server
Step 4: Setting up IP Forwarding and Firewall
Enable IP forwarding:
sudo sysctl -w net.ipv4.ip_forward=1
Configure firewall rules:
sudo iptables -t nat -A POSTROUTING -s 10.8.0.0/24 -o eth0 -j MASQUERADE
Save the firewall rules:
sudo iptables-save > /etc/iptables.up.rules
Add firewall rule execution on system startup:
sudo nano /etc/network/interfaces
Step 5: Completing the Installation
Reboot the system to apply all changes:
sudo reboot
Great! You’ve now successfully installed OpenVPN on your Ubuntu VPS. You can start configuring client connections and ensuring secure data transmission over the internet.


