How to Configure an SSL Certificate on a VPS?
An SSL certificate is a crucial tool for securing your website. It protects information transmitted between the server and the client, making it inaccessible to unauthorized individuals. If you have a VPS hosting server and want to configure an SSL certificate, follow our step-by-step guide.Step 1: Preparation
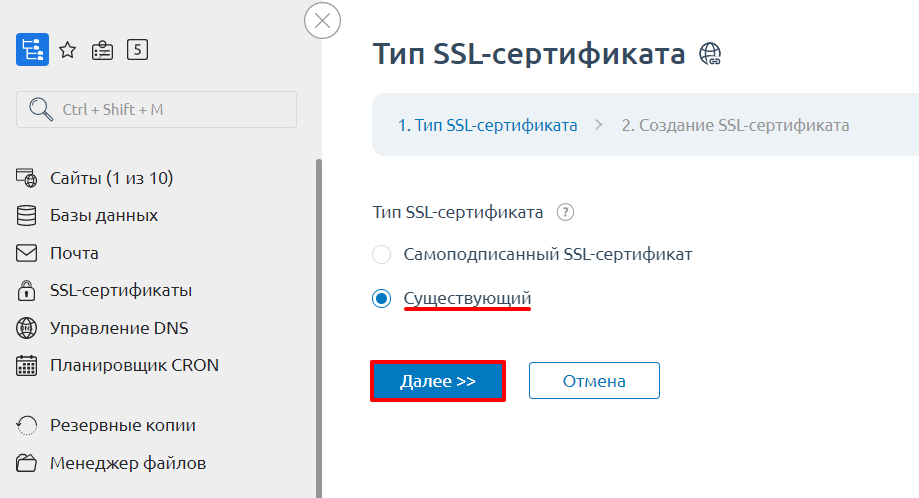
The first step in setting up an SSL certificate on a VPS is preparation. Ensure you have access to the server’s administrative panel and your SSL certificate credentials. If you don’t have an SSL certificate, you can purchase one from a trusted Certificate Authority.
Step 2: Installing the SSL Certificate
To install the SSL certificate on your VPS server, you need to perform the following steps:
Step 1:Copy the certificate, private key, and intermediate certificate to the server.Step 2:Open your web server’s configuration file (e.g., Apache or Nginx) and add the SSL settings.Step 3:Restart the web server to apply the changes.
Step 3: Verifying the SSL Certificate
After installing the SSL certificate on your VPS server, you need to verify its proper functioning. You can use online SSL verification services to ensure the certificate is correctly installed and working without errors.
Conclusion
Setting up an SSL certificate on a VPS server isn’t that difficult if you follow our instructions. Follow the steps outlined in this article, and your website will be protected from malicious attacks and data theft.
Ready to Install an SSL Certificate on Your VPS?
An SSL certificate is a necessary security element for any website. Don’t postpone its installation, as your security and the security of your users are paramount. We hope this guide helps you successfully configure an SSL certificate on your VPS server.


